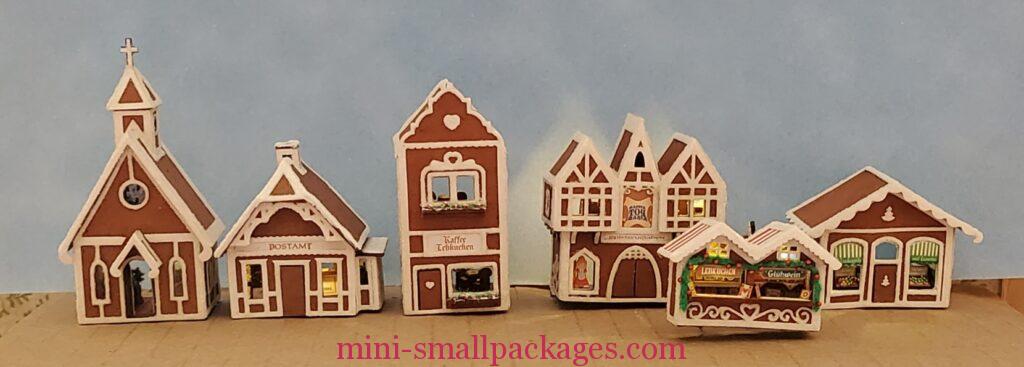
I’m making the buildings by True2Scale to go in my village. The current plan is to build the buildings and then make a base. I think I’m going to do an open book, but it could be in a different form.
These are 1:144 scale. I am not using the bases and will be doing trees later when I landscape the whole project.
My progress so far :
Decorations Stand and Chestnut Cart
Tips:
- Mark pieces in pencil to help keep oriented which is which.
- Pencil is better because it won’t bleed thru sometime in the future.
- When adding lights, it is important to plan before building. This plan should include where the light goes, where wire will go from there to a wall, then where will wire be hidden on inside or outside. These buildings have the white trim, so I generally tried to hide behind them with a groove.
- To determine where floor fits relative to wallpaper, lay the paper next to the wall and then draw line with pencil. Glue paper at the line just covering it.
- Cutting window openings is best done before applying the wallpaper.
- Interior window frames should be applied and before they dry, check the alignment from the other side.
- When cutting curves, whenever possible move the paper not the scissors.
- Don’t cut down to the tip of scissors as it causes a tiny tear.
- Cover the printed part with the ruler to protect it when cutting whenever possible.
- I do not use a cork backed ruler when cutting in this scale so I don’t misalign my knife.
- Using glitter, brush on glue for thin layer. Or use a tiny tip bottle for applying more glue so more glitter (thicker).
- For the most buildings, I painted the trim white then once dry I separated from the motherboard. I applied glue and glitter over wax paper.
- If separating the white trim from motherboard, mark the back with pencil. I didn’t and got them flipped over when went to glue and glitter. I did the wrong side.
- If any extra glue and glitter is over the edges, once dry this can be trimmed away with sharp scissors if desired.
- If adding trim to the building before it has glitter, be sure to apply white paint to cover gaps. I tried this with the Toy Shop and I recommend to apply the glitter before adding trim. It wasn’t that I messed up since one can’t tell the difference. It was just slower waiting on glue to dry and can’t always move to another area.
- Be sure to apply wallpaper, window frames, and other decorative items inside before closing that particular room or section. Adding the lighting tends to shift my attention.
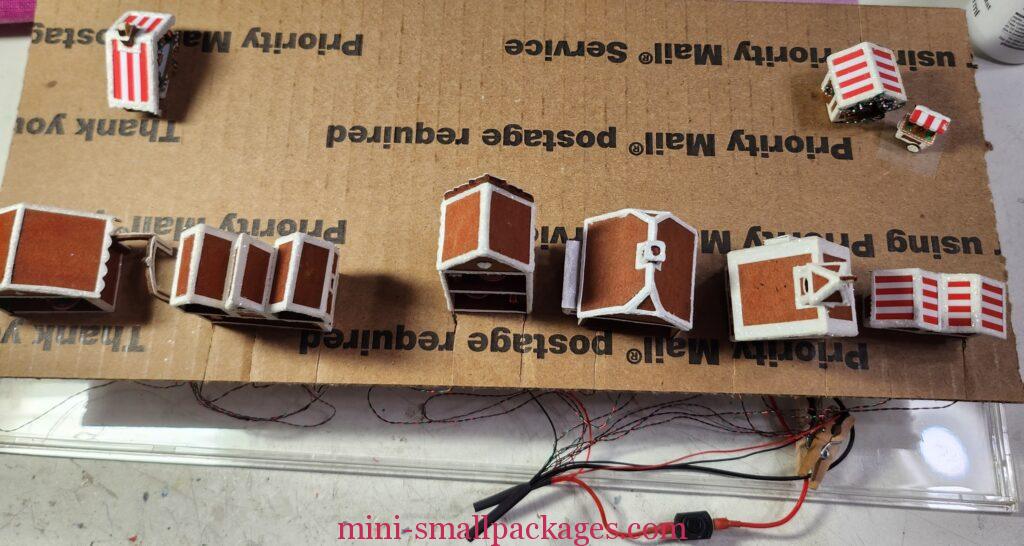
I have been using nano size LEDs in 3volt size. Most of them are warm white, but some are bright white. I am using a AAA double battery pack.
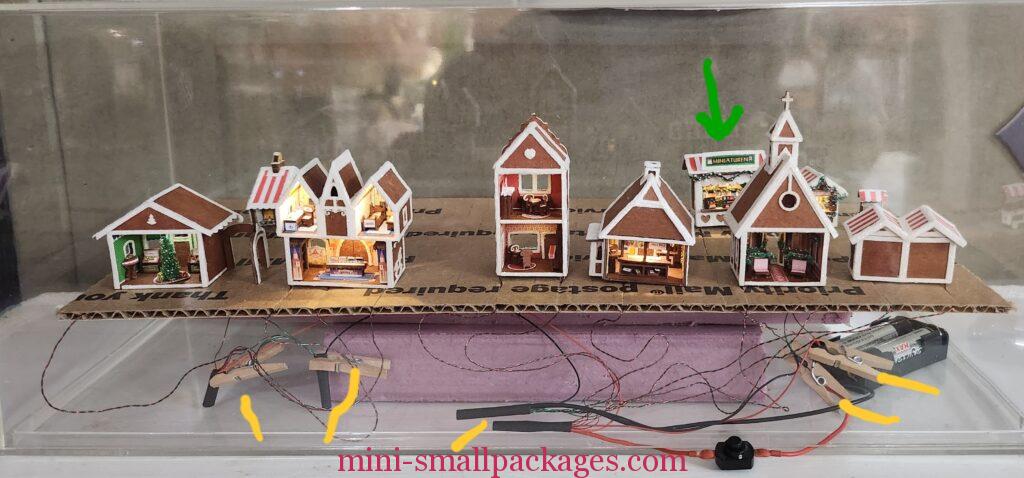
I was asked about the lighting – how I have them hooked up. This tangle is what I have right now in the temporary housing. Notice how I am connecting in more than one group (yellow indicators) and also the switch is on the outside of the cover. I could kick myself every time I deal with a miniature that I added the switch on the inside of the whatever the cover is. Jumpers (wires between) are used to get the bundles together to the switch wires.
Example: Building A,B,C are grouped red or black with a jumper to switch. Building D, E, F are grouped red or black with a jumper to switch. Building G and H are grouped red or black with a jumper to switch. The black go direct to battery while the red has a switch on it.
I plan on having more than one set of batteries so that the lights don’t dim due to having so many lights on a set. The batteries can handle many lights, but will be a bigger drain. I plan to tie together on one switch though.
This is the most recent layout I have on my temporary board with 12 kits (14 individual) done so far.
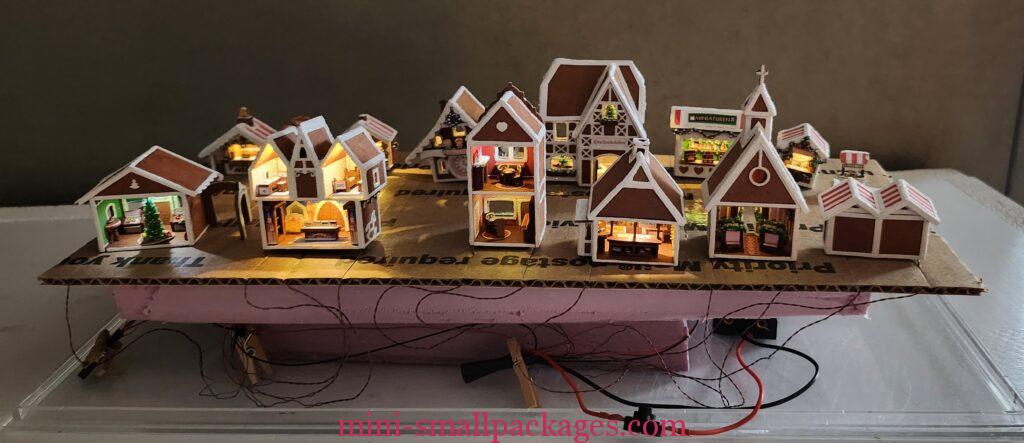

This is my first layout of the ten I have so far. I plan to add bridge maybe two over the valley of the book. After trying this layout I am pretty much decided that I will need to build my own book. I plan to make rafters in the right shape and then spread plaster cloth over those. This will allow the lighting to be handled much easier. I will probably have a recipe title somewhere.
Happy miniaturing!
Preble