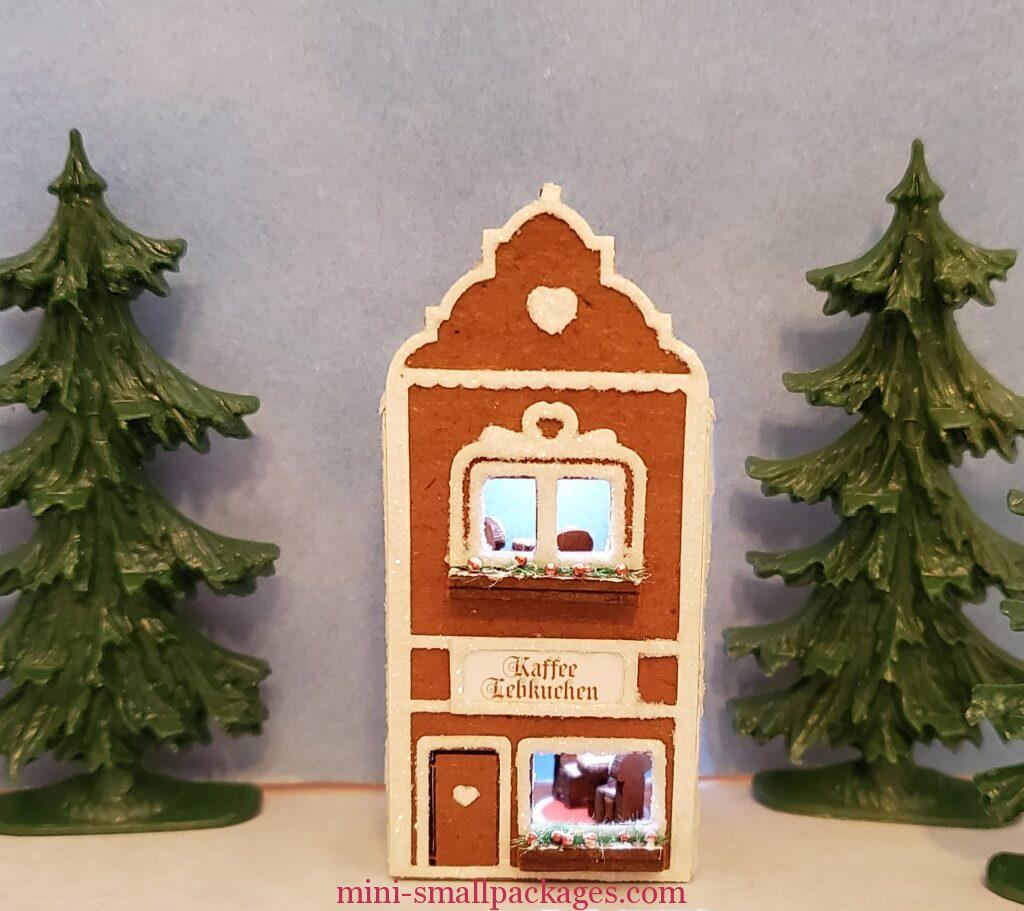
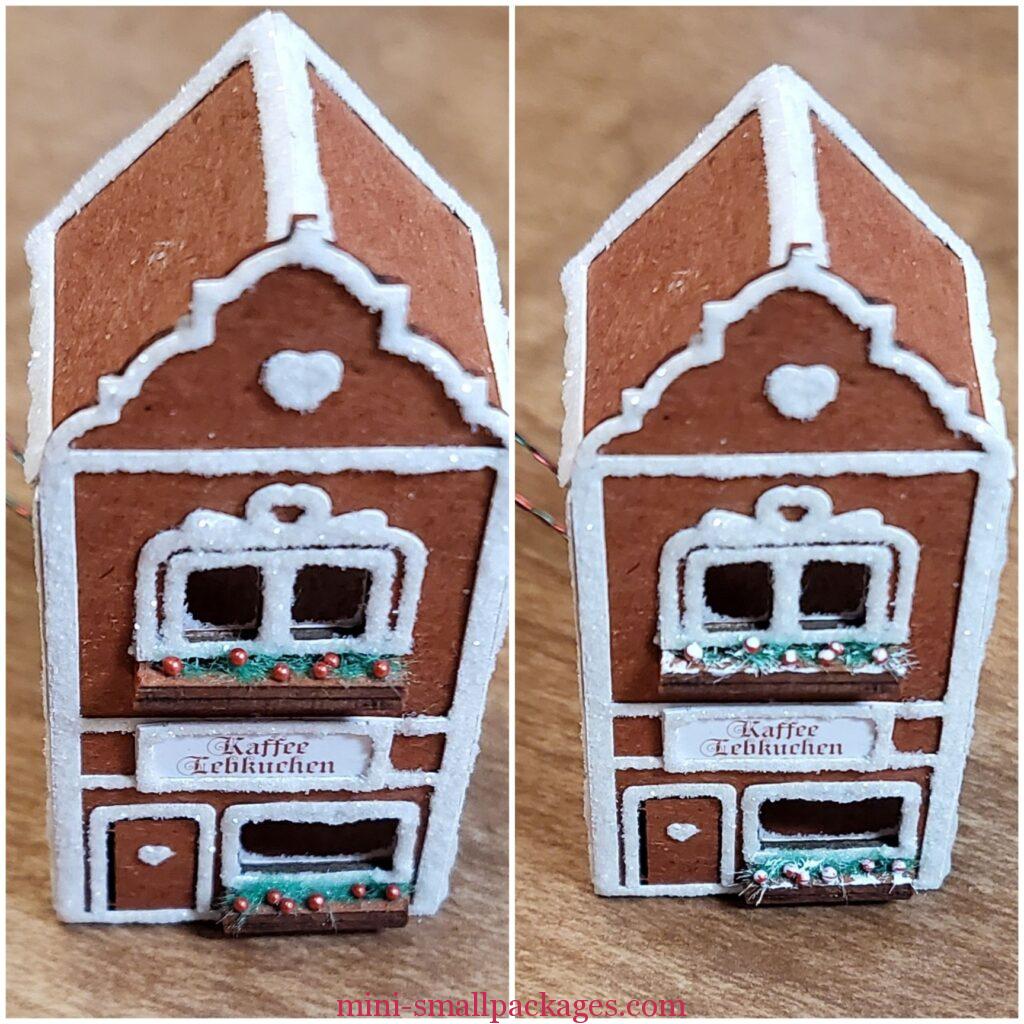
My second gingerbread building is true2sale’s Cafe.
Kaffee Lebkuchen (coffee gingerbread)
LIGHTING
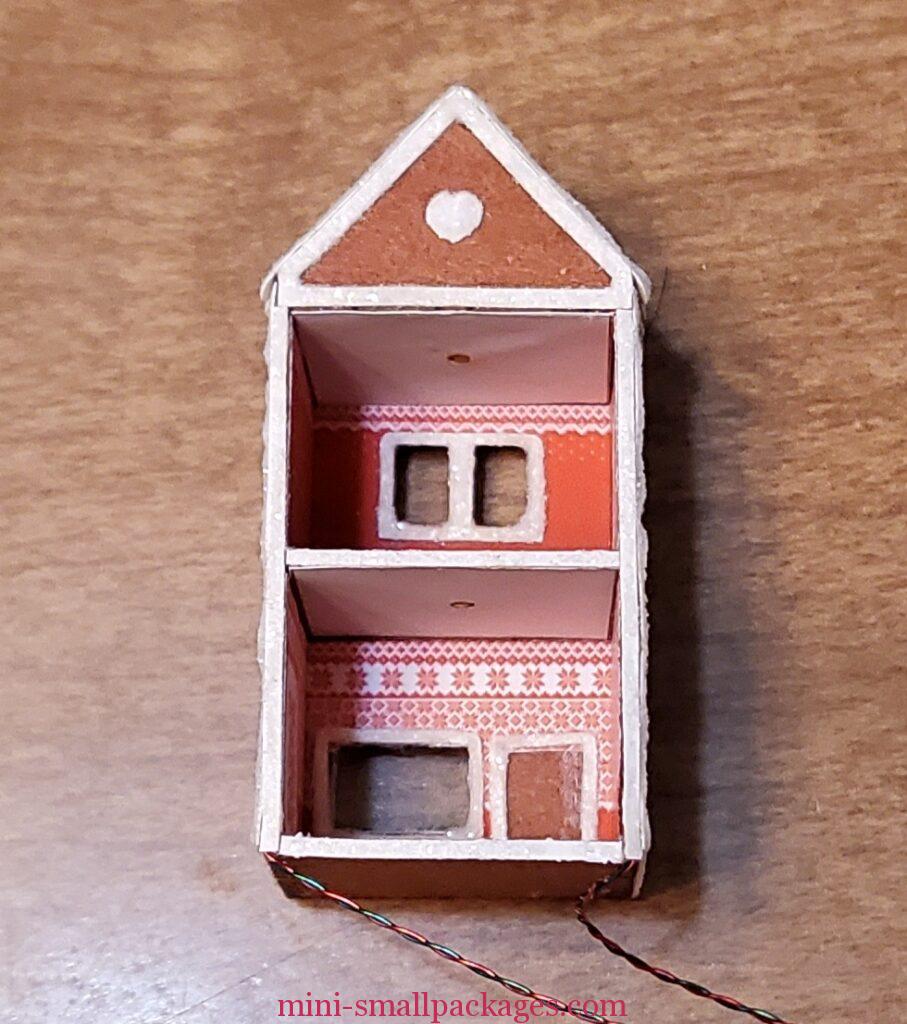
This is a two story building and already has a ceiling paper which is helpful for the lighting I am adding. However adding lights to two floors with no extra corners present new challenge of where to put the wires.
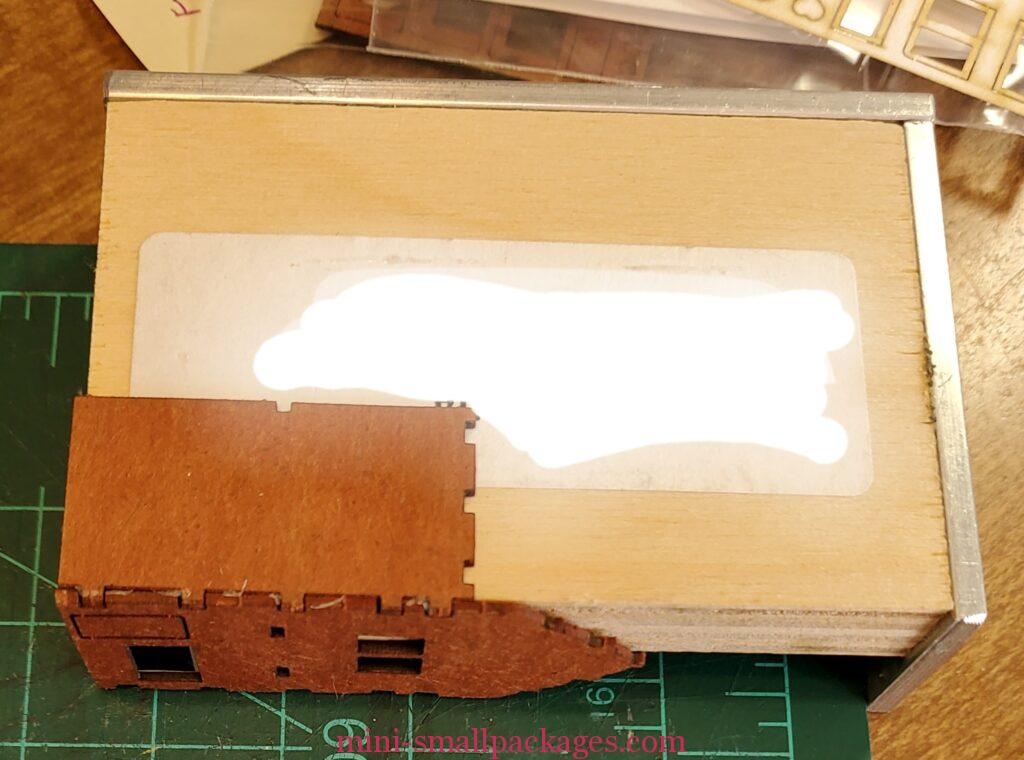
First floor
Since the floor of the second floor won’t have a carpet it is important to me to keep the topside of the piece intact.
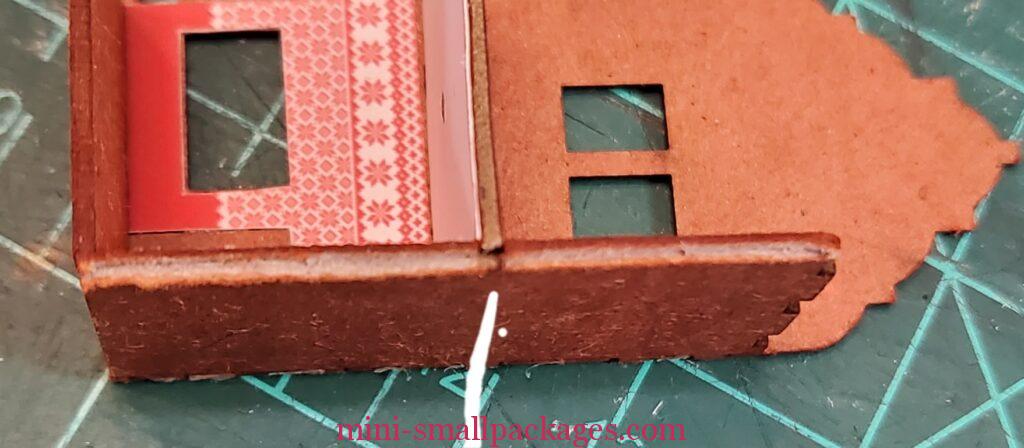
I also decided that one light wire will come down one side and the second light down the other. For the first floor, I’ve cut a grove in the side along the edge of the left wall and another groove along the underside of the top floor. I choose to put my groove on the outside as I believe I can cover with the trim.
I use my craft knife with a sharp blade to cut along the lines I draw. I cut a layer at a time. For this, it was about halfway through the cardboard. I peel away the layers. If the layer won’t peel, it is because the side cut wasn’t deep enough.
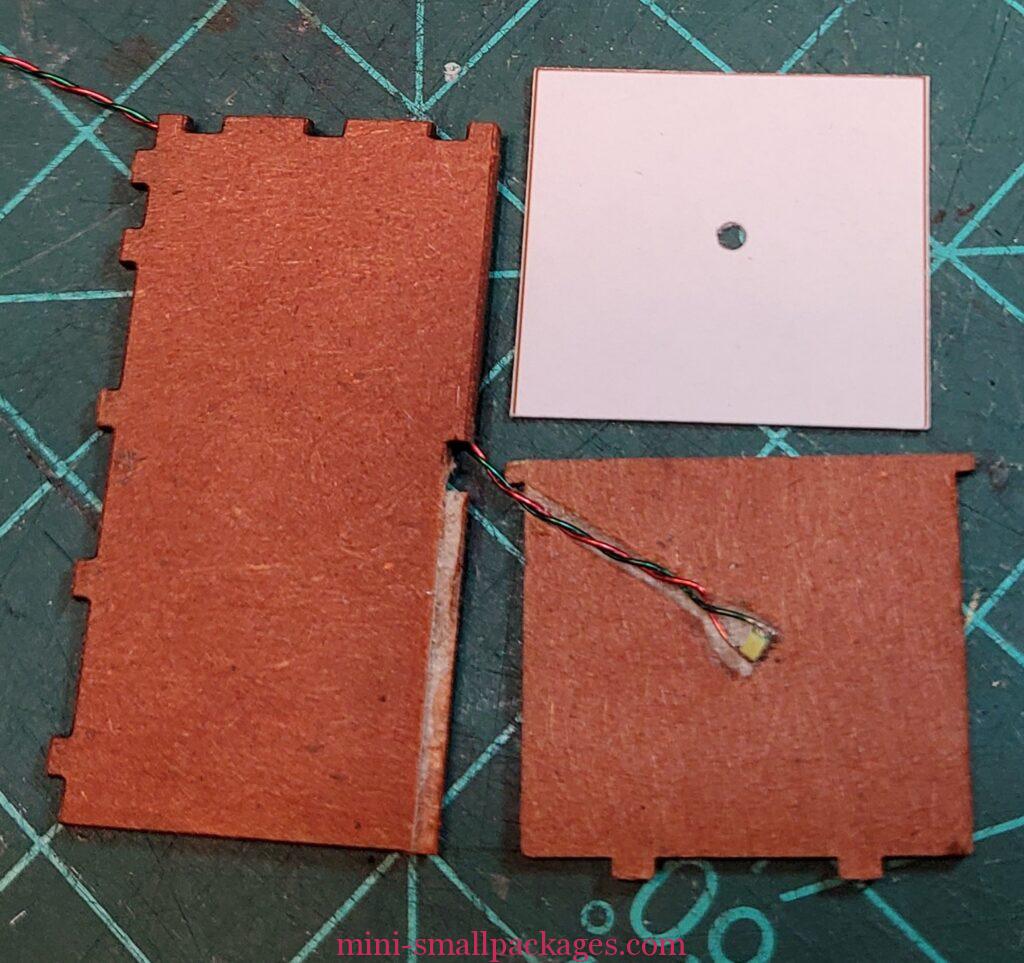
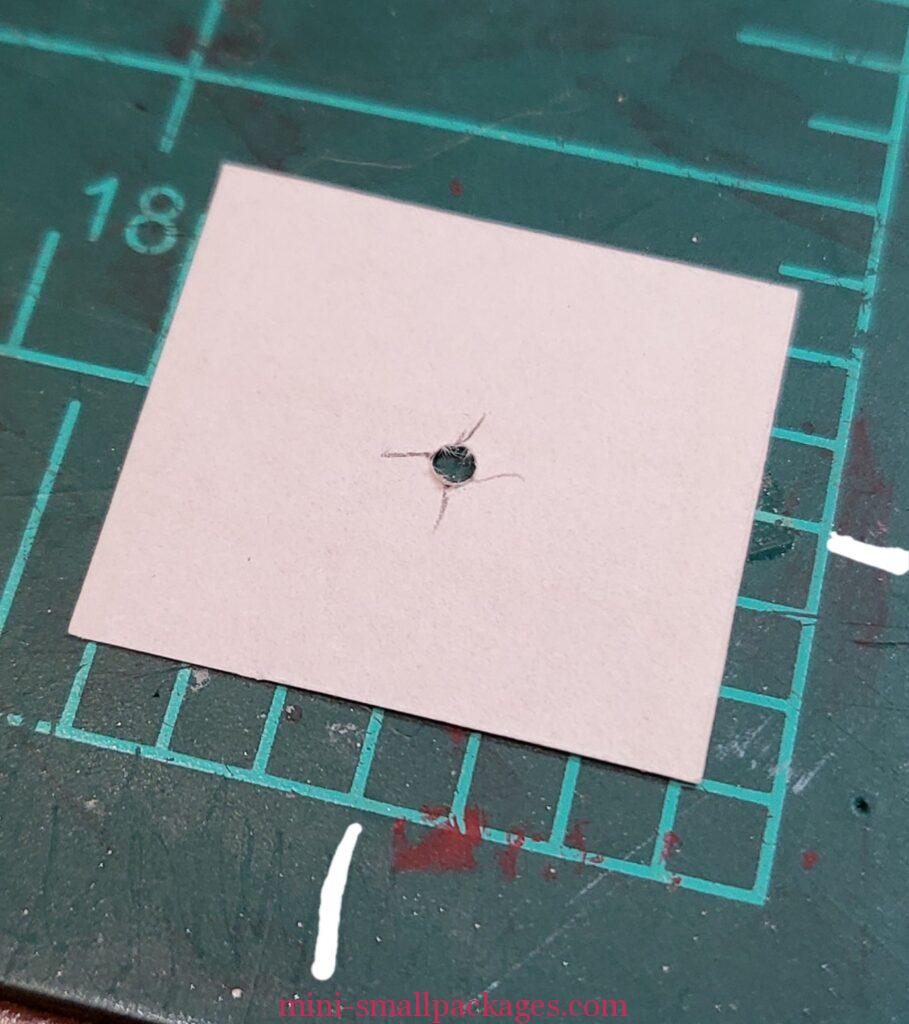
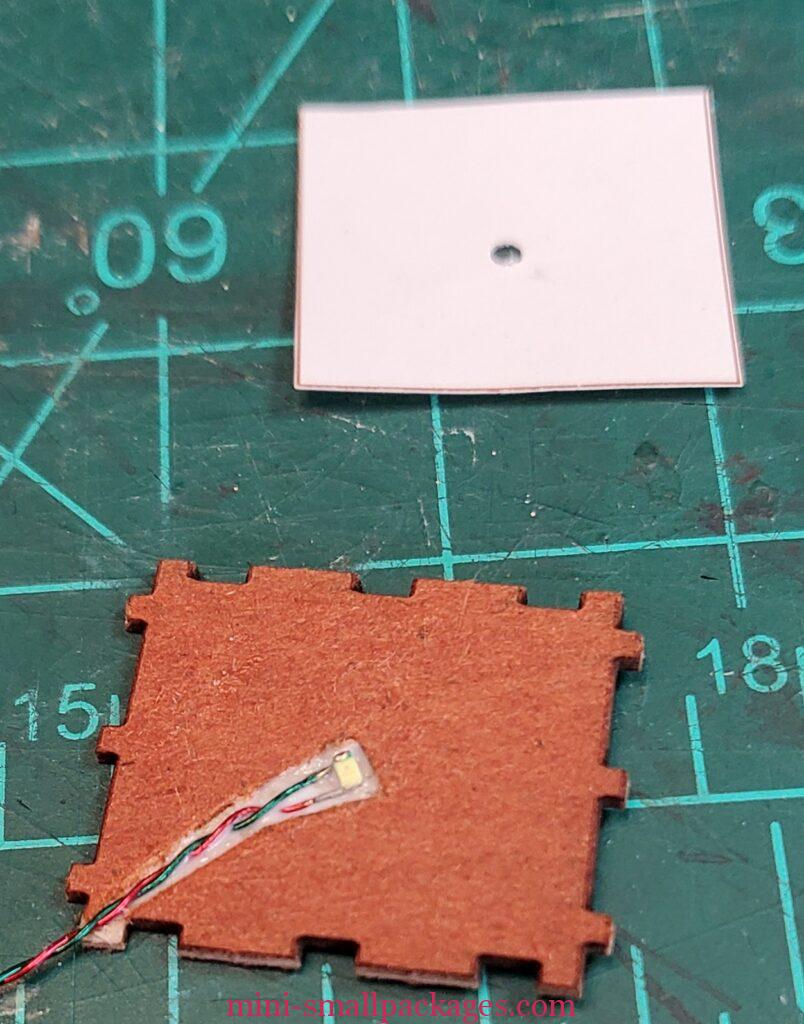
To fit the ceiling paper in place with a hole, I cut it out from the printies and then check out how it fits in the building. I trim it until it fits perfect.
Then I see what size it is and where I would cut the hole. I mark the center from two sides which forms an x. This done on the back side of the ceiling (printed square towards the first floor room). I use 1/16th long range punch. The long range helps to reach much further than typical punches. This is a good size for use with chip or nano LED’s.
The light will be sandwiched between the ceiling paper and floor piece.
Once the light hole is punched, I mark on the floor board. This helps to decide where to create the groove.
I also test fit the floor/ceiling in place and decide to cut a small portion of the left side tab away. This cut was the underneath towards the groove down the side.
When cutting the wallpaper from the sheet, I make sure to protect the pieces being cut out. This means moving the straight edge around a bit more to make sure that I would cut along the line I want. When cutting tiny things, I like using the ruler upside down if it has a cork backing so there is no gap. Switching to this small square is helpful as it does not have a backing. I like to use smaller tools when working in smaller scales, but not every tool is best used when a smaller version.
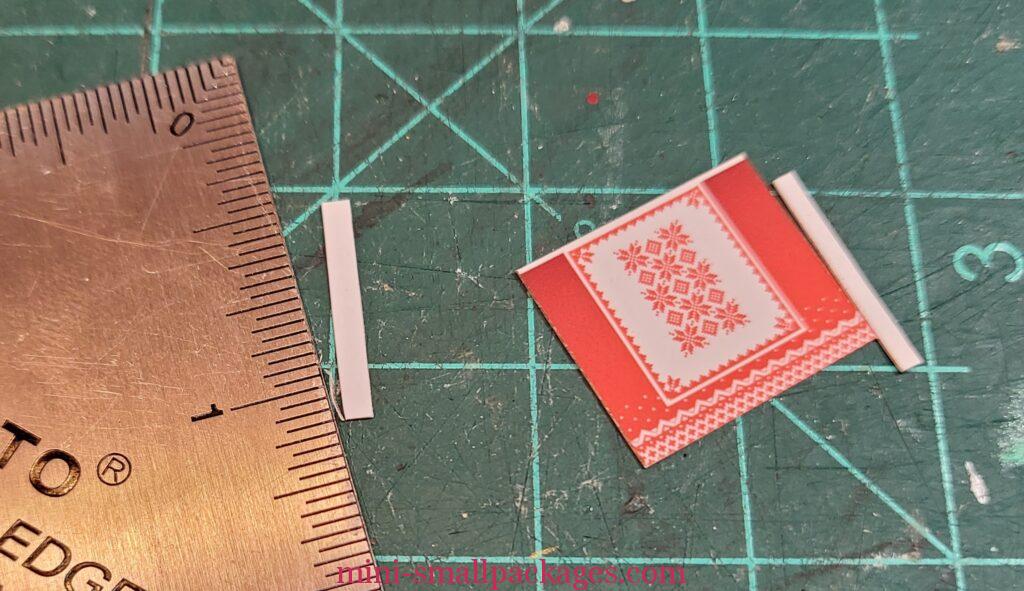
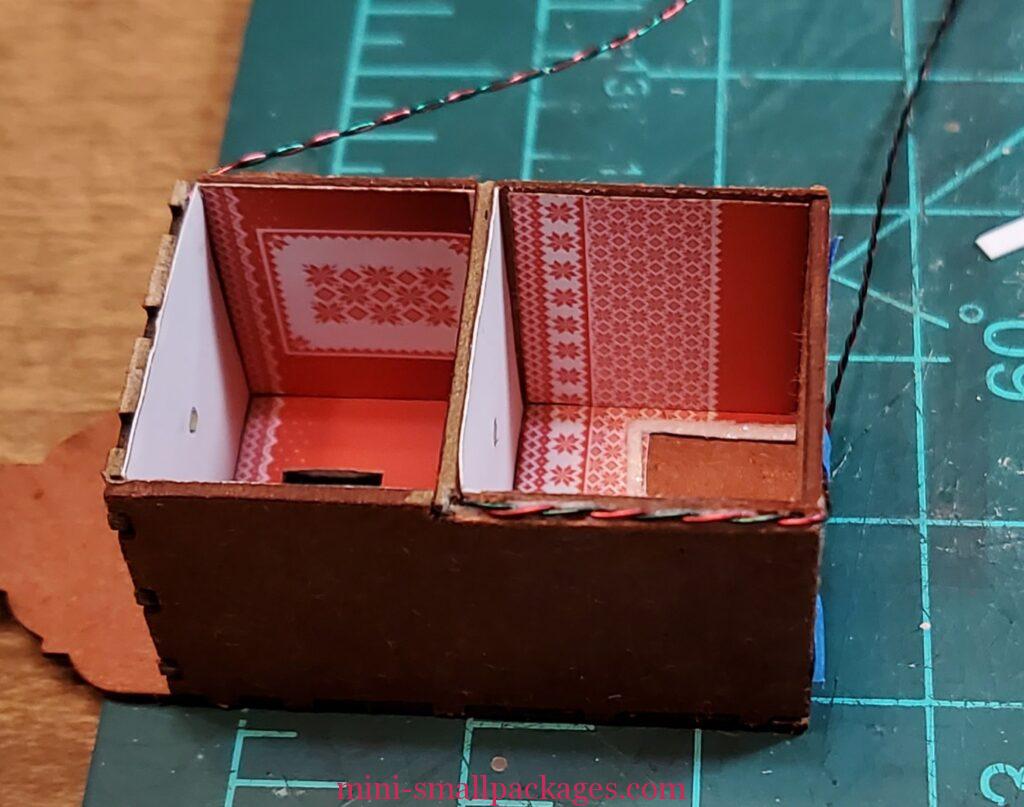
The instructions have one add the wallpaper before moving to the next floor. I lay them in place to make sure they line up with no gaps or overlap. I trim away very thin strips as needed. I get the wallpaper applied. I use either tacky or thin white glue. With tacky, I make sure to spread it. With thin white glue, I don’t use in larger areas like wallpaper but for the wall edges it works great.
Before I glue the first floor in place, I decide to go ahead and cut the grooves for the second floor. It will be easier to do so before I glue in the left side wall.
Second Floor
I look ahead in the instructions so I can identify the ceiling for the second floor. I consider how to cut my first groove. The attic above is enclosed so I can just make a hole for the wire and a spot for the light to lay flat in the in-between area.
I still need a groove along the outside. So I cut the groove outside.
Since I rushed gluing in the right wall, I used my gluing jig to allow me to cut the groove on the right wall without taking the house apart.
I cut the ceiling paper same method as above for the first floor.
Then I think about the groove in the ceiling board. Should I go up in the attic, or just across and in-between like I did with the first floor ceiling. I decide to do the latter.
I cut from the corner where the wire will exit the sandwich to near the center. I trace around the LED to make sure I have alignment with my ceiling paper hole. Adding a pencil mark from the punch spot helps me to mark correctly.
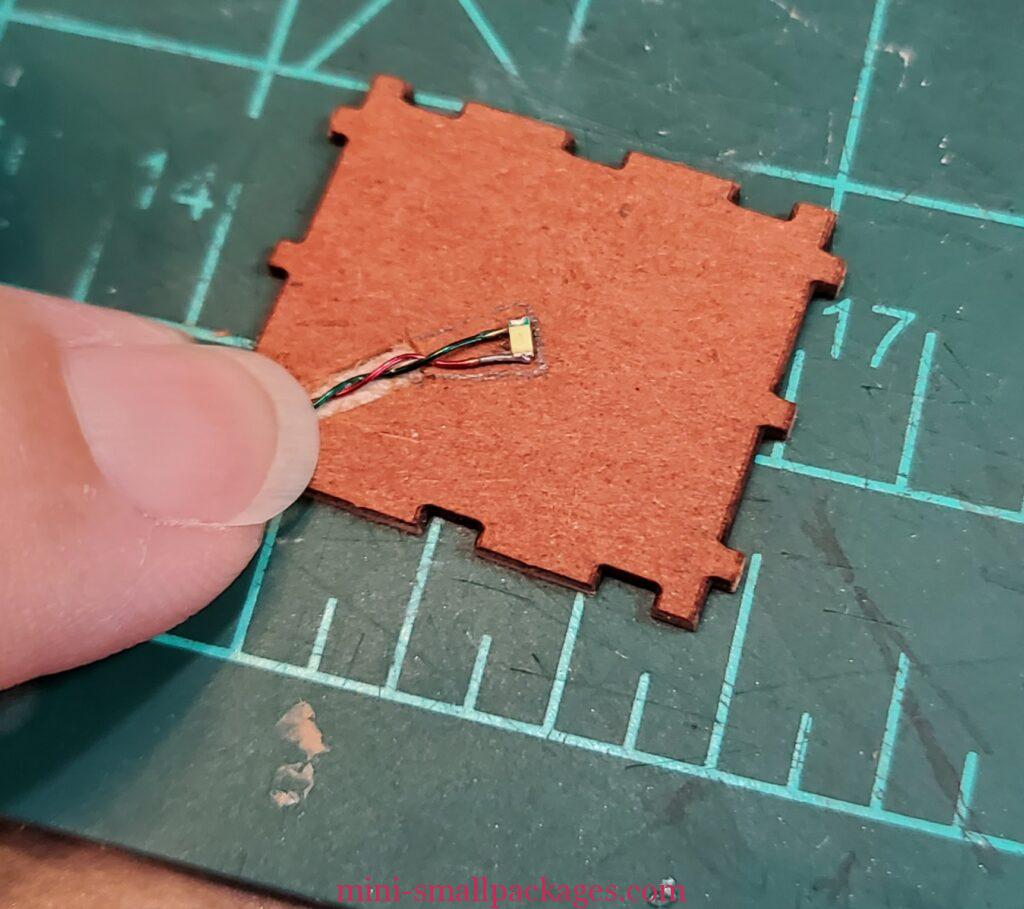
I use tacky glue to glue the light in place. Since I have ceiling paper and this is very lightweight I don’t add any other cover to the wires.
I test fit and I realize that I needed to trim the tab for the first floor that extends in this groove.
Wallpaper
I have cut the wallpaper for the second floor at a later time, so I forgot to cut out the opening for the windows. It is much easier to do this before gluing into a tiny building.
To remedy this mistake, I cut a scrap piece of pink construction foam and insert into the second floor. Thankfully I haven’t glued the ceiling in place. The pink foam will allow me to cut away the wallpaper from the windows. This requires 8 cuts per window. One from each corner towards center of a side in both directions will make the sharpest corner. I always use a sharp knife blade to do this.
Attic
Once I had the second floor ceiling glued in place- next was the attic. The only issue I had was that I needed to clamp the pieces so it would be tight against the attic front. This all fit together very snugly, but the glue wanted to warp the front so the clamp was needed.
Wiring placement
The first floor wire is glued in place using tacky glue in the groove I made along the left side.
Icing Trim
The white trim is painted white. I find that I prefer to remove from the motherboard after paining and before I apply glitter. I use a tip bottle of thin white glue and sprinkle on the glitter. The tip bottles I use now have a silicone cap. It does not completely eliminate the glue drying up, but I find it the best cap I’ve ever used.
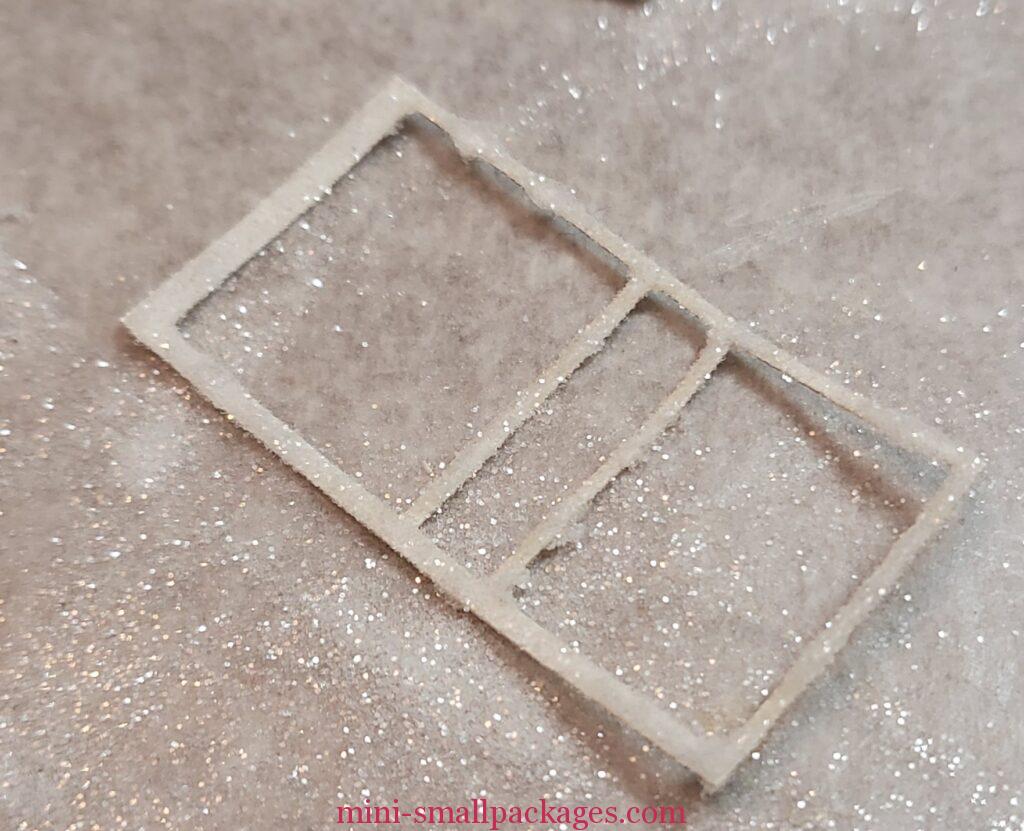
I always use a paper underneath to catch the excess. I will save it for later projects when there are leftovers.
I also use a bead scoop for getting the glitter from the bag especially good for zip bags as less glitter in the zip line. This scoop allows me to sprinkle over the areas especially for this narrow trim. But heaping excess is fine. I can also use this scoop to scrape the glitter up and sprinkle over another piece of trim.
When I use the thin glue, I did allow the glitter to mound up and let it sit. This means that more will stick. The instructions say to spread using an old paint brush but I found I had a much thinner layer of glitter. I prefer the thicker technique.
Also when applying glue, I don’t cover the entire trim piece if it is bigger which allows me to keep the glue from drying before applying the glitter.
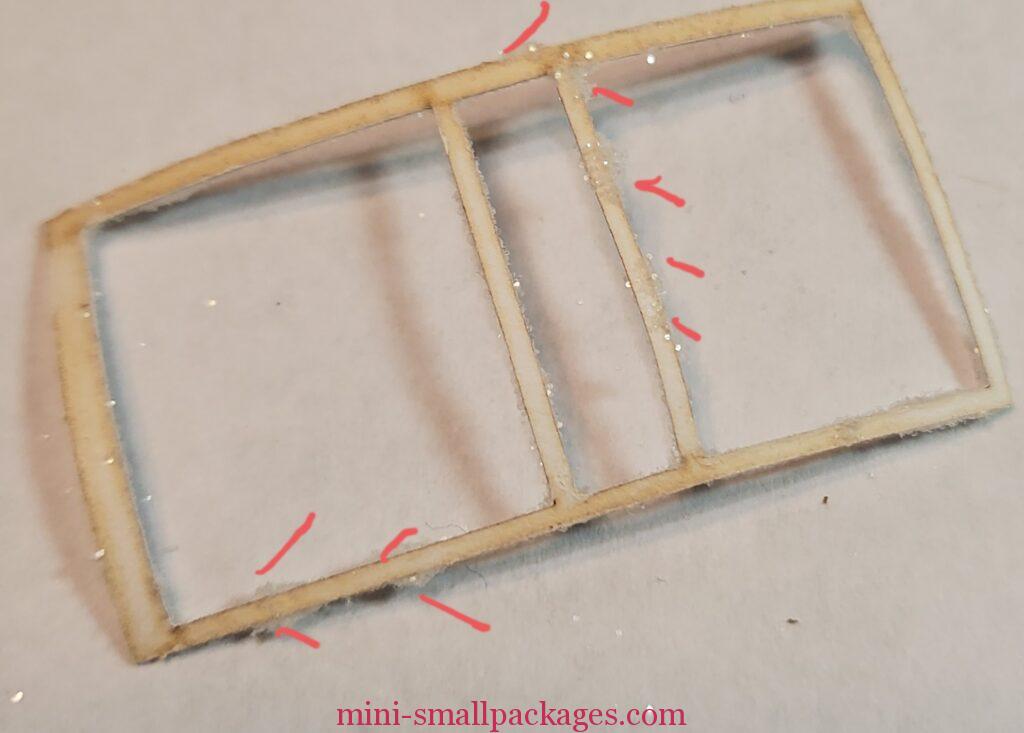
In this picture, I am showing with the red lines how sometimes there was some glue that would bleed off the trim. This results in a glob of glitter. I allow the pieces to dry and use sharp tiny scissors to trim away excess.
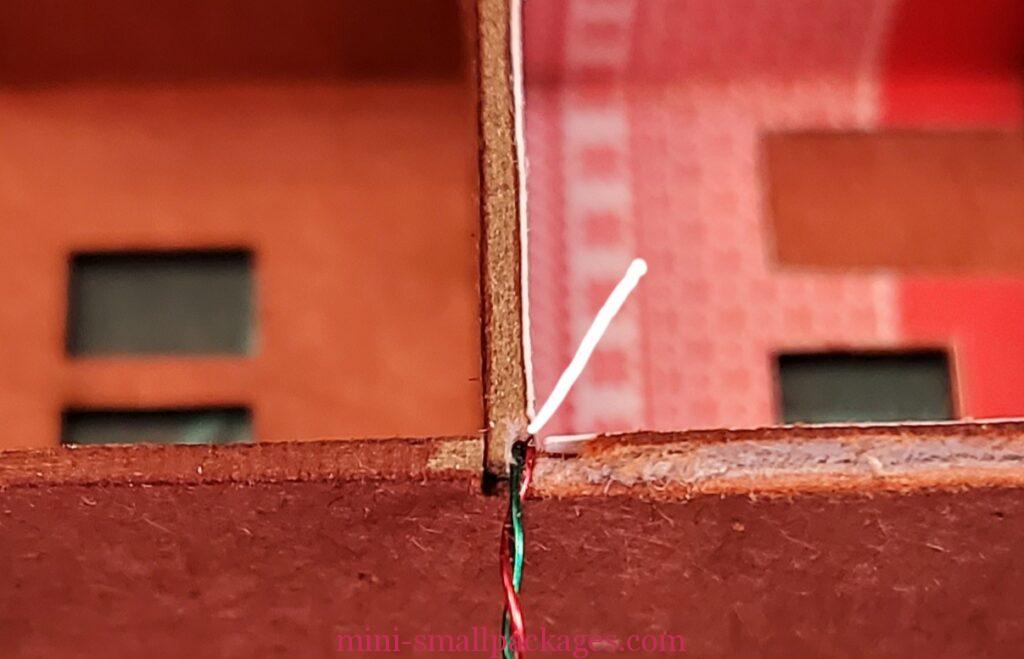
Hiding the Wires
For the left and right sides, the wires are hidden by the icing trim. But from the back of the house they will show. In my first GB building assembly, I was able to hide the wires in a corner. this doesn’t have any external inside corners.

The wires were hidden by cutting strips from the extra motherboard. I just added to the areas where it fit.
There are joints that I will add paint, glue and glitter to close the gap.
Turn on the lights
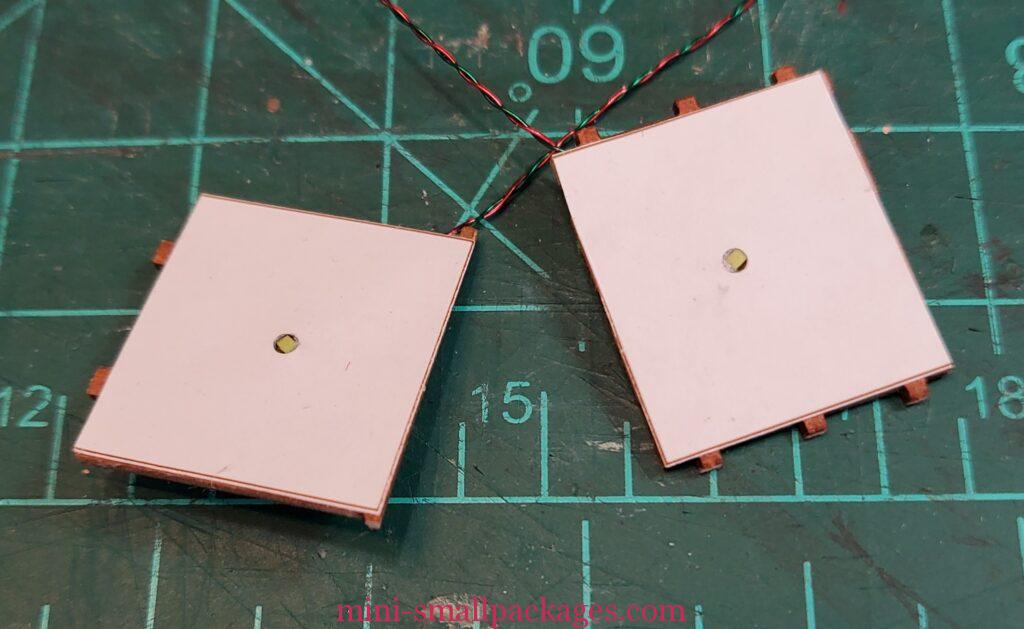
I didn’t test the lights before using them in the project. That’s on me. The problem is that the lights I used weren’t warm white like the baggie label said, but are cool white.
I tried using permanent marker to color and that helped tone it down some but not enough to my taste.
It isn’t noticeable until the buildings are side by side.
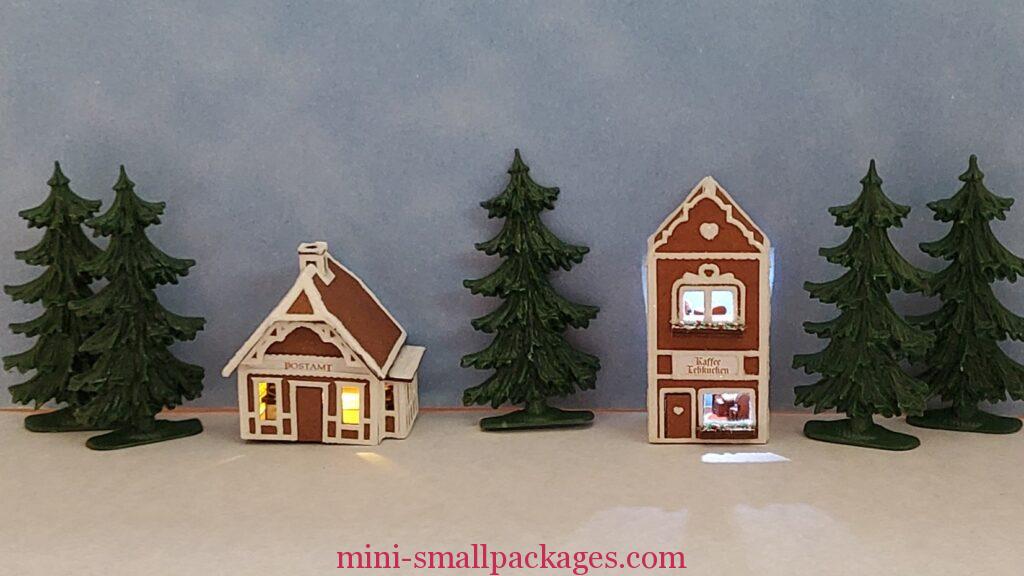
The lesson here is to always test the lights before assembly. Then if needed can switch or order more. The only way I would have found this as an error from the seller is if I had tested the lights when they arrived.
Finishing up the exterior
Interior Furnishings
These are built in layers and work quite well.
I found it helpful to lightly file away the connections from the motherboard. Then after gluing together the layers I use the colored marker on the edges.

The snow on the mantle added using Scribbles 3d paint in white, but plain acrylic would have worked.
The marks of the green cutting mat are 1/16th inch apart so one can see how zoomed in the picture is.
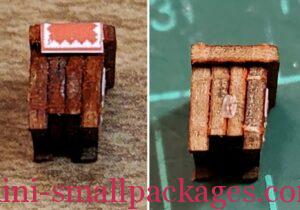
Tables
The tables were assembled in layers as well. I had problems with lining up so from one angle they look more crooked. I found them hard to hold for filing.
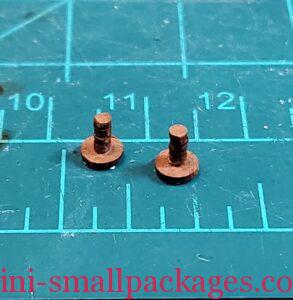
These circles seem to have a slight angle making them wider at the base. I could have assembled the table leg layers in different directions and it might have given a more turned look instead of jagged one. However with chairs in place, I suspect no one will be able to see this either way.
Chairs
The chairs are tricky only because there is a temptation to trim away the legs as they look like connections. Resist the temptation to trim until all three layers are put together. No trimming may be necessary. Normally I use the file but too delicate for that. Next would be sharp craft knife, but I found my very tiny sharp scissors worked if I needed to trim the legs.
The other part that might seem tricky is alignment between layers. I’m used to pushing against a flat edge when gluing. The best way I found for these was aligning the middle at the bottom. Not the legs but between the legs.
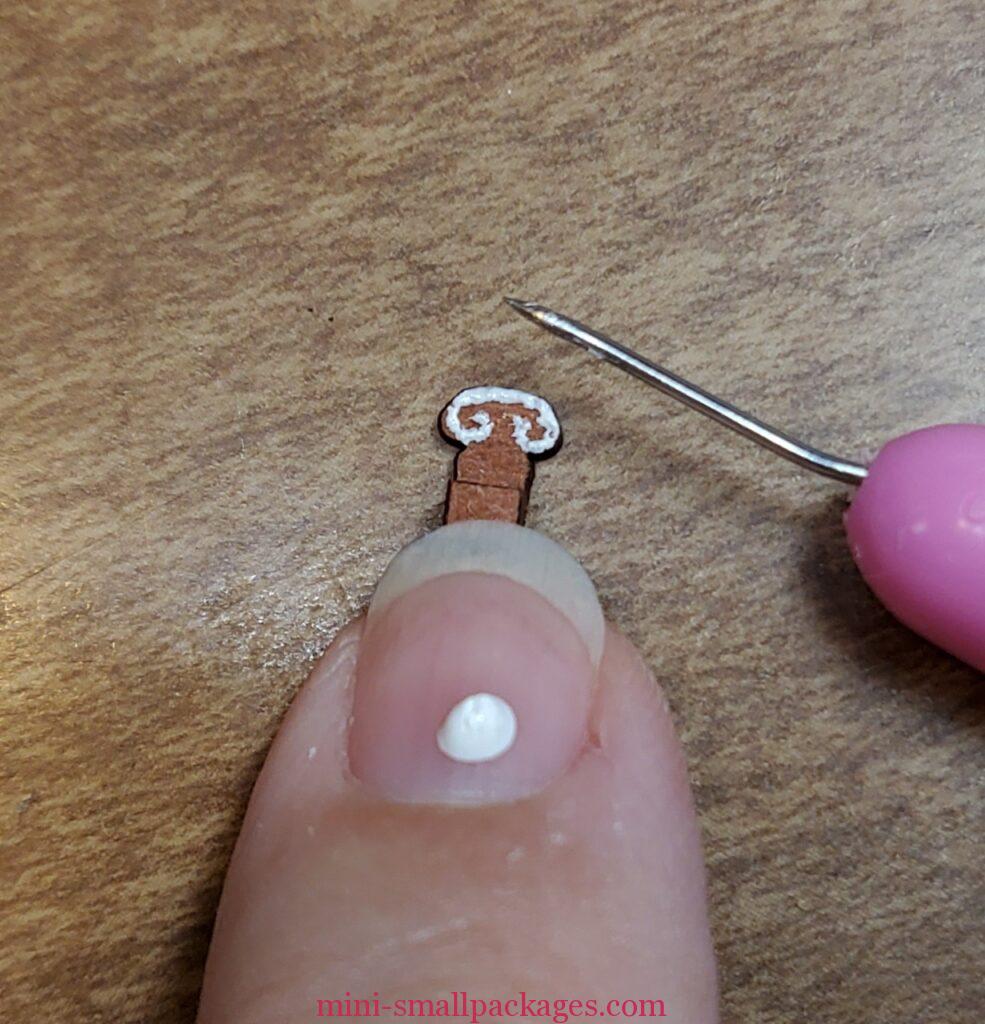
The instructions suggest adding dots of paint to the back of the chairs. I did but used the Scribbles 3d paint. I added a dab to my nail. Using a needle tool, I then dot around the top of the back. I choose to have my dots come together like the icing trim is a line. Then for the next chair I stated with a new dab of paint as it would dry up quickly.
The best laid plans… well, I don’t plan well.
I had all the furniture grouped on my cutting pad to take a photo when I realized I hadn’t added the dishes. The dishes are supposed to be punched out. But my punches were not cooperating. They aren’t as sharp as they used to be so there would be a tag or they would come apart. I tried multiple ways of punching. I even tried punching other paper. Finally I gave up and glued the furniture into the building. I totally forgot about the picture of just the furniture. Except that I just said I didn’t include the dishes, few would know they are missing. I only mention it because this kit does include them.

After typing on this post about not doing the dishes, I had dinner and then when I came back I thought of one other way to punch. I wedged the printie in between wax paper and was able to cut out some dishes. I have added them to the second floor table.
Finished
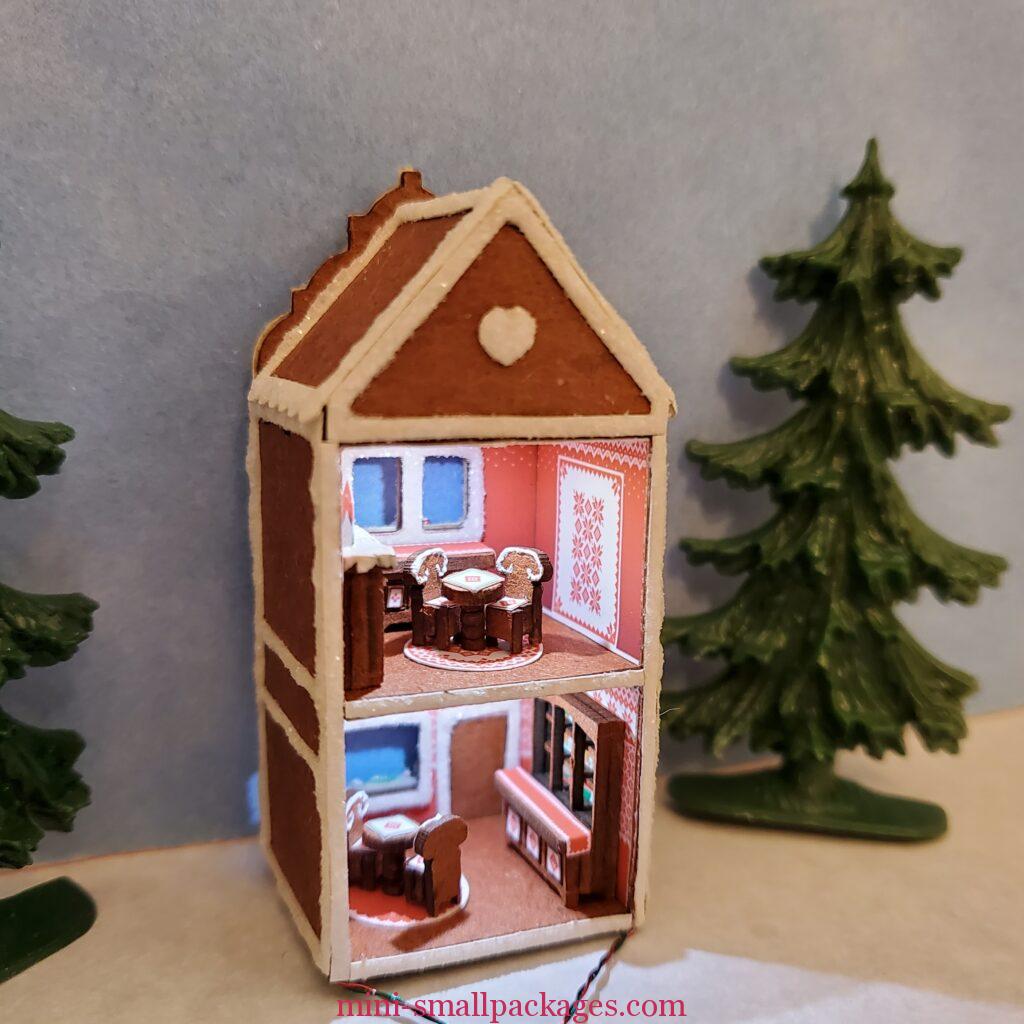
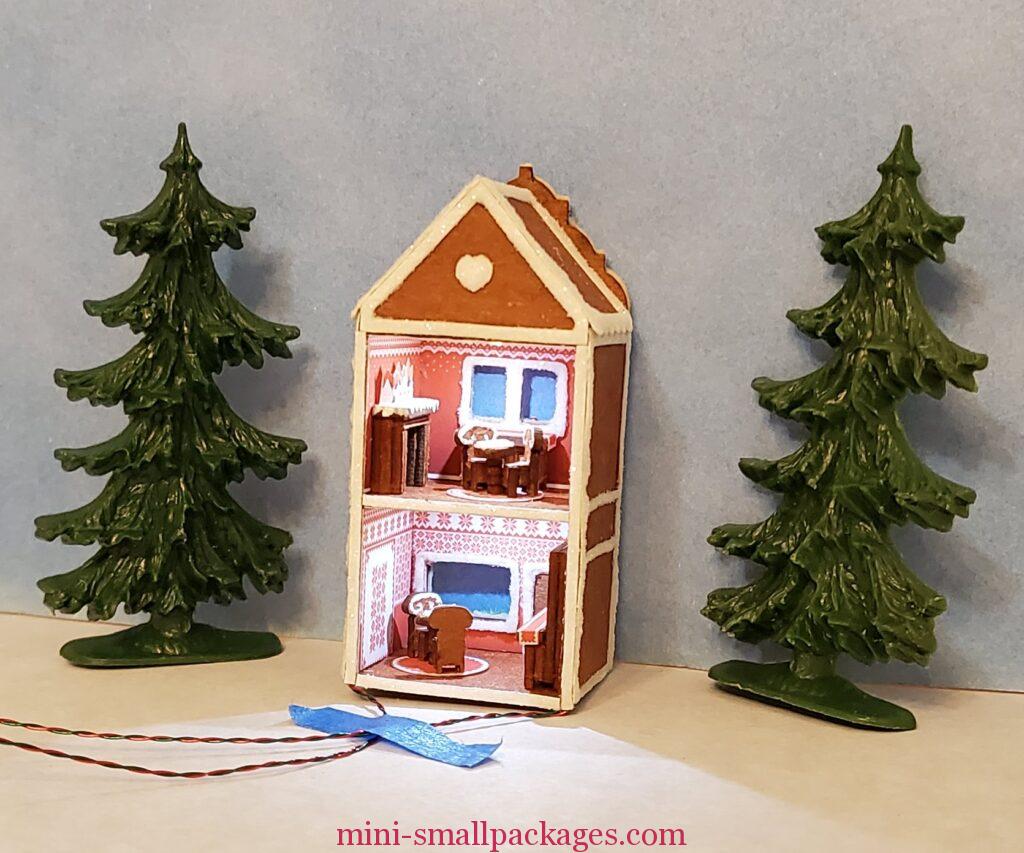
I used the side board on second floor because I liked how it fit under the window better.
Finished for now until I add to the village.