Lebkuchen (German gingerbread) and Gluhwein (German mulled wine)
Continuing to build gingerbread buildings. This fifth one is a double market stall.
This kit was different than the previous 4 as instructions say to glue artwork to walls before they are removed from the motherboard.
Side walls
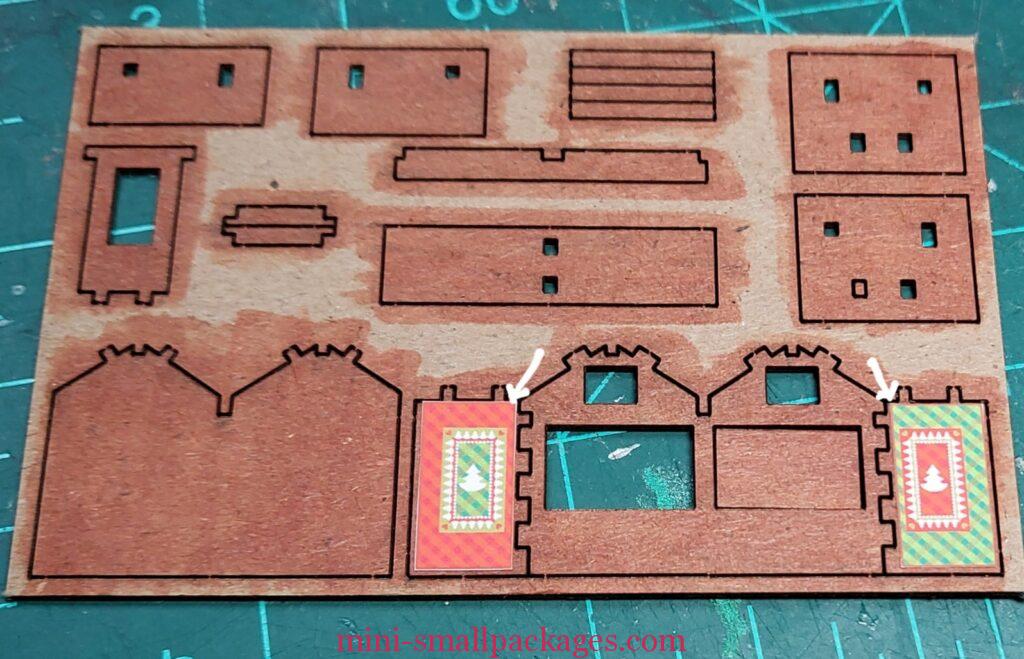
For cutting out there are marks on the artwork paper about which is the key corner. But what wasn’t clear in my mind was whether to center on the wall or not. I finally decided that I should align to the corners. I used the inner edge of the tabs to line up to.
The divider wall was also covered. I used my craft knife to trim the window. They extended over the tabs so trimmed there as well.
Assembly of front and side walls
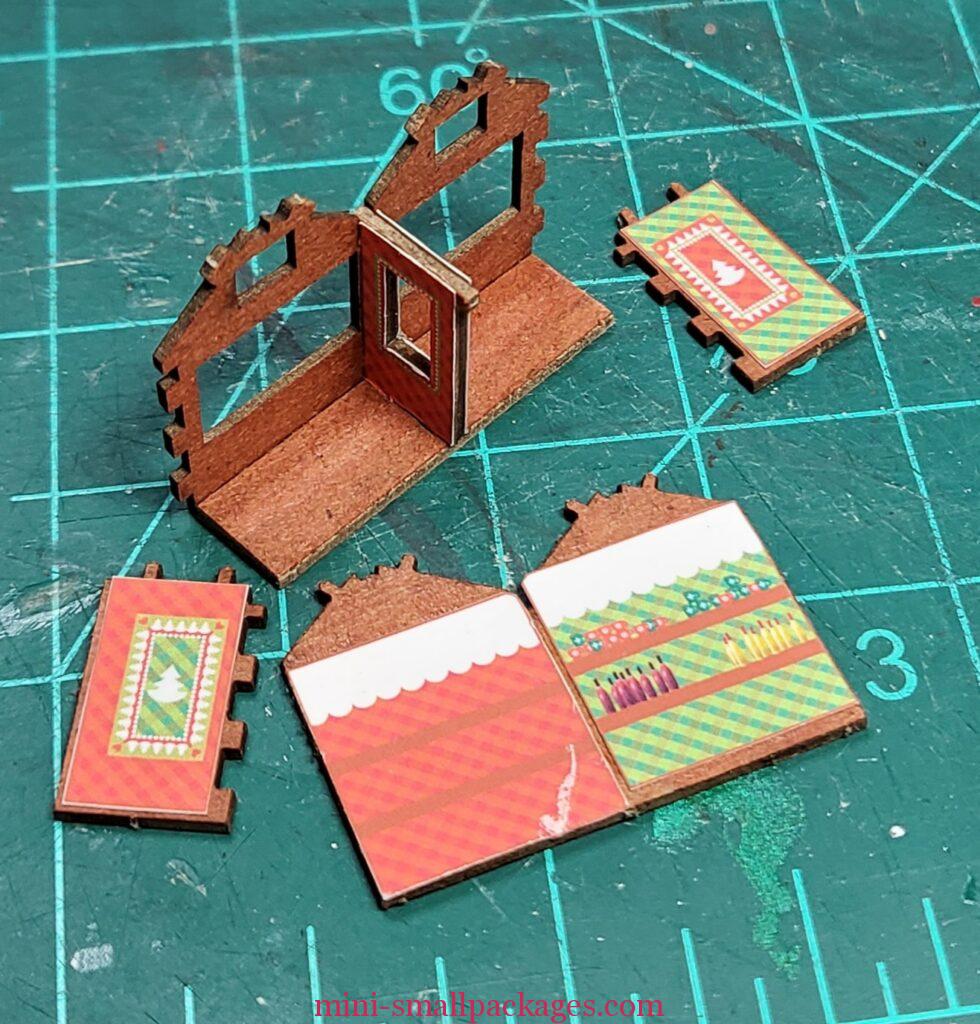
I’ve laid them together to make sure they are matching. I considered switching but then decided each stall is decorated all together.
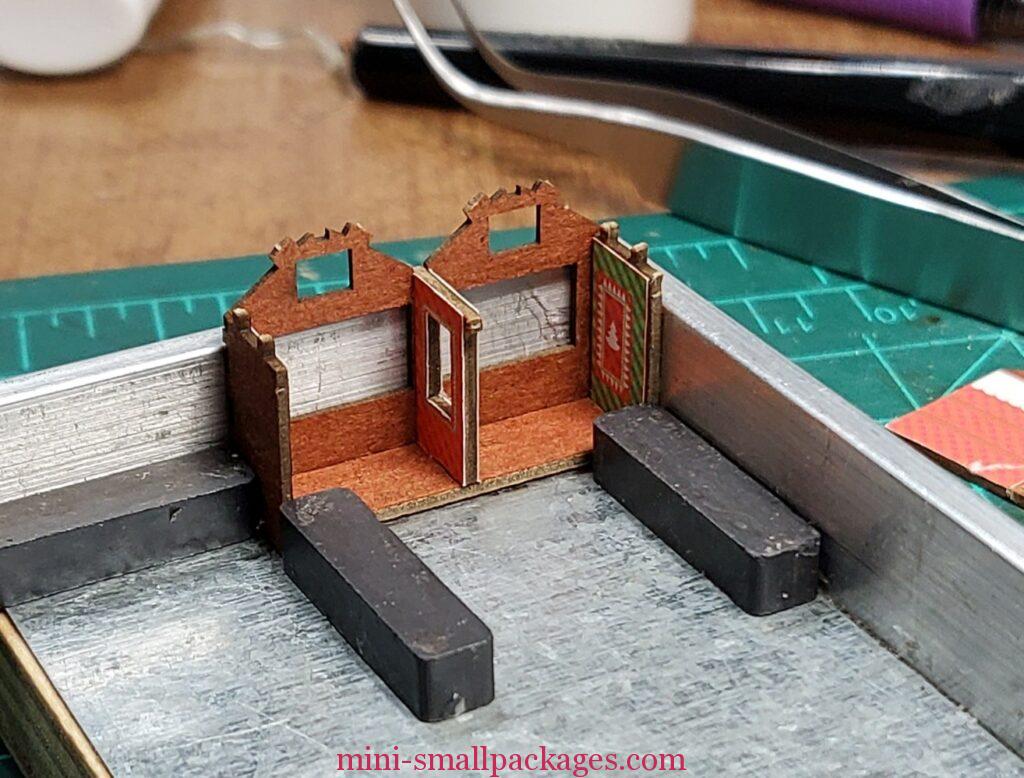
I aassembled this portion according to instructions but used my jig to keep it square.
Back Wall
I applied the back wall papers and messed up things.
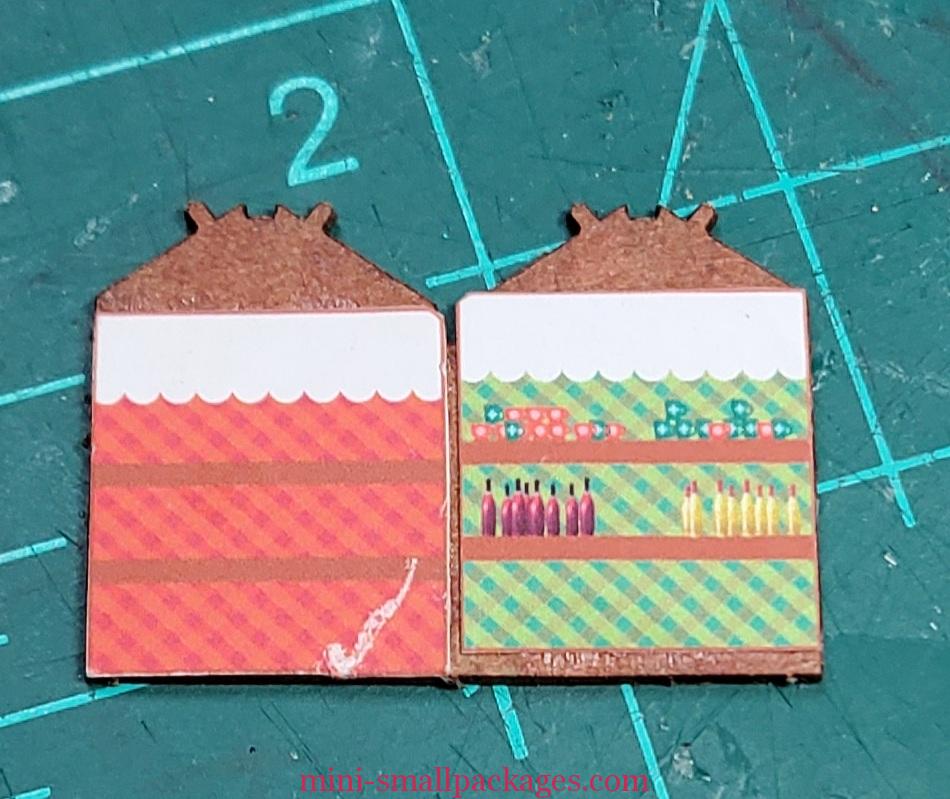
The one on the right is correctly placed at the top. The corner that is trimmed is supposed to be that way. However might could have had a tiny bit to the far right.
The one on the left was too low and I wanted the horizontal lines to line up. I tried to remove the paper to reposition. My method which works great on wood does not work on cardboard. That is to spray isopropyl alcohol and it will loosen the glue. I tore the paper trying. I decided to make the best of it. It was worth trying even though I figured it would not work.
Those horizontal lines are for shelves. To help with my too low error, I glued that side slightly above the lines. Then I added the white trim to the edges.
This kit was also different in that while assembly of the building one is also adding the accessories.

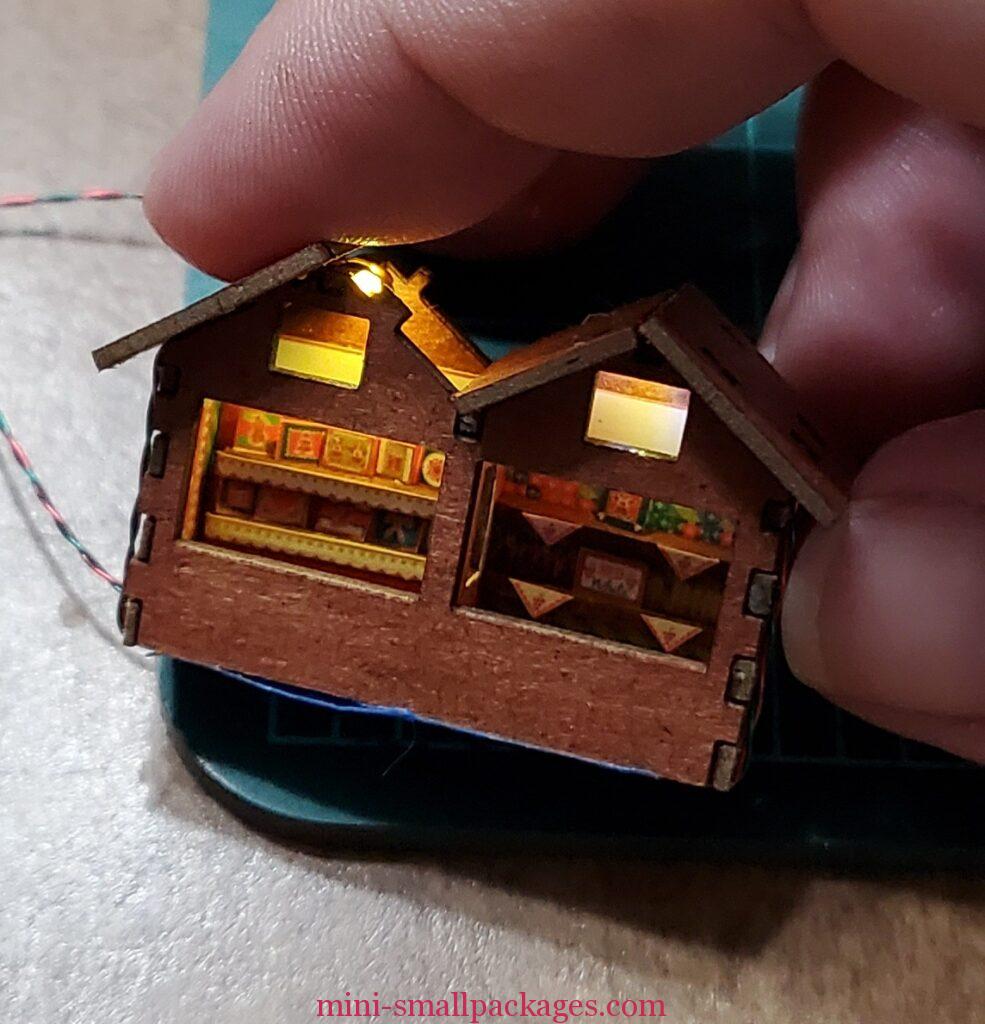
On the left it is just the squares. I went with variety. On the right the added paper cutouts is just the triangles or doileys and two items in the middle. In this project the wall print and accessories work for a full trompe l’oeil effect.
Lighting
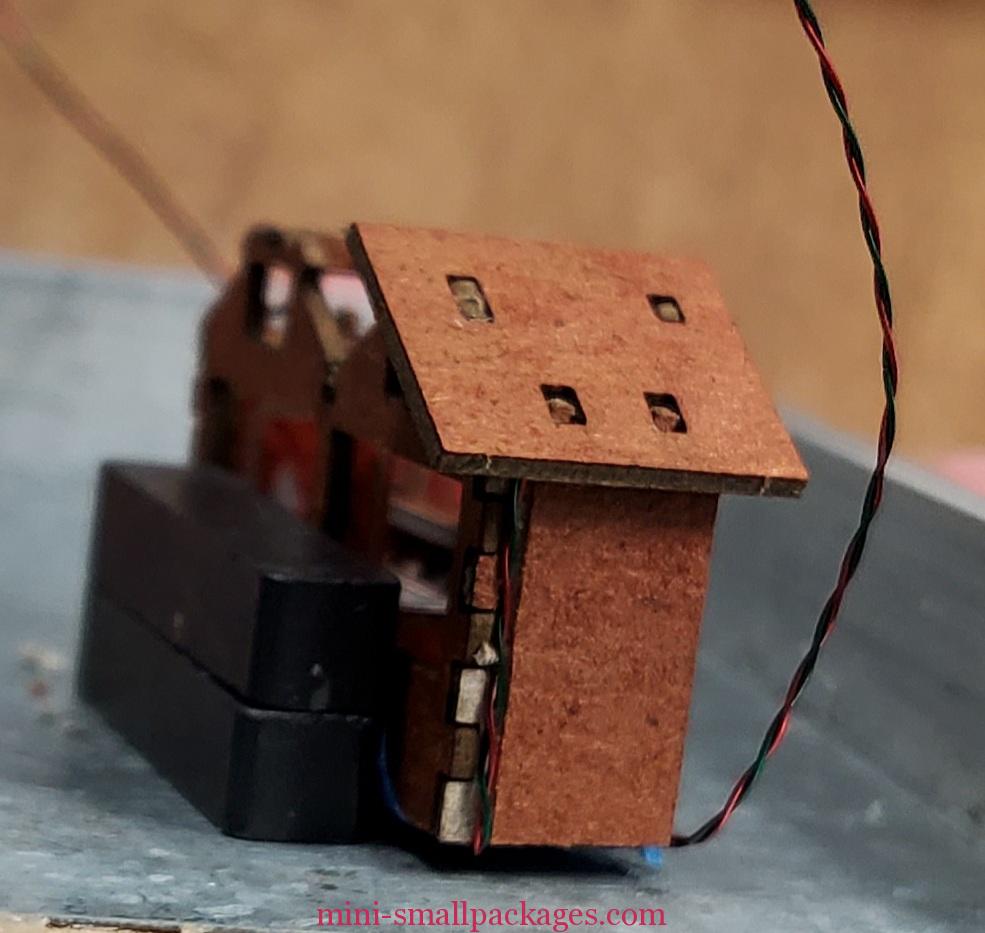
Next was deciding where the lights go. I knew I wanted two lights. I considered having the wire go down in a inside corner. I even cut a hole in the floor but decided that would be too hard to hide. Instead the wires go under the roof but down the outside.
Both stalls have a crossbar which I placed the light to hang over.

The lights were painted with yellow paint to tone down the cool white.
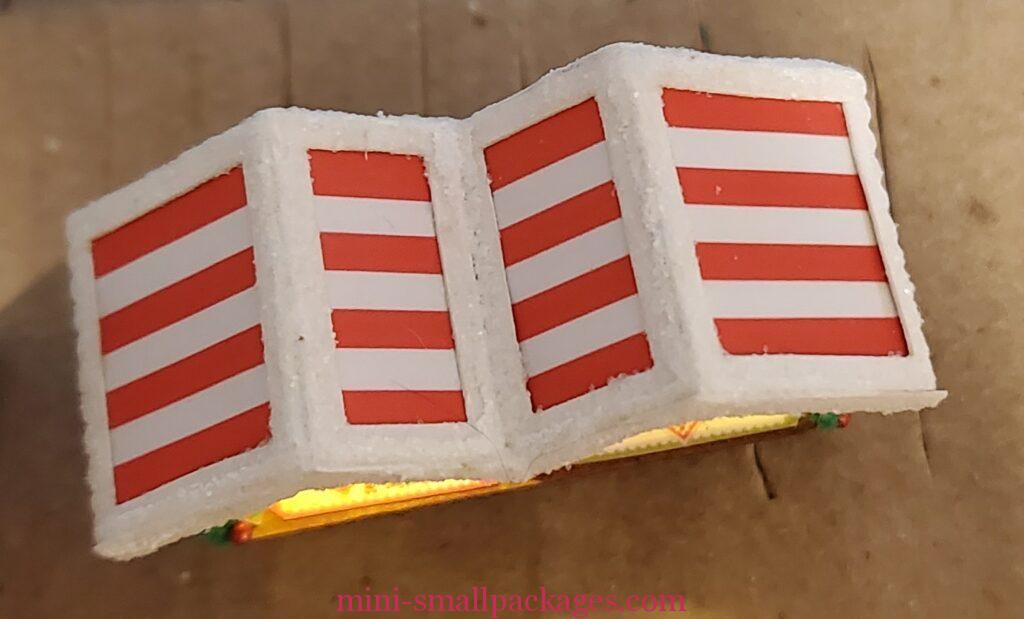
I really liked how the tabs of this roof was designed. The tabs were wider for the front. Smaller tabs for the sides.
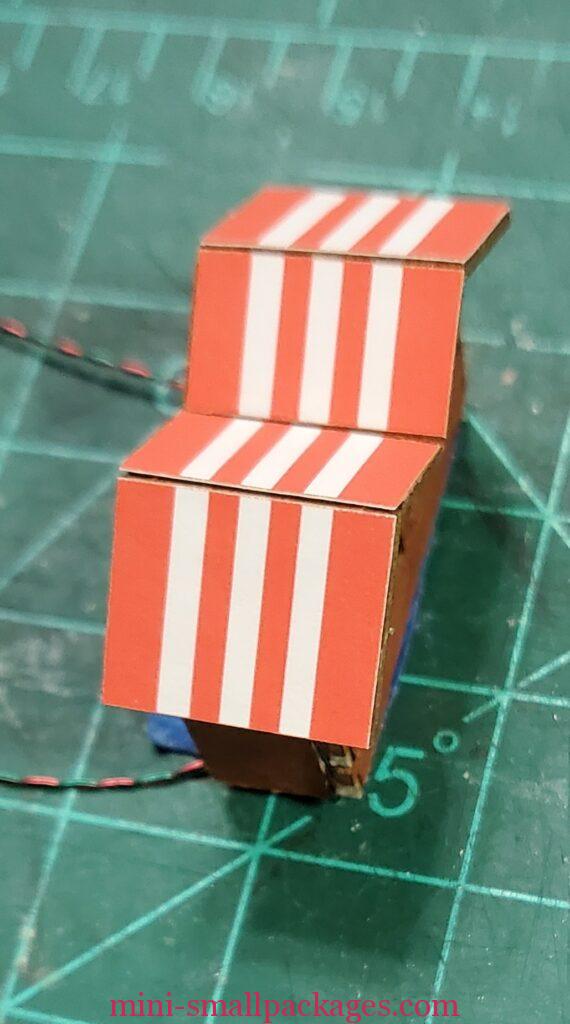
Once I was satisfied with the lights color I glued the roofs in place and added the striped paper as well.
Next was the white trim. I meant to wait and do the glitter after gluing trim in place, but I forgot. I think it will help me deal with the gaps.
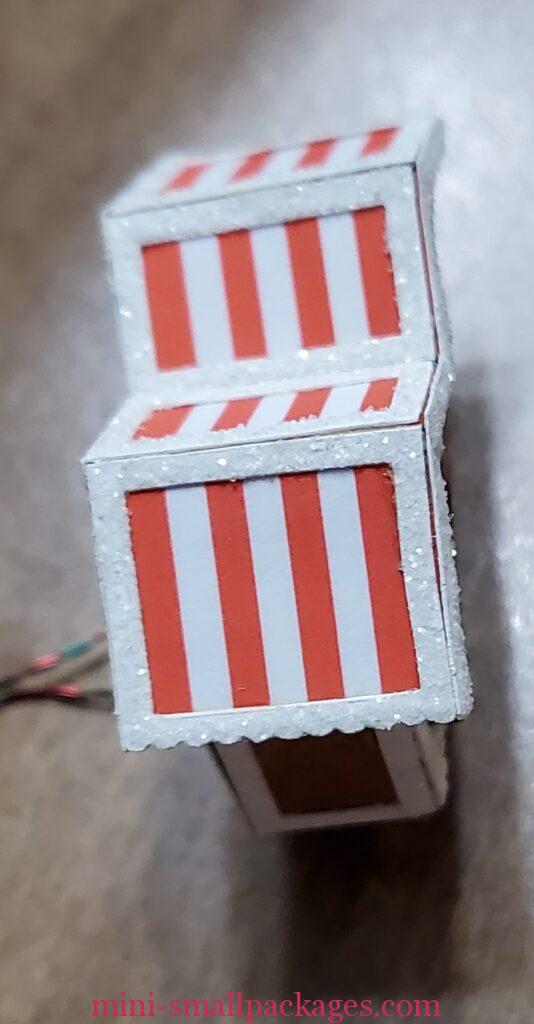
Those would be painted before adding glitter. Instead of what I have been doing which is painting the gaps, then applying glue plus gliiter. The problem is that some spots may end up with lots more glitter.
That is not necessarily bad if it is needed. But sometimes I don’t put enough glitter to cover the paint. It’s a seemingly endless cycle that I eventually give up. It’s my perfectionist nature that catches me.
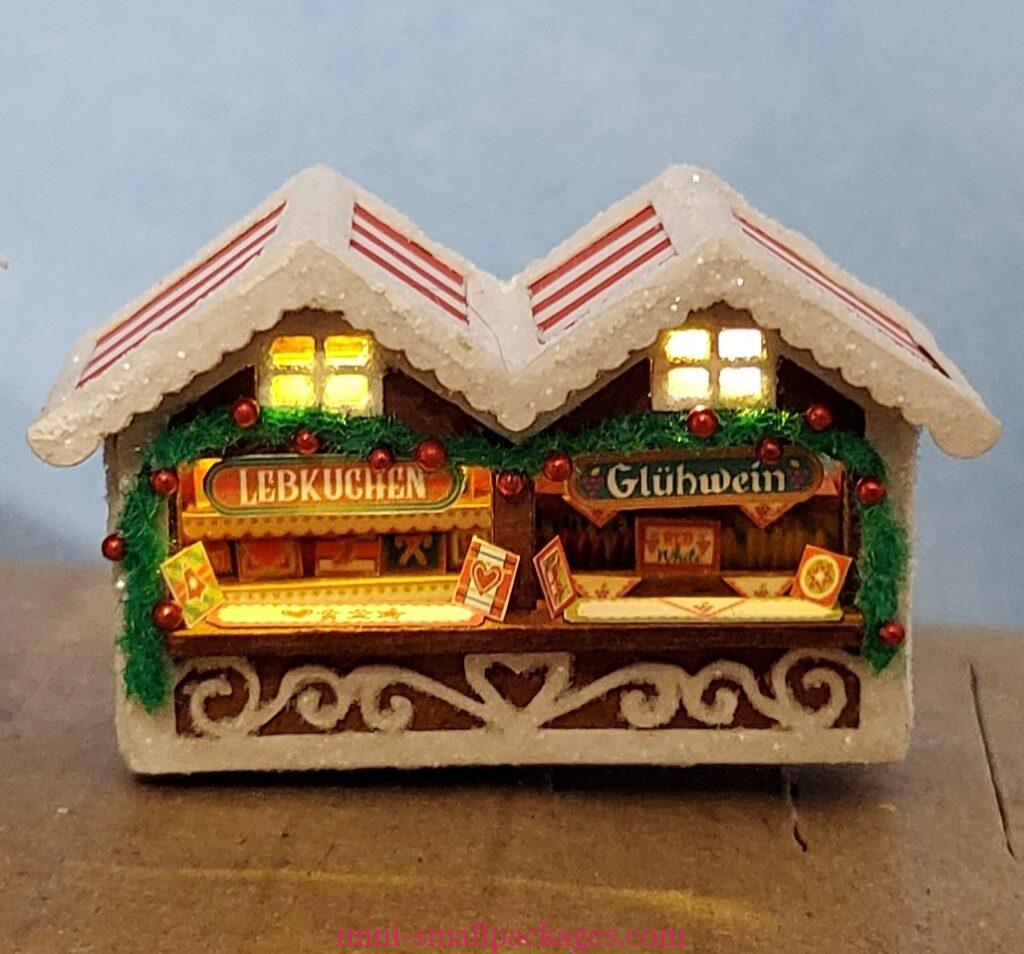
Finished up with the greenery, some ornaments and last of the artwork. I may touch up with paint for snow on the greenery whenever everything is combined in the village.
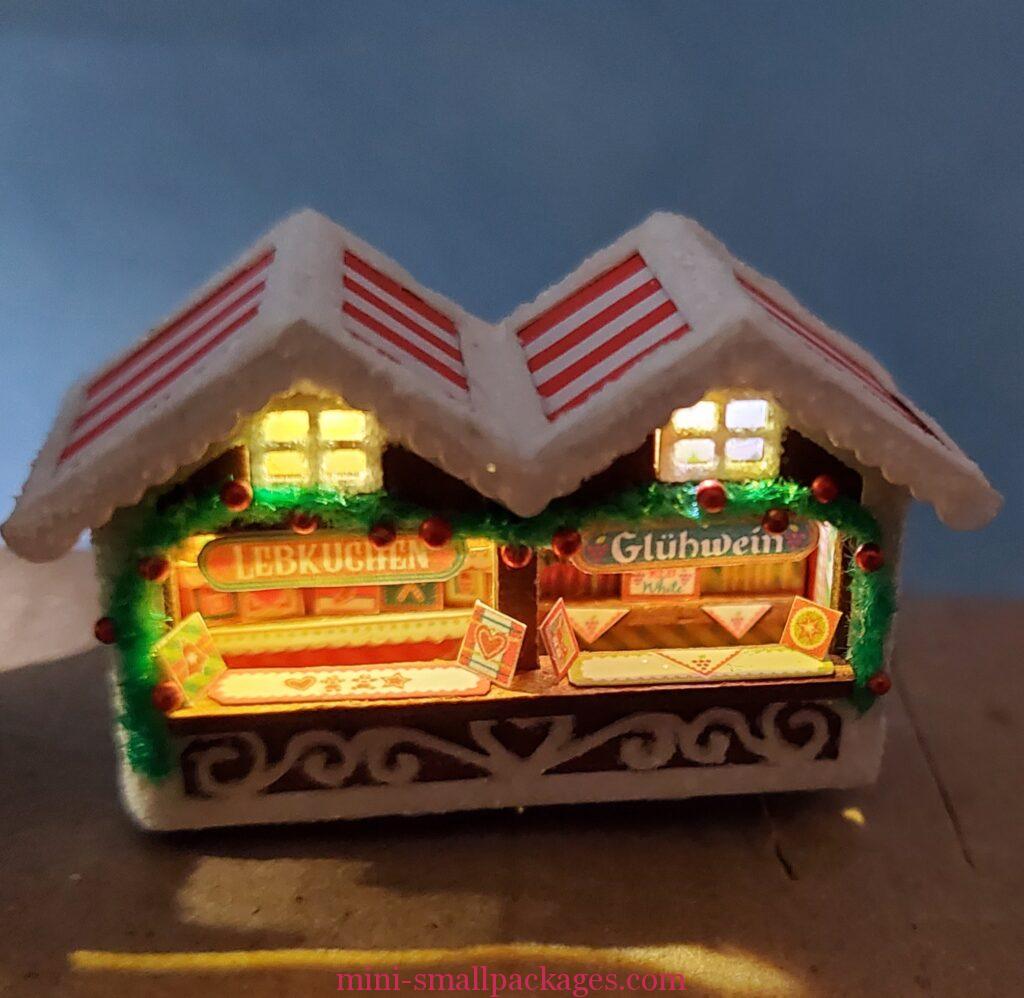
I really like the lights on this one. It helps with the windows at the top and being able to see the accessories.
Comments are welcome.
Happy miniaturing!
Preble
If you enjoy my website, please consider making a small donation via PayPal.me/minismallpackages. Thank you!
The wires are coming from the lights in the roof them down along the fronts on the inside of each stall. Currently wires from all the buildings are just twisted together and connected to a switch and battery that is loose. I haven’t shown that because that is not the final setup and hiding the battery. I most likely will allow the switch to be on the outside of the case. But until I build the base (mostly likely will be a book) I won’t know how big of a case I need.
Where did you hide the switch & battery box on this tiny structure? Any suggestions would be greatly appreciated. Thank you
Those are very cute! The lights make the shops look warm and inviting.
(I came by via the NAME list –)
Hey Preble, I’m not much on commenting or posting, but I just had to tell you how much I love following along with your work. Thanks so much for all the pictures and info. Because of your work, I have ordered four of the gingerbread buildings…so far. AND I plan to light them. Thanks again for your time and trouble. I have really enjoyed smiling at your journey. Merry Christmas and Happy New Year.
Well done! Thanks for the hints.
I love it Preble! It’s so tiny though and you’ve done it so neatly. I love all Christmas things… probably my favourite followed by beachside or riverside projects.
It turned out great, I too love the lighting!!