My first ever miniature gingerbread project was a class with Beth Hamilton. See it here. But that’s not what I am sharing today.
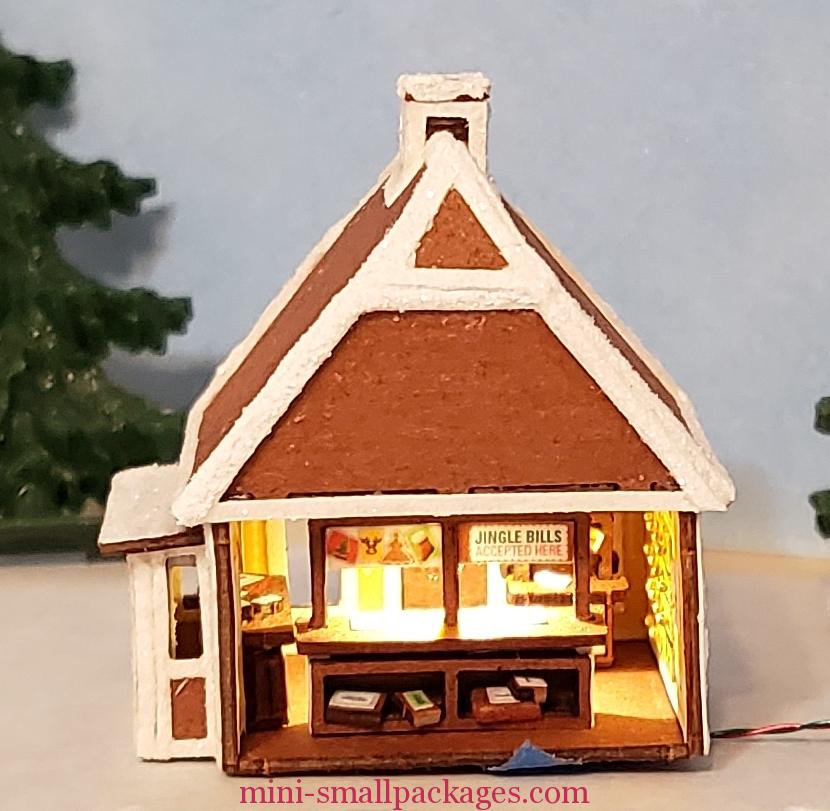
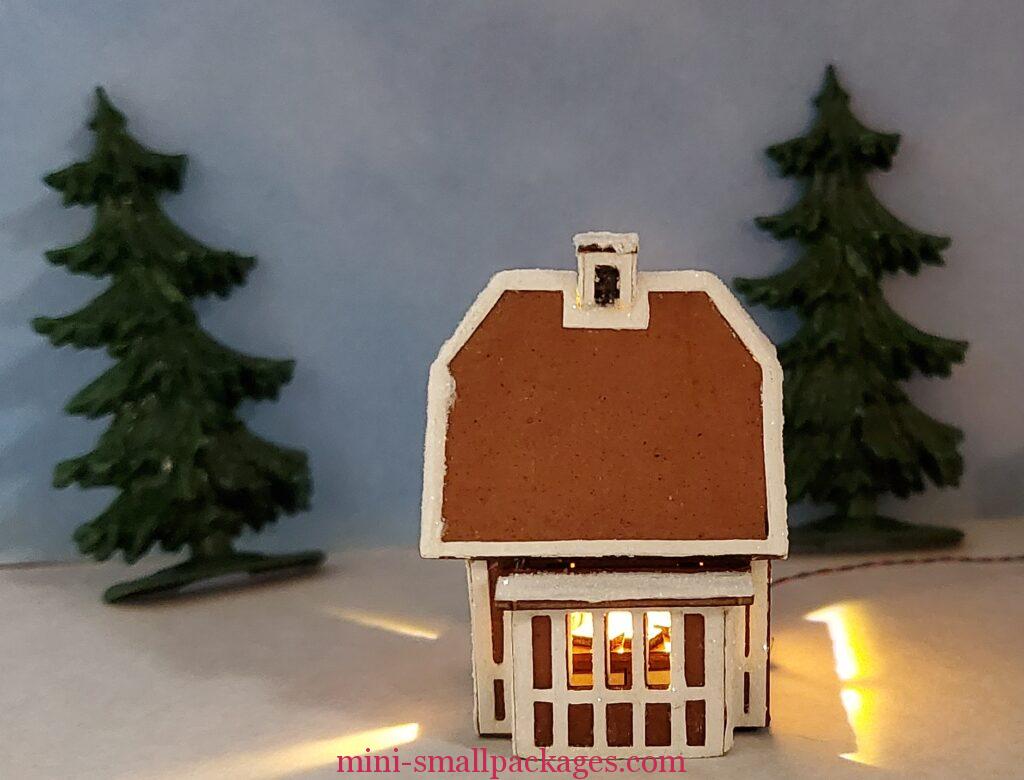
Postamt (Post Office)
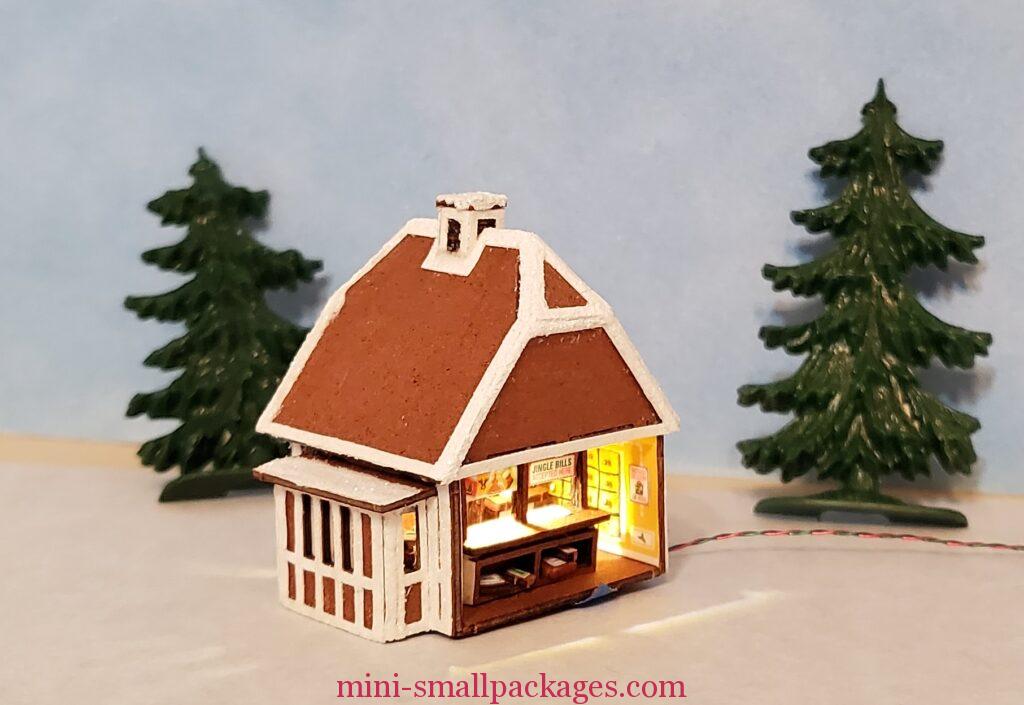
I had purchased several GB kits by True2Scale but last year for Christmas I received several more. I plan on making a village with them. However that can’t happen until I get the buildings built.
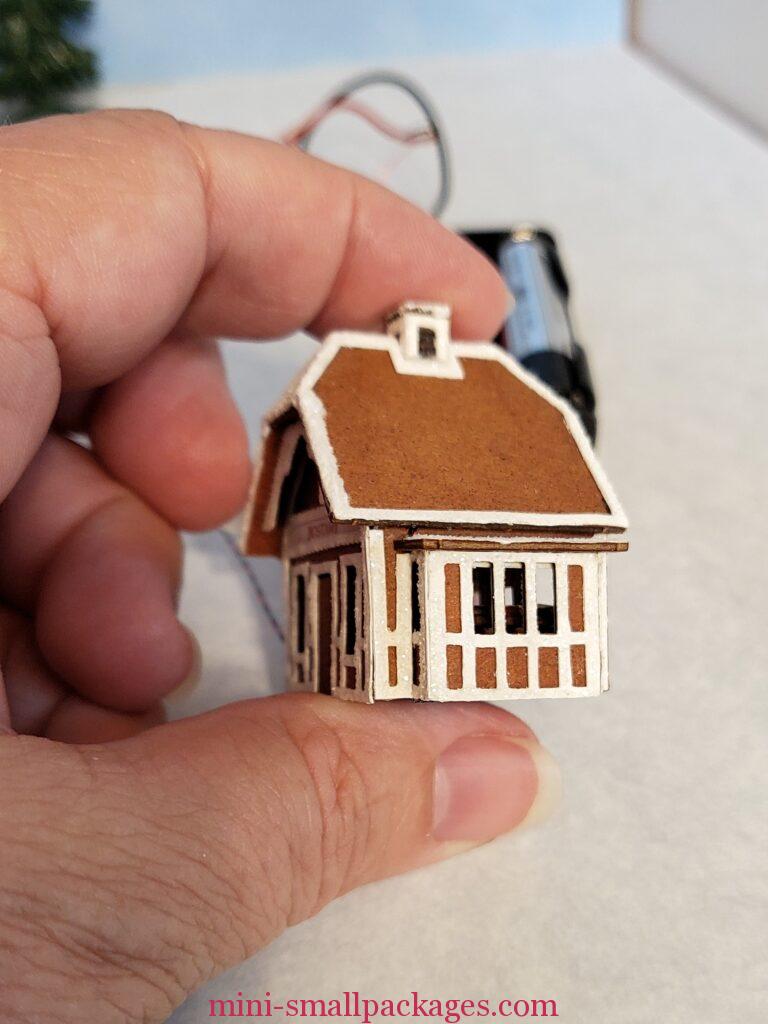
Today, I finished my first one. Well, finished to the point I can move to another one.
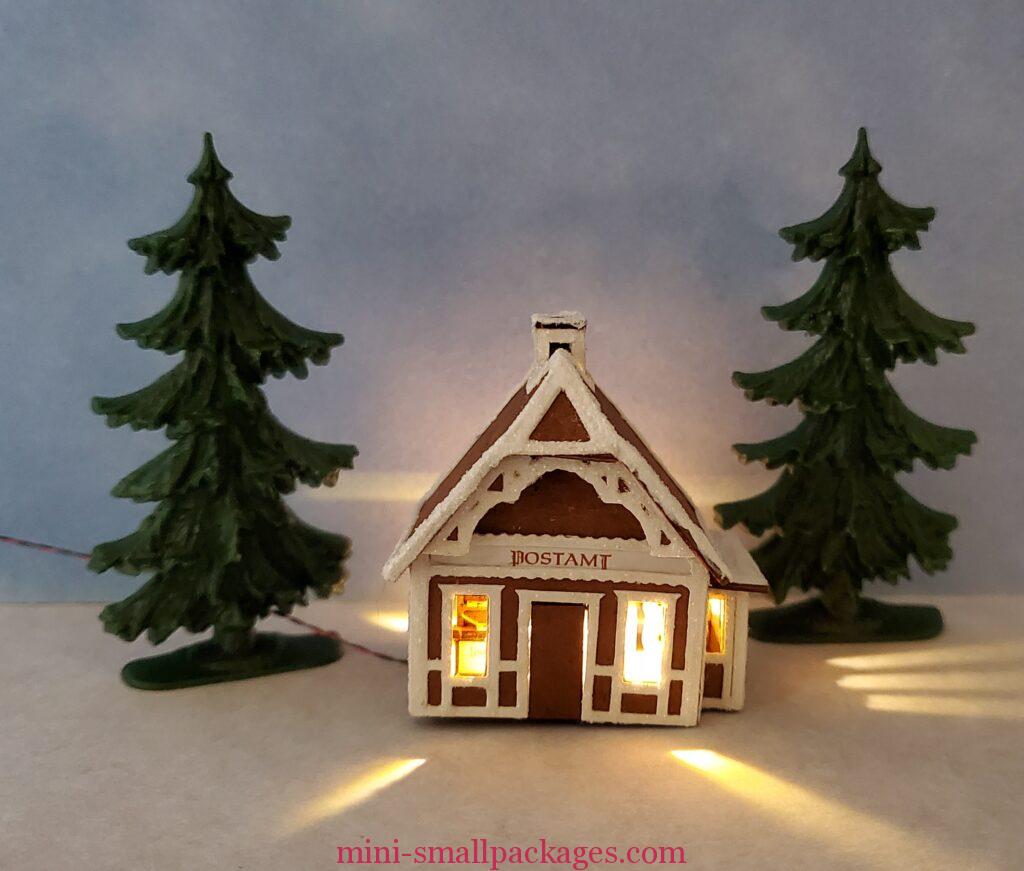
Yes, I added a light. It was really simple as it’s one light.
The trees in the pic are from Alpha Stamps. I just used them to stage the photo. They are flat backed so not as likely I will use them in the my village.
Lighting
There are several decisions to make when adding lighting. I used warm white chip led’s from Evan’s Designs.
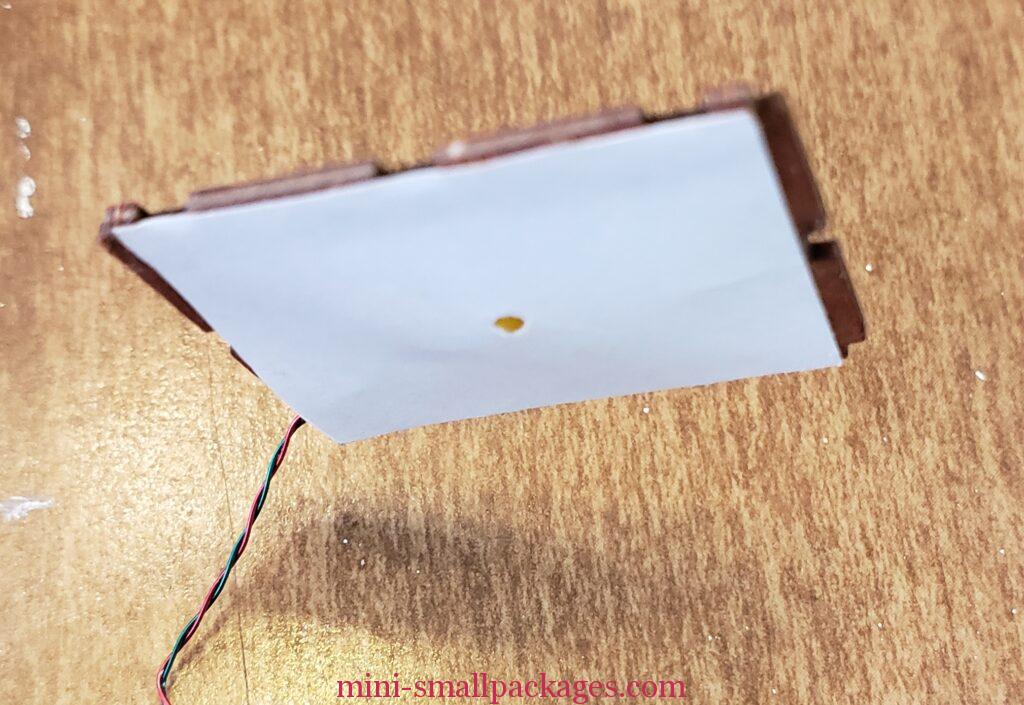
As I was building this kit I needed to decide when the light would be installed. I choose to wait until I got to the ceiling of the 1st floor. Initially was thinking the roof, but it is an enclosed attic, so no.
Where the light goes – center of first floor
Notice the pencil mark in upper corner. It is easy to get turned around when making changes to a kit. Test fitting and deciding where to put the light is important. Then on a portion that won’t be seen, can add the pencil marks. This mark also factored in the next decision.
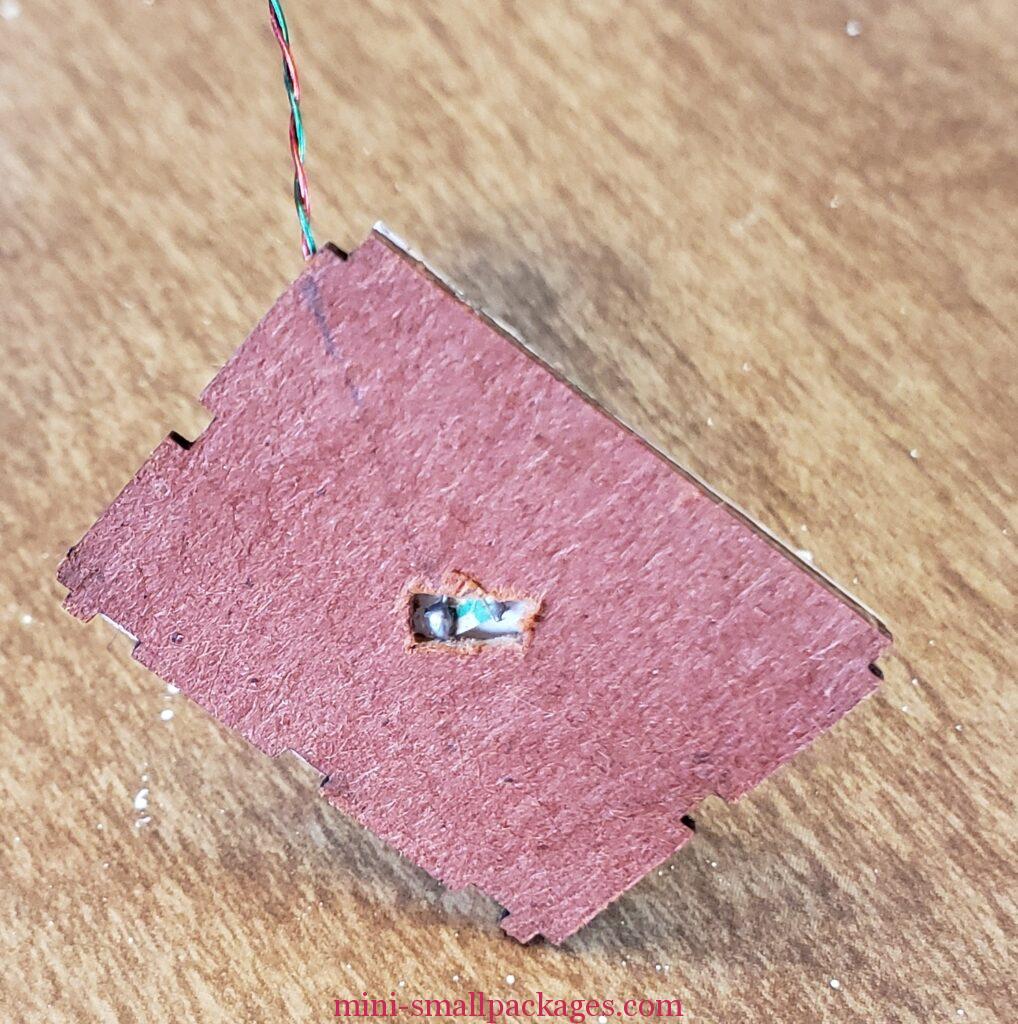
Where to hide the wires on the outside or inside?
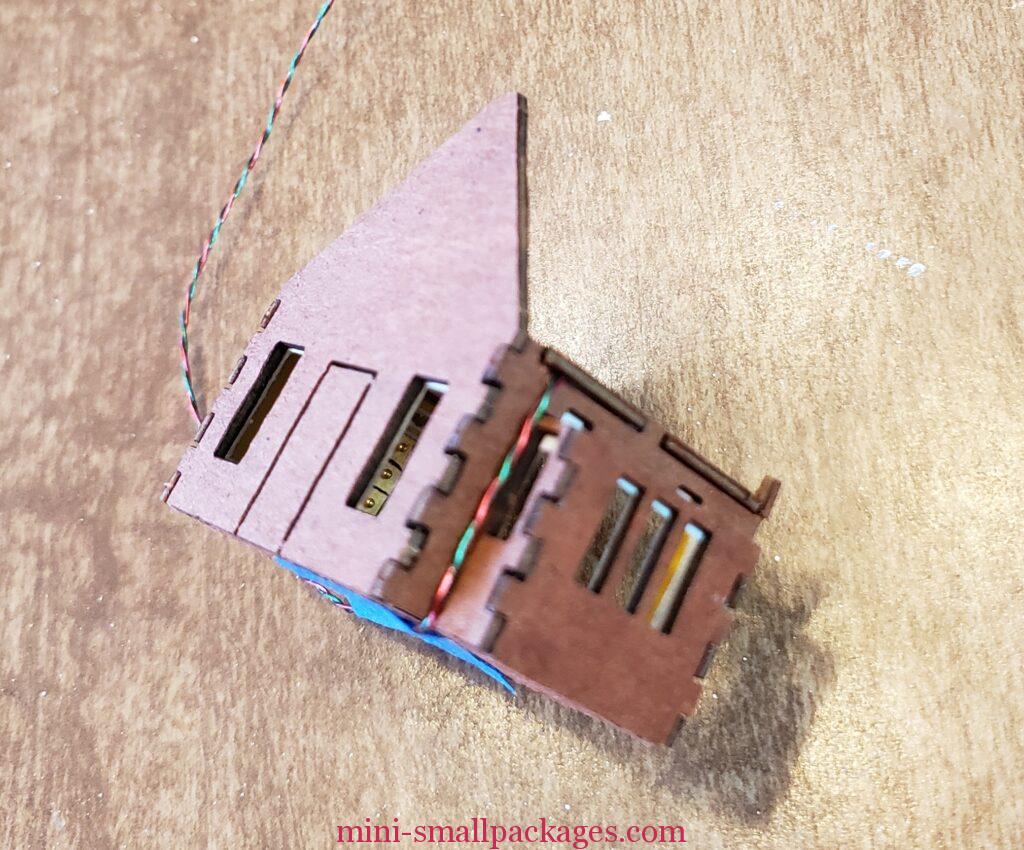
The alcove was a perfect place to hide a wire especially with the icing trim. So planned that for where the wire came out from the roof. For a project with this trim, I could hide by using stucco or have cut a groove or even a drain pipe.

The notch on the alcove allows the roof to sit flush against the wall.
Icing
These kits contain white trim that you paint white, add glue, and then add provided glitter. Later they were applied to the finished areas.
In a couple of spots I used a white 3 dimensional paint to fill in gaps.
Sorry no pics of that part of the process.
Assemble the interior kits
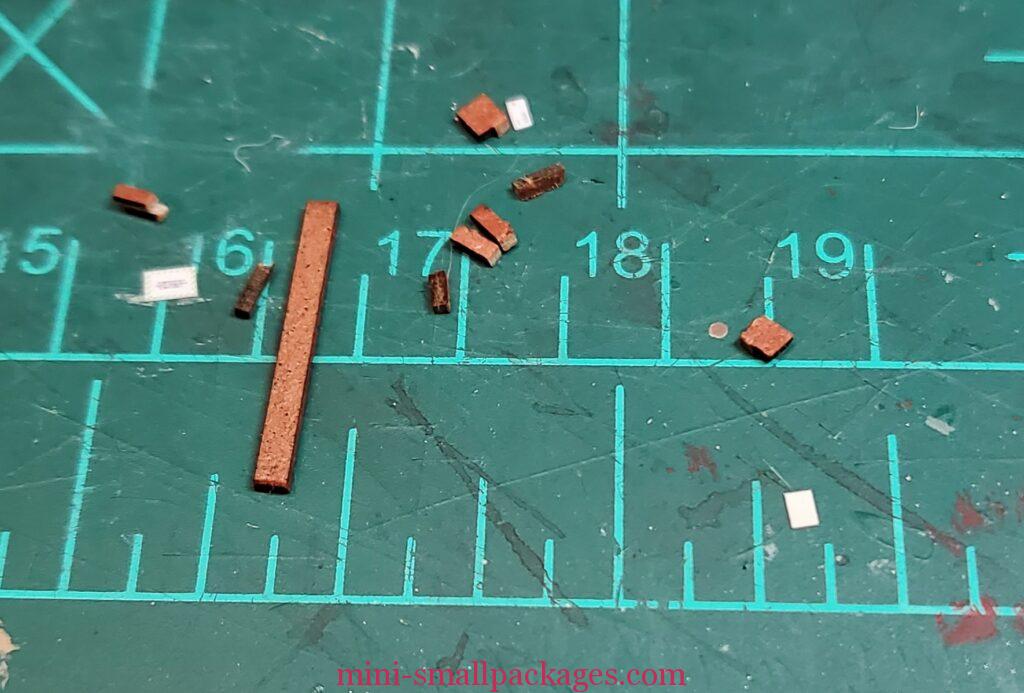
I also forgot to take any pics of these. They were easy to assemble. It was really fun to add the paper touches. Wow, these pieces are tiny. See below for some leftovers.
Interior Views
I will need to add the tiny letter box and trees whenever I put it into the village. For now those are separated. I will do the trees all together.