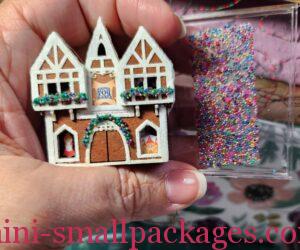
This is my 7th assembly of a gingerbread kit by true2scale. It is 144th scale often called micro scale.
It’s been awhile since I made the last one. I knew I should review what I wrote before but I didn’t listen to myself. The biggest thing I forgot was to wait on adding the glitter to the trim until it was on the house. I followed the instructions but it is my preference to do after on the house and I have filled in any gaps.
Artwork and which is the back
I sometimes confuse which is the back. This one was no different. So here’s a picture that I hope is helpful.
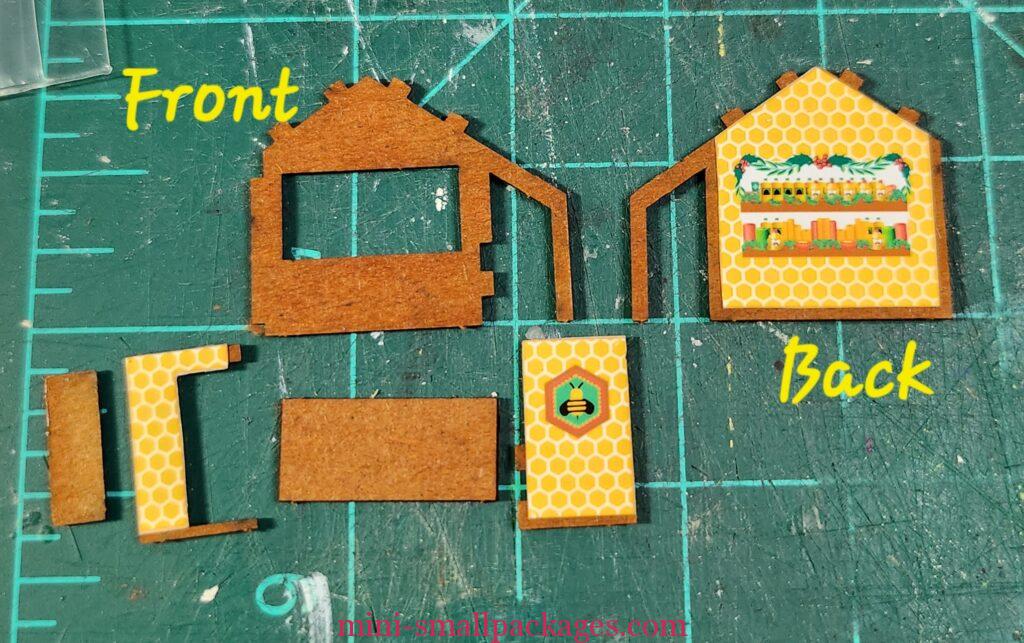
Similarly I had to determine which smaller artwork goes to which pieces. I think it was because I just started cutting and didn’t keep the sets together. The longest are the two candles, the medium length are the upper 4 and then shortest the 4 lower.

Lighting
I added one led light. Where the light enters or exits is the most important. Second is hiding the wire. One might think where the wire will be hidden is the most important. However the light goes on the center of a ceiling and hiding the wire means going outside then where best to place the entrance to inside is key. This is because one may not want the wire to show inside. This does not game a false ceiling. These little things give ample places to hide the wire on the outside but not always on the inside.
For this one the stall is so shallow that having the light entrance at where the back meets the roof is acceptable versus coming out at the top of the roof line like I did on the toy shop. I cut a tiny hole in the back where it meets the roof.

The back then had a channel along the edge of top and down one side.
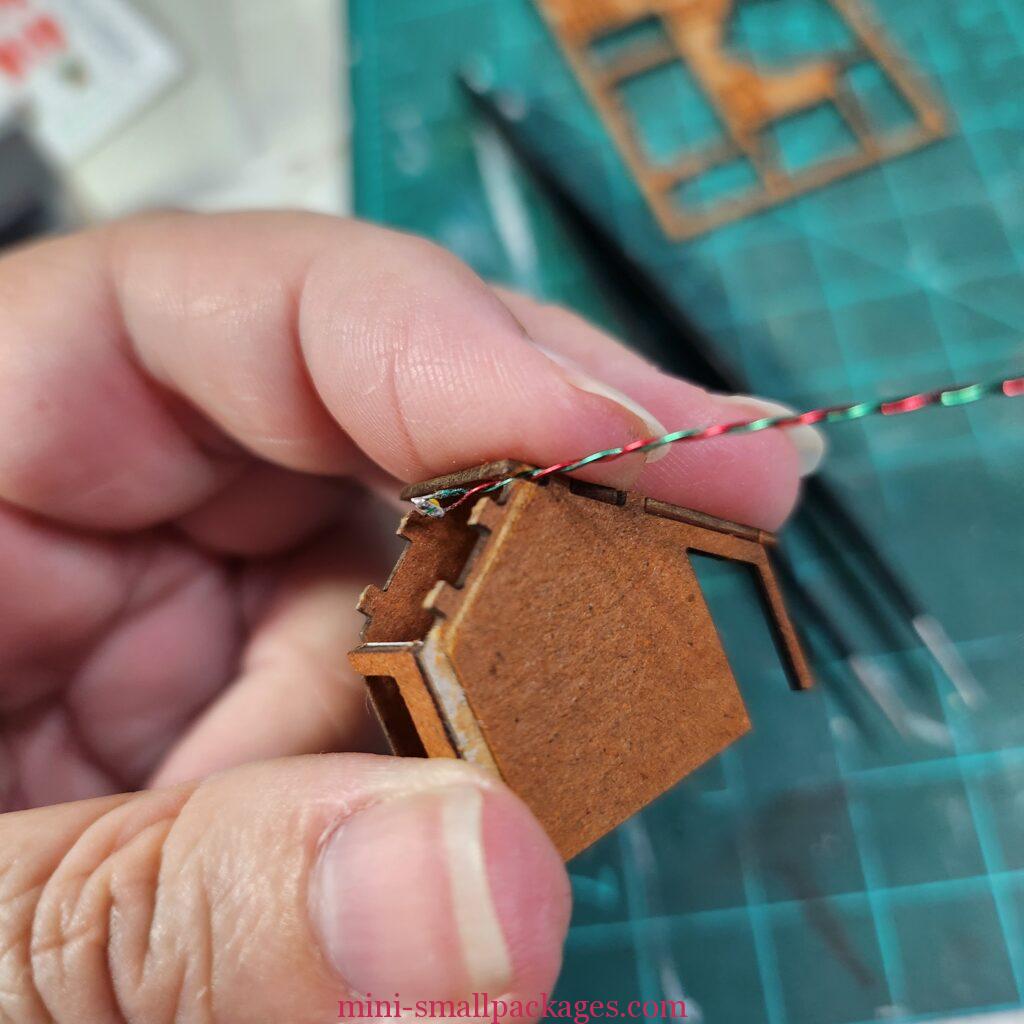
The channel along the top is narrow so as to not damage the tabs that go into the roof. The wire glued in place better on the narrow channel.
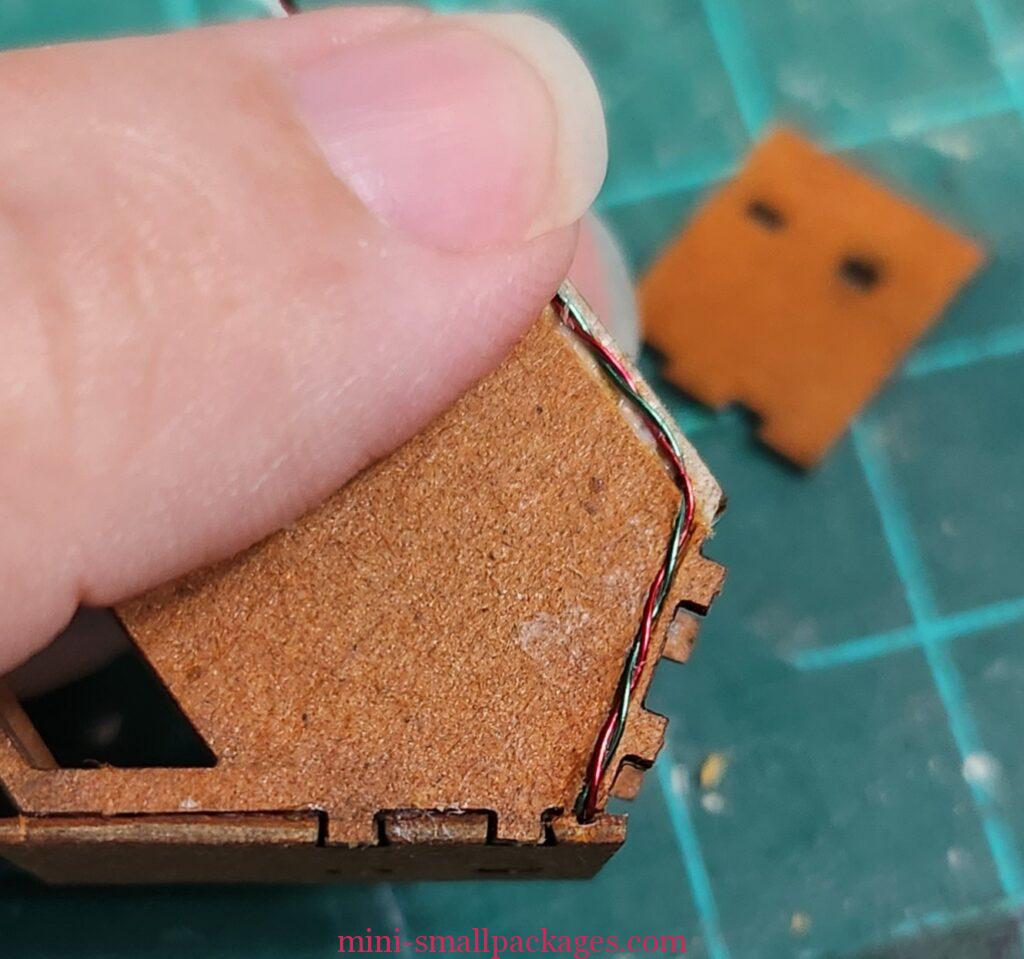
One thing I need to do next time is have the trim handy for how wide the channels can be. I didn’t have any issue this time but I need to be careful.
Decorating
Before assembly I added decoration to the stall back.
This picture shows the back through the opening. I added both the red bead ornaments and some greenery. It is very subtle and only able to see at a certain angle. Really not necessary.
For the greenery outside above the opening, I used the wire. I included my wreath with the swags. I also added greenery to the candles but with the swags at the front they aren’t noticeable. The bee skeep on the side also gets some greenery.
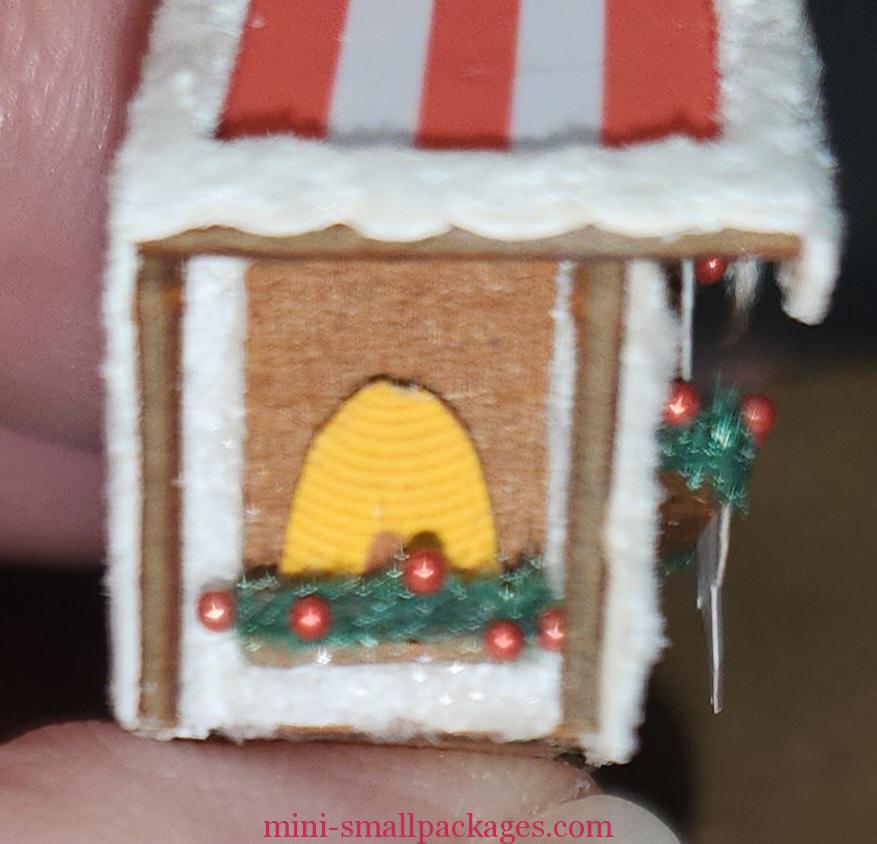
The final touch is the snow on top of the greenery and ornaments.

Least I forget the honey pot
I painted it first on some museum wax but then realized I would be adding the stirring stick. I switched to adding glue in the center to hold in place. This requires multiple addition of glue as it dries. Then I added the yellow paint.
For my handle, I cut a piece of the plastic. I glued it on with super glue than painted over with the brown. It took several tries to get it glued on.
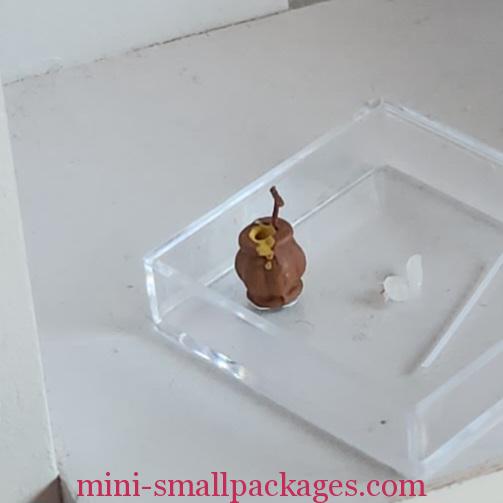
Because I plan to put these together as a village my honey pot (like several other pieces) will not be shown with the finished building. Once they are all in place I can add the trees and exterior accessories.
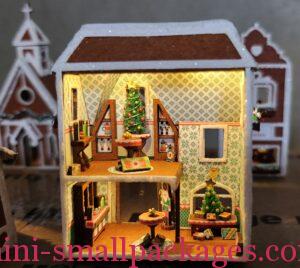
Here is the building lit up on my temporary board.

Exterior Decorating
After I finished the snow additions to the greenery, I looked at the other buildings and added some to the toy store and the church. I think I forget to do on the church. For the toy store this is an addition not included in the instructions. Check out their respective pages that I updated. main gingerbread page
Happy miniaturing!
Preble