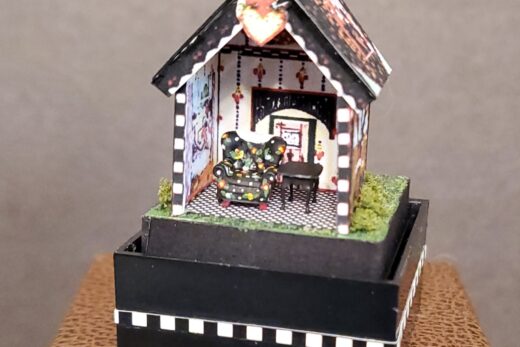
These are from true2scale’s micro scale kit. This one has two to be made.
Decorations
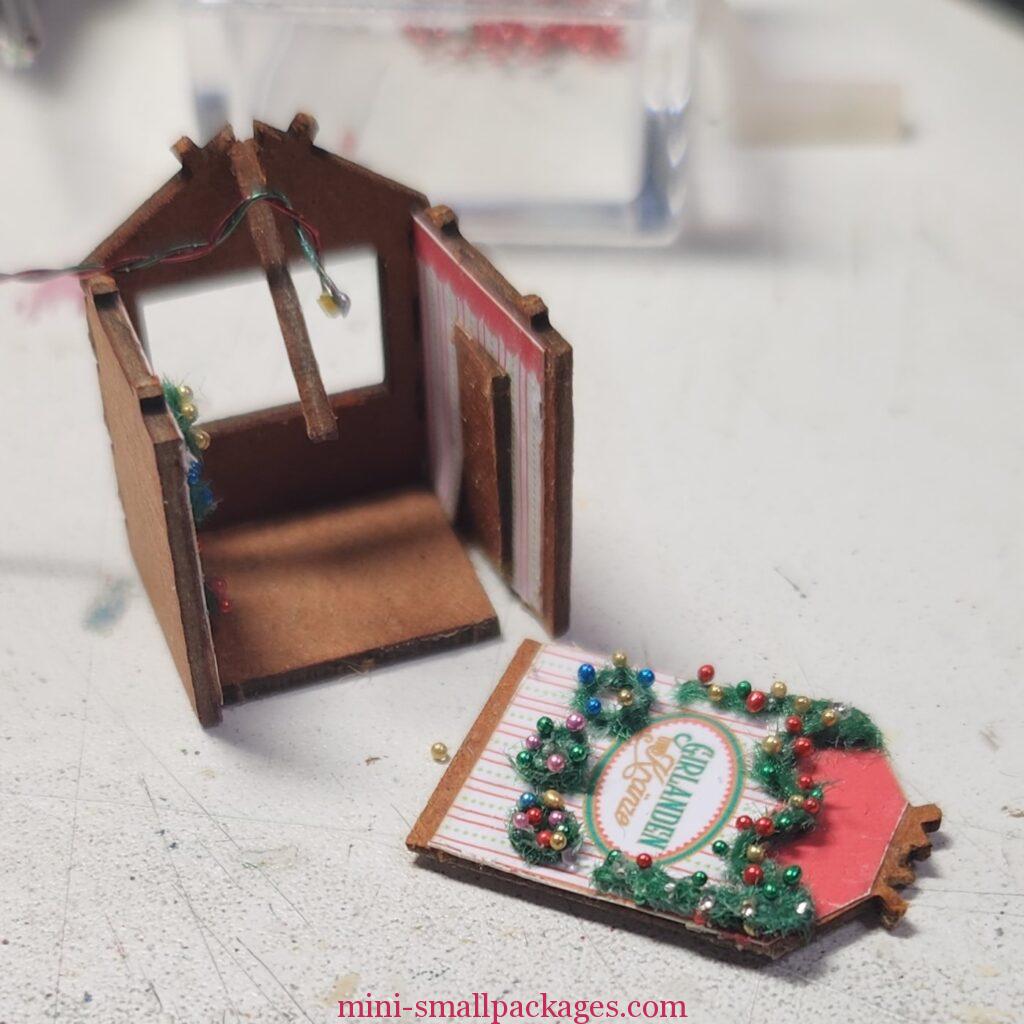
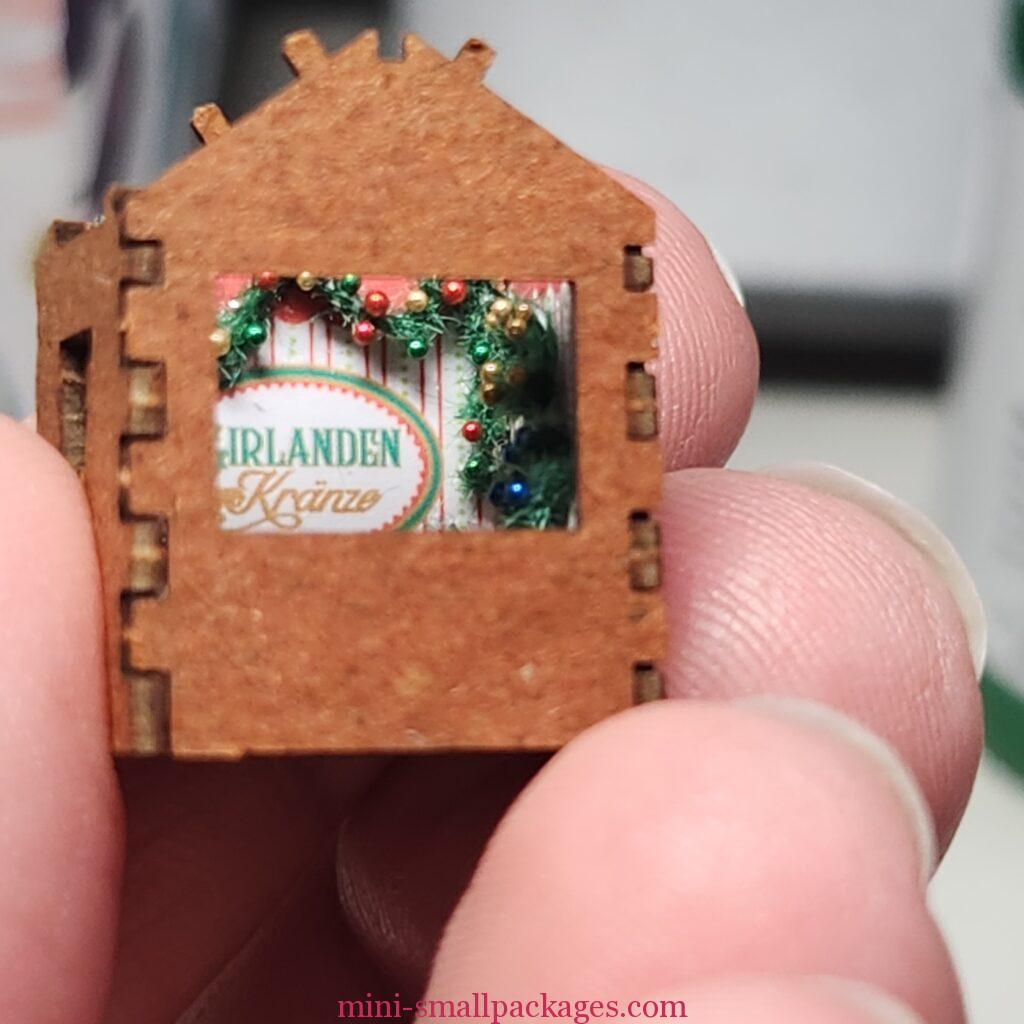
The interior back is decorated before full assembly. Initially, I decorated as per the kit – with the red beads. Then I started looking at the colorful assortment of beads I have and I choose to use different colors in a slightly smaller size.

I removed the red ones and add colors in their place. I loved using all the colors.
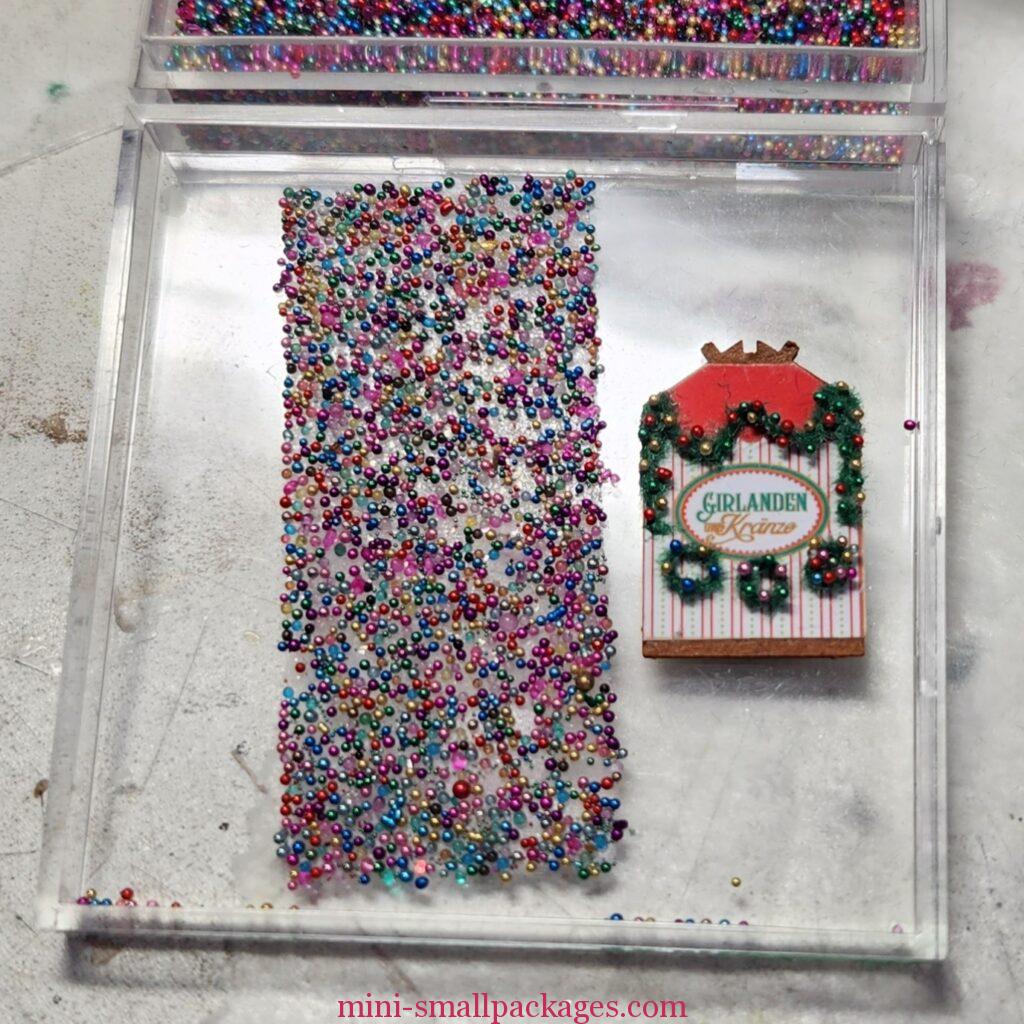
Bead storage and using: I liked having the beads on this doubled sided tape in the lid. It made finding and grabbing what I wanted easier. However this type of box, that just fits together needed some security when closed. I added tape to two sides but then when I reopen it, the beads were in the exterior tape, although easy enough to remove.
Assembly
I followed assembly instructions except for allowing for the lighting and the fact I waited to add the glitter to white trim until it was added to the building. It works so much better for me.
I did press too hard while holding the cross beam in place.
Thankfully nothing was broken. It was easy to re-glue.
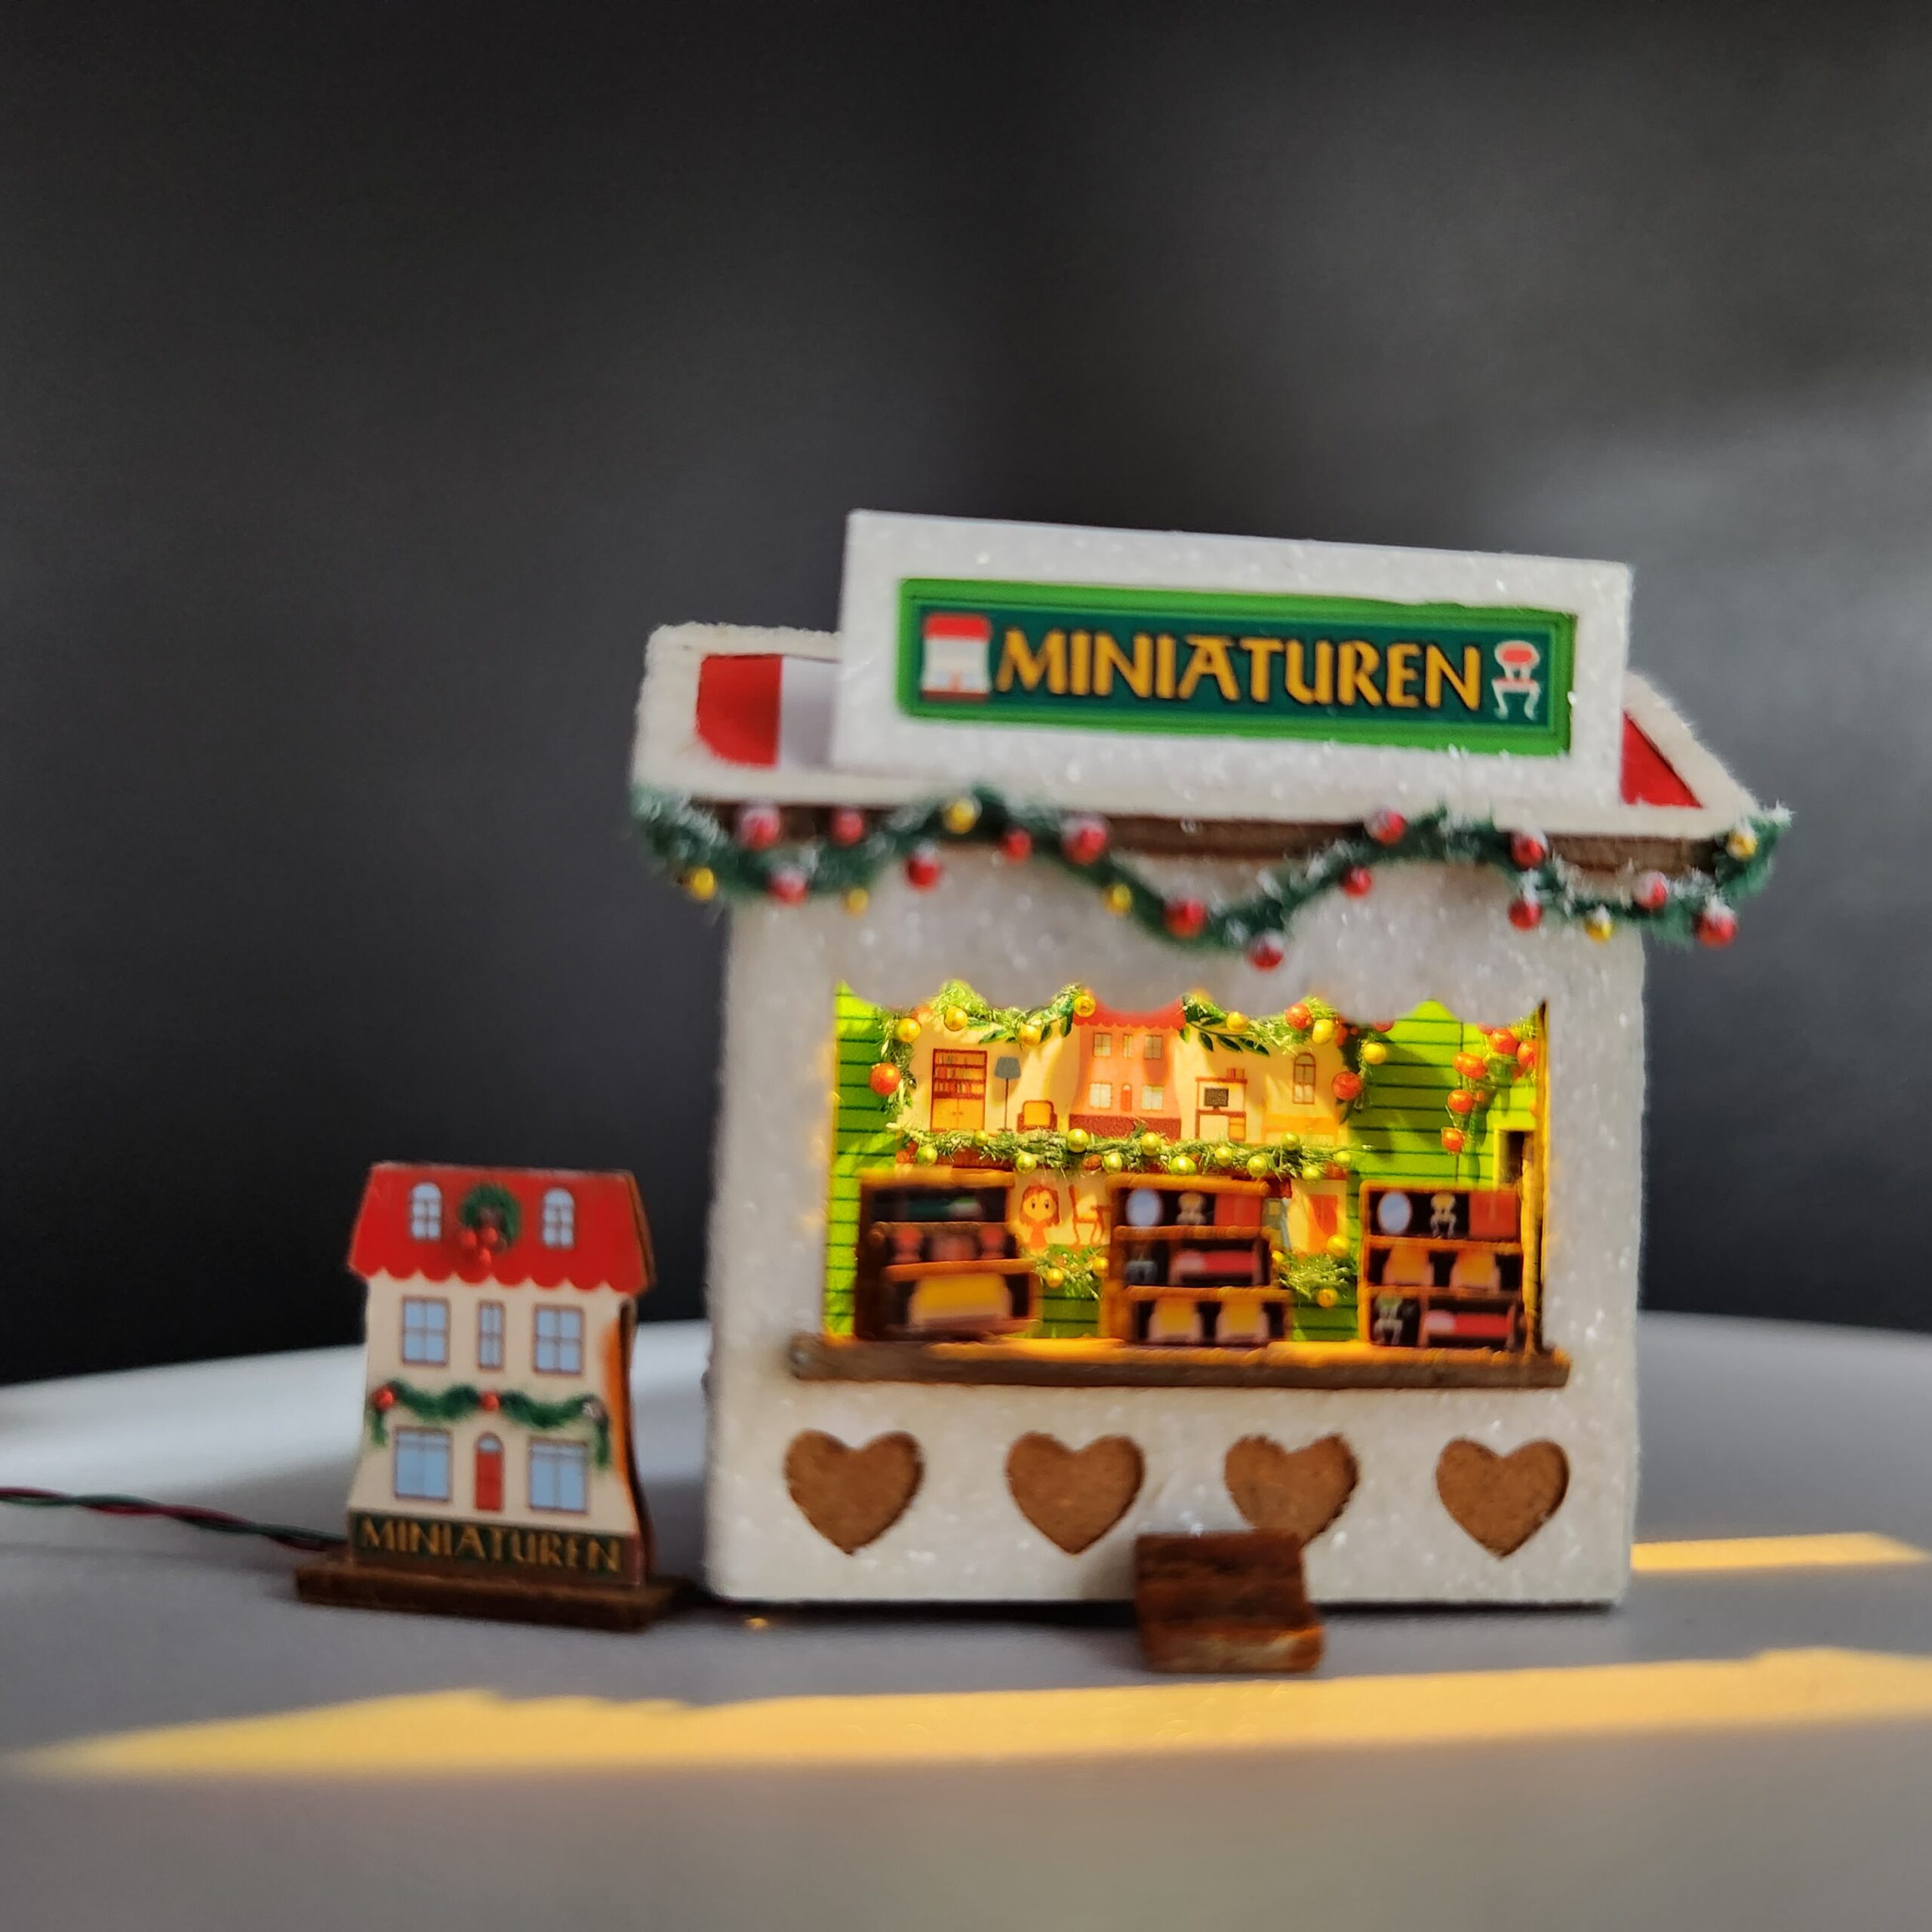
Lighting
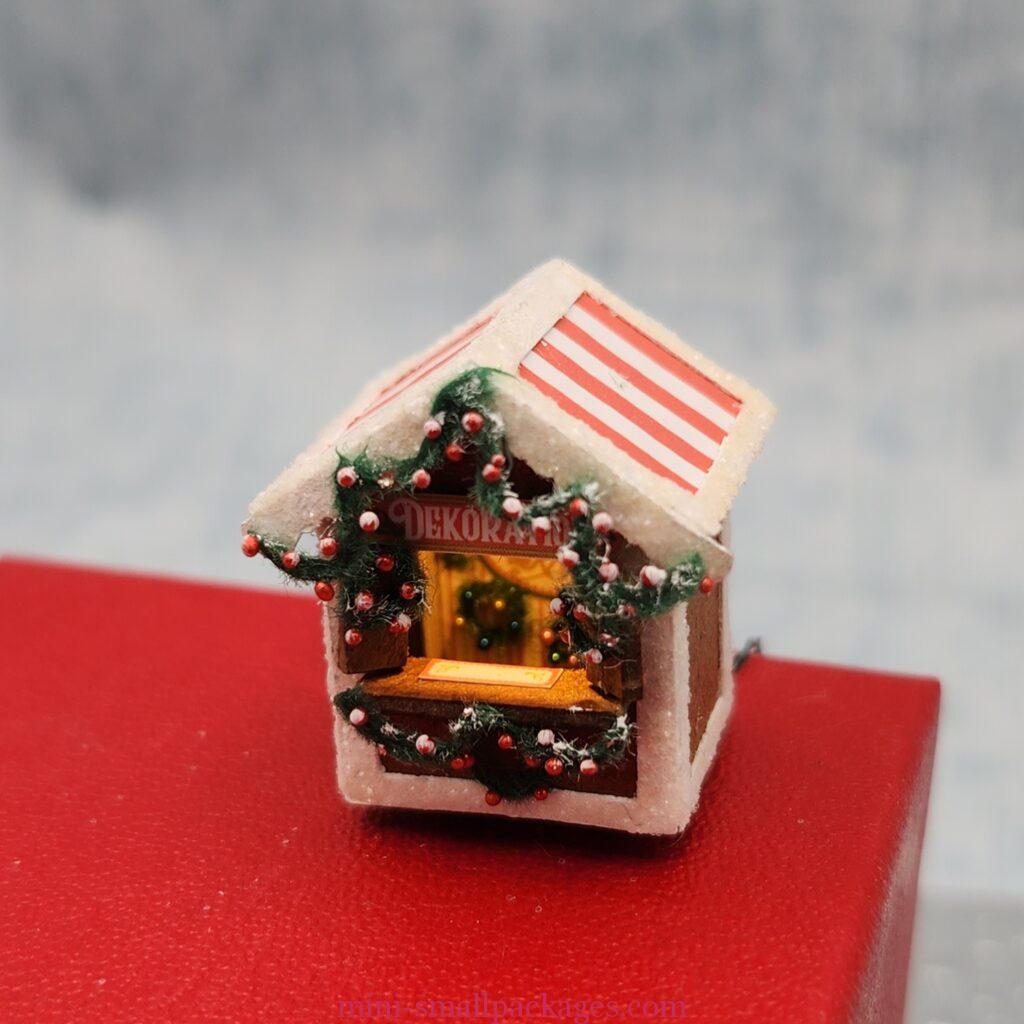
Once again I am adding a led light. This was only to the decorations stand. I choose to have the wire come out at the back.
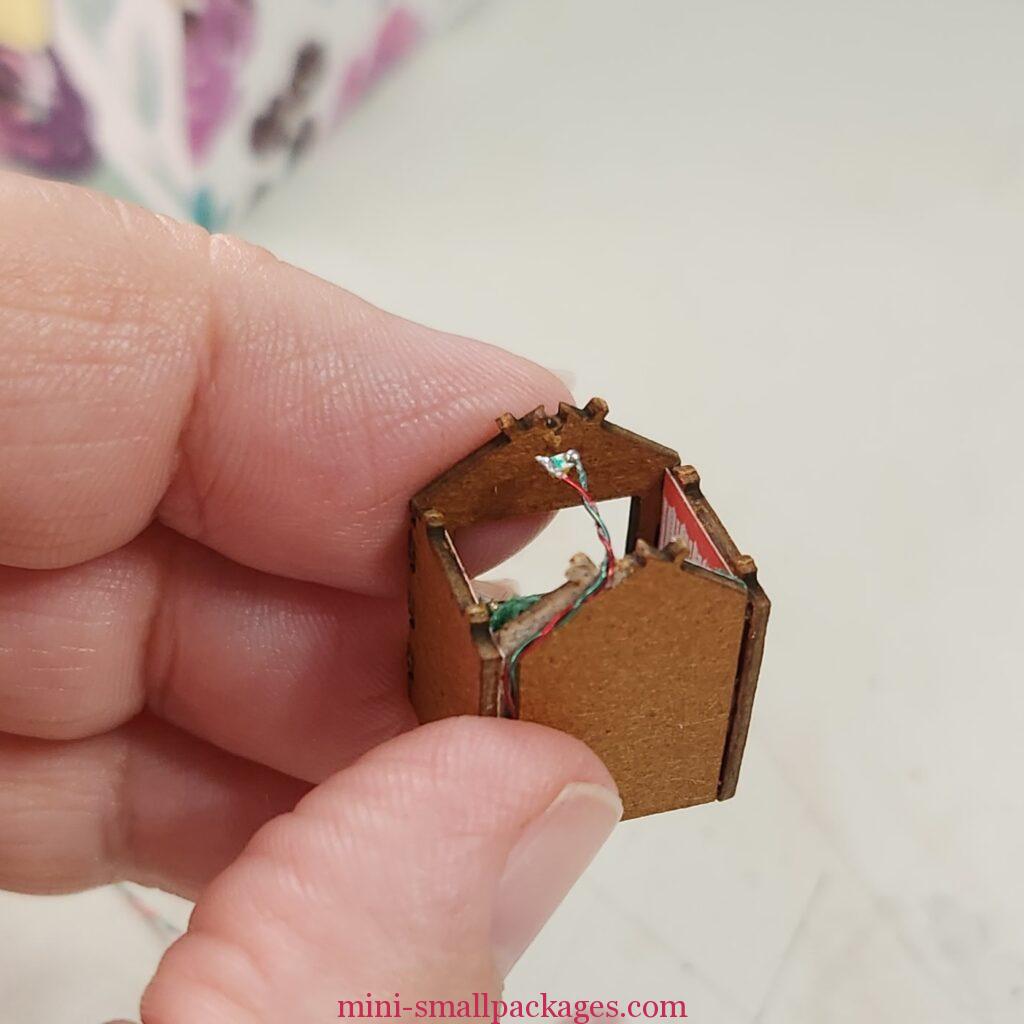
I cut grooves in the back to run the wiring. In cutting I tried to stay within the white trim width.
The light itself is just under the beam. The stiffness of the wire holding in place. This is a small building so it works great.
I glue the back on but before I add the roof, I took pictures of the inside.
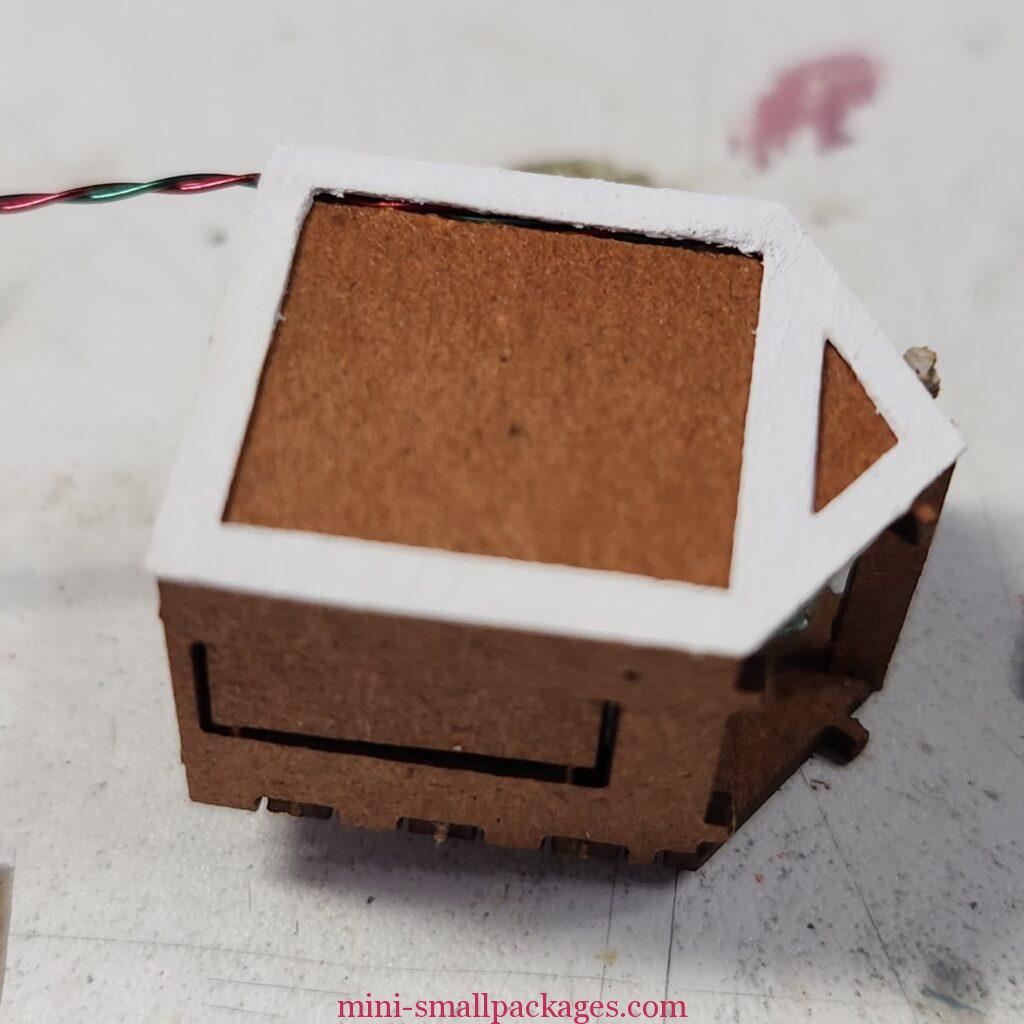
Now the roof is added and I am testing the light. I love it.

Next up was adding all the white trim which I added in the order listed in the instructions. Once added, I painted any gaps. Then it was time to add snow (glitter).
Now was time to add the decorations on the front. This time I chose to you also use the smaller beads but I limited the color to only red.
Chestnut Cart
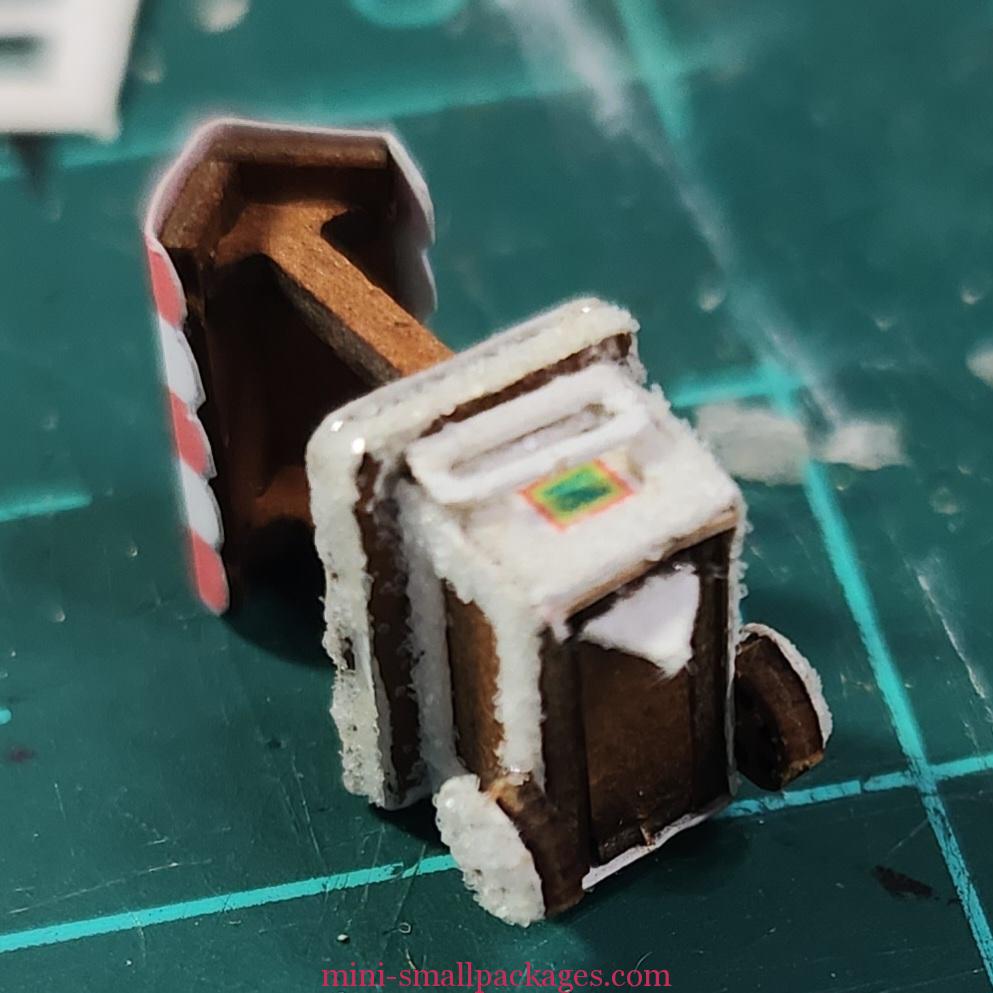
The cart went together well. I didn’t understand the gap on the bottom. It’s for a foot/support to keep it level when not in motion. It’s the arrow looking piece in the white card motherboard. Also on the white card is the two lids. The back of the instructions had a diagram. I forgot it was there.
I did not use super glue on my roof supports because all I had on hand was the gel type. I had only a little trouble but I can see why the glue as a stiffener would be helpful.
The white trim I did the same in adding it to the cart first and before I added glue and glitter.
Caution there are 3 pieces that don’t need glitter. The arrow (cart stand/foot) and two pieces seen in my pic below. Those get painted copper for lids on the cart counter.

I’ve added the glitter every where. However on the roof I needed to apply paint so the snow would be the same.

Here I’ve added the arrow. Plus adding the handle. It was tricky getting it to stay until it dried. It flopped down as seen here several times. My solution since it was so light was to leave the cart like this with the handle in the correct position (sticking out) until dry.
Lastly I added the sign and the knobs.
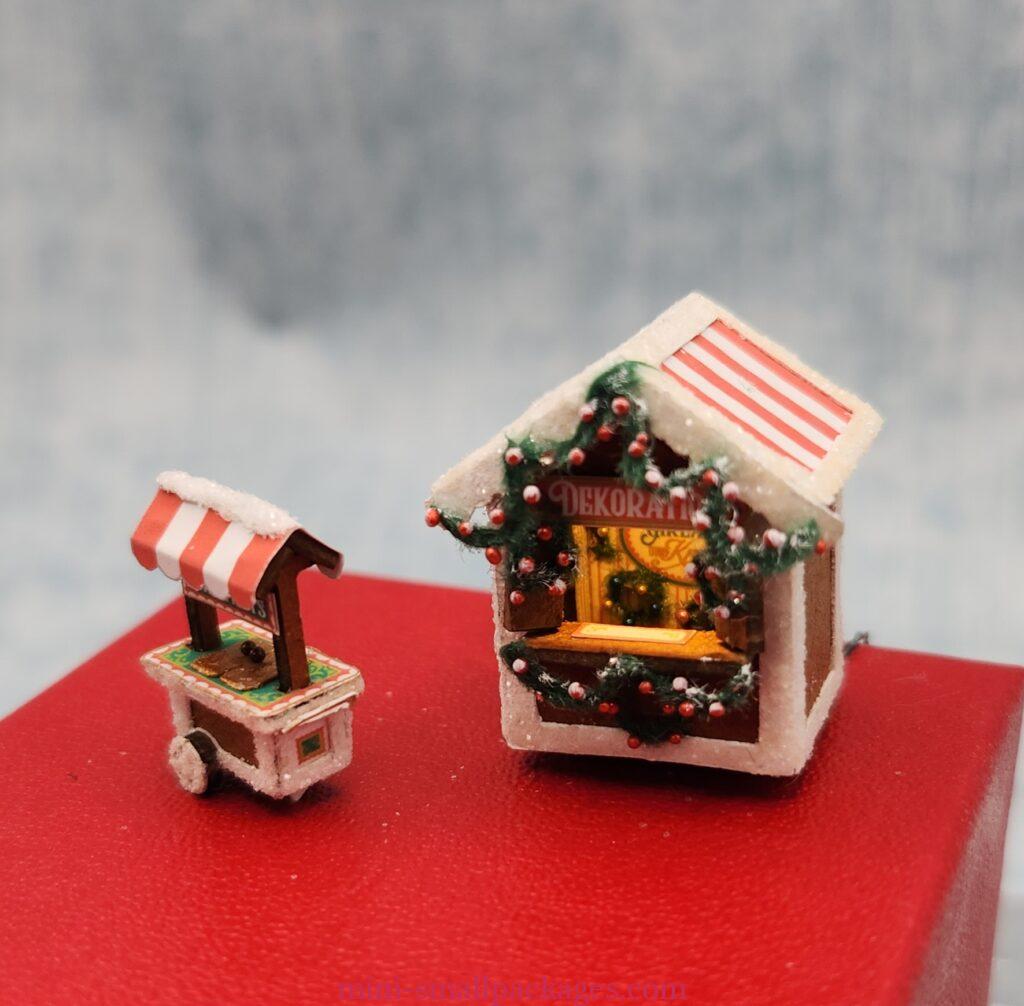
I will admit I planned to add a light to the cart but decided I didn’t want to make the effort. I mention this because I believe it is ok to change your mind whatever the reason. I want to get these done. Being open I consider it acceptable to not light it.

Happy miniaturing!
Preble
If you enjoy my website, please consider making a small donation via PayPal.me/minismallpackages. Thank you!