I spied the ‘Bad Snowmen’ by Blackthorn Miniatures and knew what I wanted to do with them. Give them to my Dad.
I waited patiently for them to arrive and immediately started trimming away the sprues. I really wish people who 3d print items would cut them off for you. Then I don’t make a mistake and cut off something I should not… like a carrot nose and a stick arm. Yes, I lost those. I broke two other parts.
Next I sanded the sprue spots. I used files, sanding board and my Stylo + dremel tool which I use so often now. Most came off really easily. However I broke the end off the swimming snowman (with sharks) but it glued back quite well. I was scared I was going to break the scarf on Hobbes the entire time but I didn’t thankfully.
I started painting white most everywhere since most was snow. I left certain things to paint later after I apply the Snowtex snow.
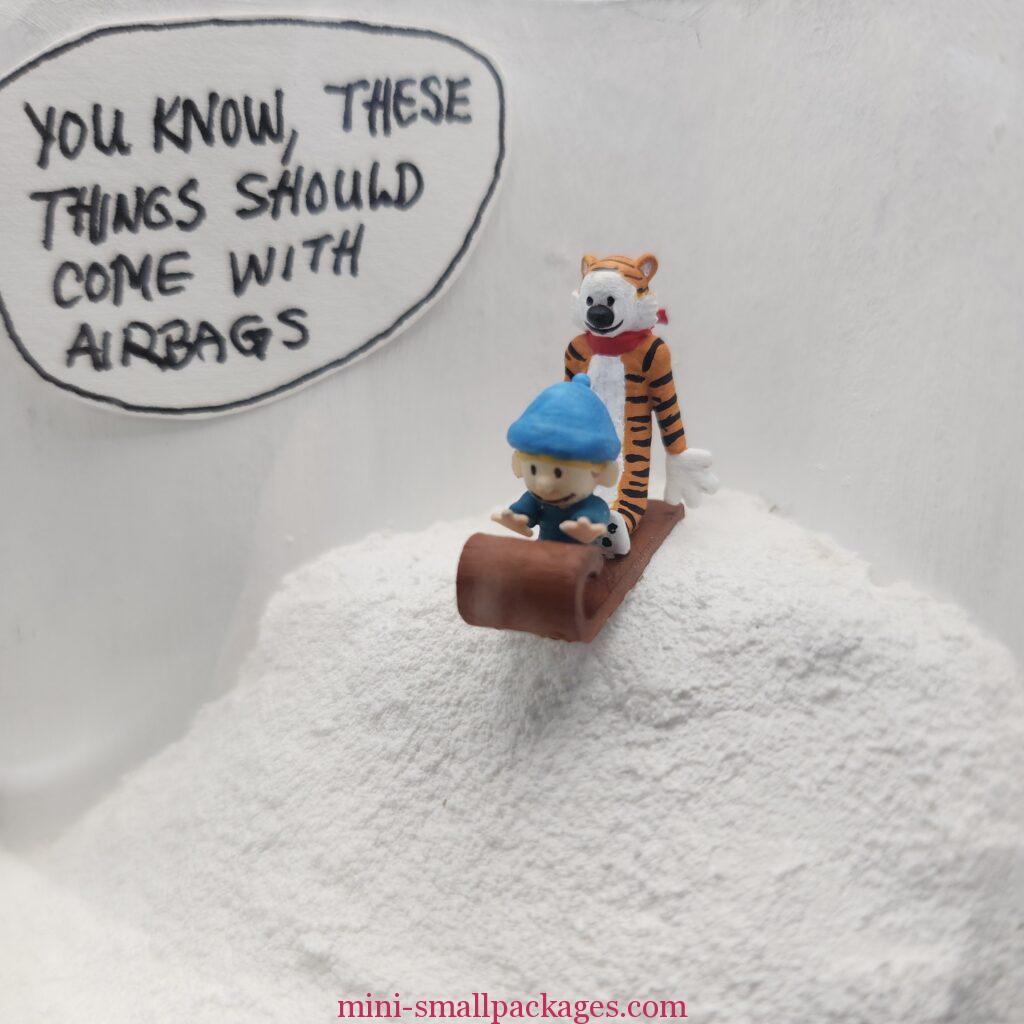
Painting Calvin and Hobbes was tedious. I went from orange to yellow and back to orange on Hobbes. There was lots of internet searches for images of them in color. This led me to the idea of doing a comic strip panel for each set.
I was also thinking how do I present this to my dad? In a tin wrapped like so many goodies I have received in the past? My parents were big on thrift store shopping and I received many treasures this way. OK, but he might display them somewhere. Just them. These are tiny. Tip of the finger tiny. Maybe they need protection.
As I continue to paint them and finish the figures, adding snow around them on their little platforms, I am inspired to look up all the snowman strip editions. It’s been years since I’ve seen them. This is when inspiration strikes. What if they were in a container in little scenes or vignettes. The scenes for several were already decided. The sled not so much.
What type container? I checked my stash for anything and found a nut tin/can (partially cardboard). Yes, I like it. Now I know what size.
I decided on my size for each panel/section by drawing around the tin, then setting them around in the circle. I decided there would be three panels or sections. I’ve waited until December to do this so I wanted to keep things as simple as possible.
I pull some cardboard from my stash. This is the thin brown cardboard I don’t use much because it can warp. But I decided I didn’t care if it did. It would be easy to insert into the can.
I trim and cut the cardboard until I can get a strip inside. I want three sections but not equal ones. I came up with this curved design.
Finally I take pictures.

Before I cut the can open, I need to know where to cut. With the cardboard dividers in place and doing a test for the figures, I can mark the outside. I plan for about 1/4 inch bars on the outside.
I proceed to cut and try to keep them neat. But honestly I could have done better about the width and also maybe cut straighter if I had scored it. To give myself a rough idea of where to cut I used my triangle (right angle) to draw on the cardboard. I could have done more measuring to have even width. In my mind, I was thinking of these dividers as ‘drawn’ so might not be even.
Once the dividers are cut I paint the sections white and debate the sled scene.
To add trees or not add trees, that was my question. Looking at the actual comic strip images I found and deciding which fit and was funniest, I decided no trees. Yeah! That was easy.
Here are the options I found in my online search.


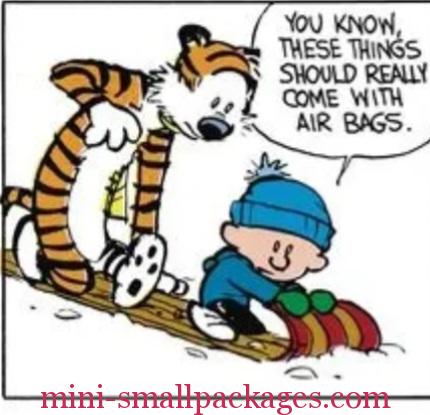
The last one won also because they are actually using same type of sled.
But wait, the dividers slide around too much AND the cardboard outside is not standing up. Note the slight bulge in above photo. My solution is to add wood framing supports. These worked beautifully. They are 1/8 inch by 1/8 inch. I then glue the outside to these supports and paint it all black. It looks great.
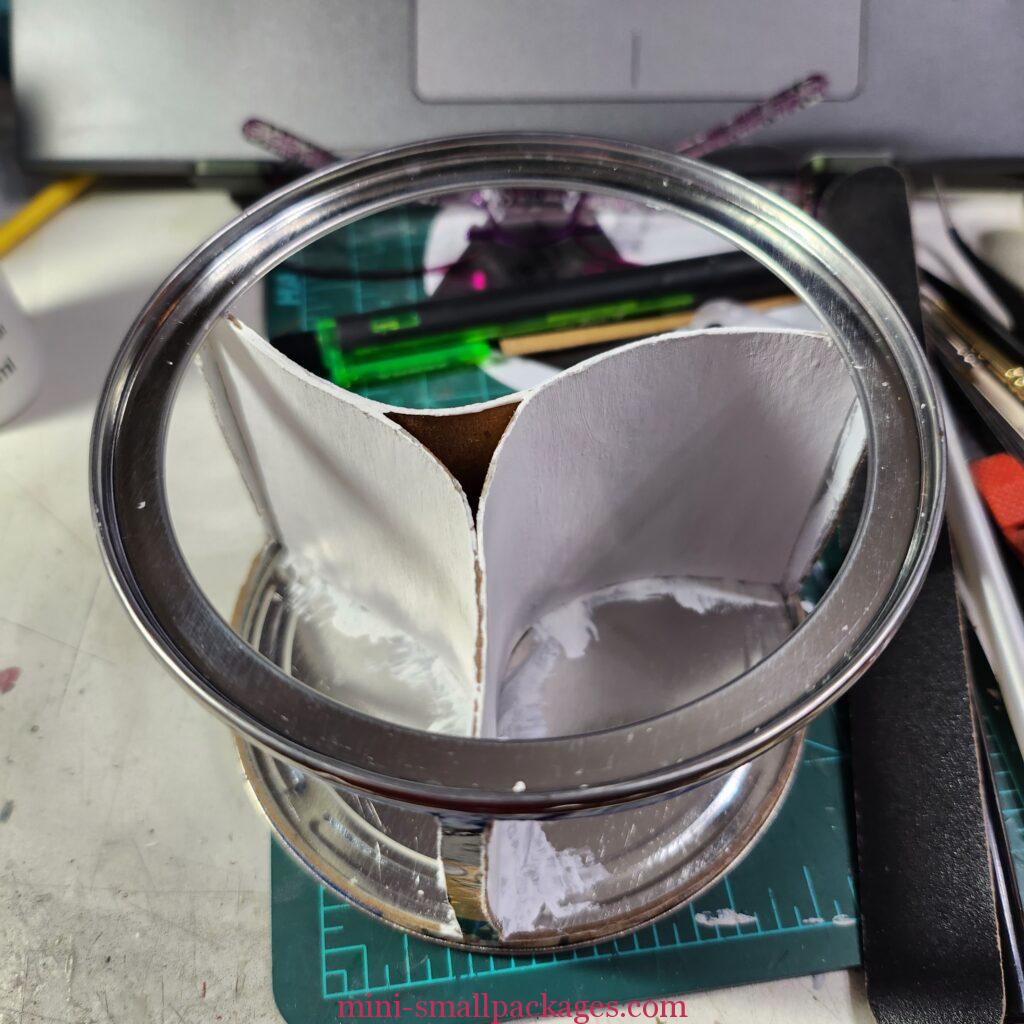
I’m ready to add Snowtex inside the sections. In order to do that I think I need to have a spacer for the ‘glass’ only to realize I need to add it before adding snow. Because I am using a nut tin with a big lip at the top, I can’t just insert the plastic glass from the top. I decided I would add from the front. I cut them to fit each section underneath the outside frame. This meant pulling away from the wood pieces I had so carefully glued to the walls. This presents a new issue of the wood pieces aren’t fully painted black so they look messy. I didn’t want to remove the plastic because I already had some trouble with getting them in place. At least it was flexible enough to get them inside. I even considered starting over with another nut tin. No, I continued on.
Now adding snow to each section very carefully with tools that I could flatten the snow and move in place against the plastic glass. While this is still wet I add in the pieces. Then added in a bit more here and there to the bases of the figures that I have already added snow to.
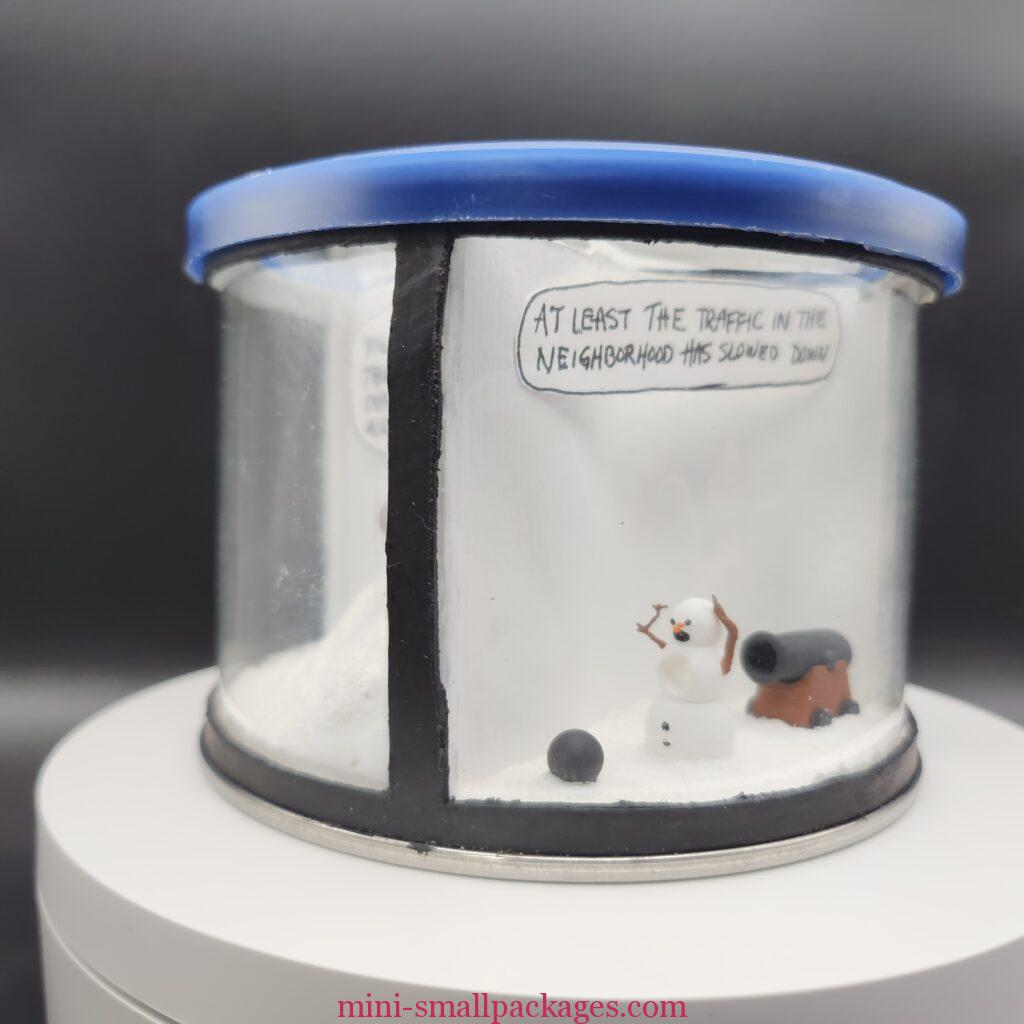
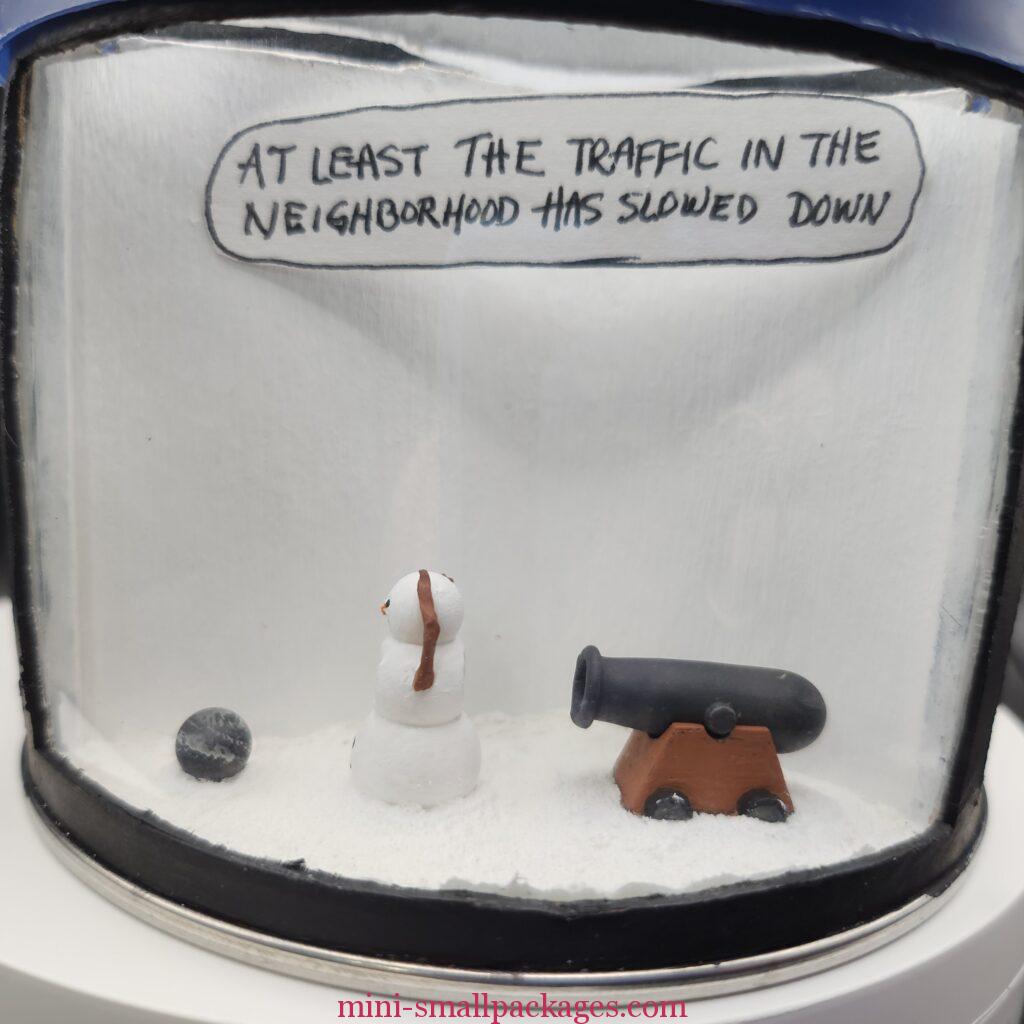
The cannon snowman was easy, just decide which direction and perfect.
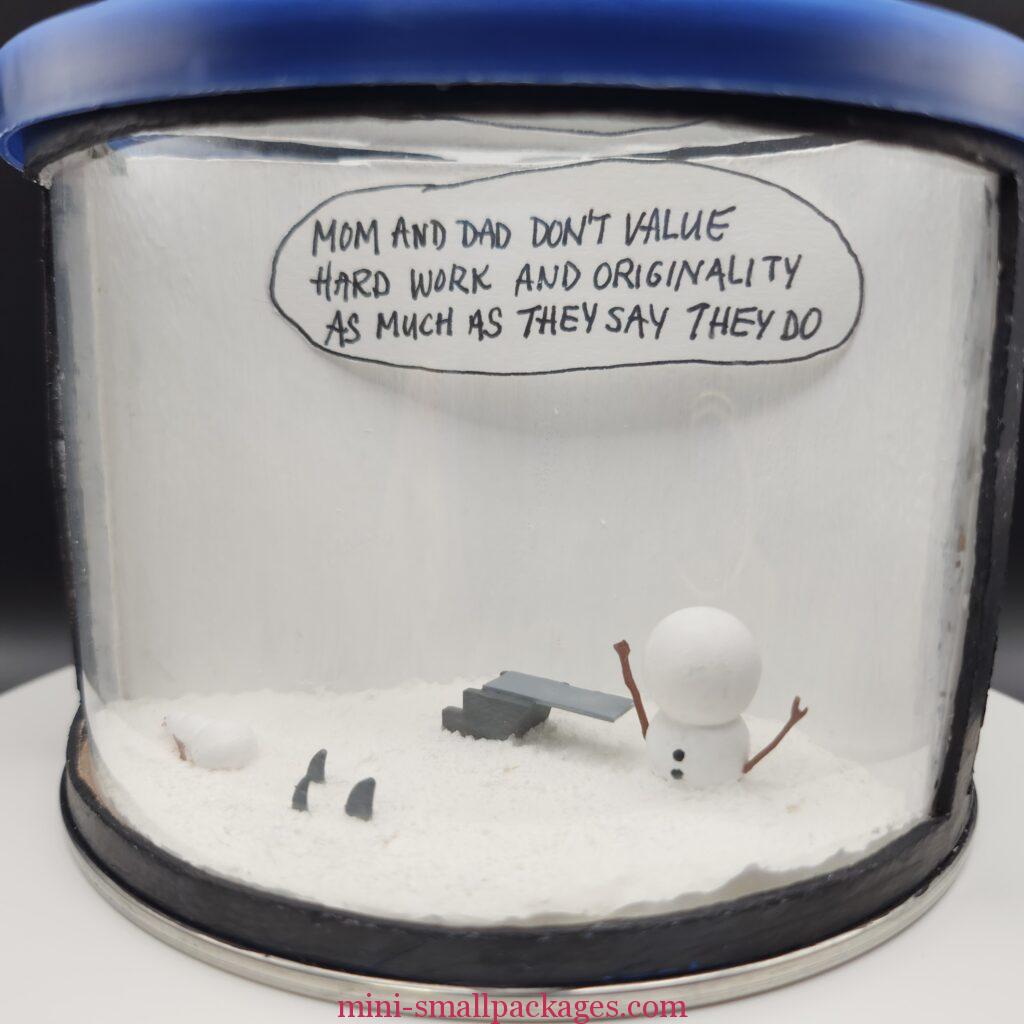
The sharks and diving board went together as water, so they get their area.
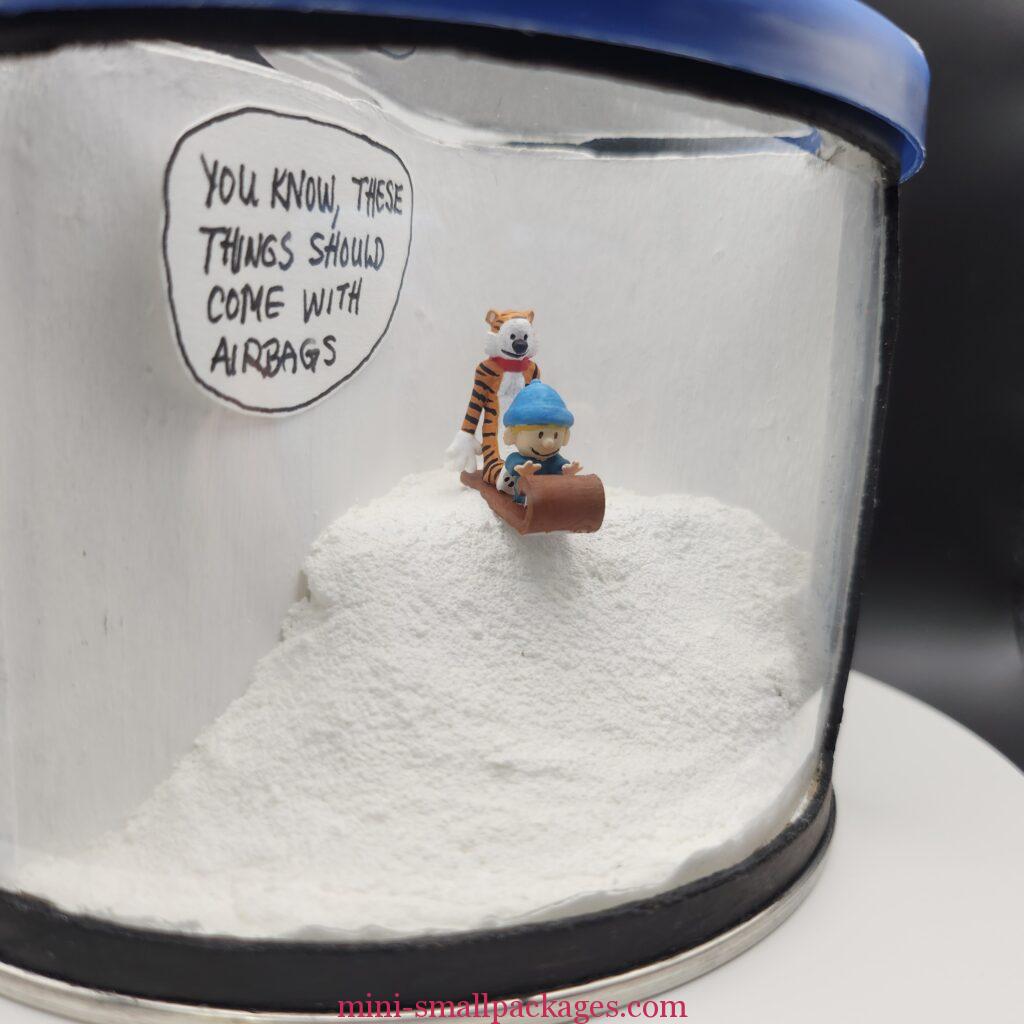
The final section needed a hill. I decided how high it should be. The quote was a factor in the framing. I cut pieces of pink insulation foam to form the base of my hill. They are held together with toothpicks inserted and trimmed.
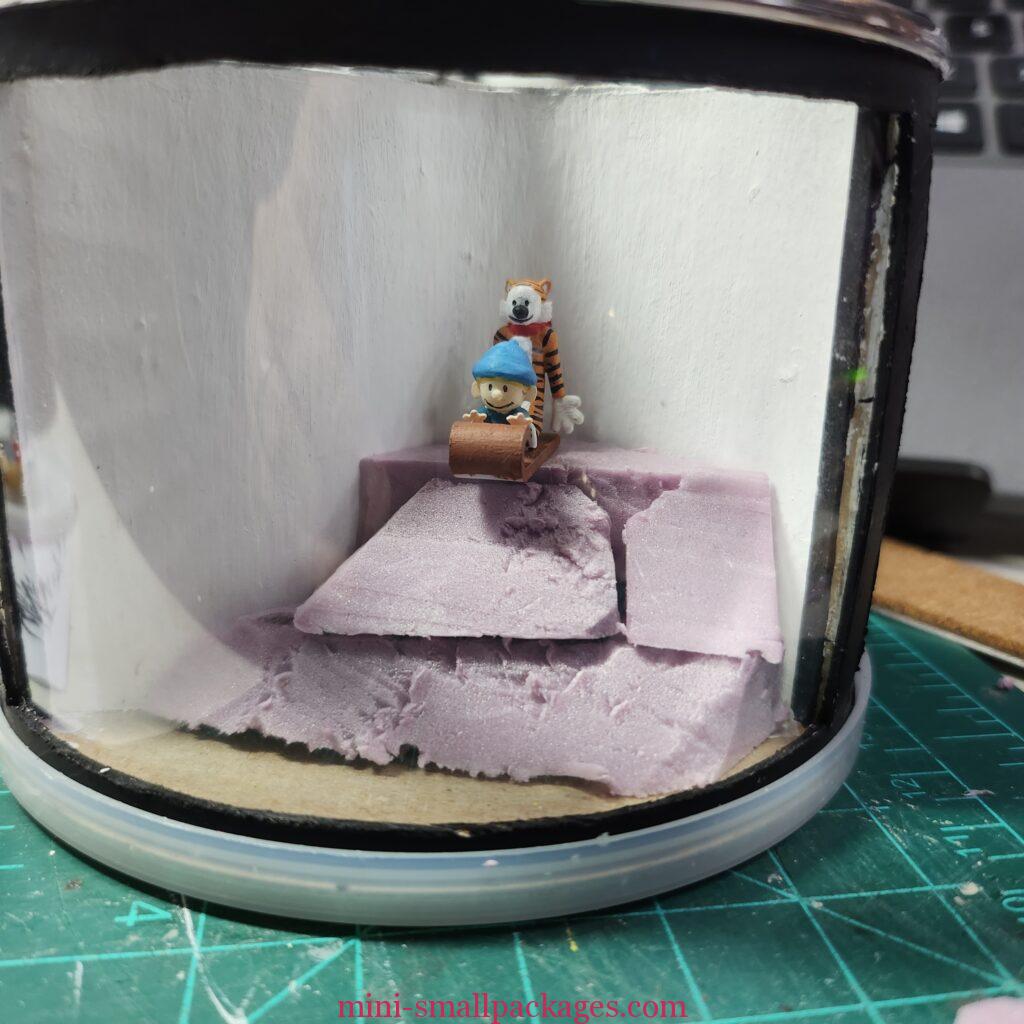
Next I add snow to this piece so that I don’t have too much to add in the section behind the plastic glass. I insert into place once dry.
I added the lower snow first. Should have let that dry. Then I added another layer that was over most of the hill front. Because I didn’t wait, I had to add some into a crack that formed. This stuff blends well thankfully. Lastly I add the final snow around the top and fill in along the wall.
I’m nearly done but I just don’t like the gap showing between the outside frame and the inside wood framing. My solution is to paint the wood pieces white. Since they were black, I had to do three coats. That doesn’t sound like much until you realize that each time I had to be super careful to avoid getting it on the plastic. Yet I got it on the plastic anyways so I had to carefully remove paint using a wet brush and wiping it away multiple times. This wasn’t as bad as it sounds because acrylic paint does not bond with plastic. It was just more time doing it.
The last thing I did was to cut a hole in the nut lid. I used scissors and followed the preformed inner circle. Then I cut a circle from plastic to insert below the lid now a rim only. This makes a nice skylight.

Last section which is my favorite
If you have read this far I will tell you how I would do this differently.
I would decide how big my sections are and cut that out with measurements and scoring to do so neatly or more intentional unevenness. Then I would add a piece of plastic glass around the entire inside and have the dividers fit up against that. Or if doing snow again, I would do the snow up against the plastic some, then add the dividers back. Then have my wood supports to help everything tighten up. Maybe even the wood supports are glued in after dividers added back.
The wood supports would be painted to match the outside painting that I plan. Or If the outside dividers are wider than I did here, I would paint to match the scene color.
I really enjoyed this project. My dad loved it. His comment: Awesome.
Happy miniaturing!
Preble
If you enjoy my website, please consider making a small donation via PayPal.me/minismallpackages. Thank you!