Part 1 the Cabin
Camp Makamini was offered by Create.miniatures.org and I was all in. I bought a 1/48 scale kit and the t-shirt. I waited patiently for them to arrive and then for the kit class.
The class was provided via zoom. It was a really fun class. Debbie was great at showing what to do and answered all the questions. It was a long day. I did take a break to go swimming. I didn’t finish on Saturday. I wasn’t surprised as I do take longer these days. But Debbie said we could join the half inch class the next day. Which I did. I still didn’t finish. However this was mostly due to waiting on the lights I ordered.
That’s right. I’m going to light this little cabin.
Changes I Made
I followed the instructions except for these things.
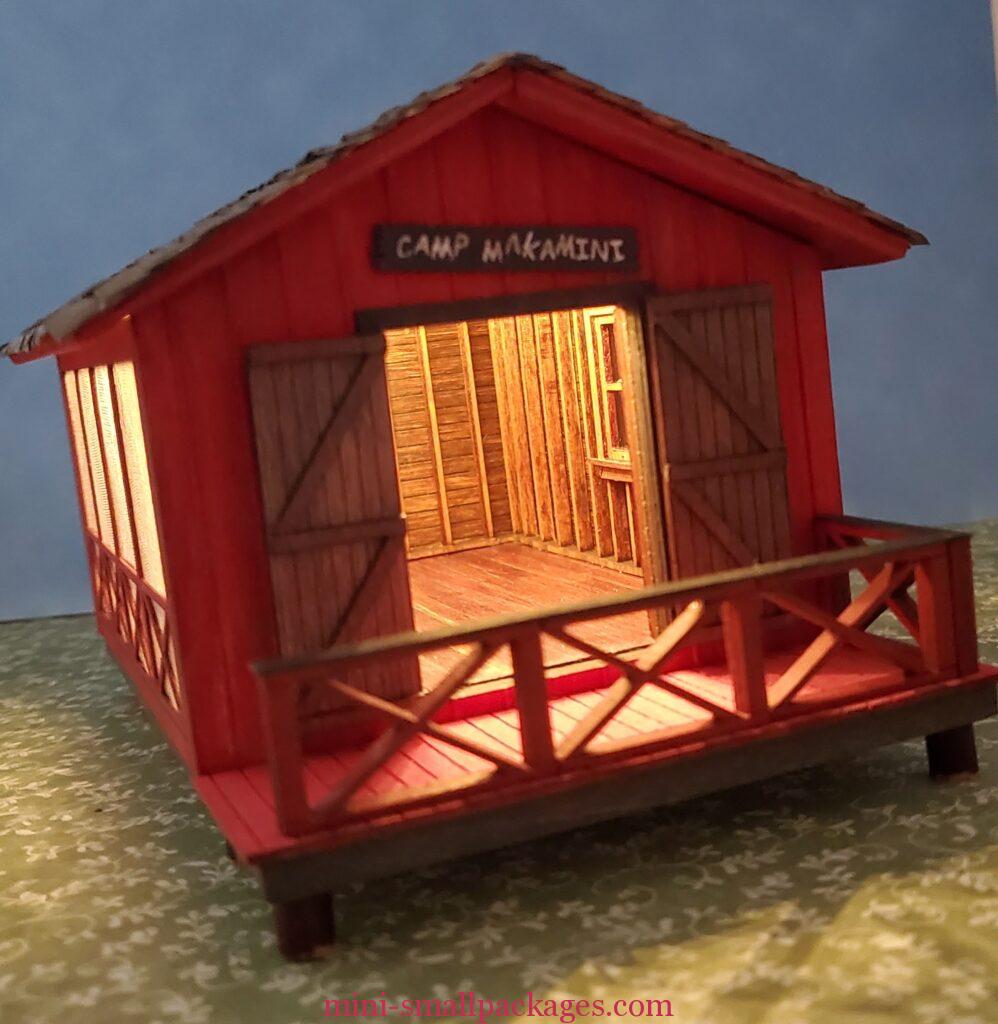
- I painted outside tompte red, charcoal black trim and stained interior with red oak on walls, and used a stain marker in walnut for floor.
- I changed the porch railing around so the steps are on the side. Fortunately, Debbie’s design allows for this easily.
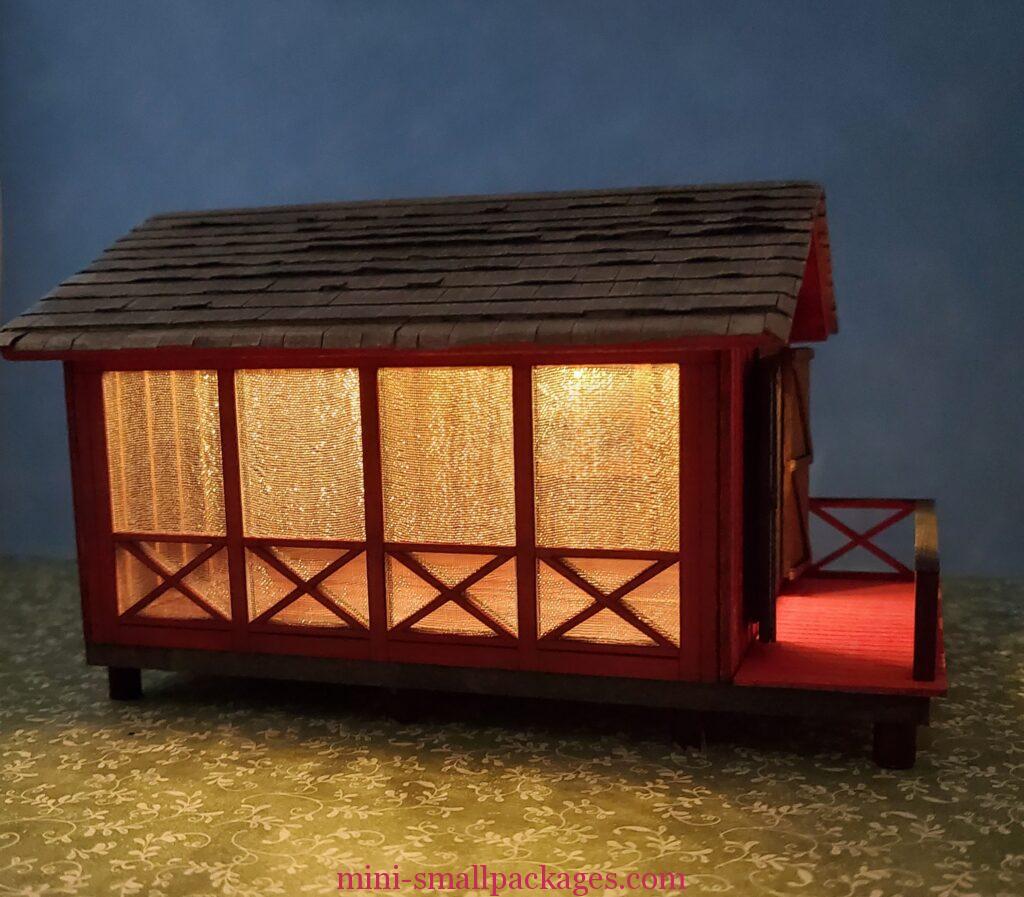
- I used fine mesh ribbon inside my window and screen.
- I added lights.
Lighting
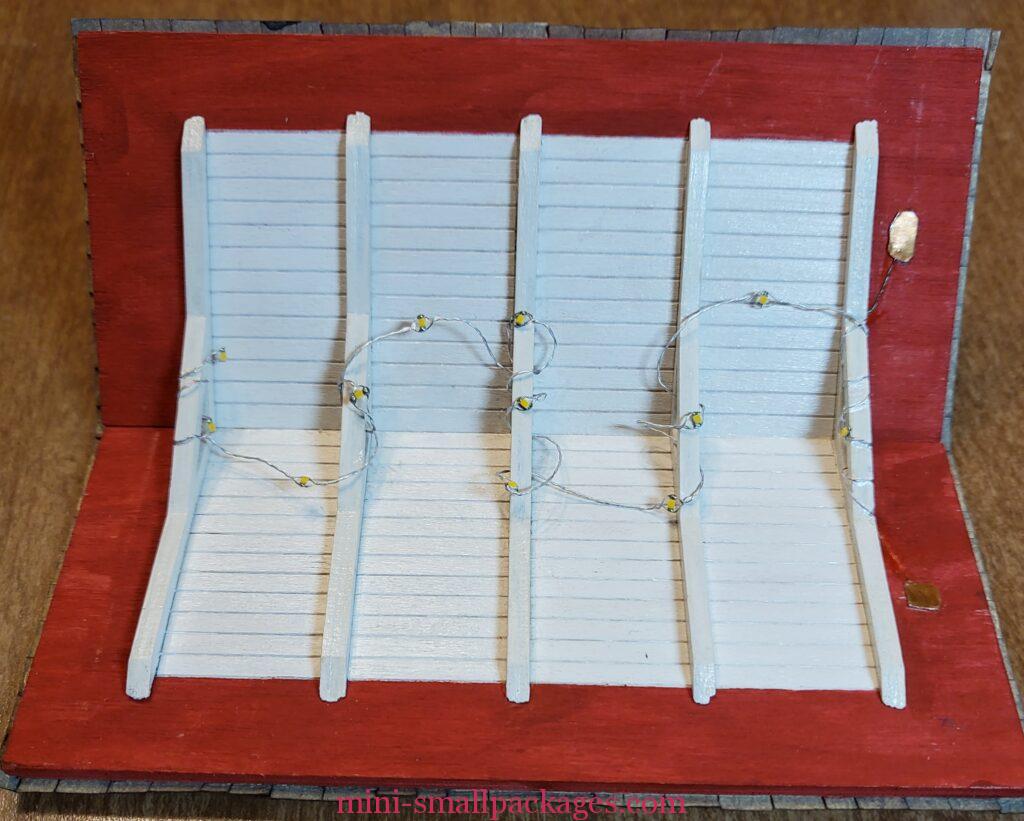
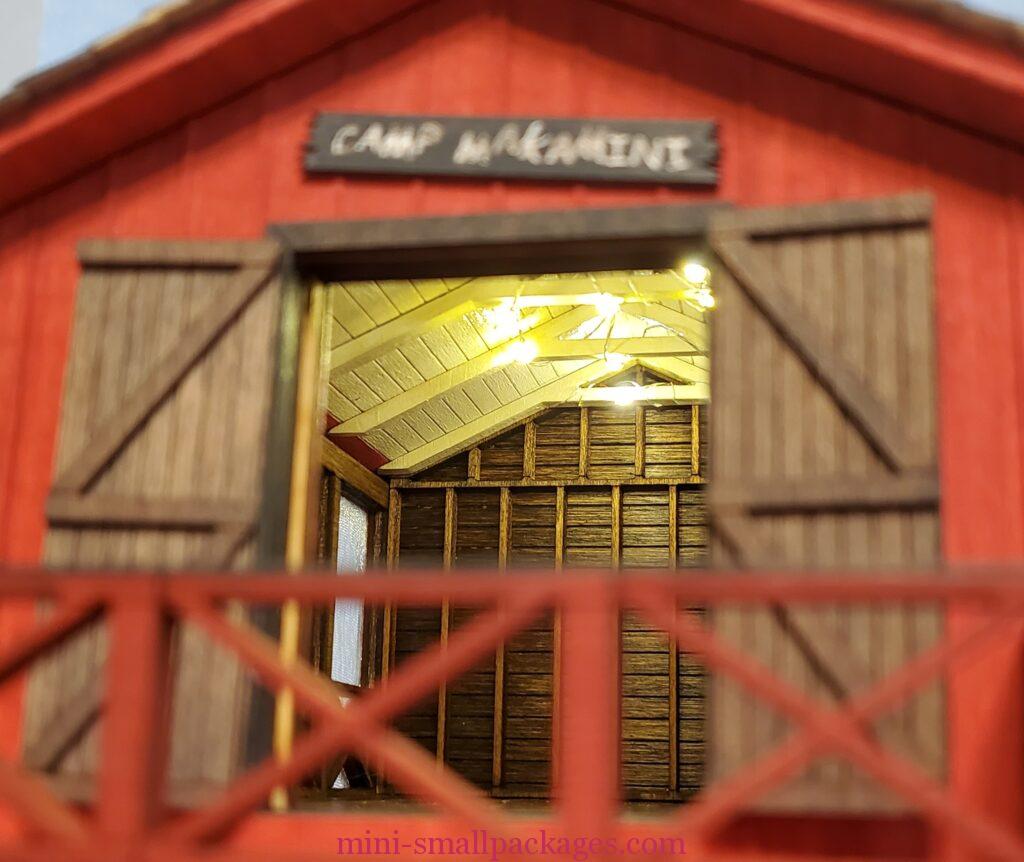
I ordered a 12 led light string and 3v coin cell battery connection from Evan’s Designs. I had to decide how the string would go. I decided to string the lights through the rafters. The pattern from door end is 2-3-3-2-2. To do this wrapping, I started in the center so I would not have to pull through the entire string. So I started with 5 to the left (door side) and wrapped them loosely around the rafters. I wanted the actual leds to be aimed towards the room and not walls. Then I wrapped the remaining ones around the other 3 rafters.
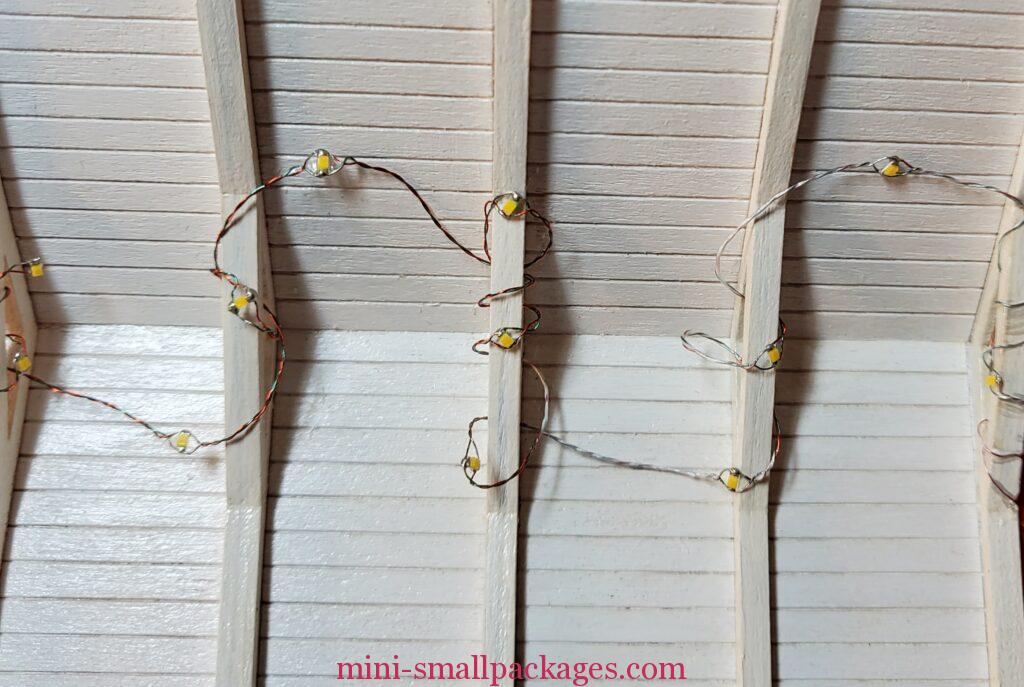
I tested the light string by hooking to the battery temporarily. This is a really good time to do so to check if I damaged the string when wrapping. But it is also gratifying to see them light up the cabin room.
Next I worked on the connection between ceiling and wall. I wanted to be able to lift the roof without any wires dangling or attached. It was time for copper sheet and the soldering iron. I have a roll of copper sheet in my stash. I cut about an inch long strip, and 1/8th inch wide. Then cut that into 4 pieces. I decided to trim the corners by just snipping the corners off. Using solder, I attached one copper pad to each battery wire.
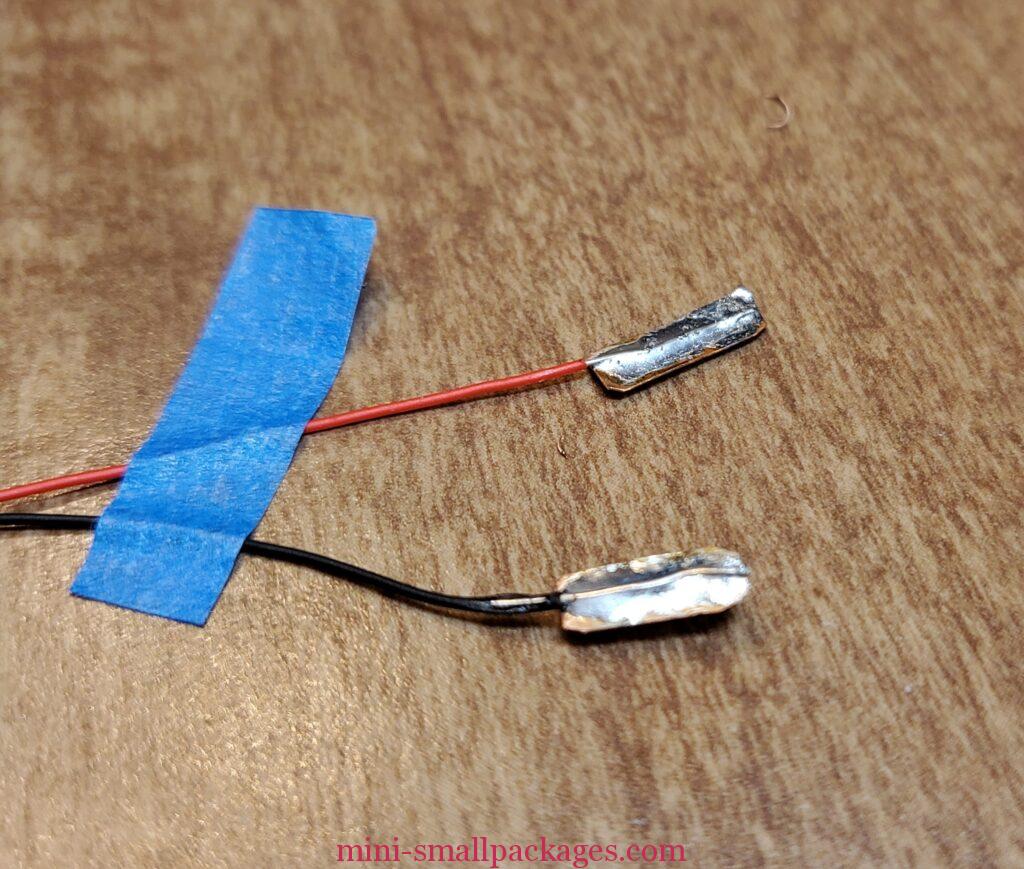
Back to the light string. I separated the string so my green and red wires were no longer together. I wrapped each color toward one side of the rafter a couple more wraps. Since I would cutting the wires, I wrapped an extra time in case I made a mistake during soldering and need length of the wire. Otherwise I would need to unwrap further back.
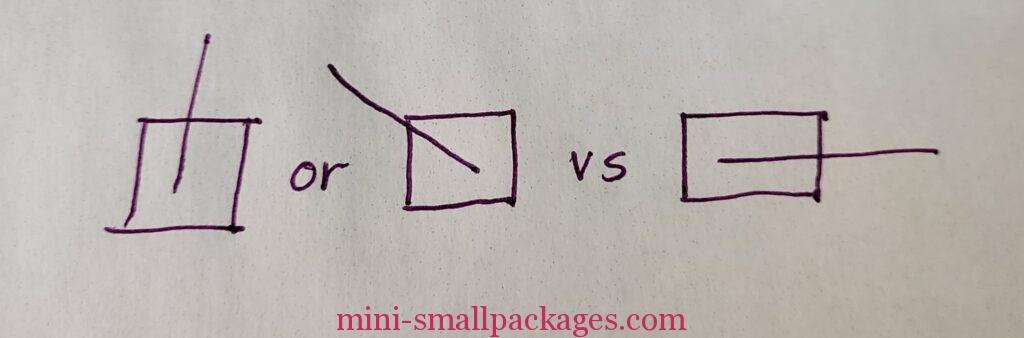
Then I soldered a pad to each. I discovered these were better from an angle or side rather than the end. When I did this I taped the wire temporarily to the roof so my copper pad will line up. I use a notepad for resting the copper pad. Then my soldering tip has room to do its job. Otherwise l have to hold the wire with pliers.
In the roof, I used my craft knife and a dental tool to create a groove for the wire and the solder behind the pad. I also cut grooves in the rafters towards the outside. These were so the wires would not move when the roof slides on.
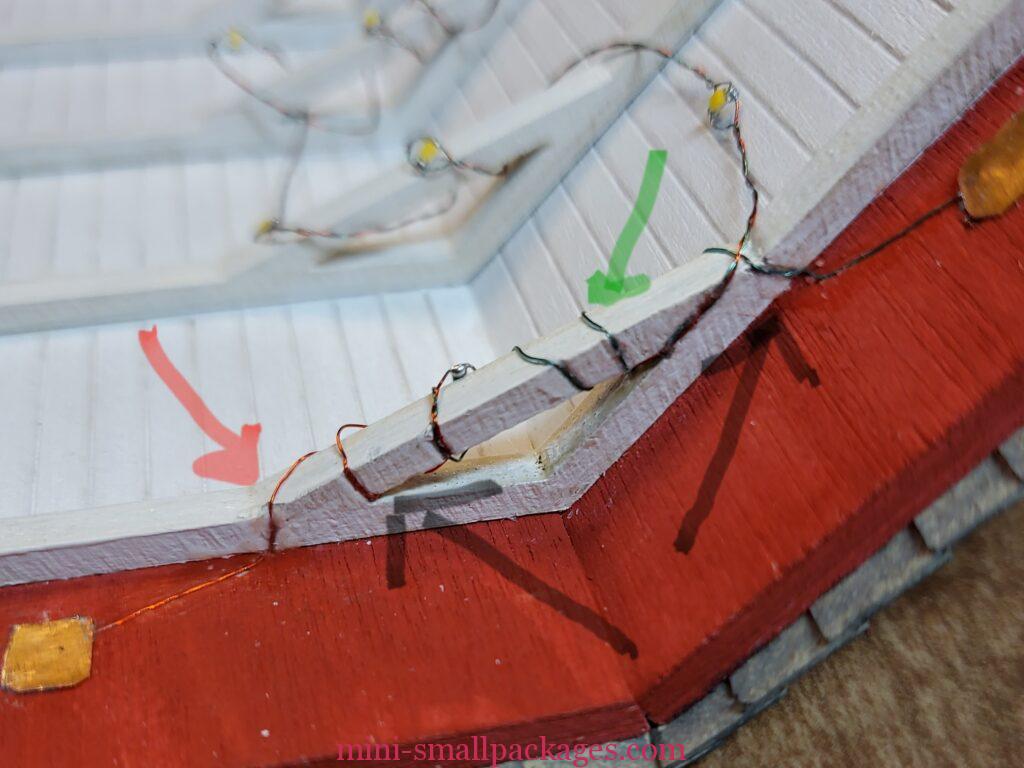
I used super glue gel to hold the wire in place. I helped the pad fit better by holding the iron tip until the solder melted. This means it fits in that dip perfectly and nearly flat. On one side, extra solder balled up to the edge. I used my craft knife to trim if off once cool. A bit of super glue gel helps to keep pad in place as well.
The pads for the battery side that will be on the cabin walls have to be aligned. I used blue tape to mark where my red and green copper pads are. I had the roof on but shift up enough to see where the roof pads were.
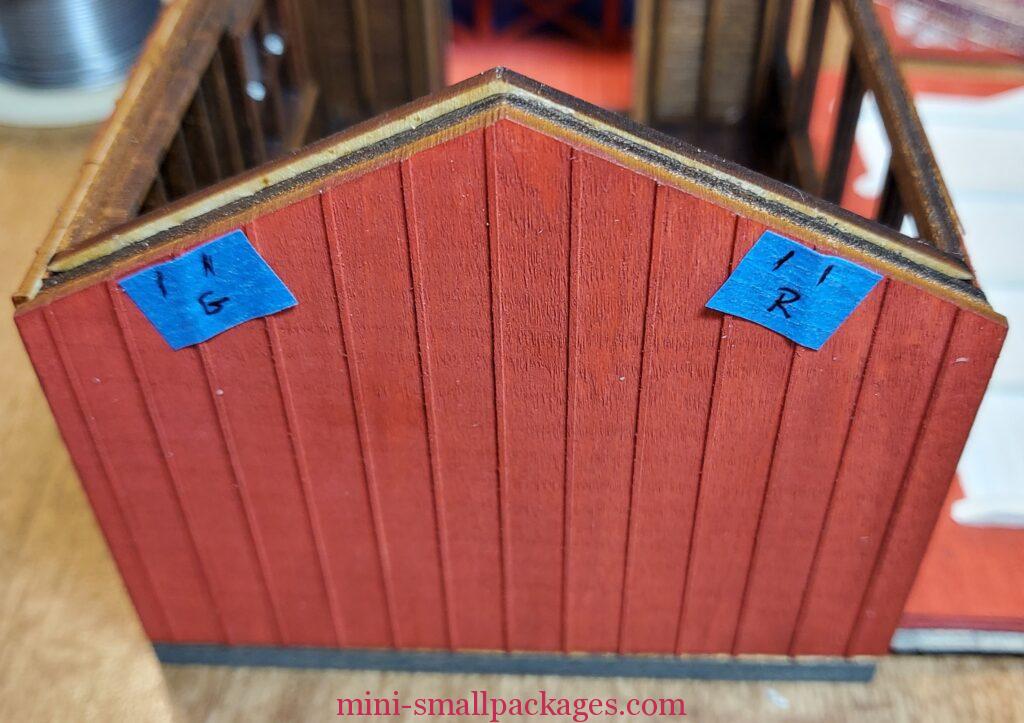
This is super important so the connection happens. I don’t want the red to be on the wrong side. This was easy to confuse when you turn over the roof so mark the walls with roof on.
The way the walls fit together, there is three layers. Inner layer of the framing, middle layer that has horizontal lines on the wall, and the back layer that is the outer wall. I decided to run the battery wires along the middle layer, which is why the pads were cut 1/8th wide.
Working on the black battery wire for the green roof wire, I used super glue gel to hold black wire in place. This wire will be longer. I did only one side of the peak and the pad. But then decided to undo the glue underneath the pad. This was easy just working using my craft knife to gently pry it loose. This was because I needed to bend it slightly to make better contact. Once that was good I moved on to gluing the black wire down on the other side of the peak.
The red wire and pad was easier. I didn’t glue down the pad and bent it right away. That is a great thing about copper, it is quite flexible. With the solder it was less flexible, but still able to be bent. Later I can go back to these pads and bend again if it starts to loose contact between.
Next I glued the red wire in place. The red wire didn’t need to go far along the peak. I could have cut it shorter before soldering the copper pad. Since I didn’t there is extra wire at the battery.
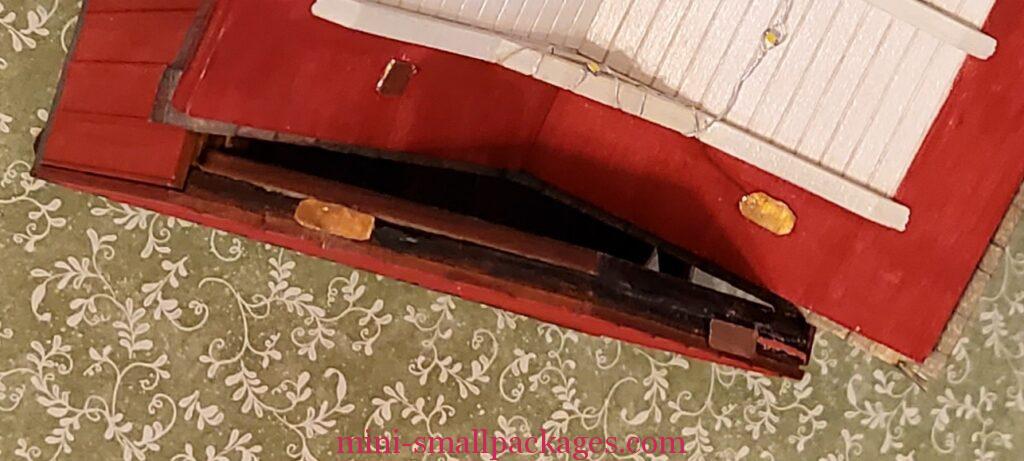
I had not glued on the outer frame for the screen. I ran the two battery wires behind it down the side.
The battery currently is taped to the bottom of the cabin. I will do something with it once I landscape.
After the wiring was complete, I went back to the roof and painted the light string white. I also touched up the paint on the red part.
To light the cabin, the roof must be on. But I made sure the roof fit both directions. Turning it around keeps the light from turning on when I want to not have it on.
Finishing Up the Exterior
Debbie had said to wait to install the screen and trim until last. Well I couldn’t wait any longer. I had added my fine mesh ribbon to the back of the screen trim and so I was ready to glue it on.
When installing the exterior window trim, I also added some of the fine mesh ribbon. I’m super pleased with this ribbon.
I added the doors, sign and the posts. I still need to add the steps. They are built but want to wait for my base to glue in place.
Now for the photos
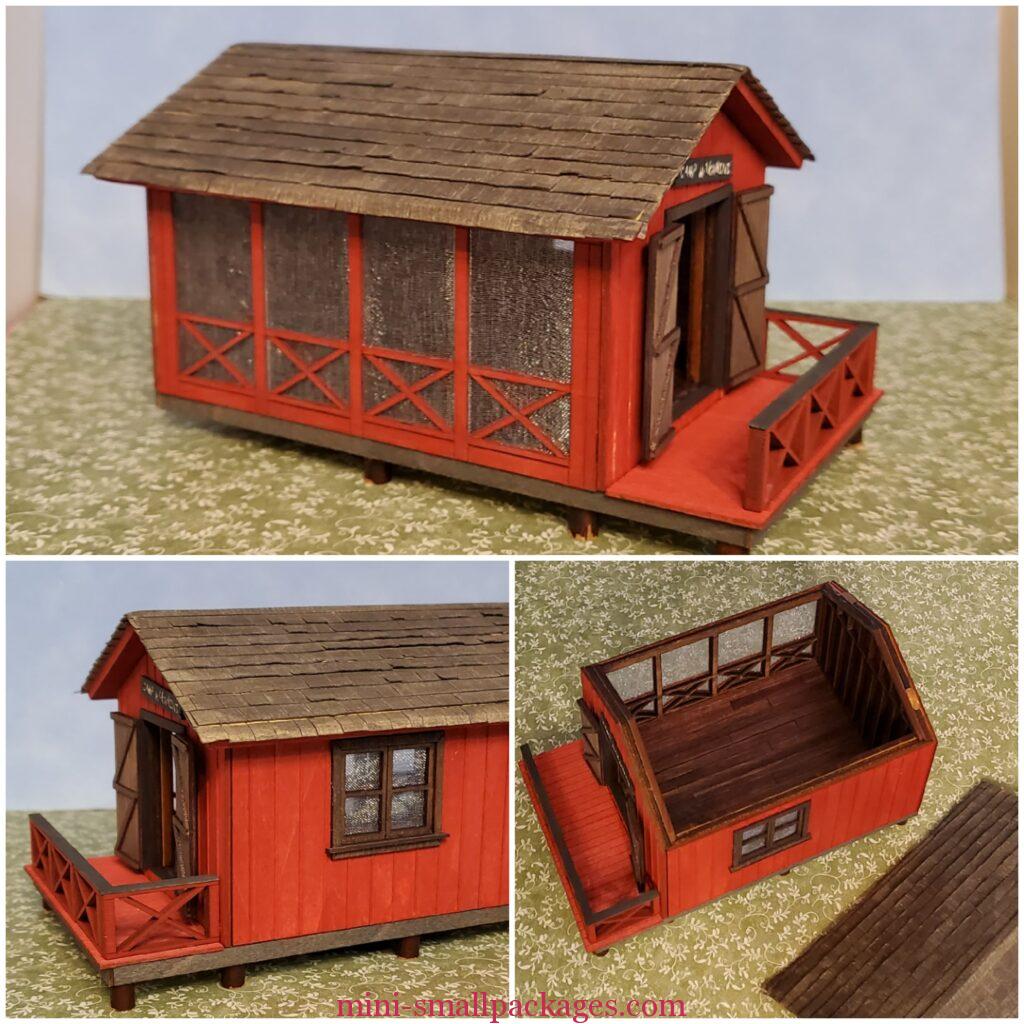

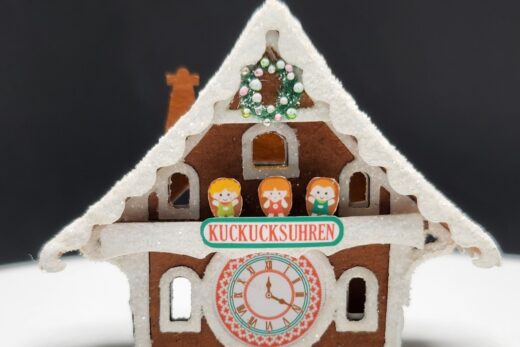
For something smaller, check out the little cabins
Thank you so much for posting your step by step tips on how you completed your cabin. You finished the cabin so beautifully. I am going to try your lighting tips.