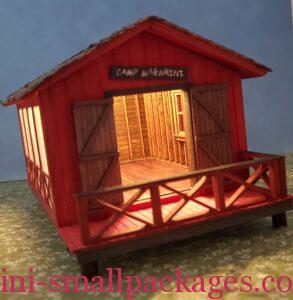
In early 2014, I was part of a group of swappers that choose a Miniature Shop as the theme. We each selected an item to make for the shop and made one for each person in the group.
I made a wood bits box and here is how I made them.
Materials needed:
- Thicker paper – like presentation paper
- Foam core board
- Grandtline window 1 – #3601
- White paint
- Wood strips of various thicknesses
Tools needed:
- Scissors and/or craft knife
- White glue
- Sharp edge for folding against
- Scoring tool – such a ball stylus
Steps
- Print the cutout on thin card. I use presentation/brochure paper but a nice thicker paper will be good.
- Cut around the cutout about 1/8″ – doesn’t have to be exact. See fig1
- Make additional cuts so the extra is like flaps. I do use a craft knife for this step.
- Use a straight edge and a pointed tool – such as the back of the craft knife or a used up ballpoint pen or a really small ball stylus to score the lines – including the flaps.
- Fold at every line except the sign portion that sticks up (has the printing on it) – good idea to fold against a straight edge.
- There should only be one flap at the connection – so trim away one of them if created two.
- Glue this together to the sign portion is to the top and towards the inside of the box.
- Glue the bottom in place as well. See fig2
- Cut a piece of foamcore 1/2″ x 1/2″ to fit in the box and glue in the bottom of the box.
- Use a 3601 Grandtline window and cut the bottom portion off. See fig2 If this window is not available, can try others onhand and trim off as needed.
- Paint the window to match the box. It’s ok to not paint the backside, just make sure to paint the sides that can be seen.
- Insert window in the top opening and glue in place.
- Cut wood strips – either pre-cut widths or cut from a wider width and practically shave a strip off. To make mine I used a combination of both because I had some pre-cut on hand that was small sized. These wood strips were all 5/8″ long. Some strips were more like slivers of wood than a true wood strip.
- Place a dot of glue out and dip the end of the wood strip in the glue. Then insert into a section. Repeat for all strip pieces. See fig3


If the printie doesn’t come out correctly, then email me at minismallpackages@gmail.com and I will send a pdf file.