A number of years ago I saw a cute advent calendar using the small match boxes in a round about cube. I wanted to make one. Or so I thought at first. (search for ‘matchbox advent’ images to see examples)
Two years ago I started thinking more seriously about one and my conclusion was that I’d rather have slightly larger drawers. I had a miniature chest made of these match boxes and remembered how hard they were to open. Maybe it was how it was assembled but also these drawers are not deep.
Since it was near Christmas time, I would browse online for hours trying to decide what to get. I found neat ones that are wood and many are laser-cut with a scene at the top of the chest. Some even close up like a book which would be nice for storage. None of these were what I wanted. (search for wood advent calendar for ideas)
There are numerous other ways to do DIY besides matchboxes like using rings cut from paper towel tubes. I saw these on Pinterest (search for diy Advent calendar). I just couldn’t decide and once again the urge was gone because it was after Christmas and no longer time for one.
Box
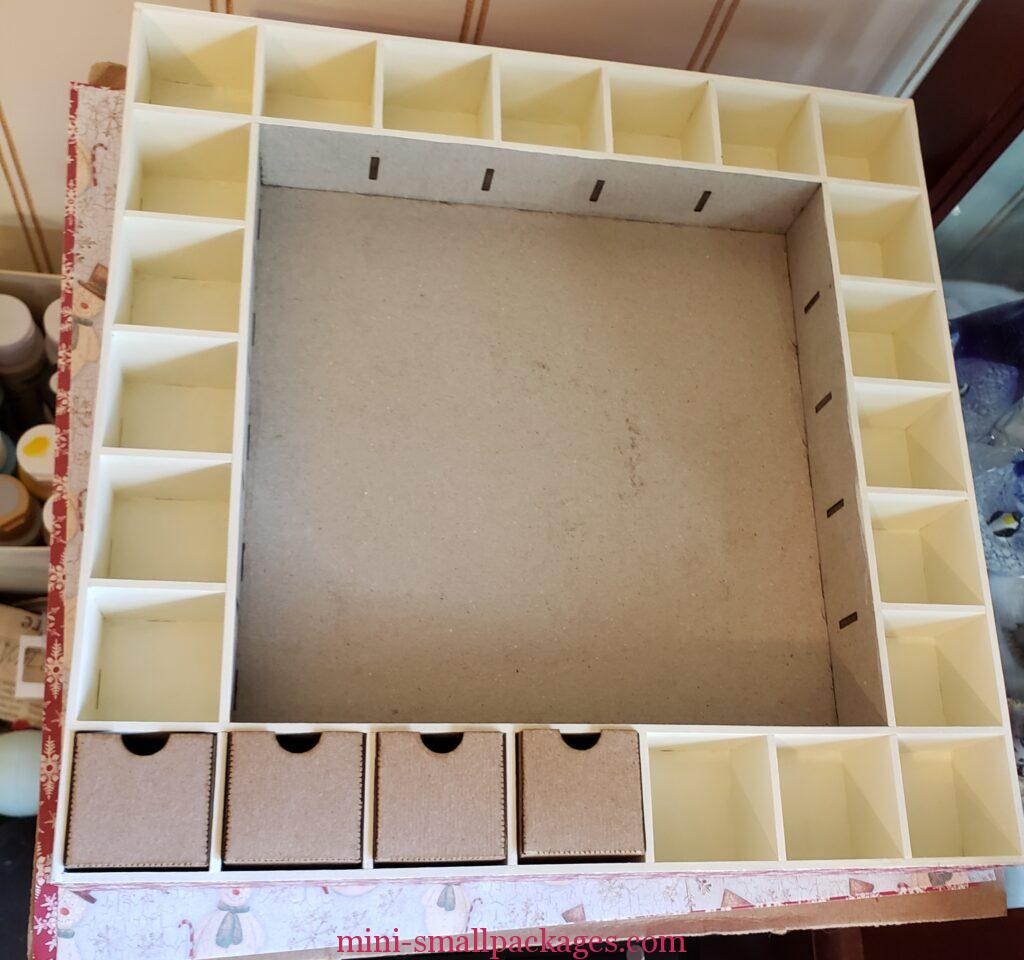
I get an email newsletter from Alpha Stamps frequently and often I thought about the one they offer. It’s a laser-cut kit. Finally it was in stock when I was thinking of purchasing. I ordered the drawer kit as well. It may have even been on sale. Yeah, me.
Christmas time rolled around and I finally started on it. Assembly was really easy. I did watch a short video recommended by Alpha Stamps.
Wallpaper
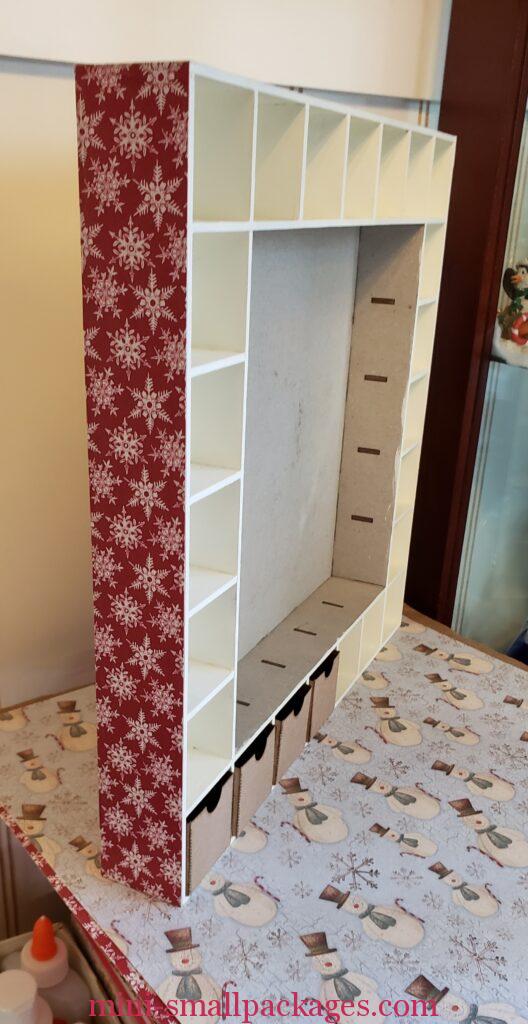
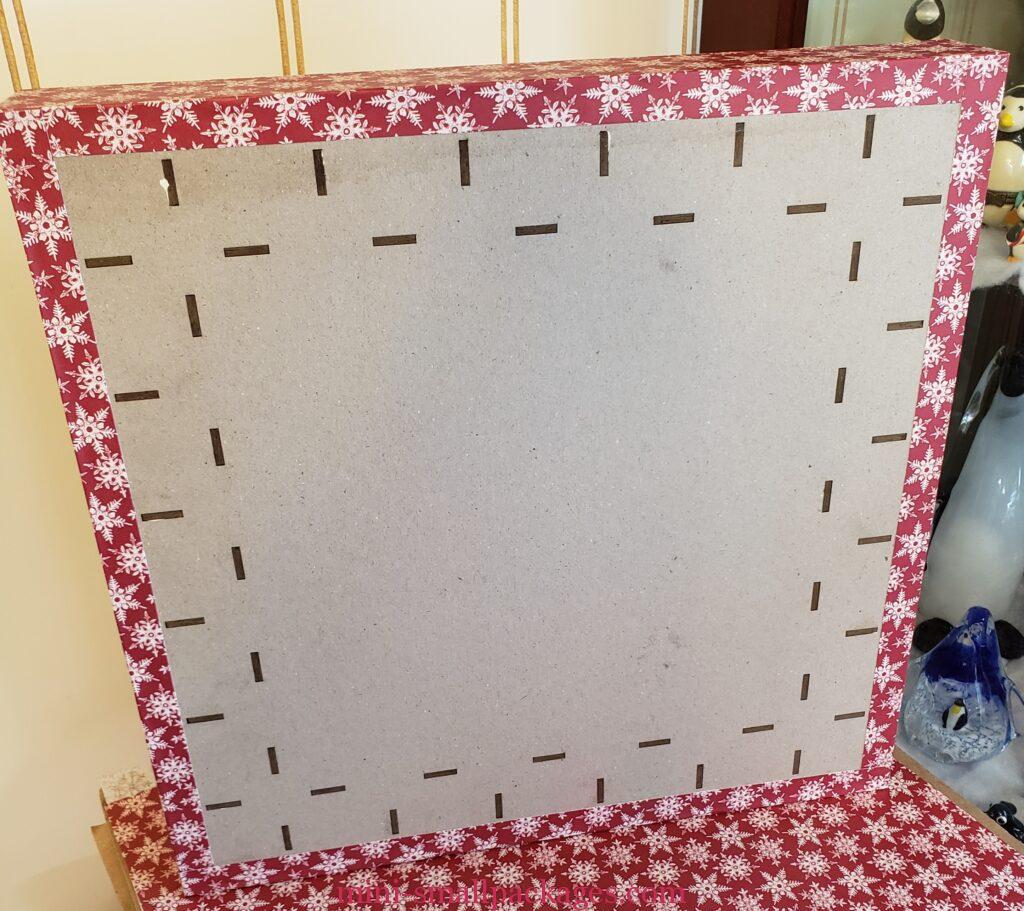
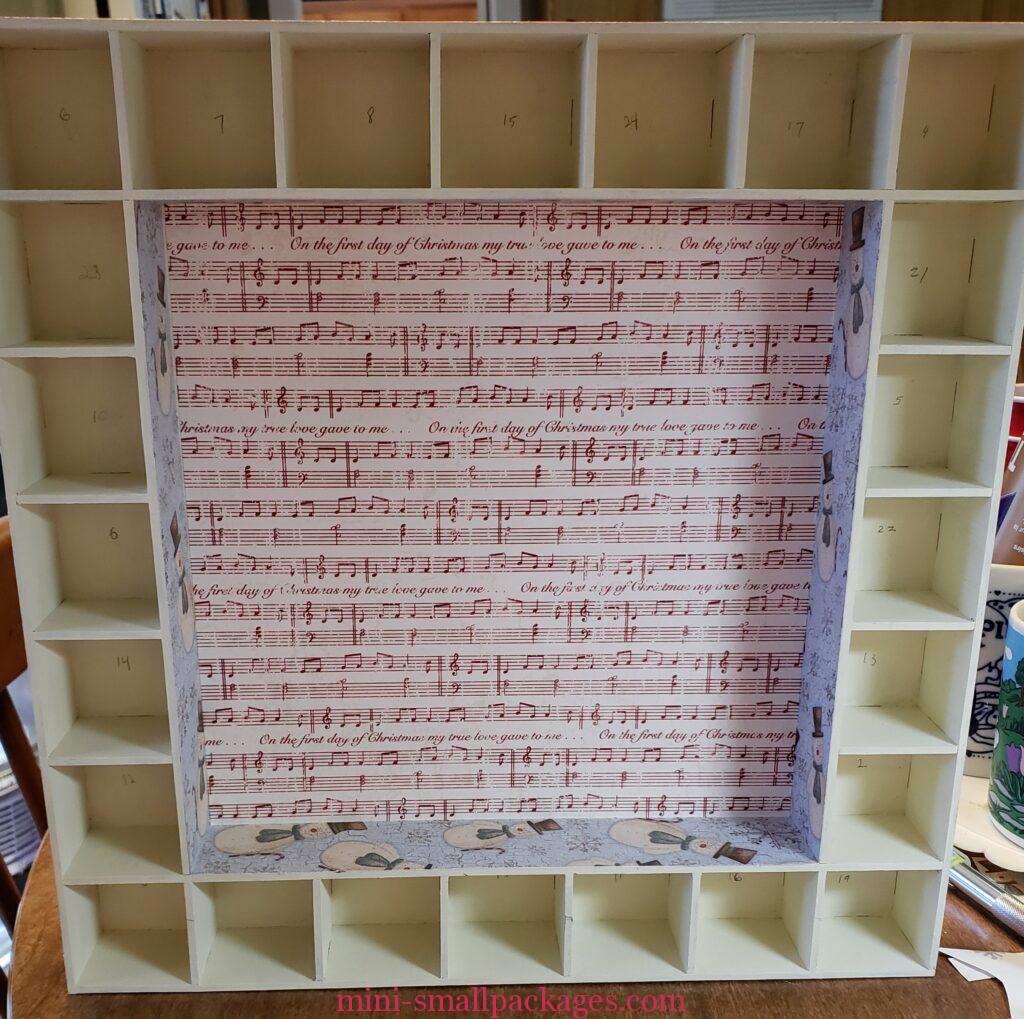
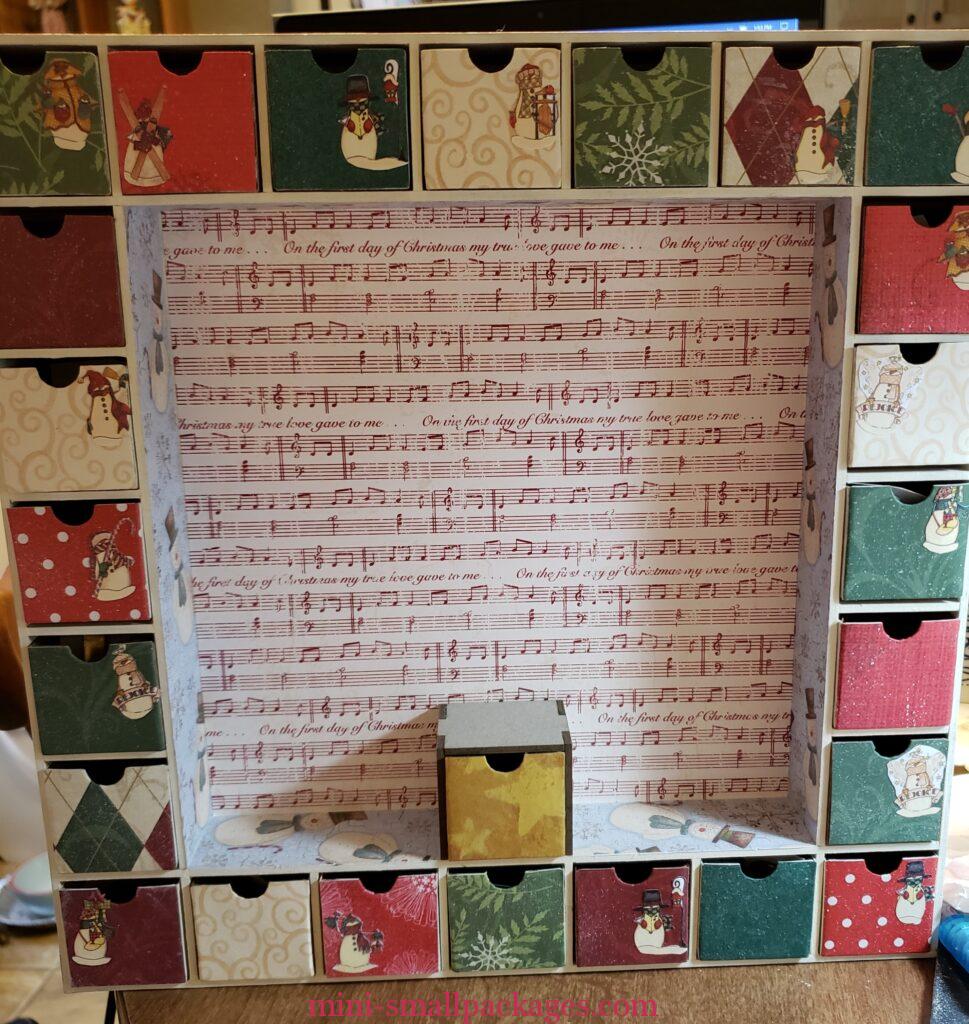
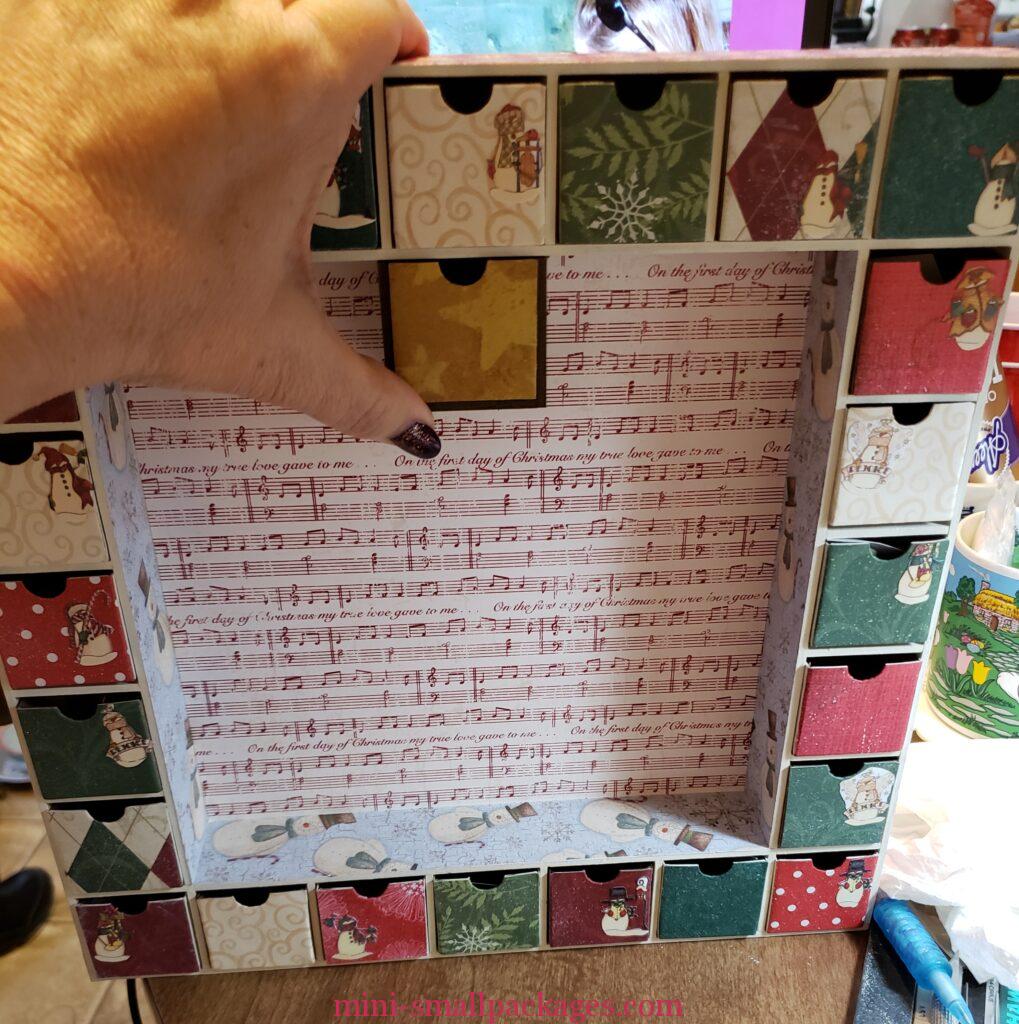
I used scrapbook paper to cover this. I looked in my stash but didn’t find what I wanted. It was off to the hobby shop where I also found some things to go in the middle section.
Drawers
I decided that each drawer would be a different color and pattern.
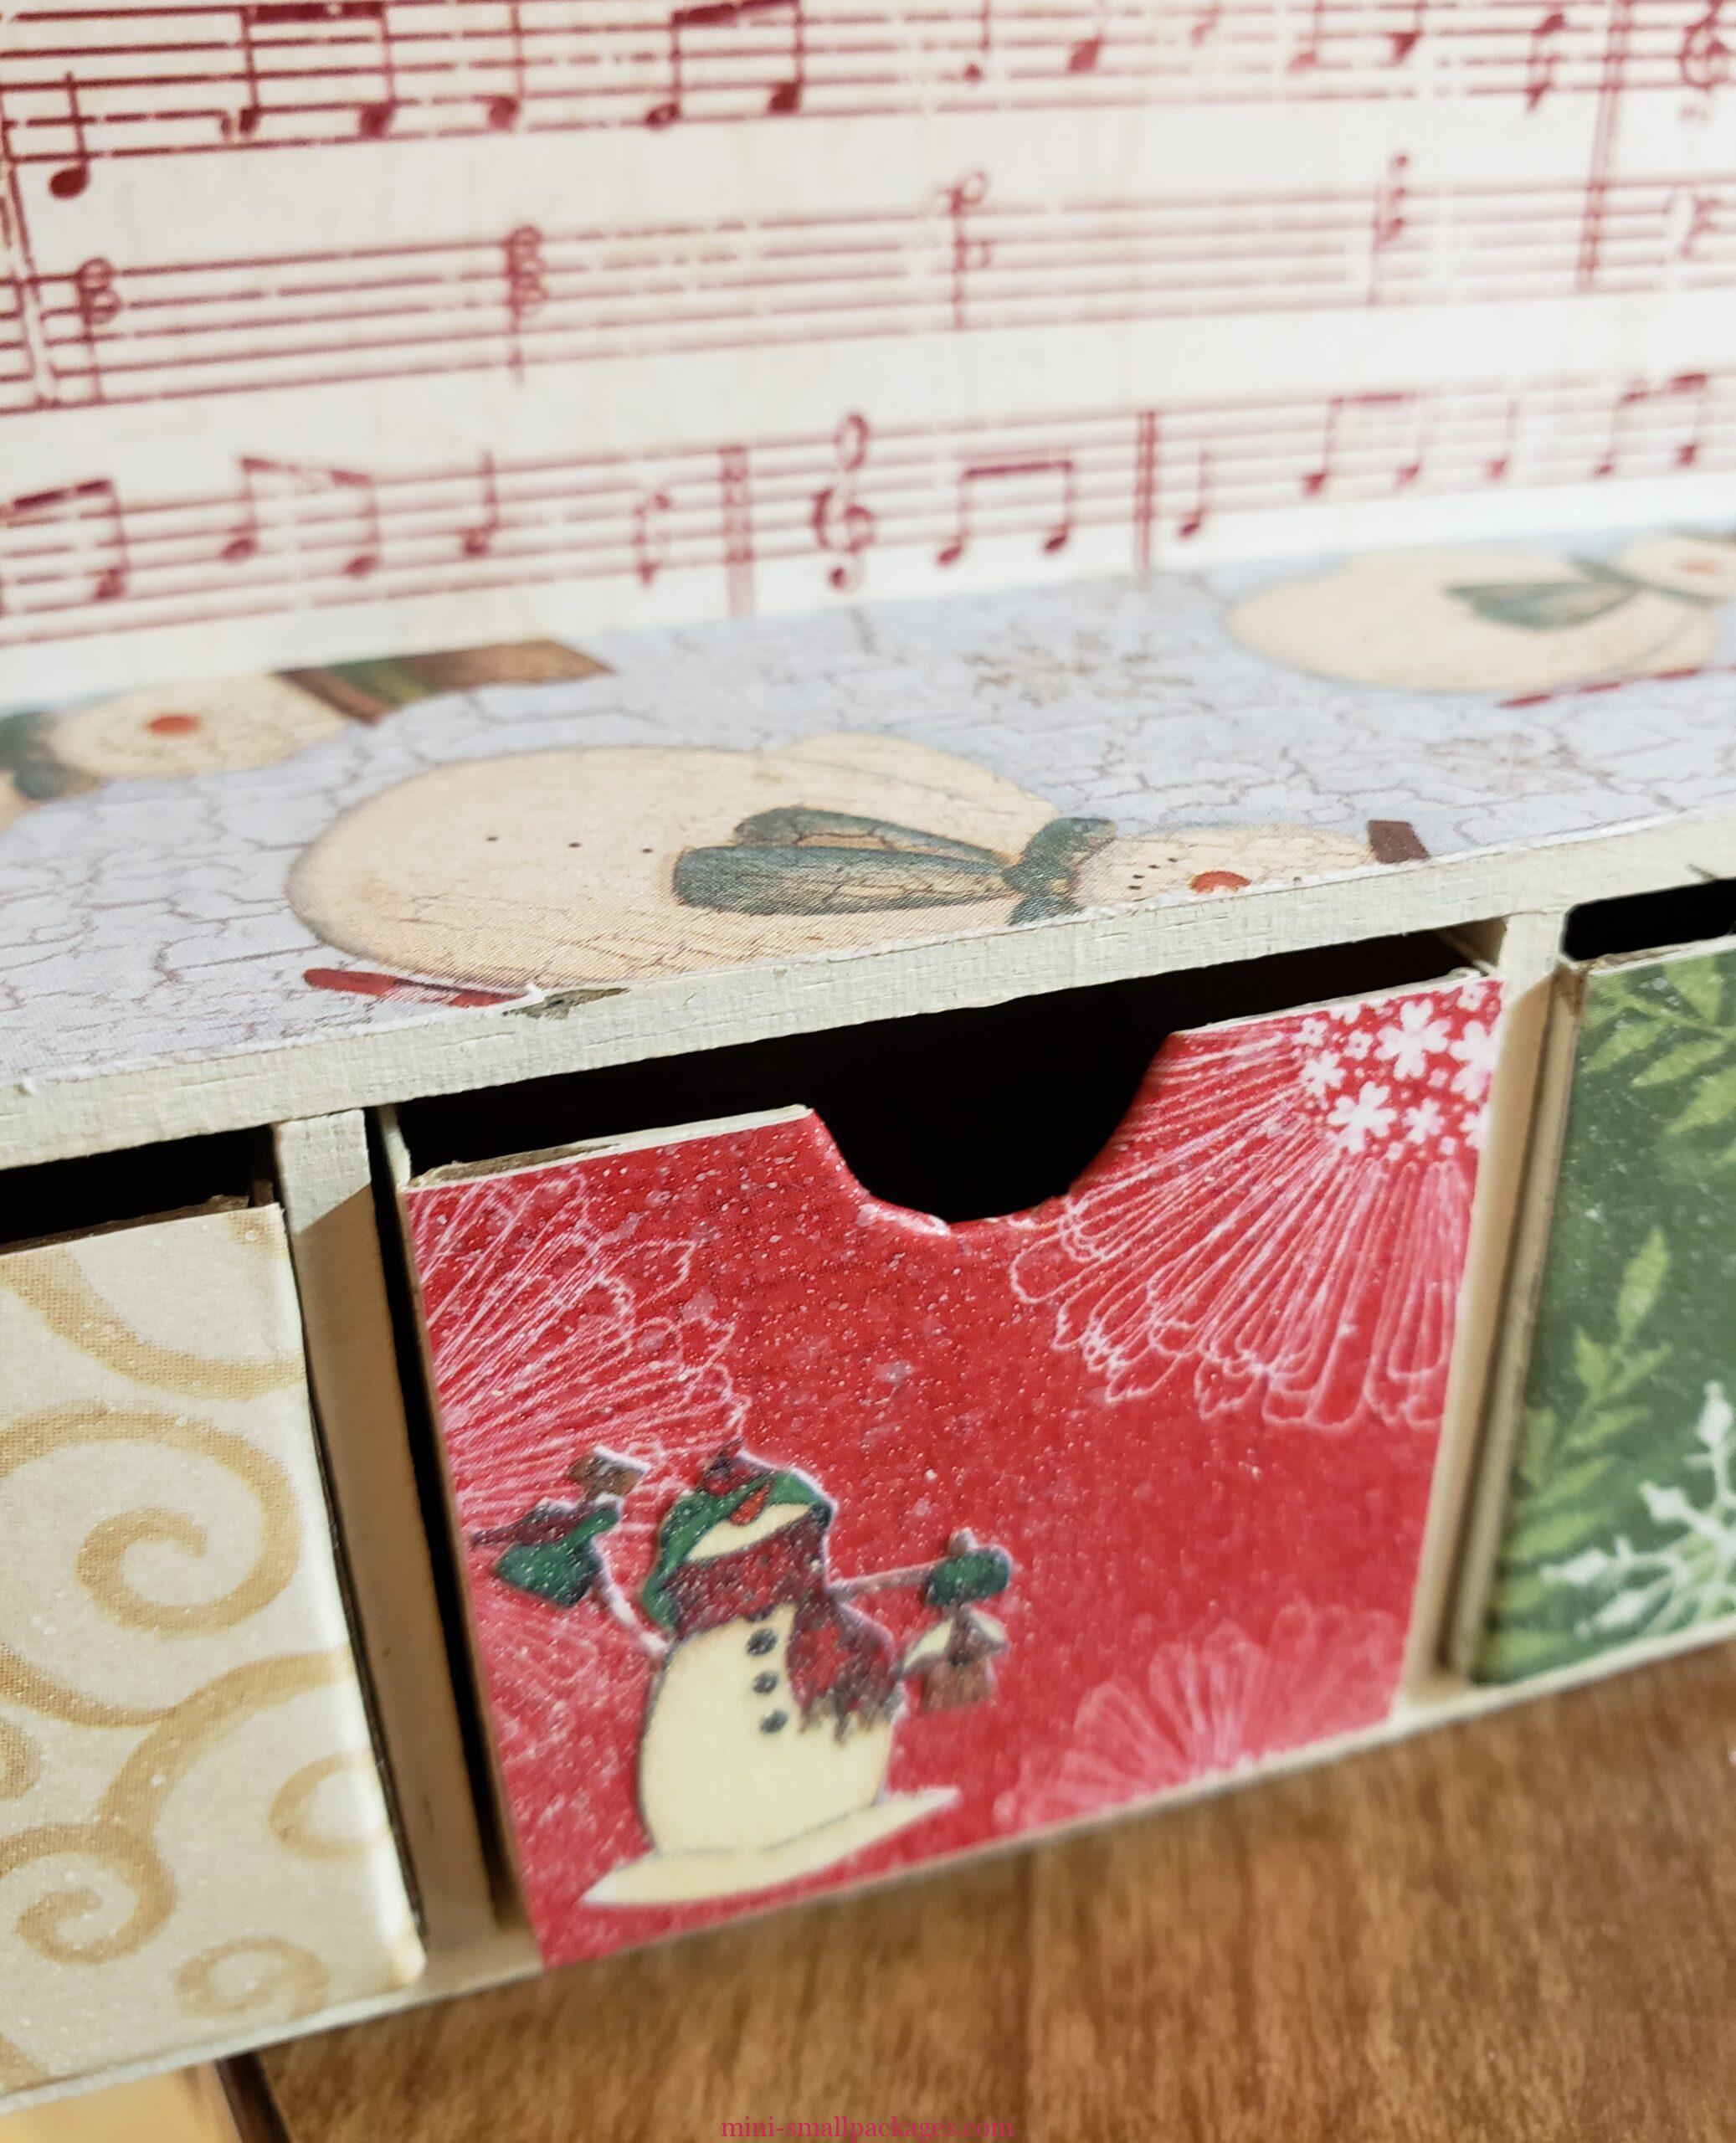
Each snowman was trimmed from wallpaper using tiny scissors and my craft knife. I would have used that wallpaper in more places if I had more of it. These were then strategically placed based on the drawer number that I didn’t apply yet. The numbers are a set of cardboard stickers. They are thick like the calendar box itself. I got those at my local hobby store and were the only set of 1-25 they had. I didn’t want to print my own because I thought I was going to get this done sooner than later. If I had I would wanted to cut around each number (like I did with the snowmen) rather than a simple circle or square.
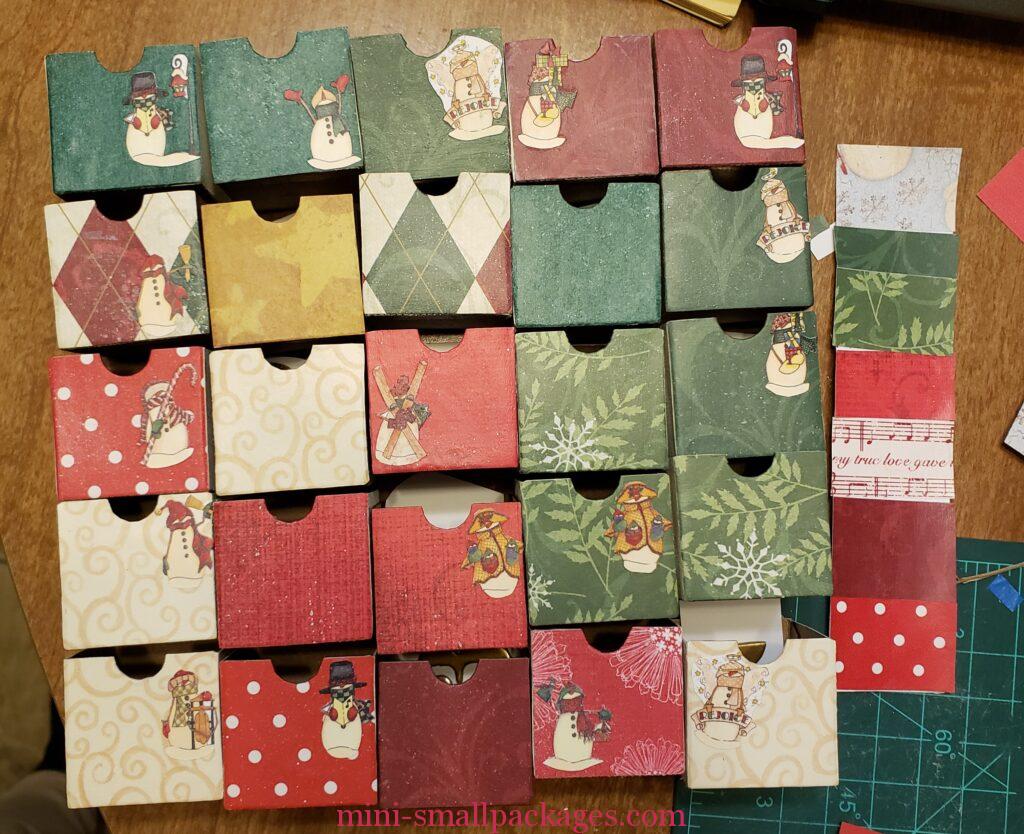
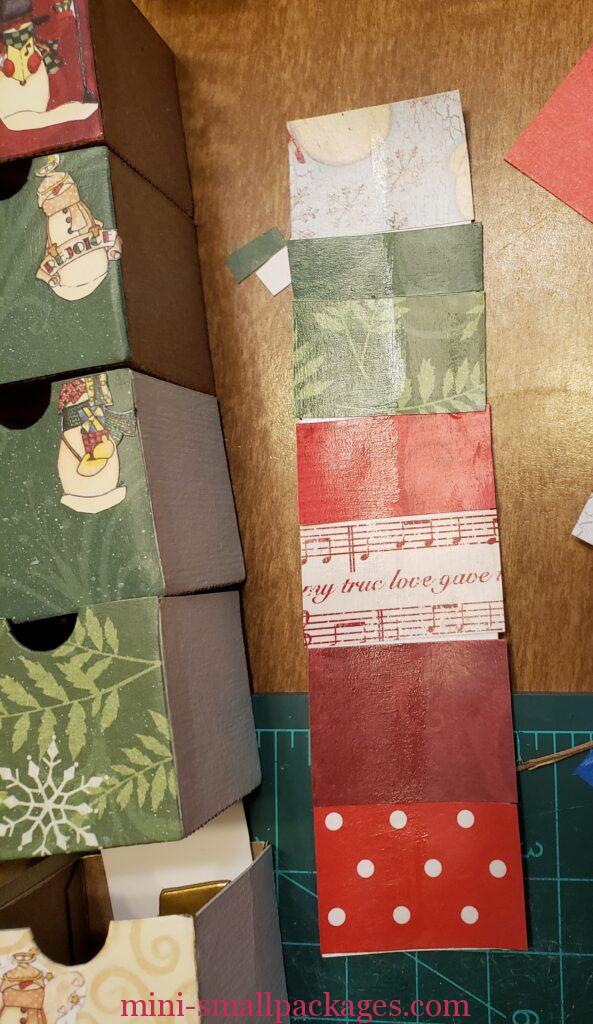
There is an extra drawer that I have to decide where it will go.
Electrical
I knew that I was going to add lights. I decided to add some little houses inside some of the drawers. I will be making it so they will light up inside the drawer once the drawer is turned and re-inserted.
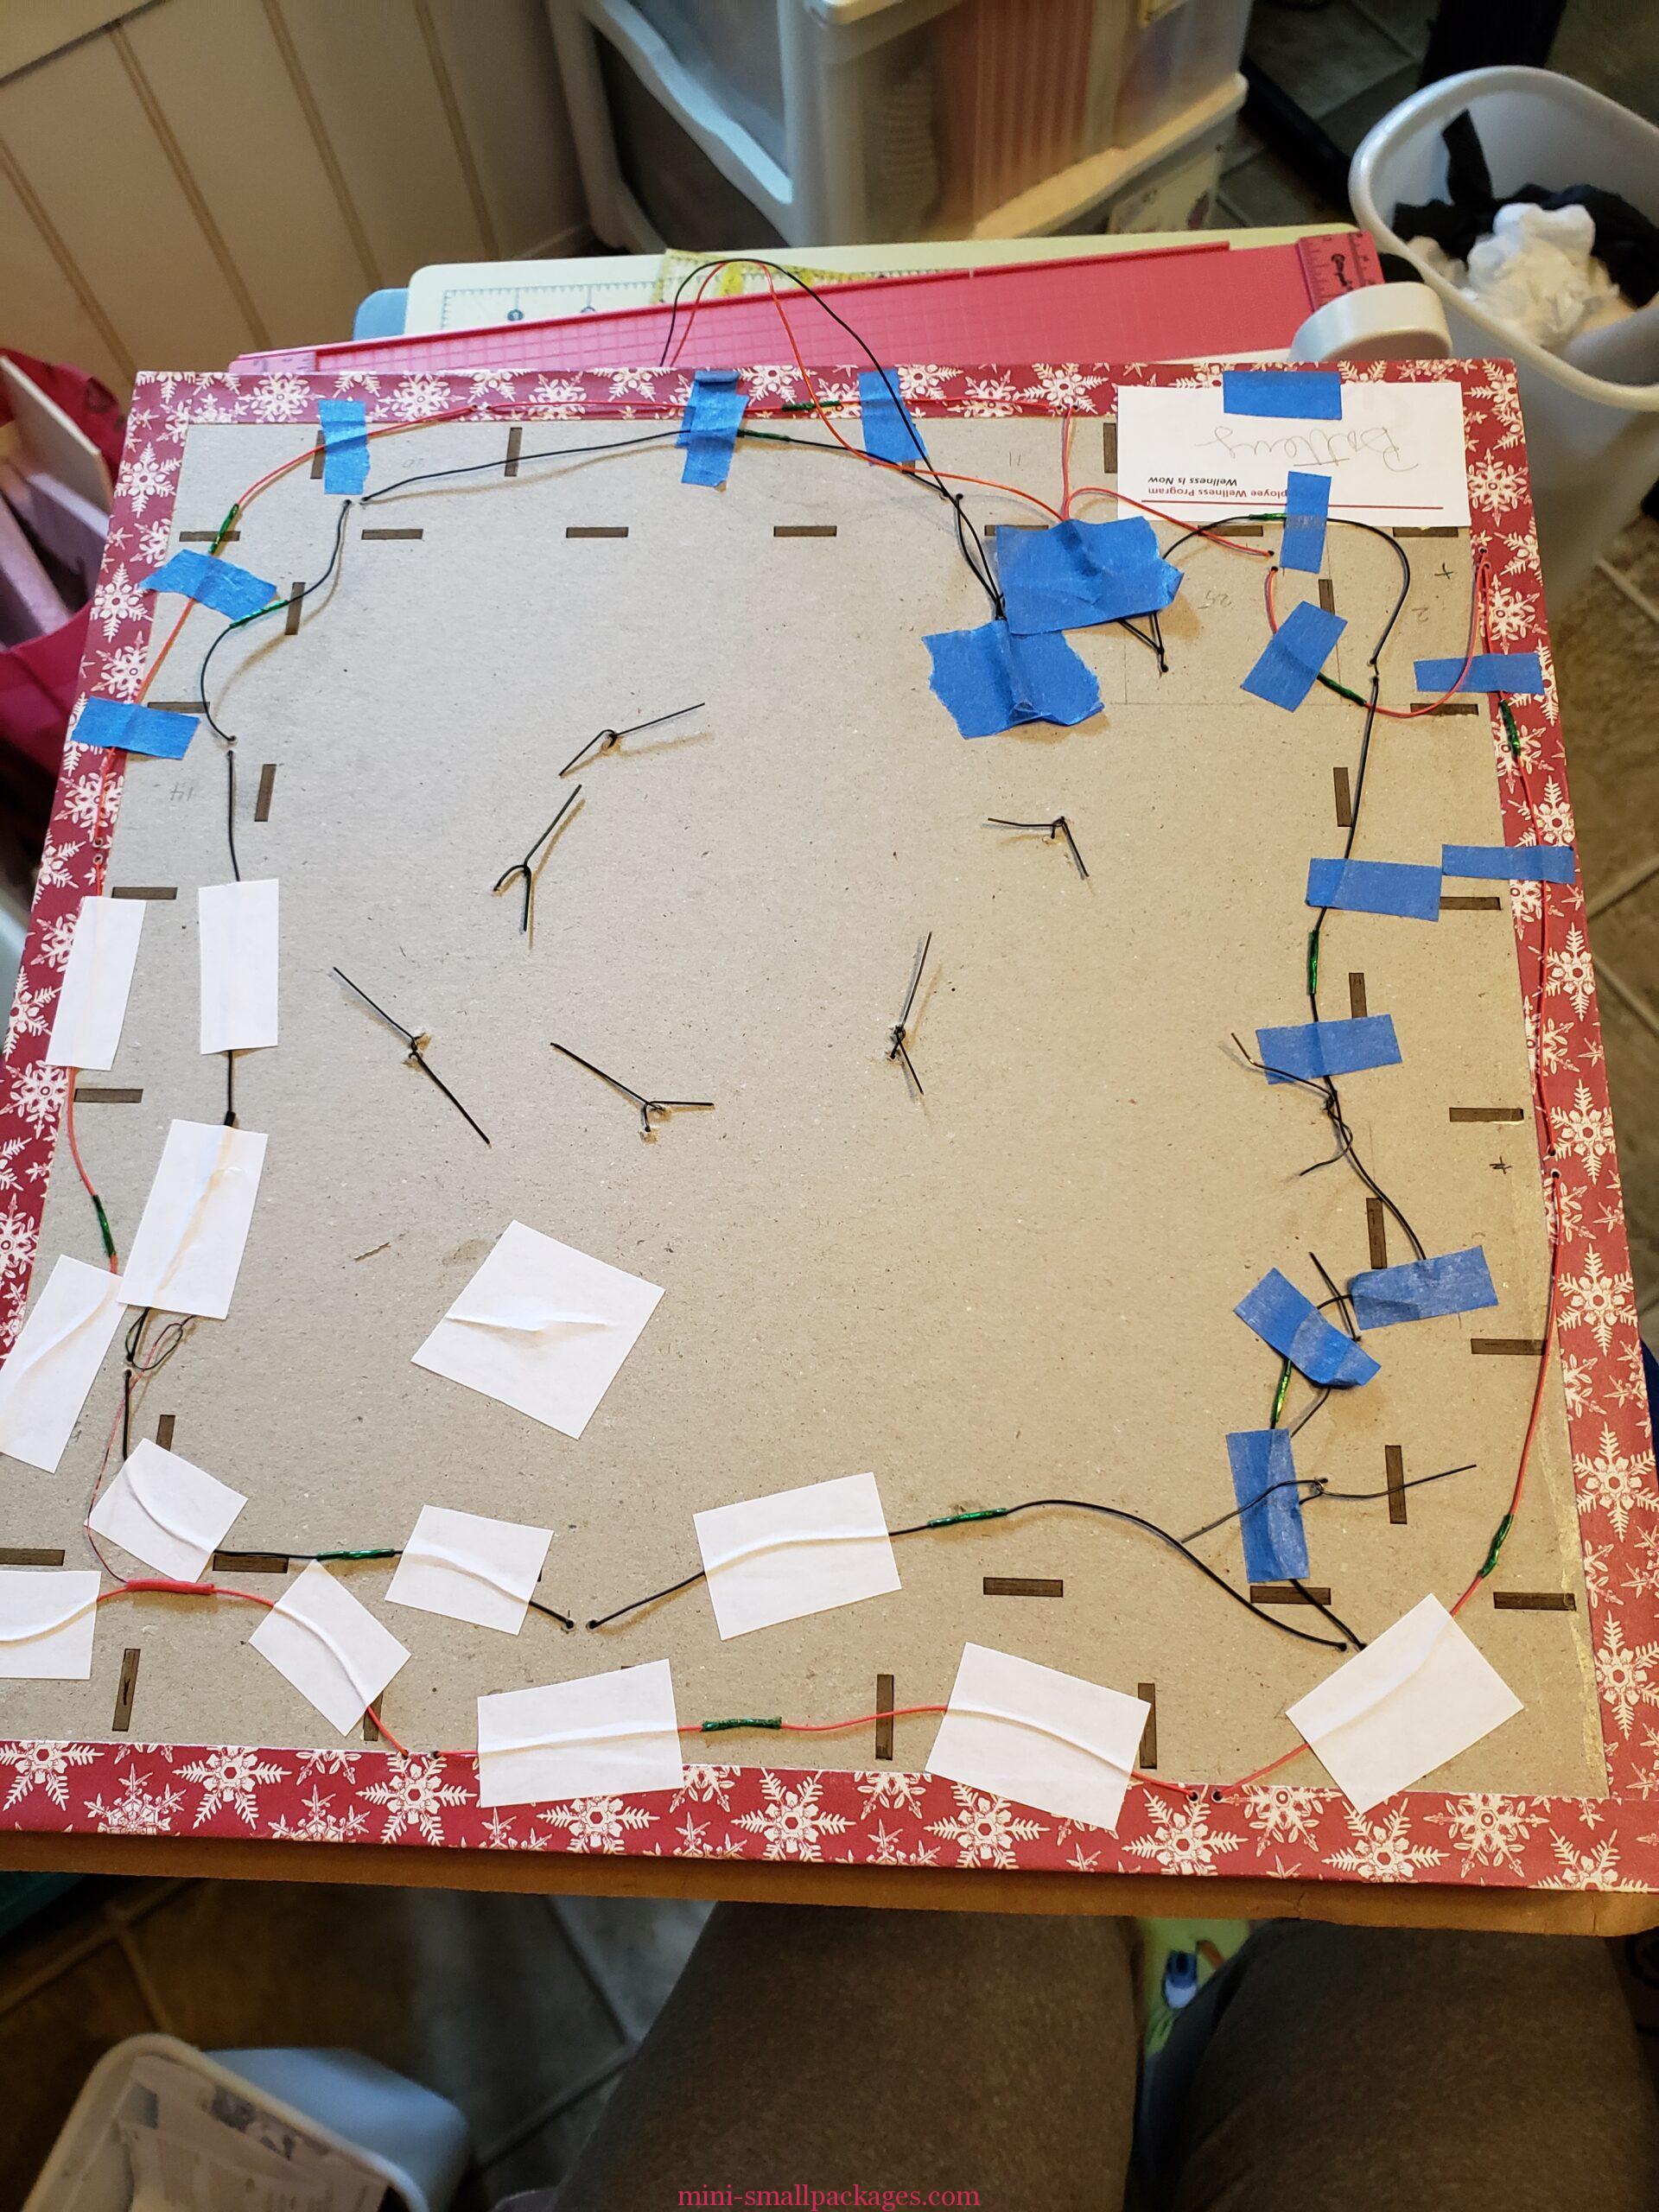
The wiring on the back is all wire I had previously purchased as connector wire. Every house required two connections and since they went into the front, I had a connection in between as well. I chose not to try connecting between directly since that would have little room for error unless extra loose.
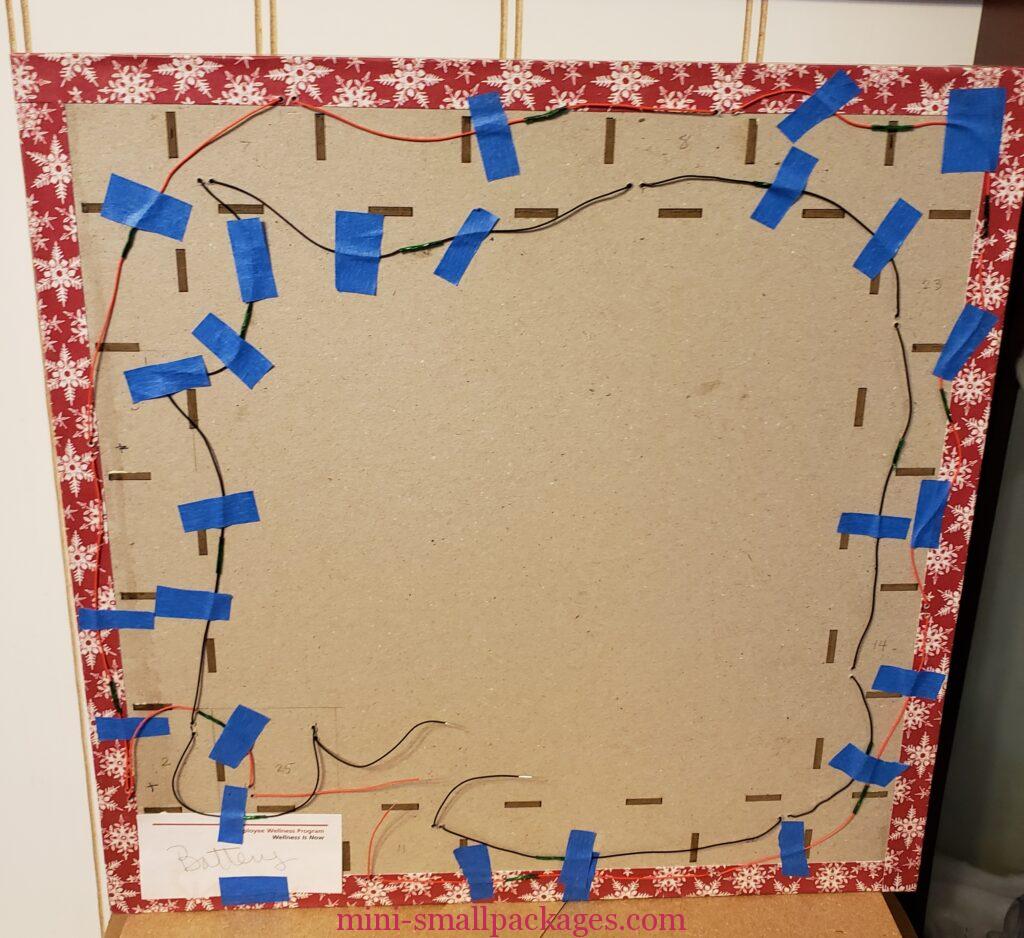
The connect to pads I cut using a hole punch from stainless steel sheets I purchased via ebay and were given to me by a fellow miniaturist.
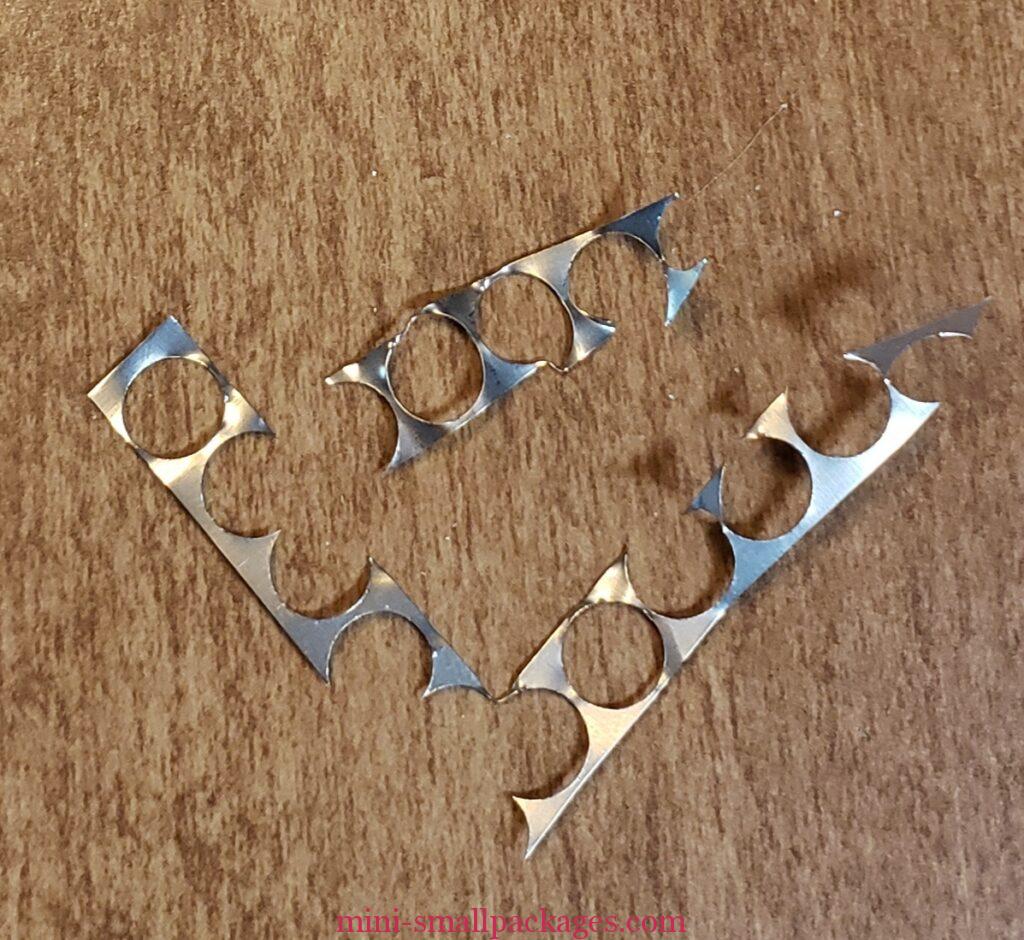
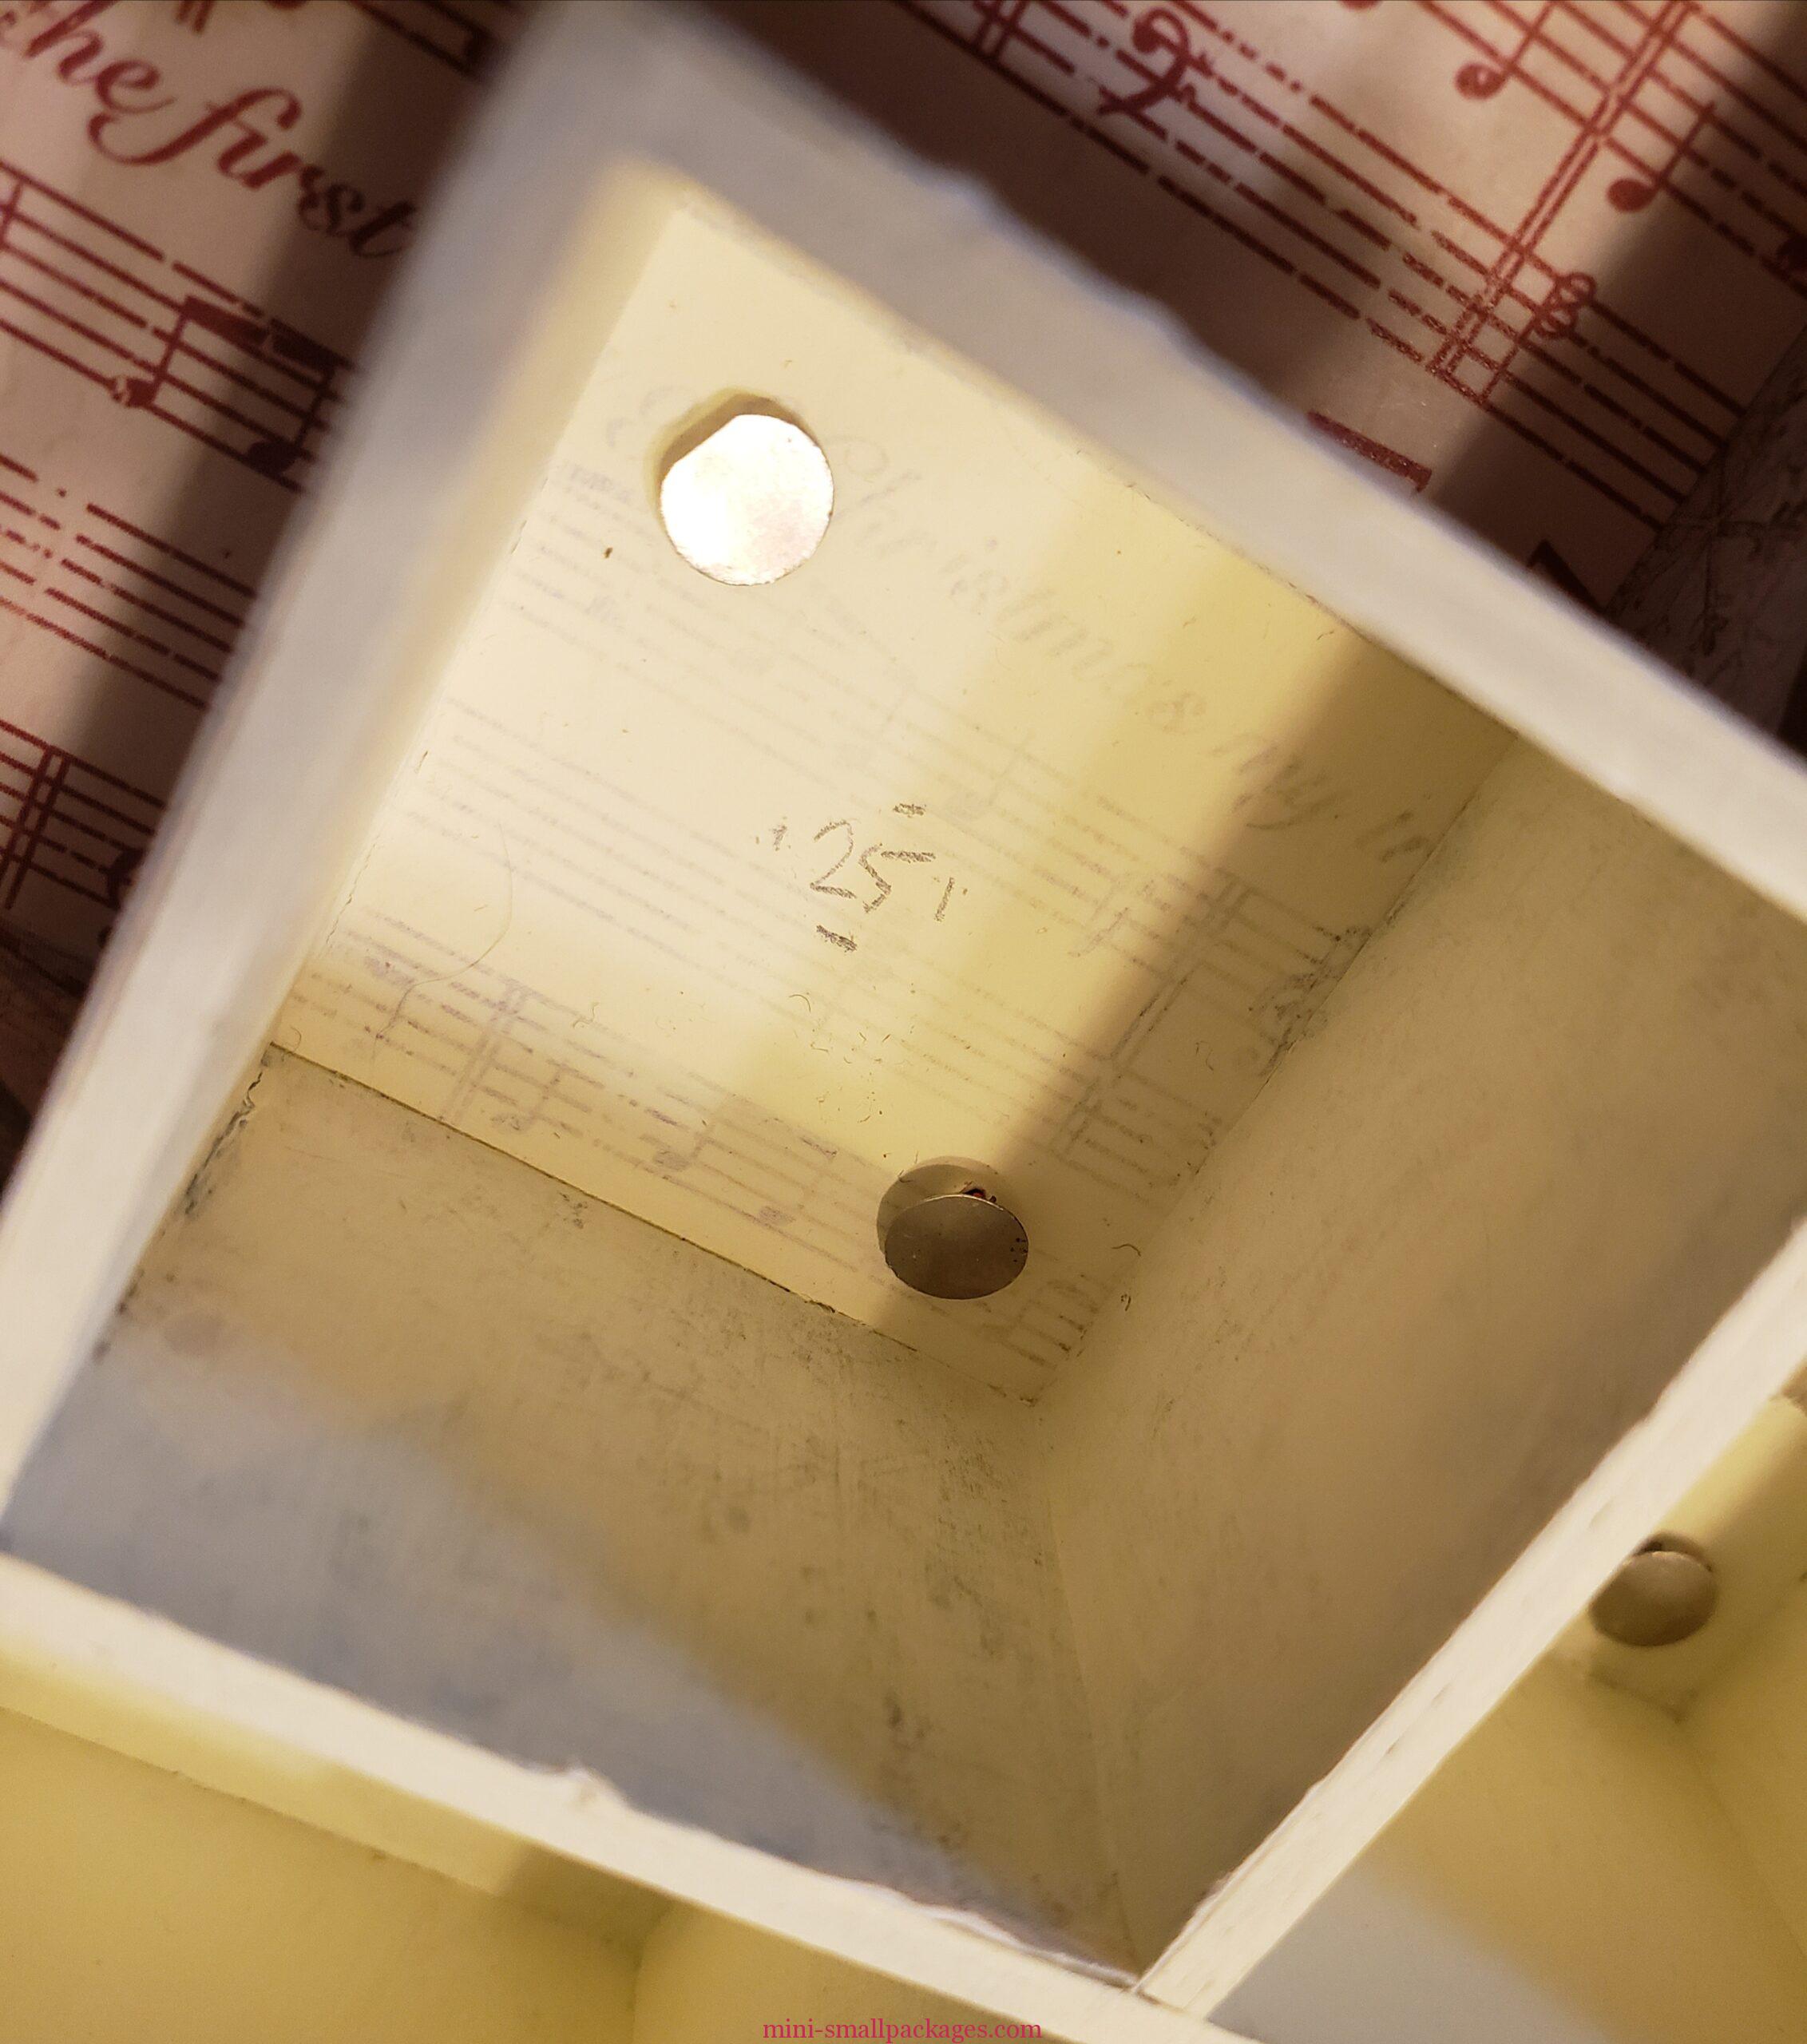
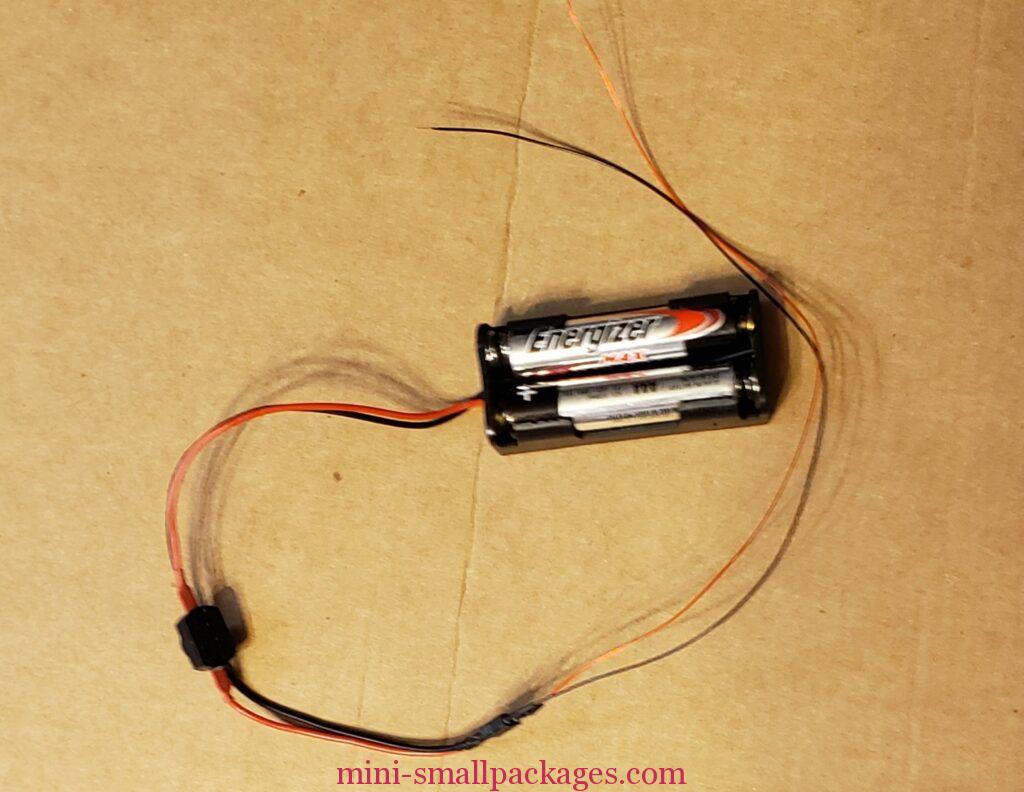
I really like the quick connects I got from Evans Designs.
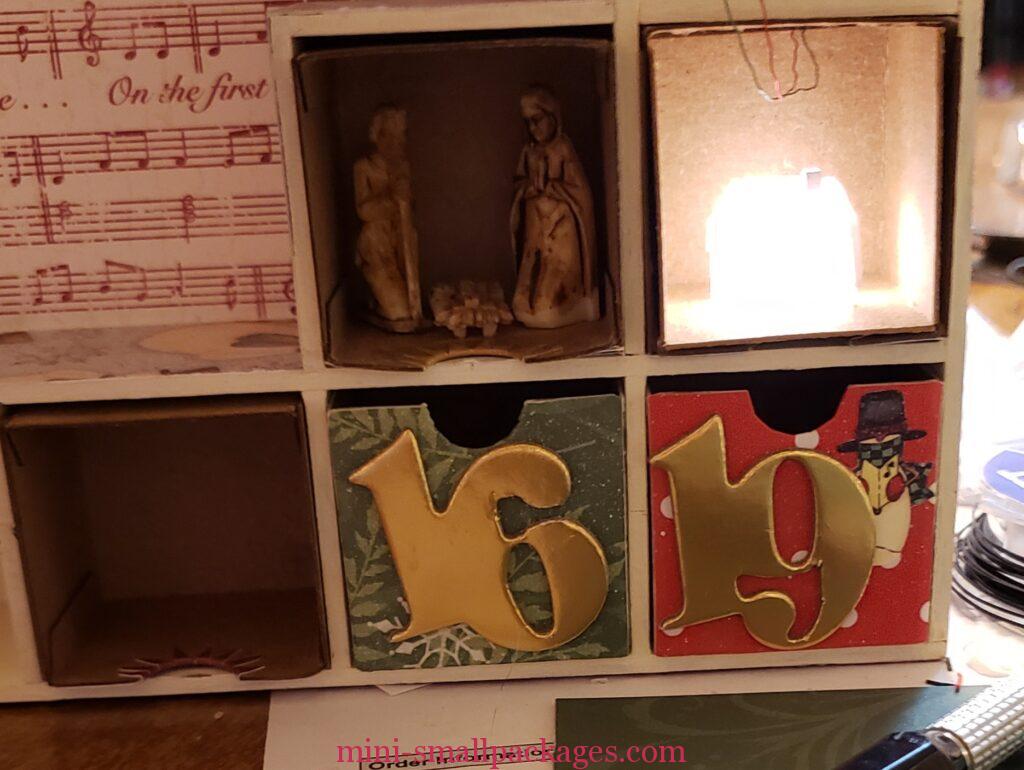
The lights are 3V warm white Pico size. Yes, they look really bright.
The battery holder needed a box to house it. I didn’t want it to hang loose. To make it, I used a different kit I also bought from Alpha Stamps. It is a shelf kit and not as deep. I knew I would have leftover pieces based on what I bought the kit for. I assembled the other kit as a dry run to decide what pieces would be extra. Then I cut and made a box from them.
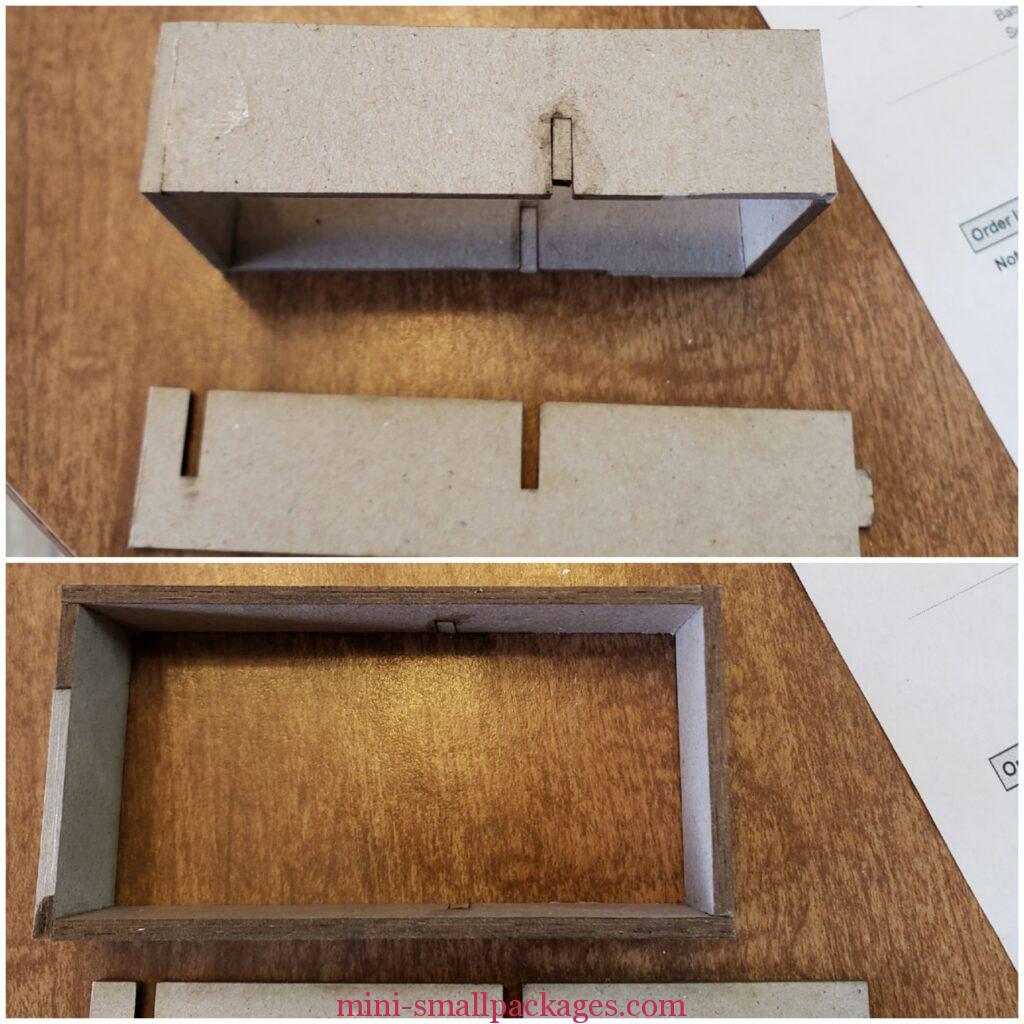
Drawer Houses
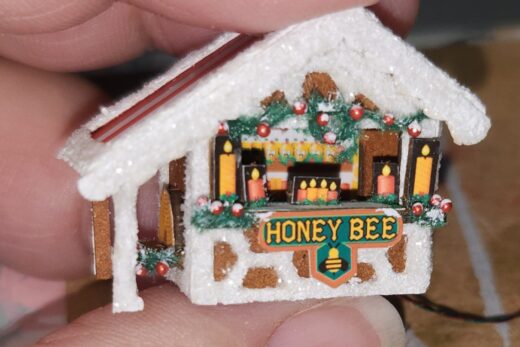
Each of the houses are kits by Karin Corbin. I purchased all her Micro sets and built some beforehand for potential other projects. I selected 8 that I will use.
Rather than hand paint 8 backgrounds I chose to search for scenes online. One is from a photo my husband took.
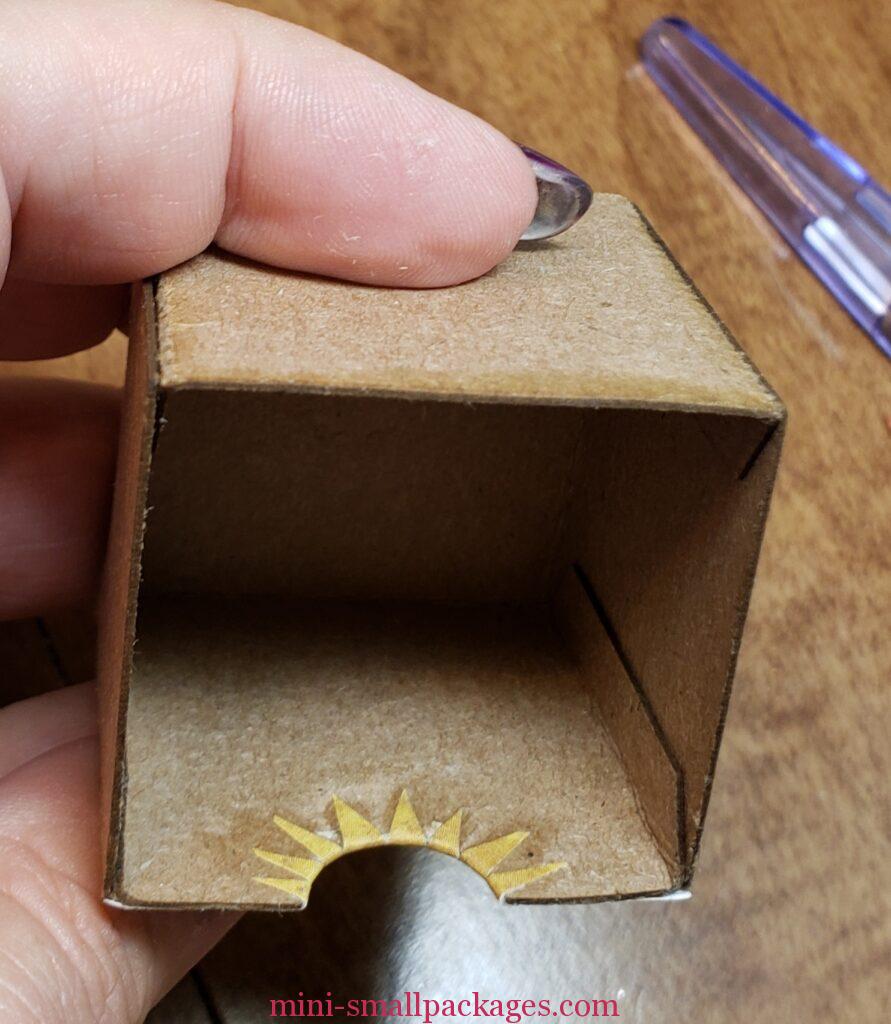
The drawers are shipped flat so you have to fold and glue them together. I made inserts using Word. They are empty text boxes all the same size grouped together. I printed one as a test to get the size correct. They would need some room for wires. The notch is a circle that I just cut away the rest. The pictures are sized and or cropped to fit across the three middle boxes.
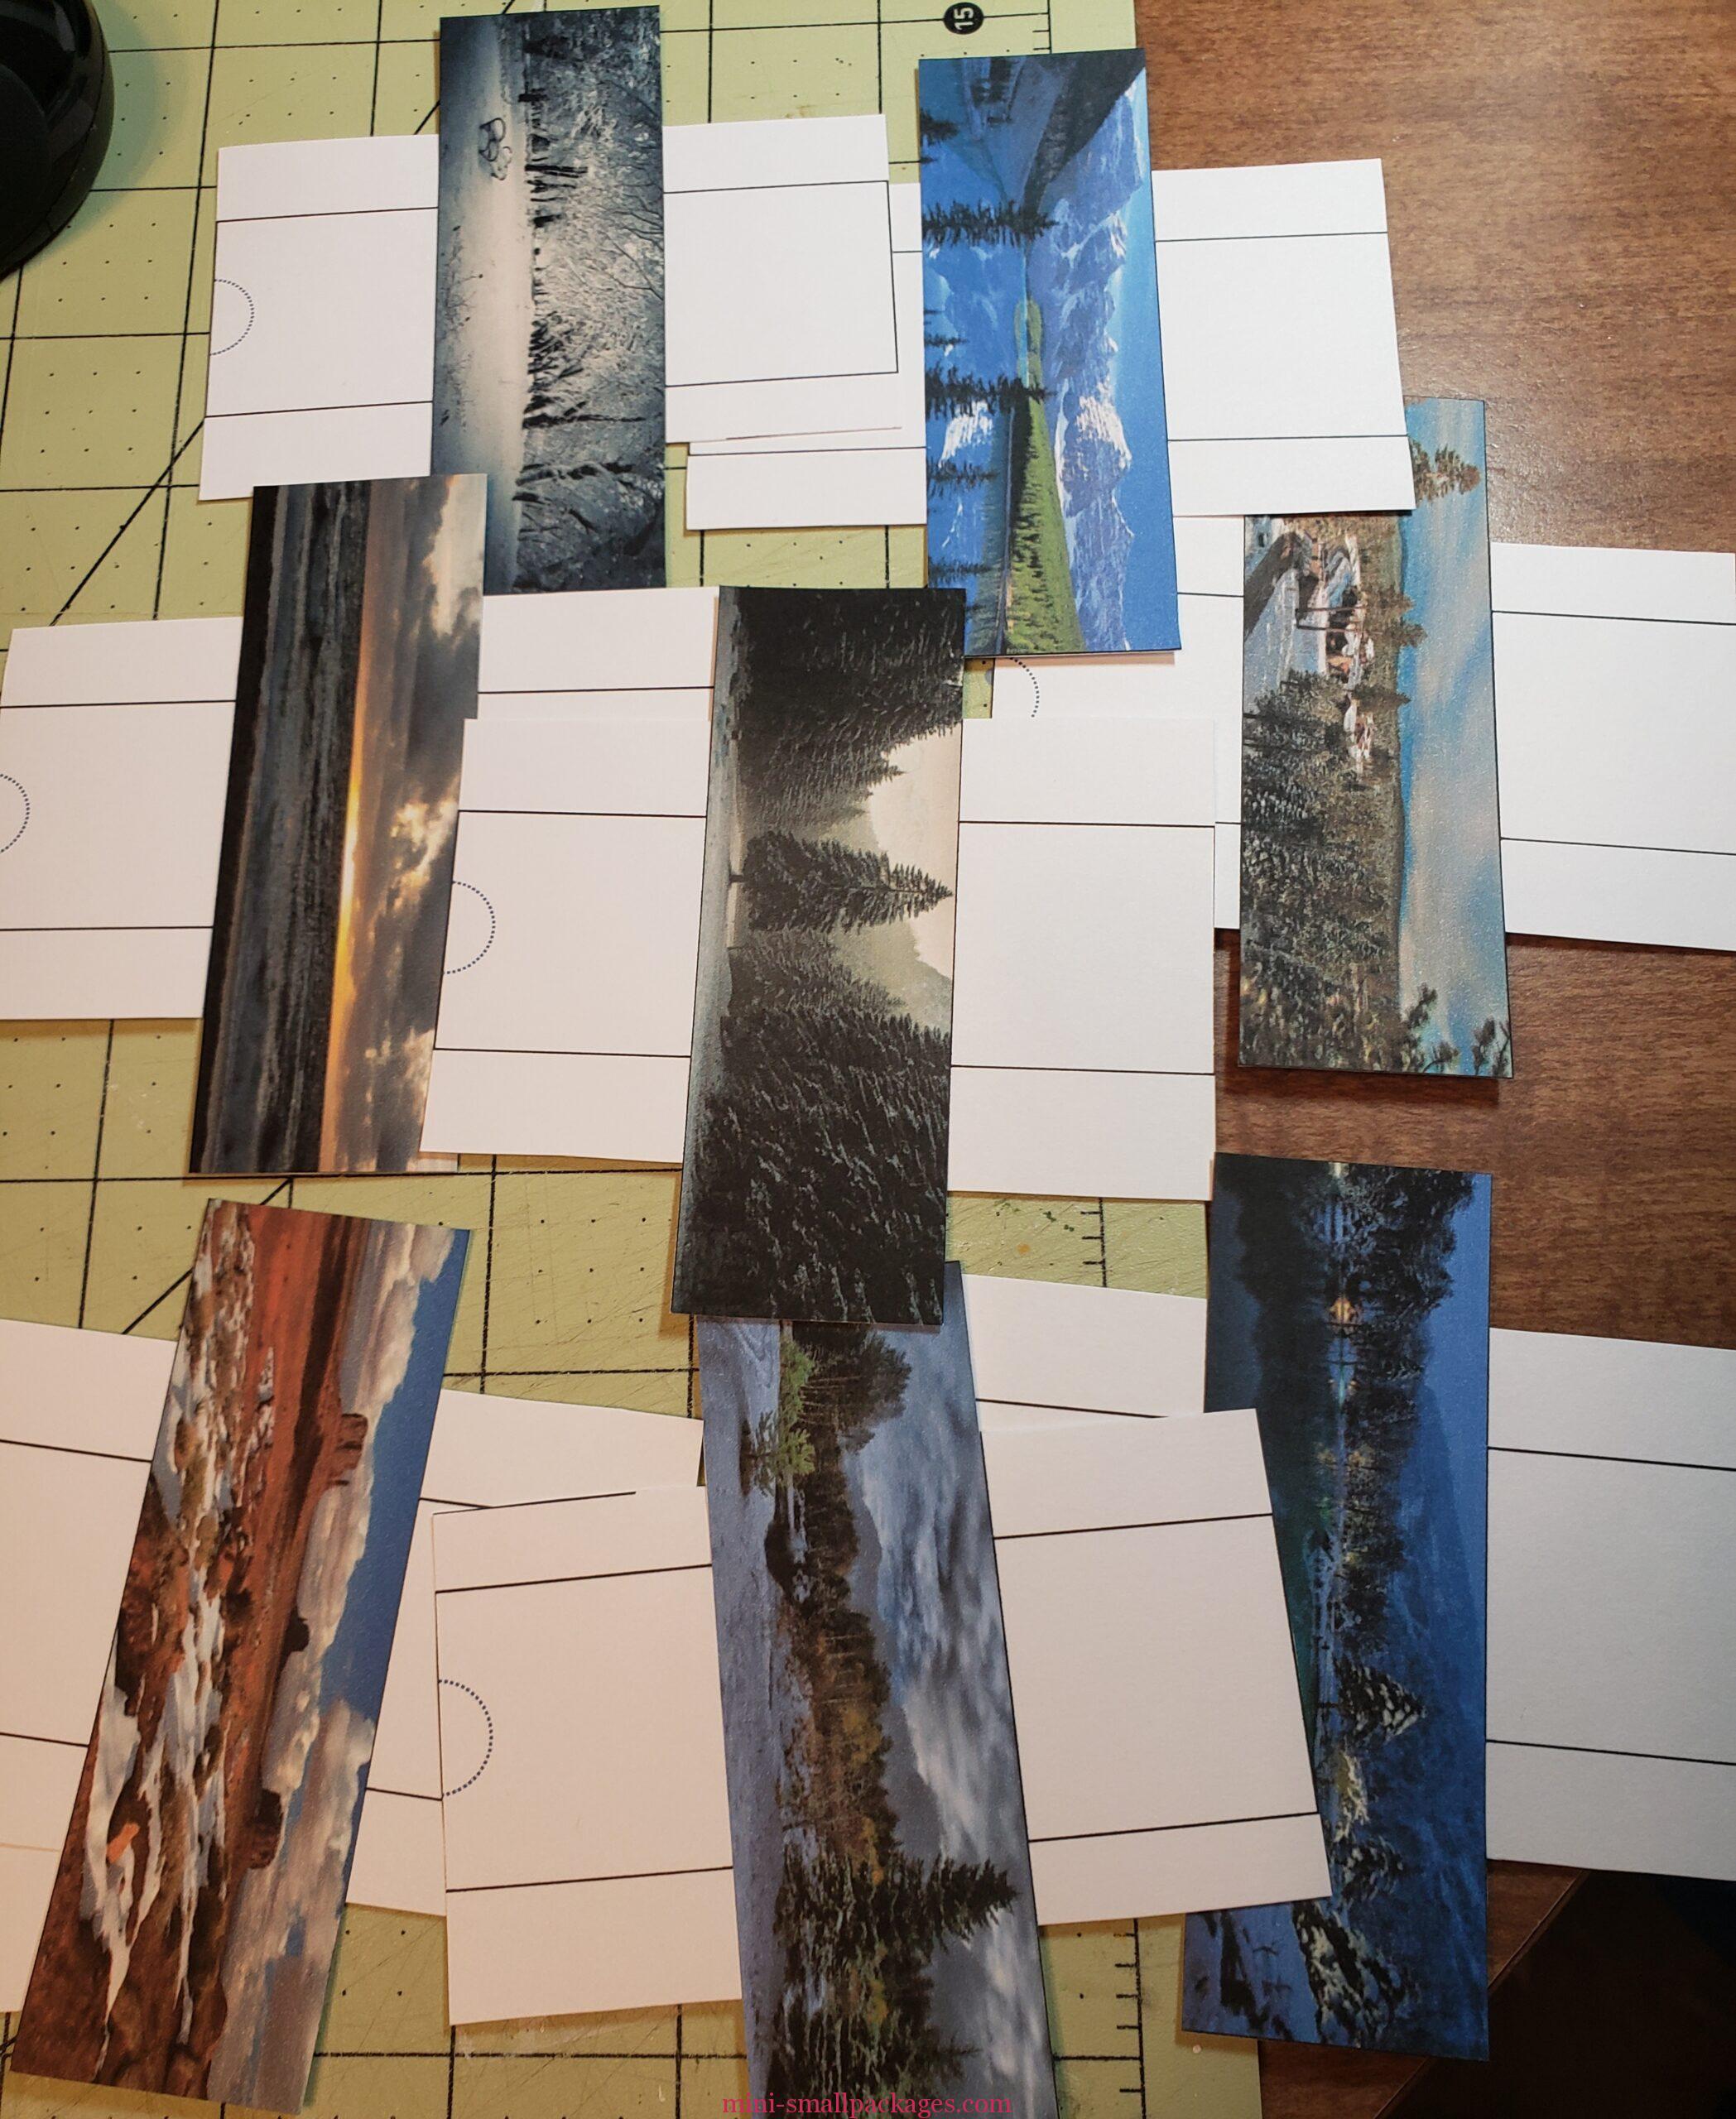
When I chose the pictures I had in mind to do different regions: mountains, beach, the lake and woods, etc. The same is true of the houses, that each is a different style and painted accordingly.
The last printing I decided I would add the picture to the top and bottom, not just across the sides and back. To do that I would flip the picture and stretch and crop until I liked the match. The only problem was when I added glue, the color ran. It turned my sand black. On another, it turned the snow pink. This is the first time I have dealt with this. I could have sprayed on a sealer, but didn’t as I don’t normally. Instead I decided to add squares of white on top to some. For the black sand and pink snow, I cut the bottom and added replacement squares. If I were to do again, I would not add the pictures to bottom and I would seal the print.
To achieve the looks of each region, I decided some would be flat layer of snow and others not. The beach has sand. I used white paint for light dusting of snow on the sand. I also made palm trees. These were made using lycopodium. I pulled off the leaves and only leaving a few at one end. I glued extra leaves back on.
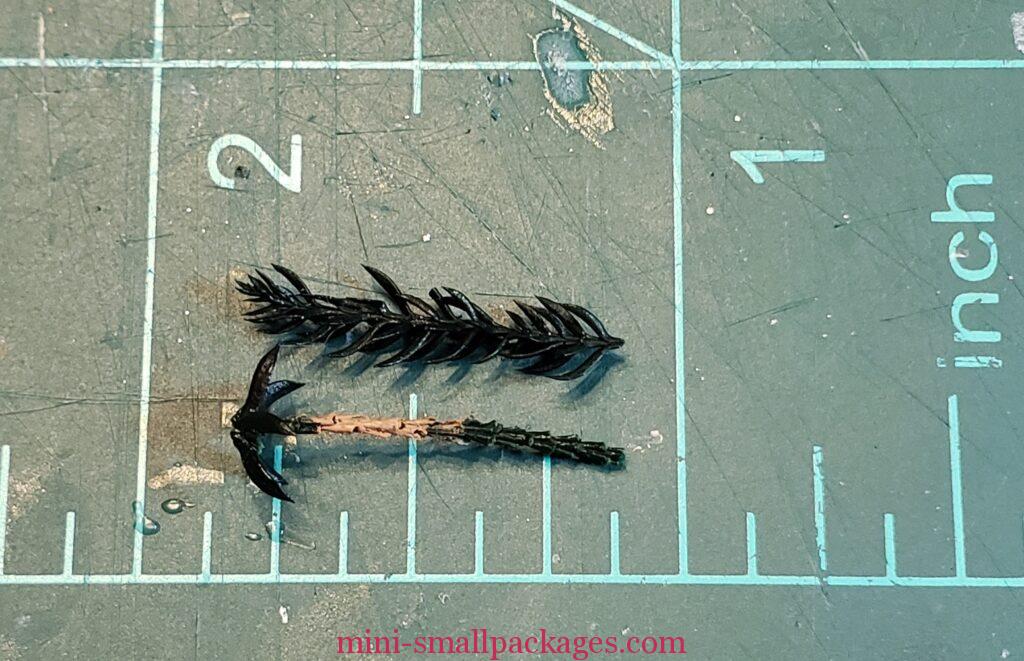
I painted the trunk brown, added a little white paint and glued them in place.
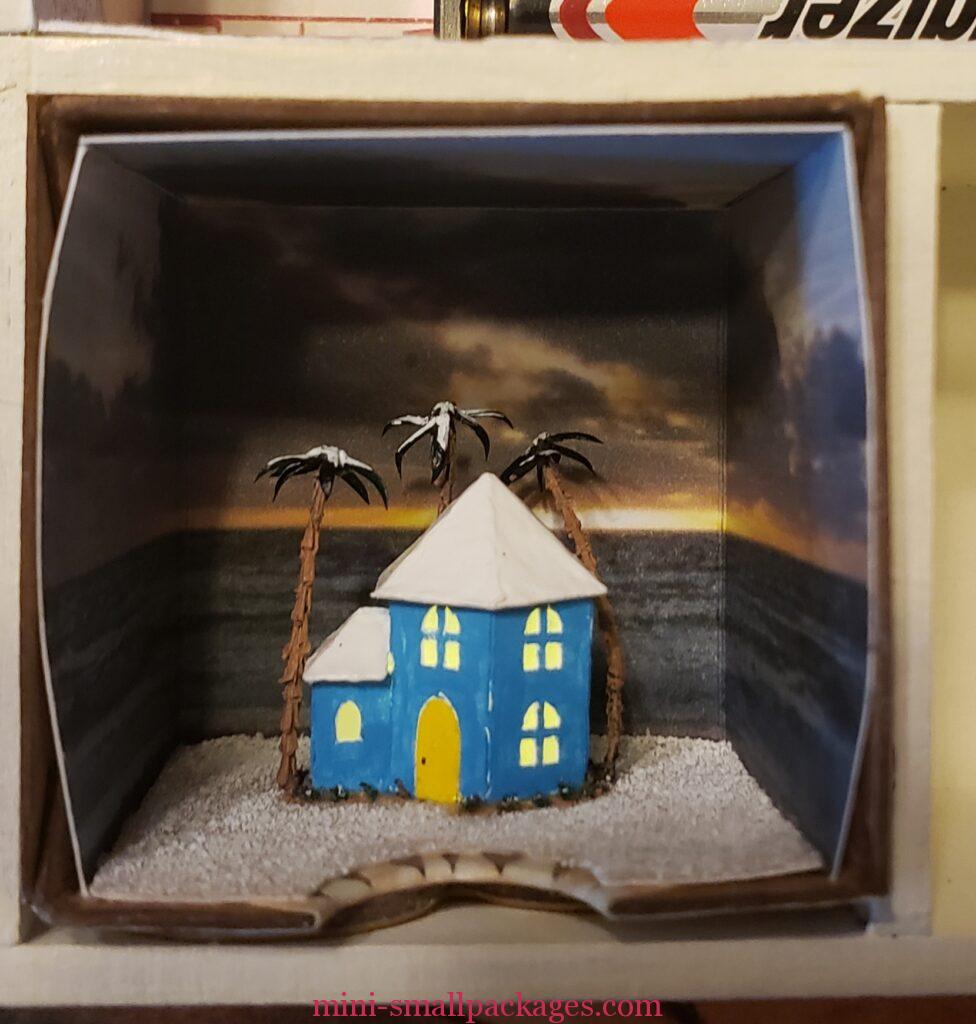
The snow for all the houses is Scibbles 3D paint. Each house really needs extra layer paint on the roofs. This is because the lights will shine through. I have a tendency to forget. The 3D paint somewhat helps but being white it does not fully.
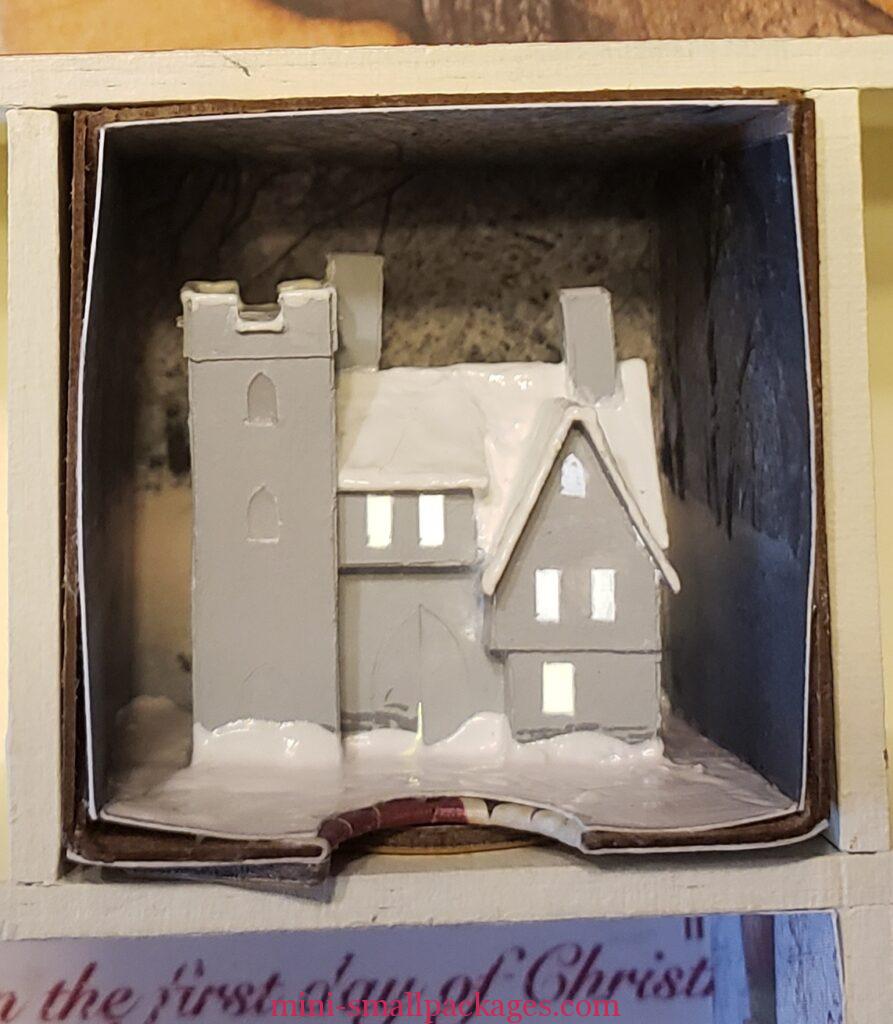
Each house has a hole for a light. I had to add the hole to the base.
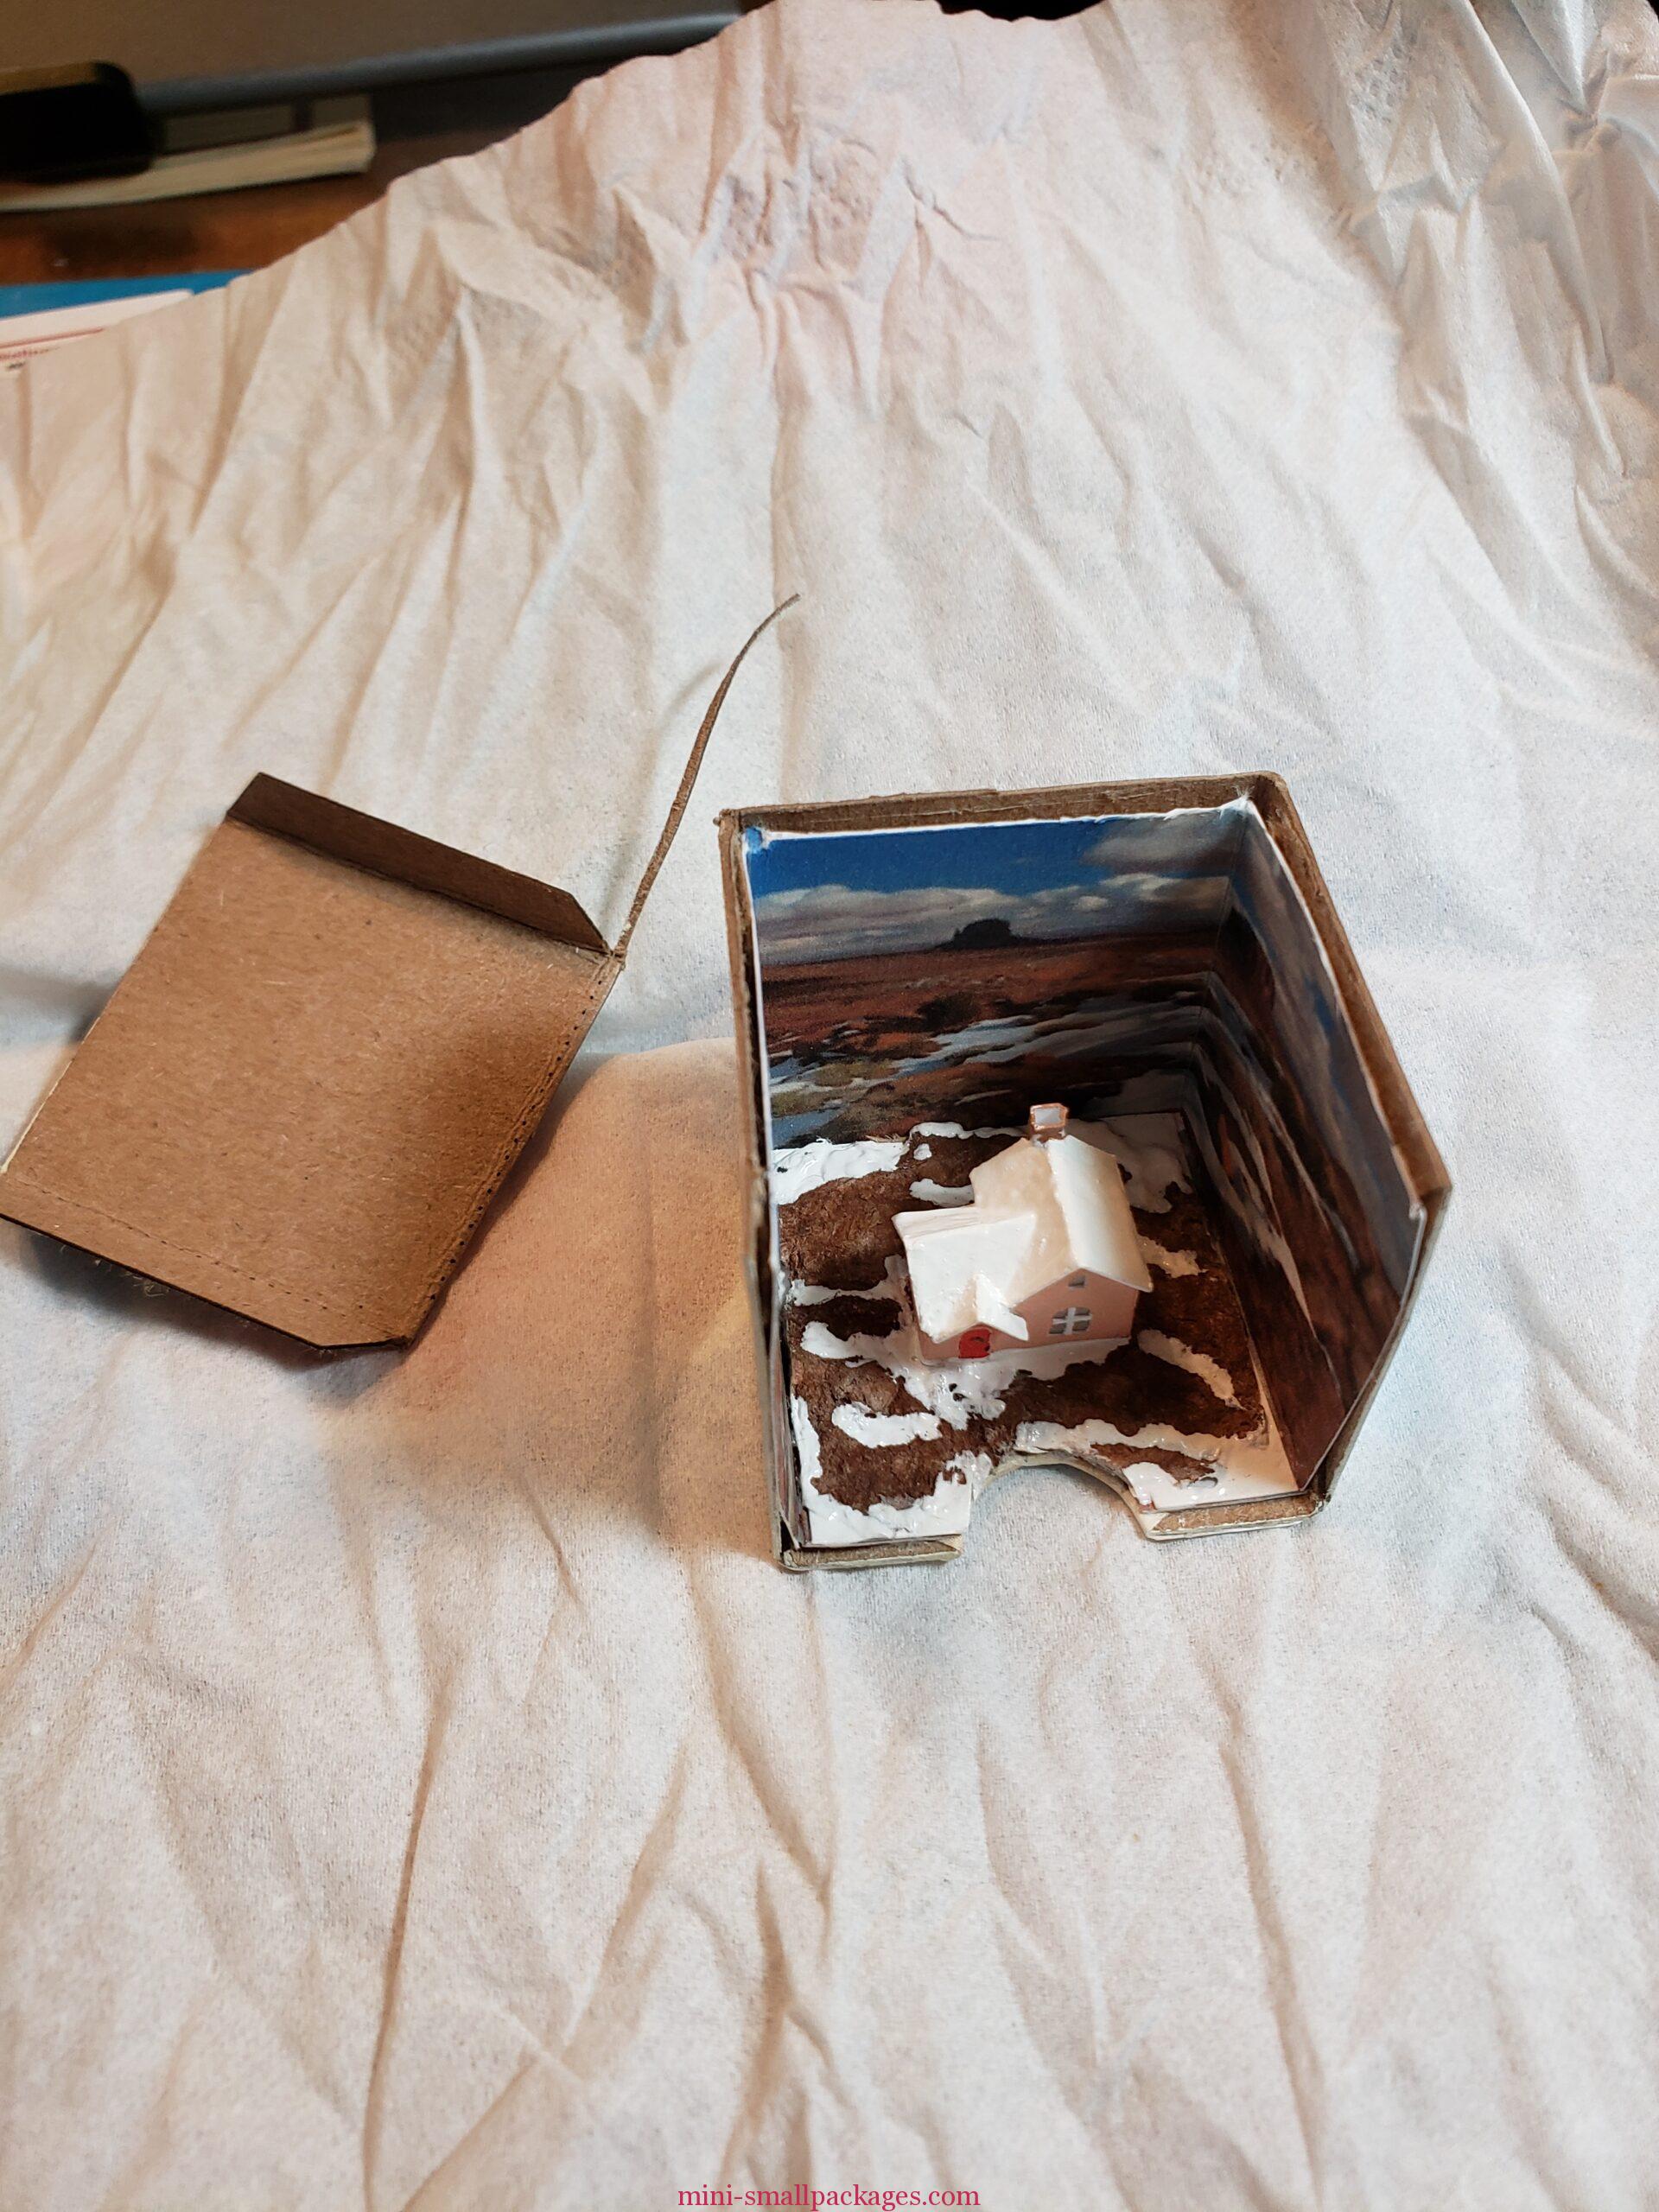
To do this desert scene I used Celluclay. I pressed it on a scrap piece of builder’s foam and while still wet, I brushed on pastels. This is a mix of orange and brown from my 12 pack. I have used these very few times but I can see using them more in the future.
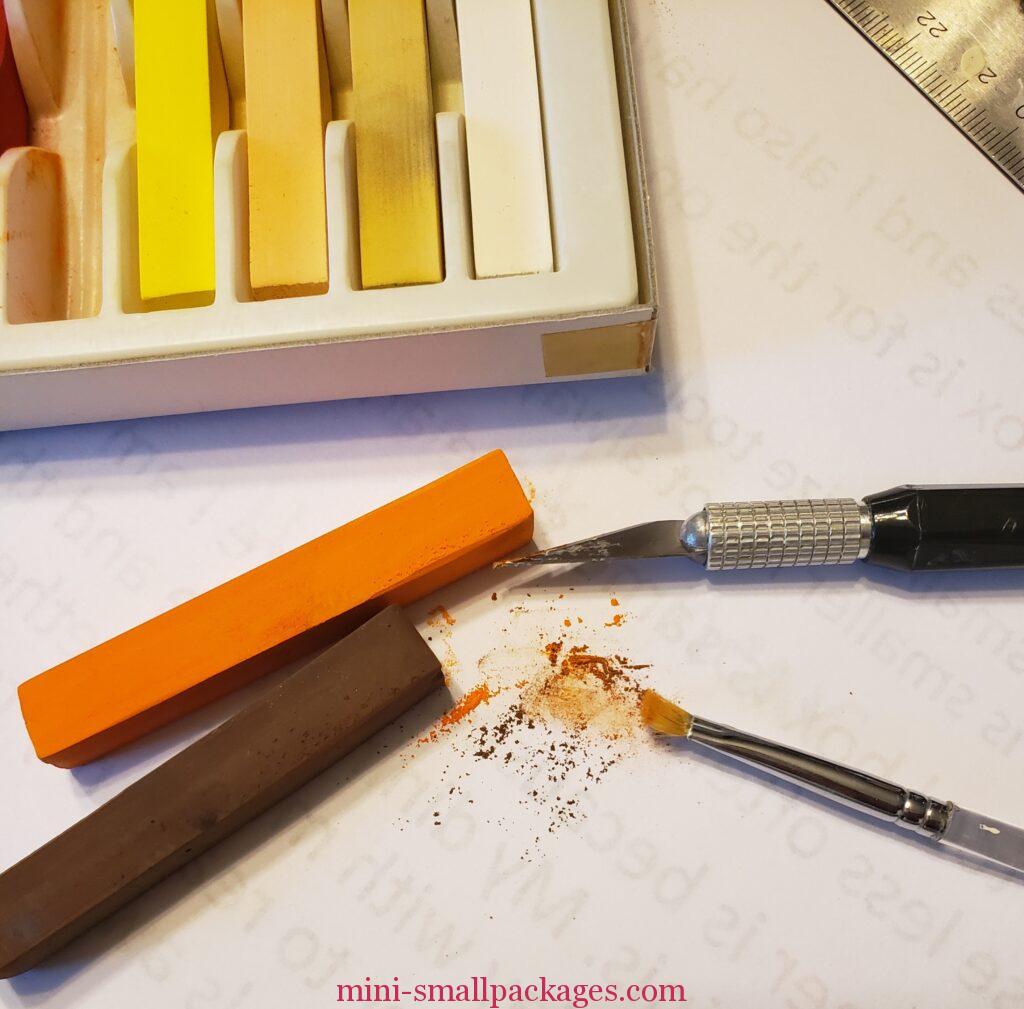
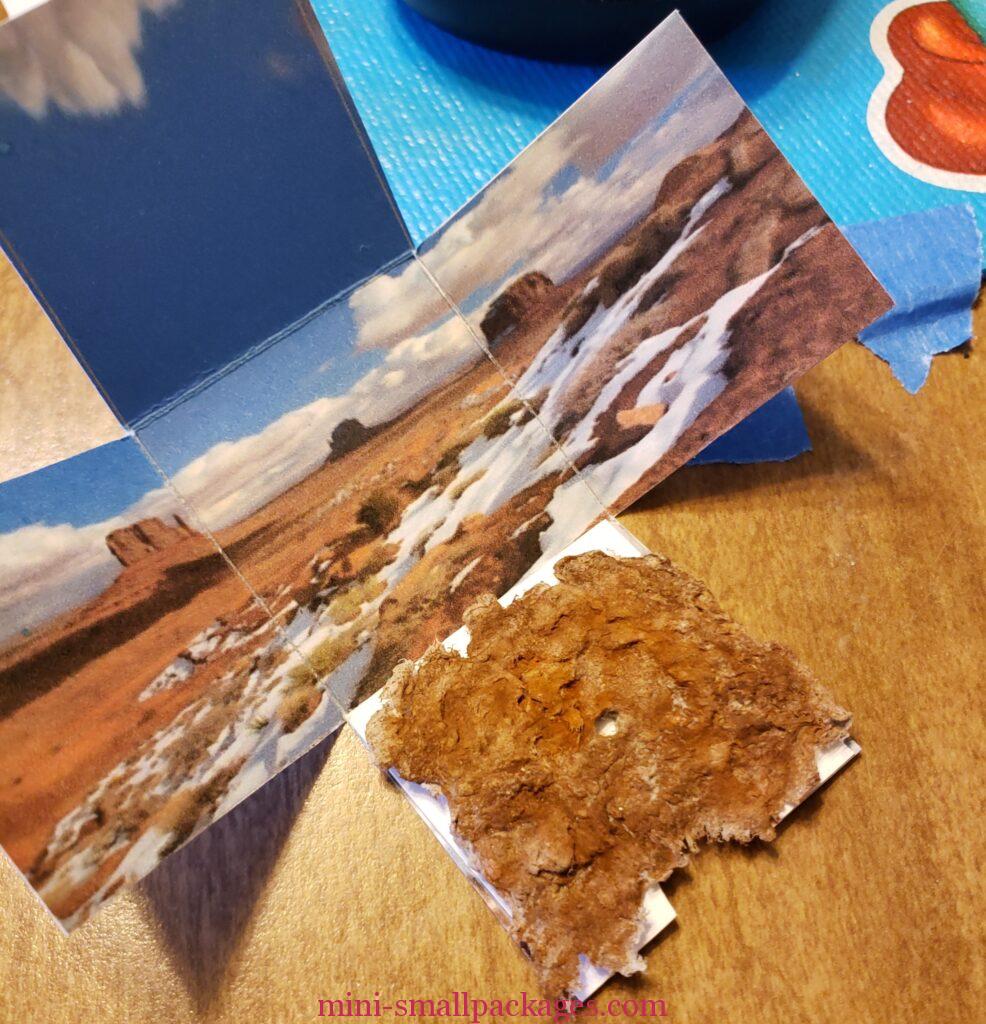
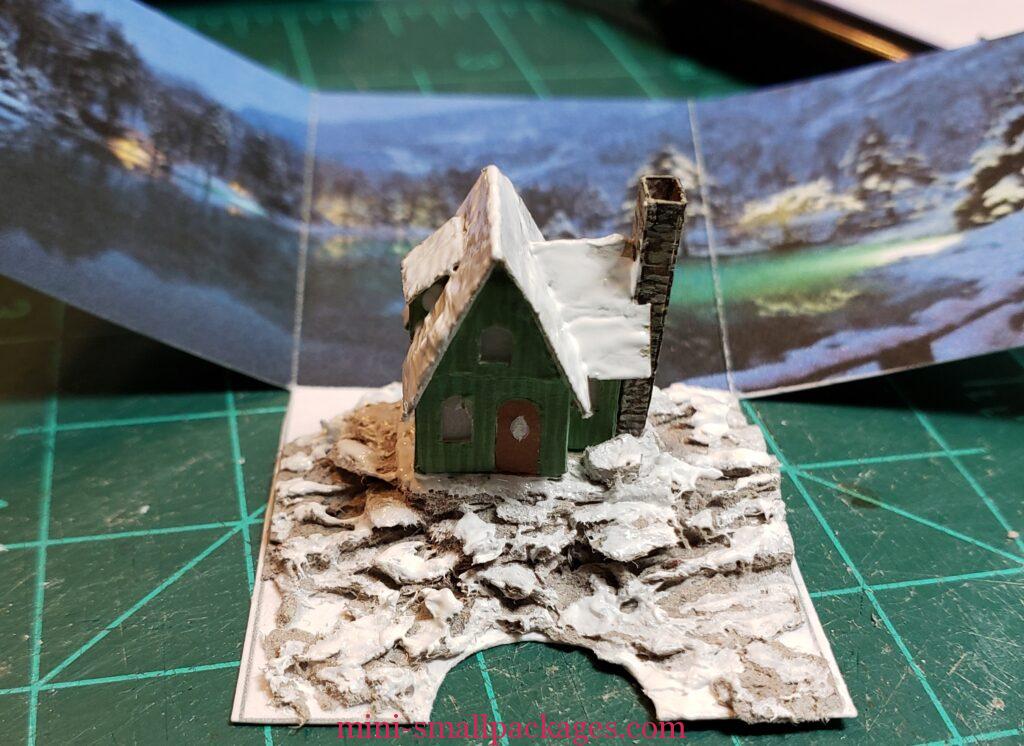
This one was some extra Celluclay I used to demonstrate in a zoom meeting. I decided rather than throw it away I would use to make some spots of texture. Then later decided I would use with remaining houses. I glued in place and added the hole. Not as easy to add the hole once dry. But important to add before gluing the house in place.
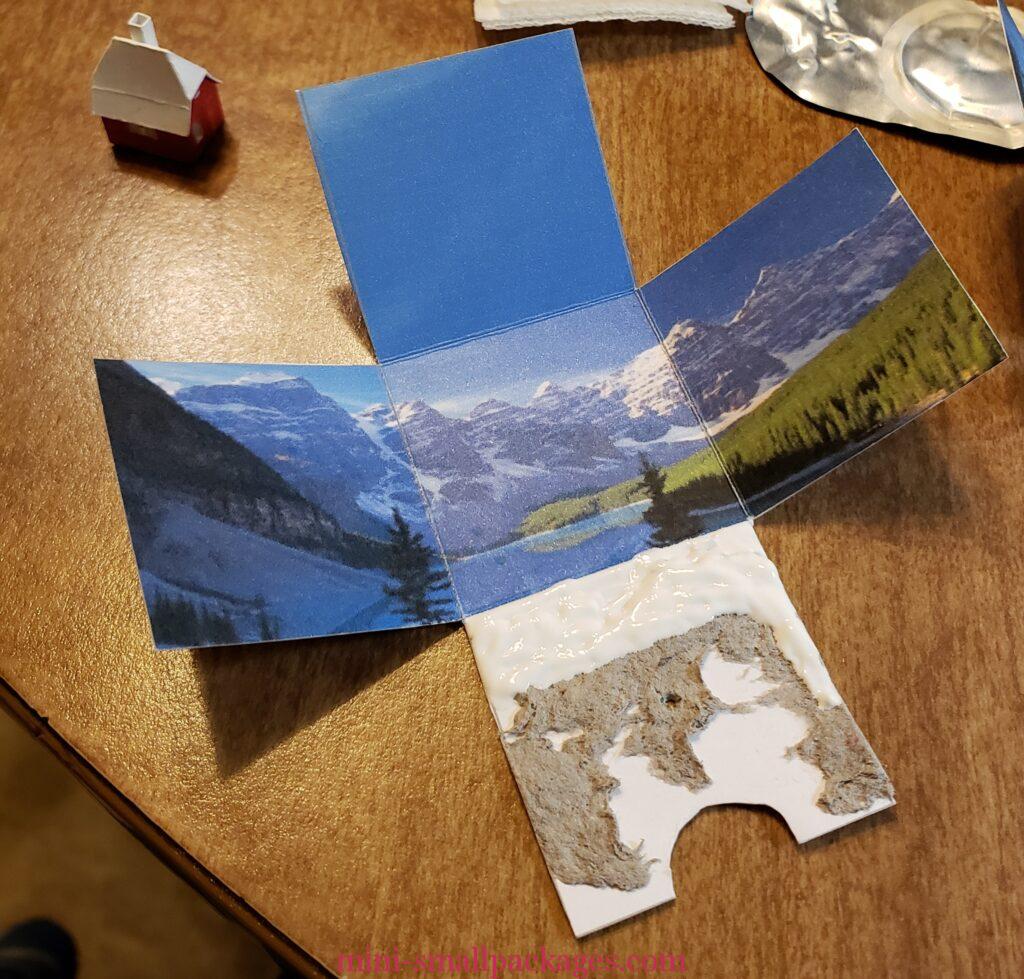
The lights are quite bright and so I used paint to tone them down. I totally forgot about a resistor I was given to use to reduce the brightness. Oops! Another project I guess.
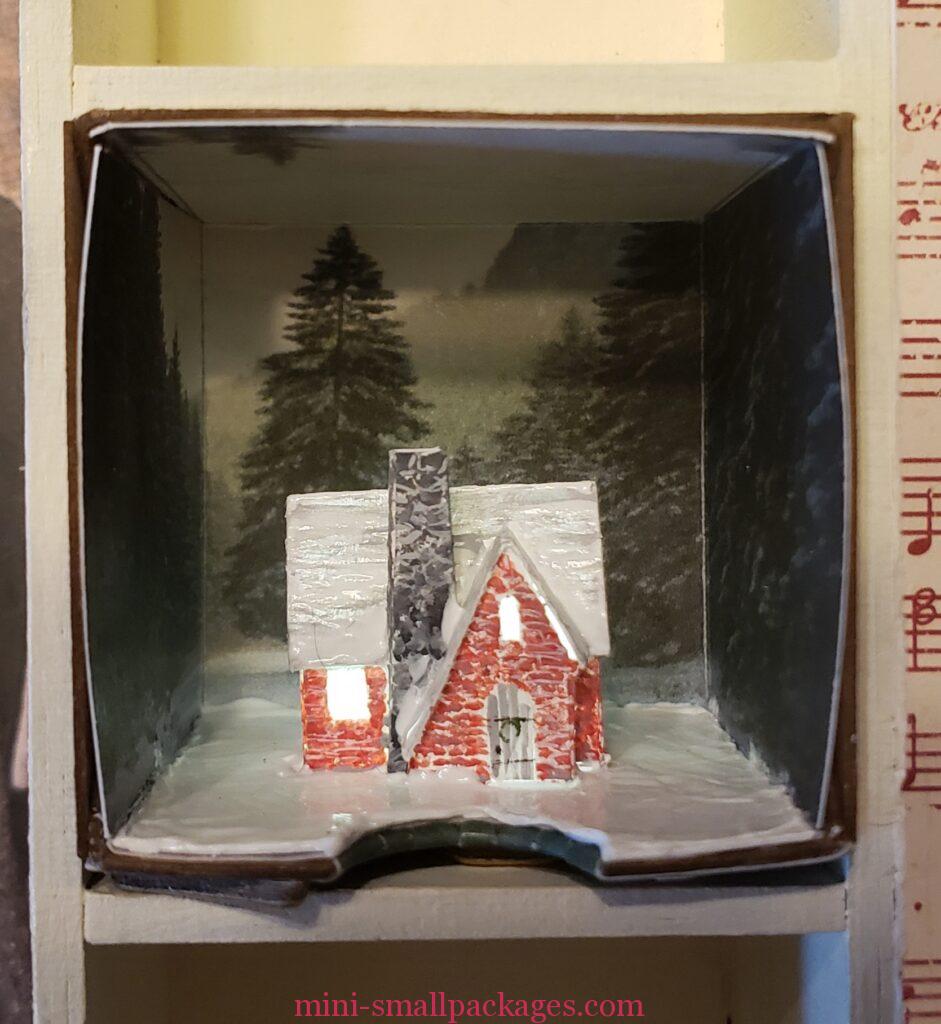
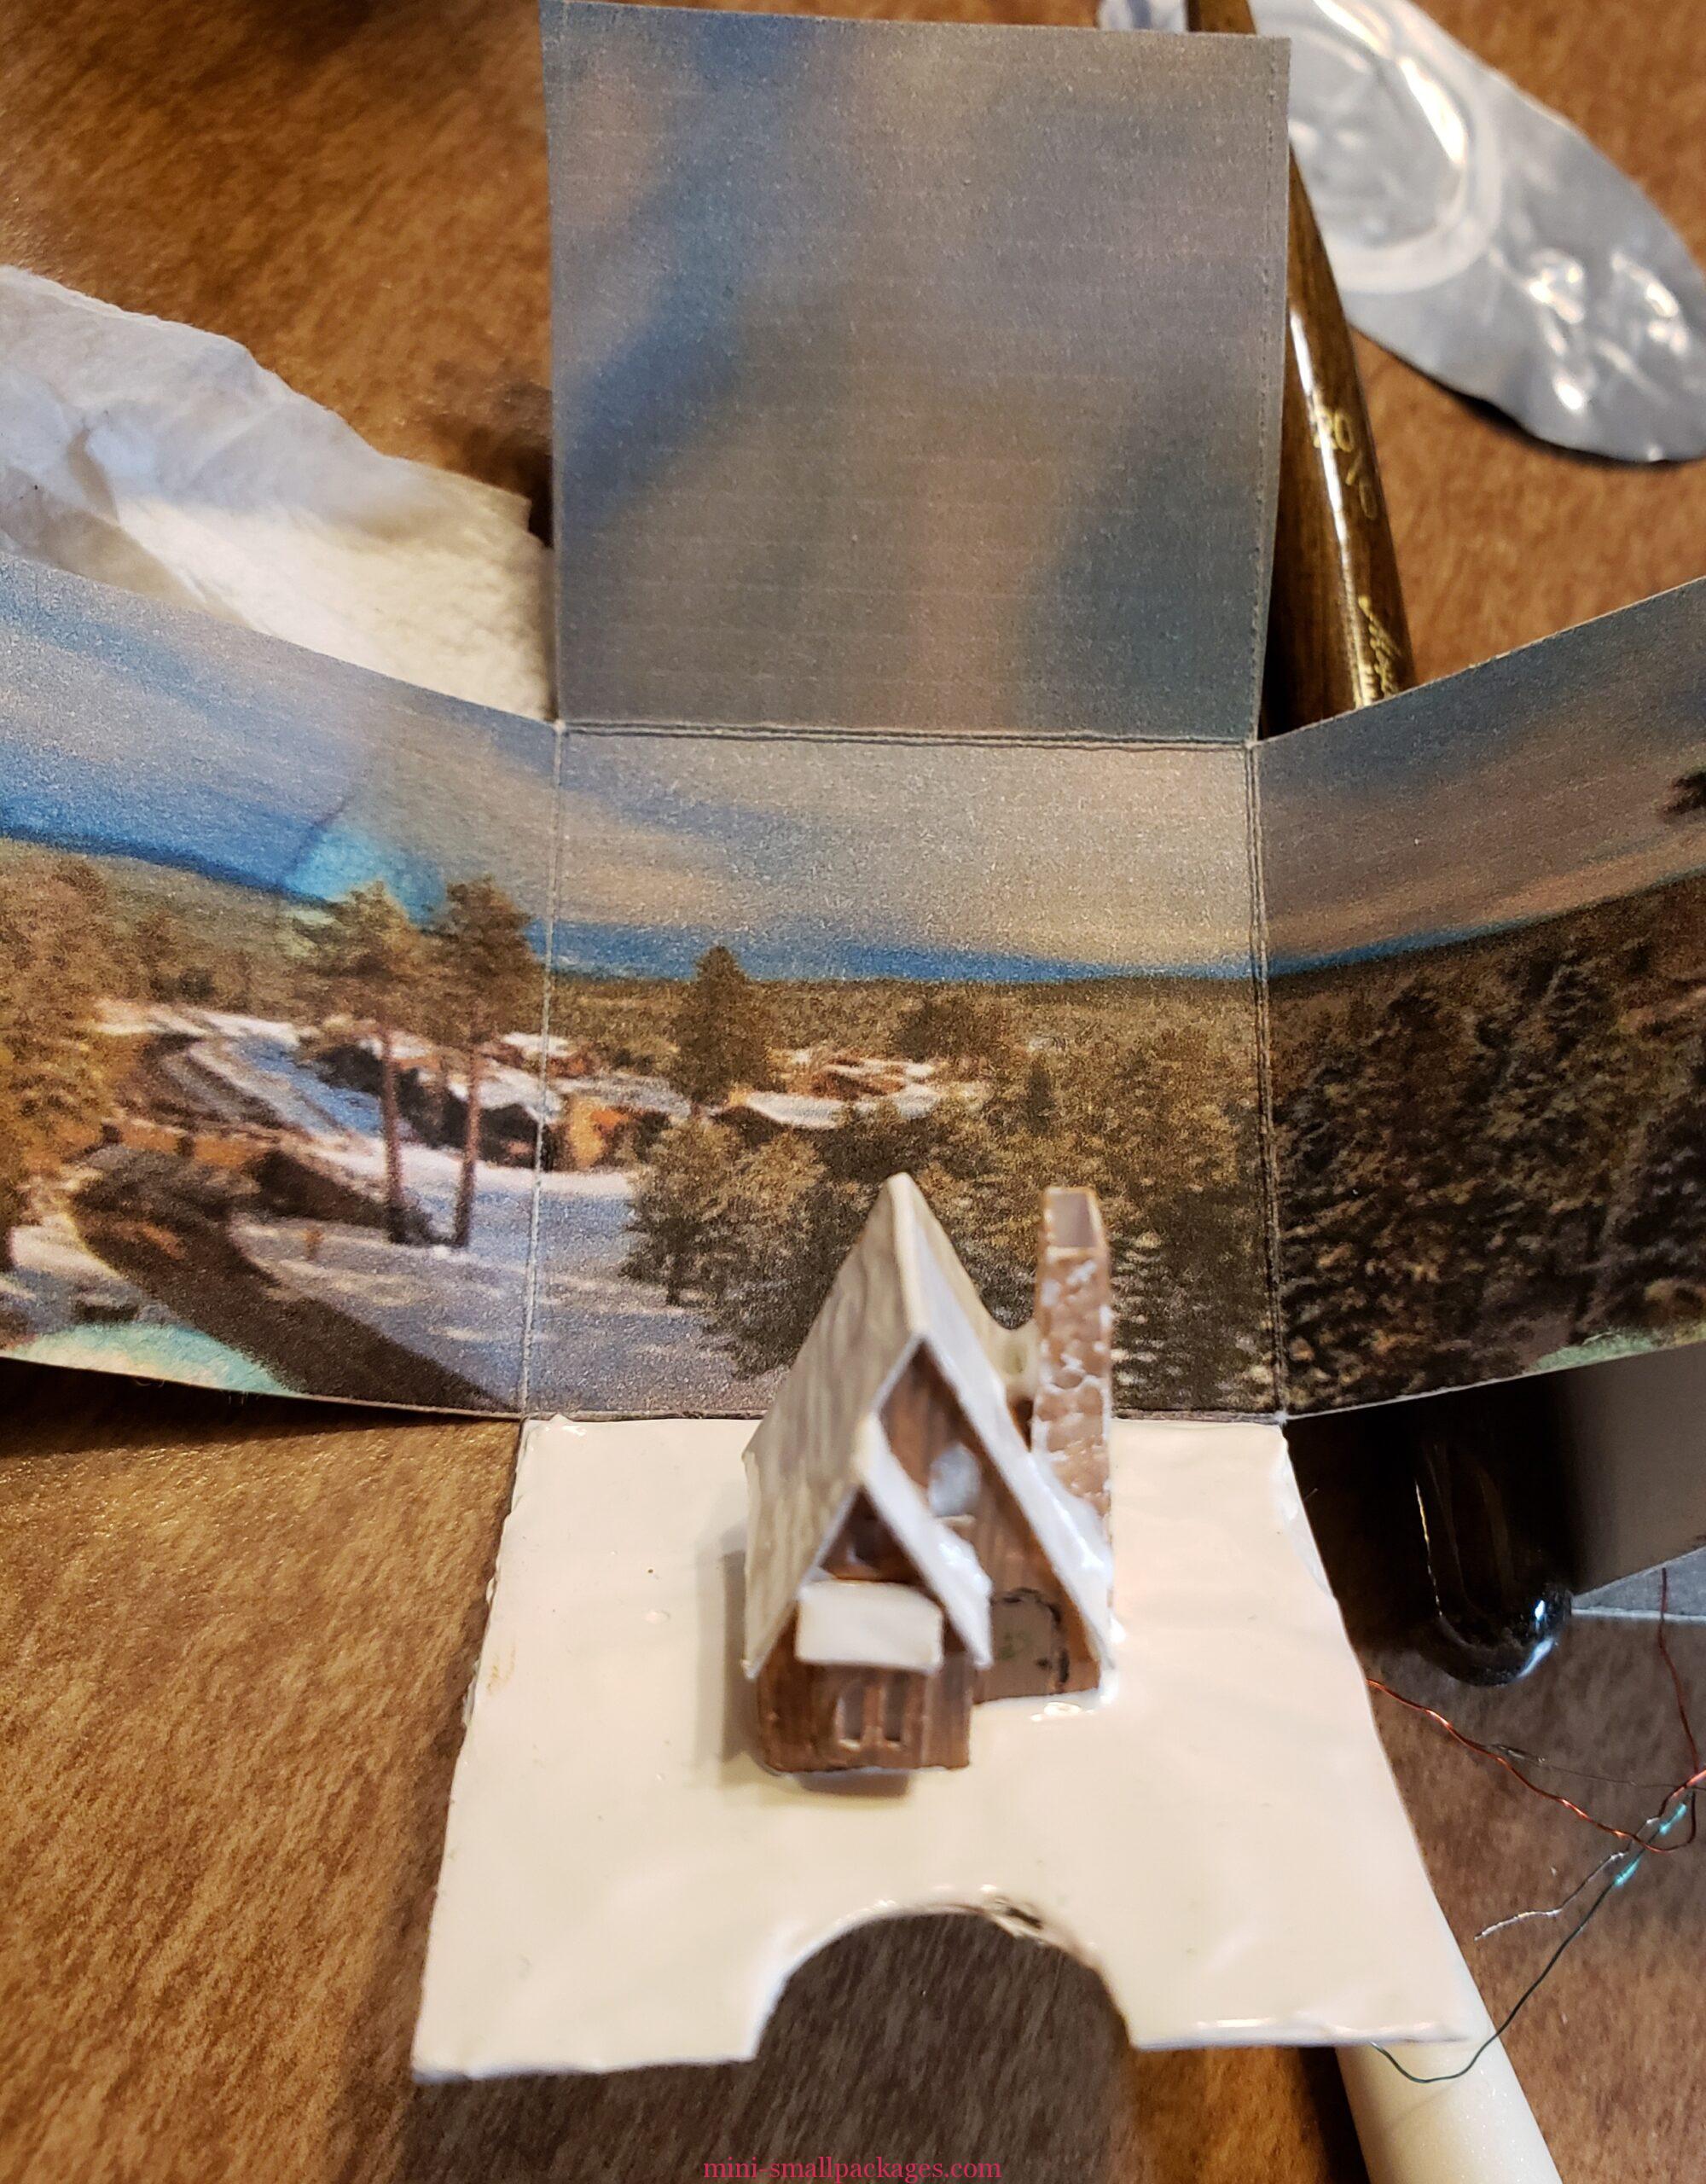
As I added more finished drawers with houses, I noticed they stuck out more due to the wiring pads. I figured I had two options to fix this. I could add a spacer to all the other sections and that would be easier. However they would all stick out. My second option I didn’t want to do, which was to cut away excess drawer box AND drawer insert. But this won because of not wanting to have them all stick out. Too bad I didn’t realize this earlier before nearly all houses were done. This is the way I do things. I figure it out as I go along.
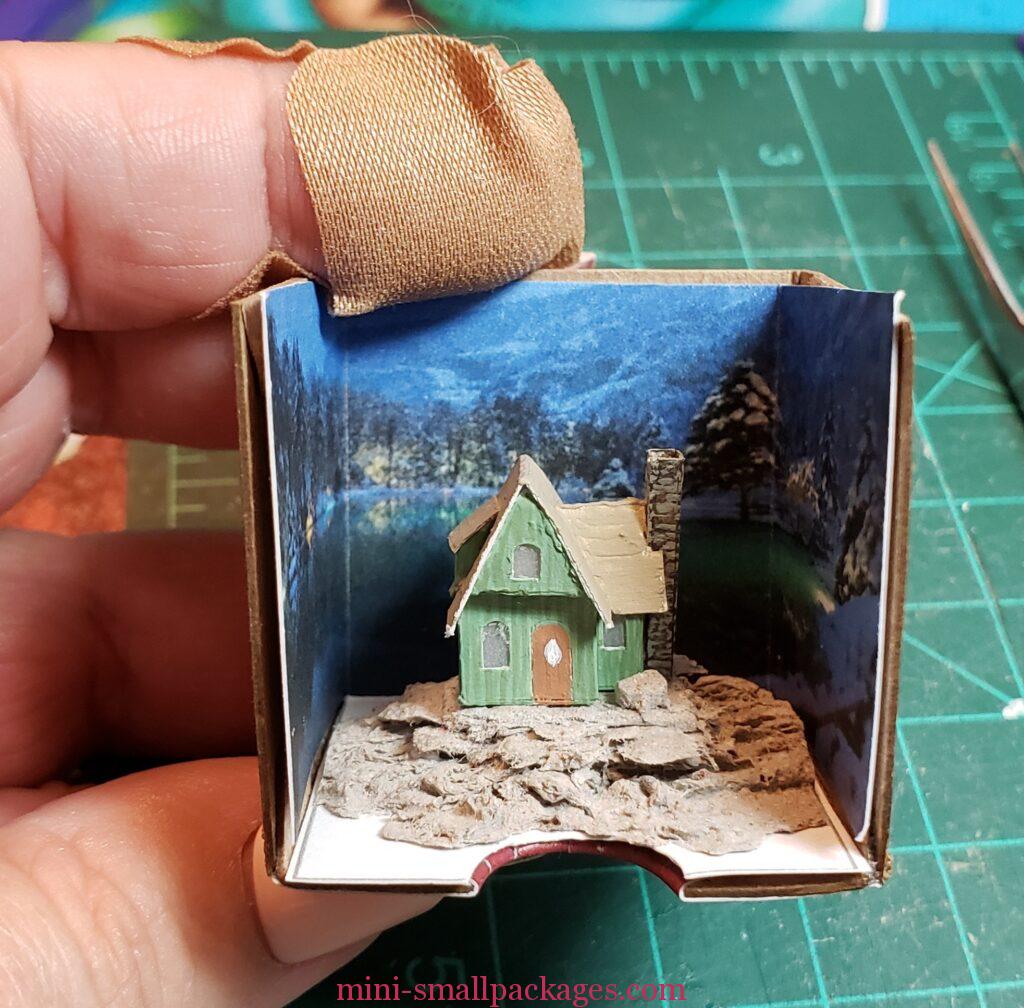
My last drawer house box was by far the best in several ways. Of course it did have the advantage of being the last so all the experience so far could be applied.
- It didn’t have ink on the bottom flap of the lnsert. I had actually not printed this one yet when I discovered the issue with that.
- It wasn’t assembled, so I was able to cut away the extra from the drawer and insert before.
- I could reach the electrical before gluing the drawer back/top on.
- I used the celluclay bits for terrain/rocks.
- I made a hole for the light before gluing the house in place.
Overall this house is my favorite one even though I cut my finger a bit trying cut the hole in the celluclay bits.
Numbers
All the empty drawers had their numbers added. I added numbers to a finished drawer individually so I could keep track of where they go. I realized some weren’t fitting well. It was at this point I thinned my first number. I used my craft knife to separate. Then I removed the rest stuck to the drawer. It was easy to remove due to the sealer.
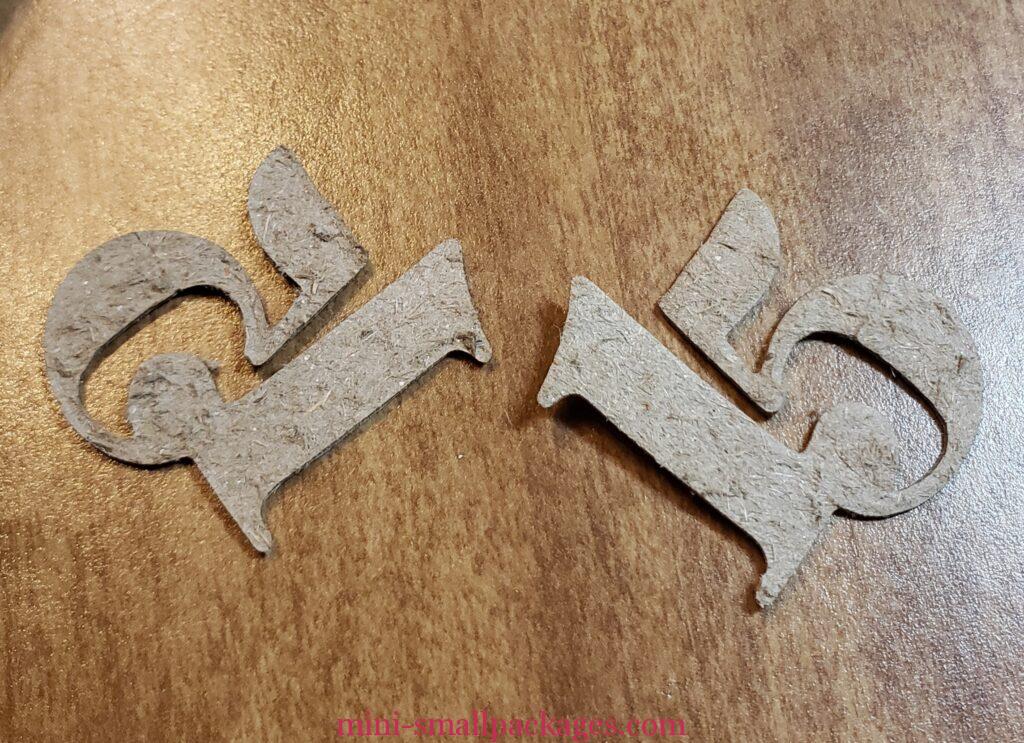
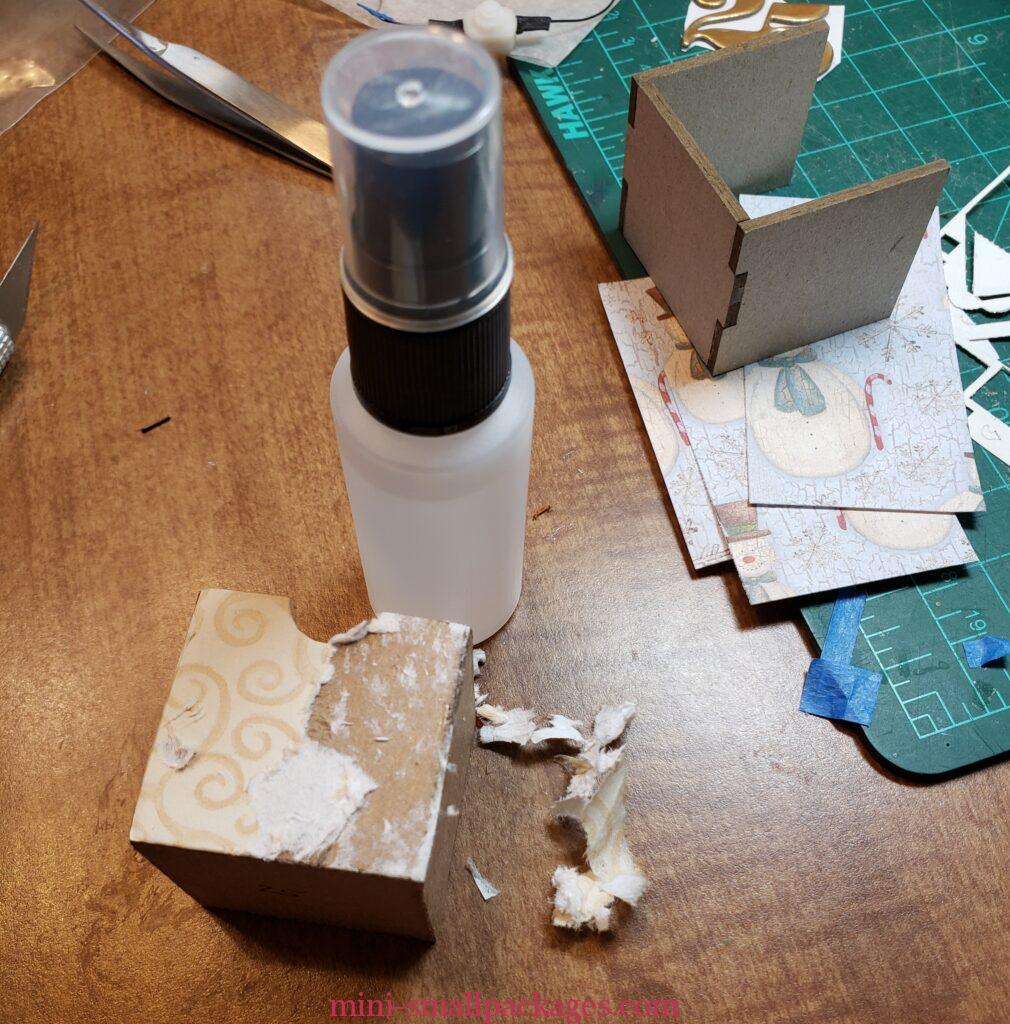
I decided to thin all the numbers because I wanted consistency. As I removed them some fell off so this was a good thing. Otherwise they might have fallen off later. The sticker part didn’t work with the use of the sealer. I glued them back on and I think this will hold up longer. If I hadn’t sealed the paper the sticker might have been OK.
Drawer 25
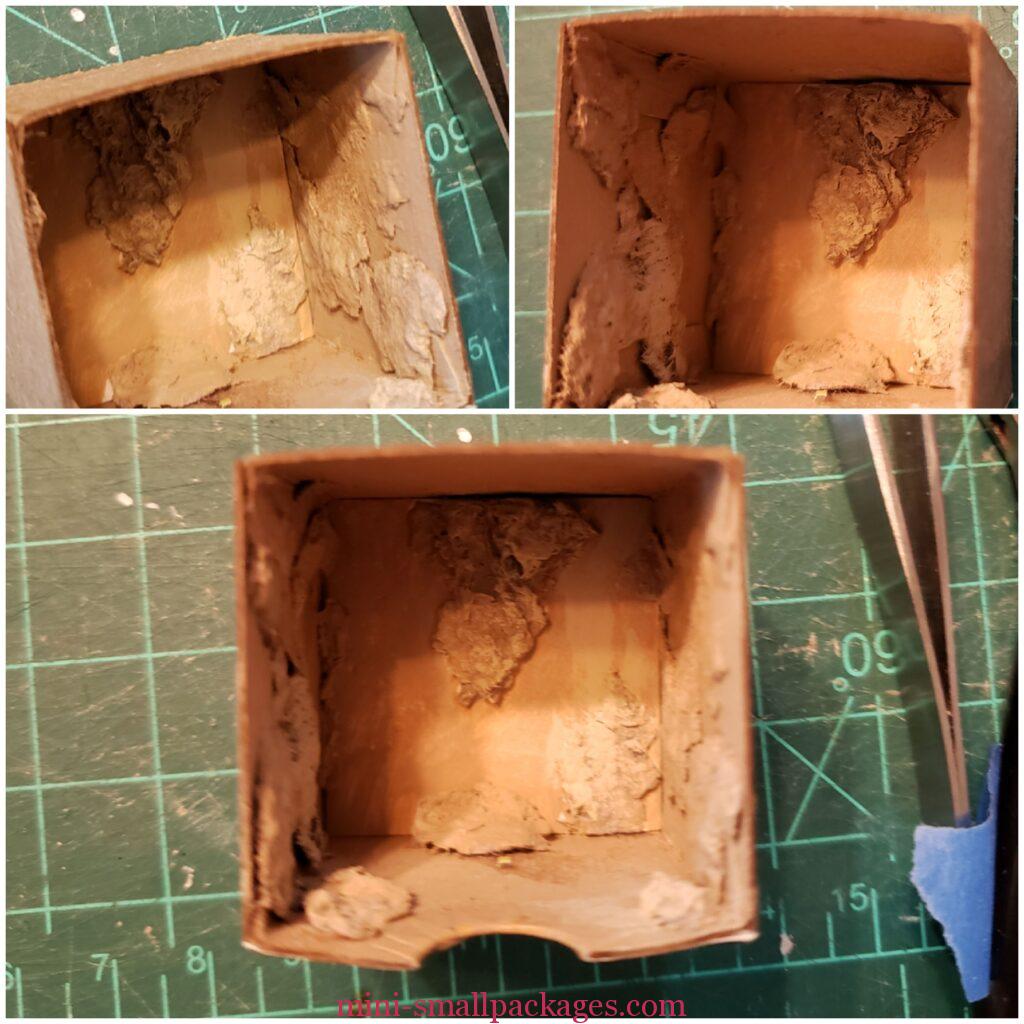
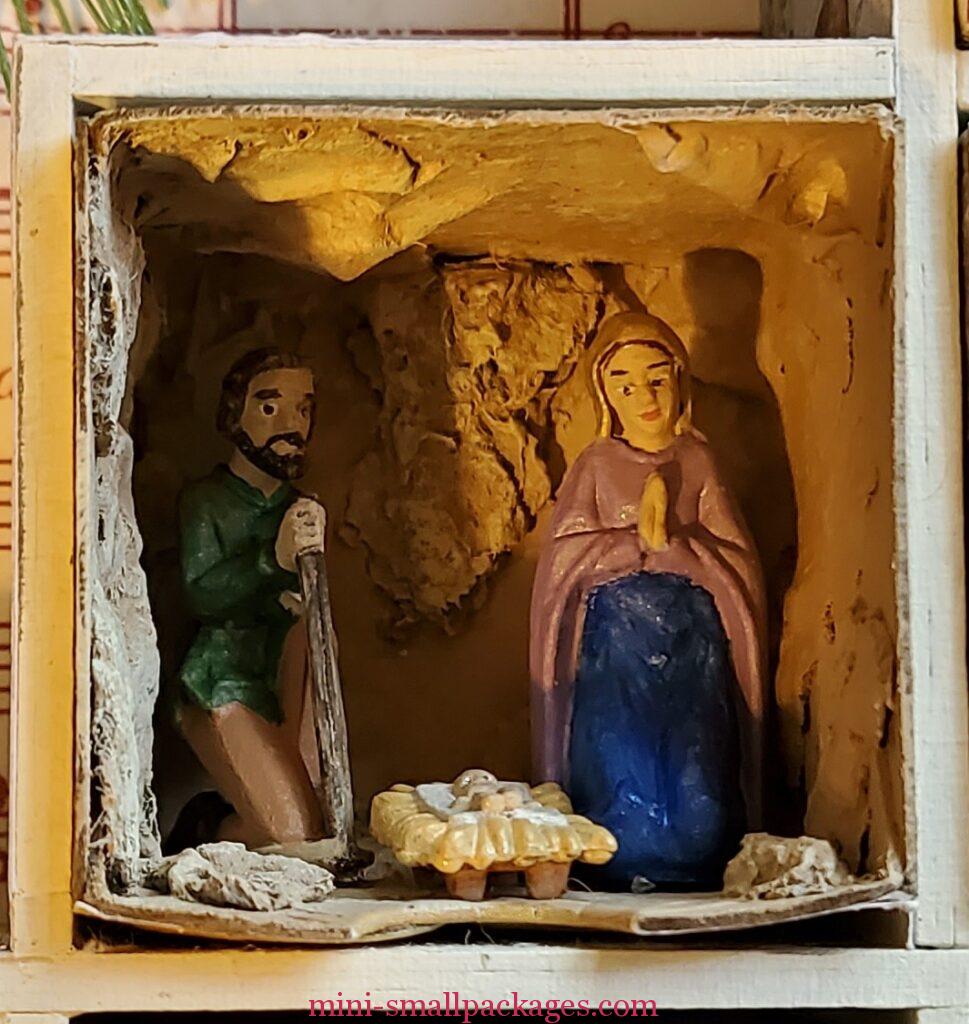
This draw has a light in it as well. (see bottom) I made this to resemble a cave as that is one possibility of the stable they were in.
Tree Branch
Back when I purchased more paper, I decided I was going put a tree branch in the middle.
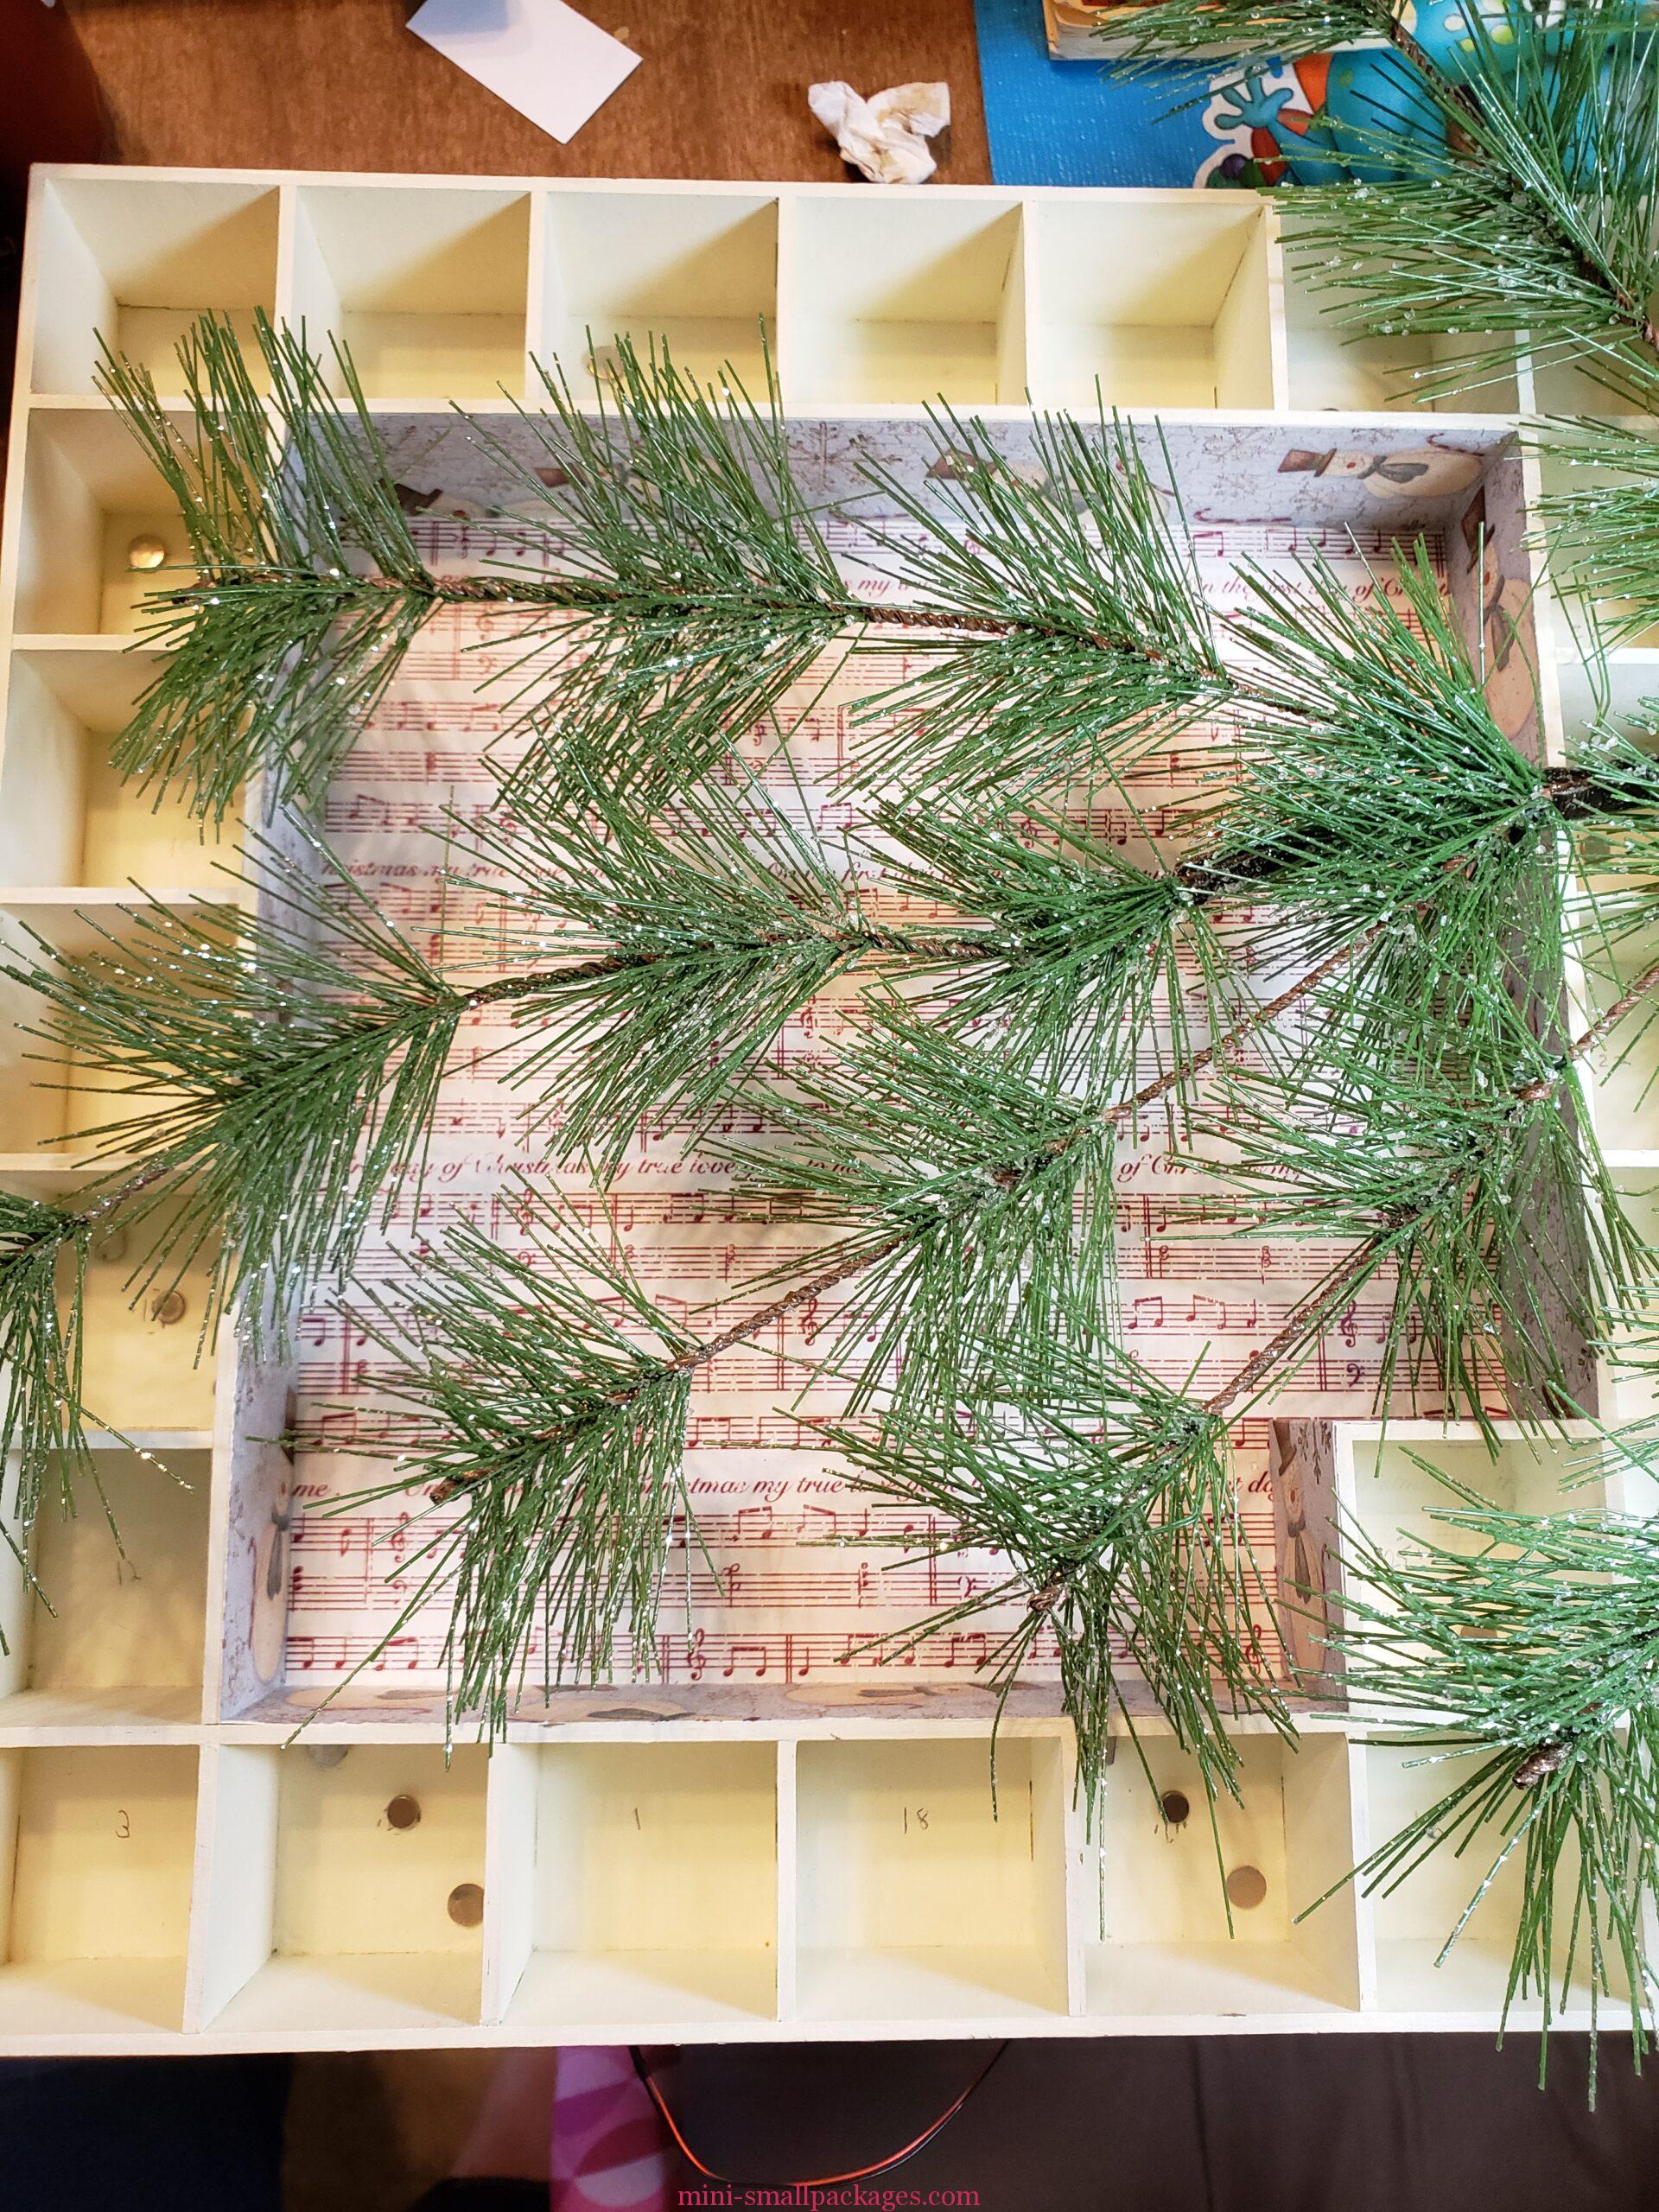
When I had finished all the houses my next step was to cut this branch and get it in place. Cutting it required some muscle and heavy duty cutters thanks to my hubby for both. I could have use my Dremel tool but didn’t need to.
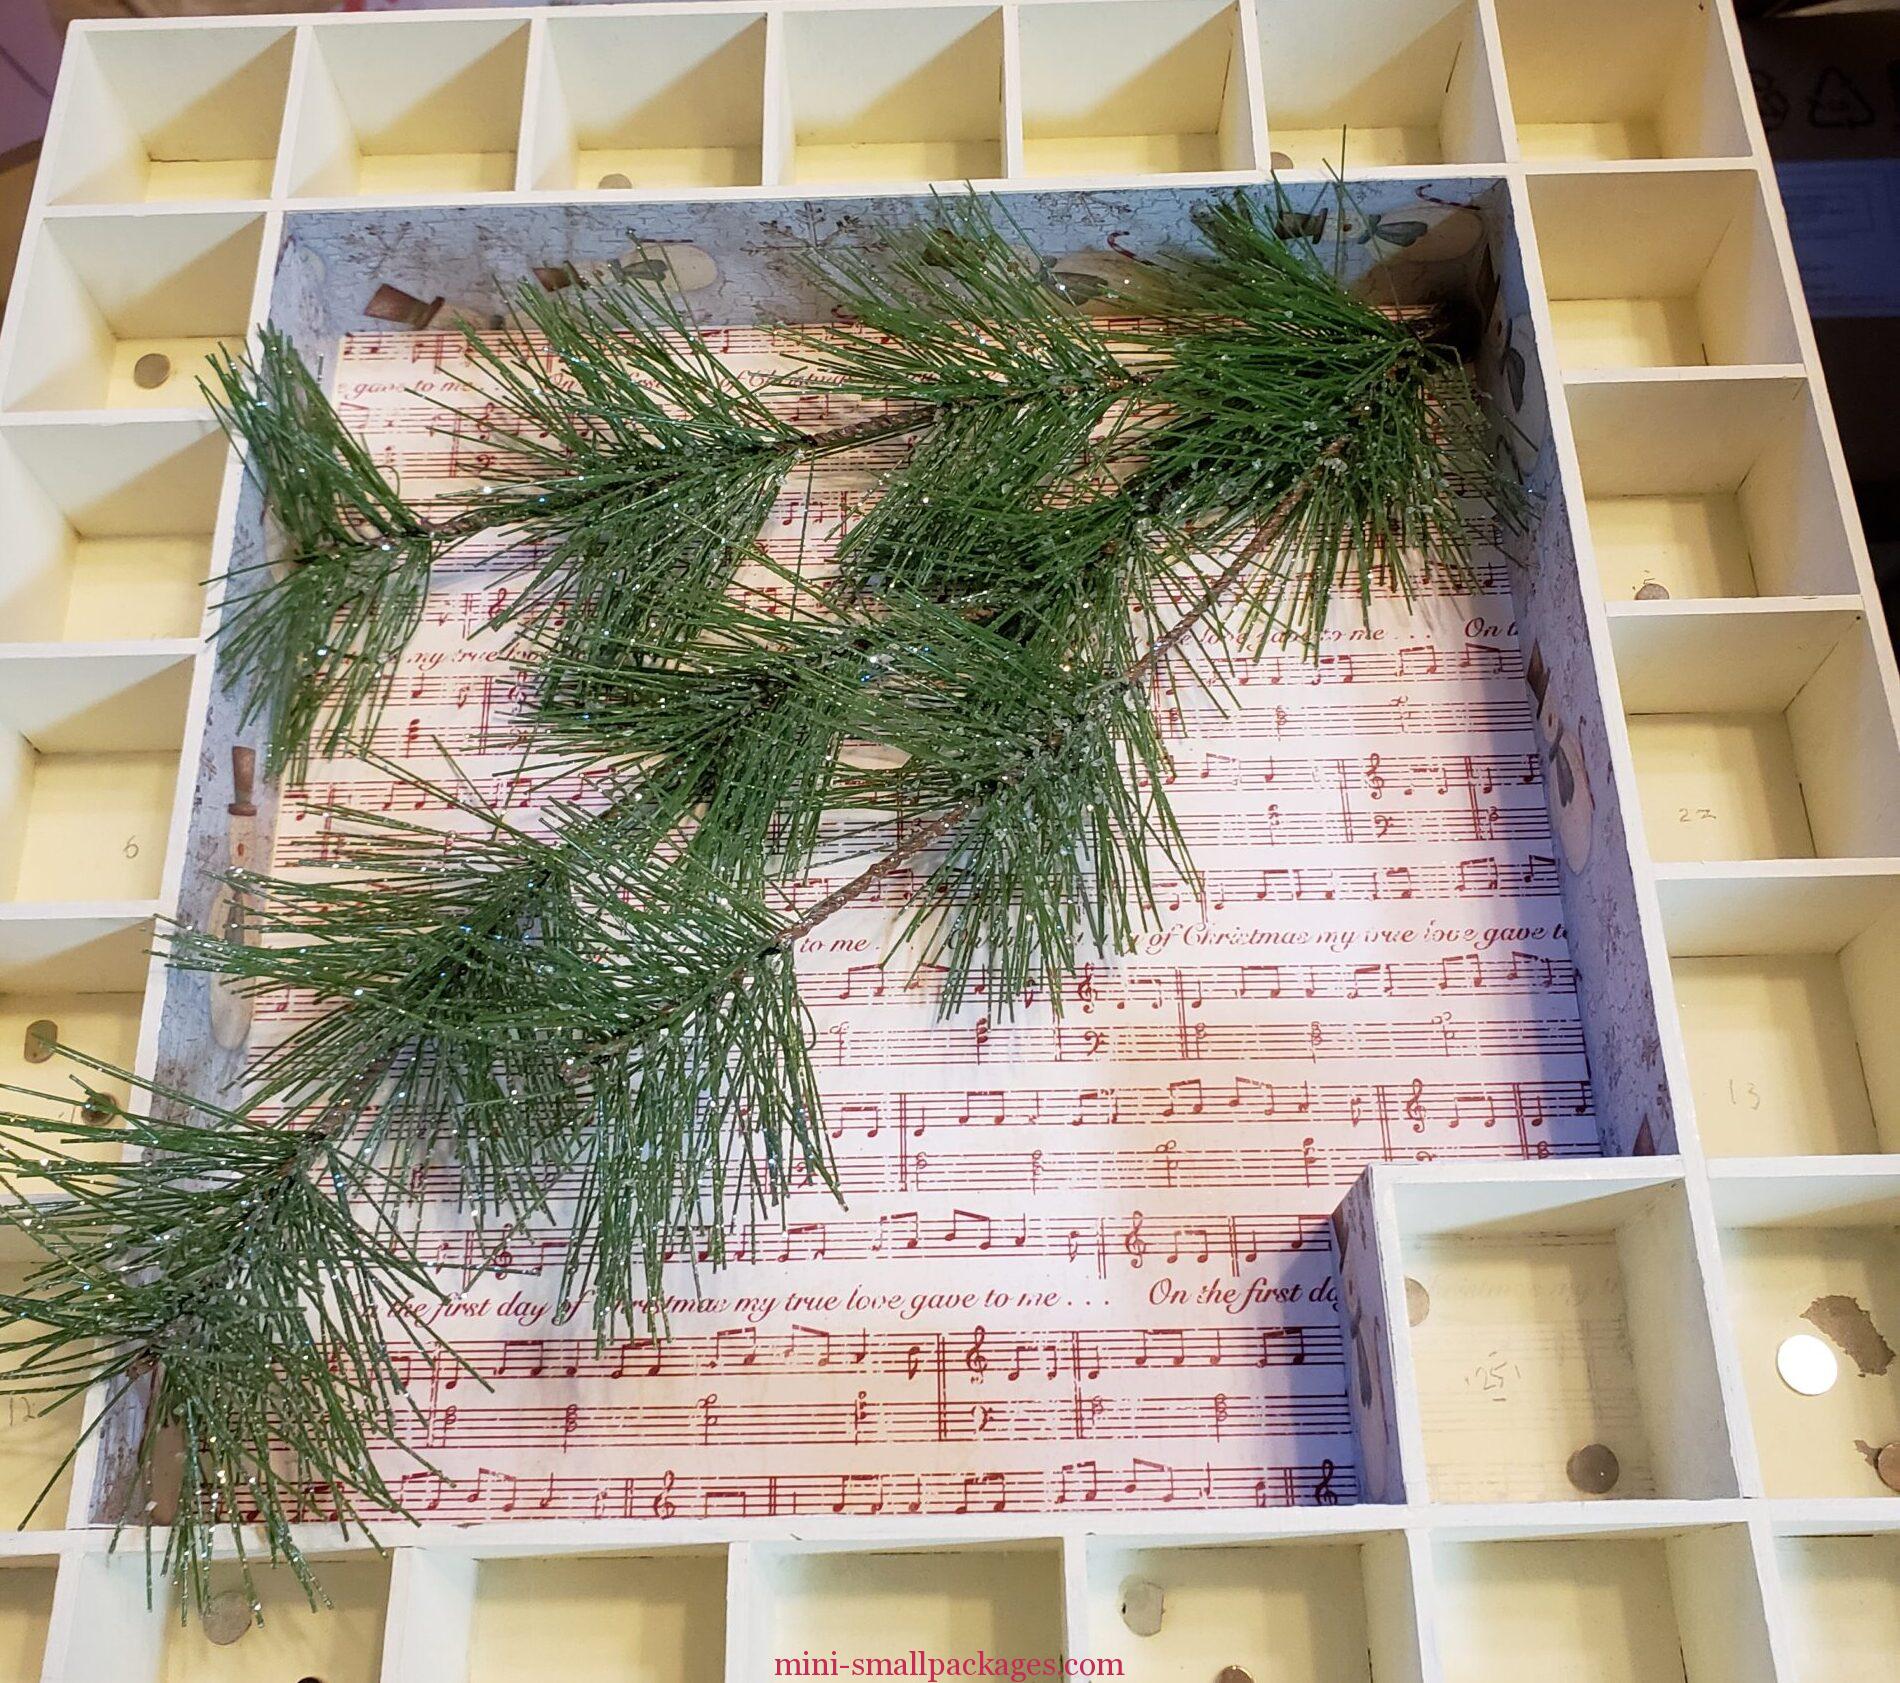
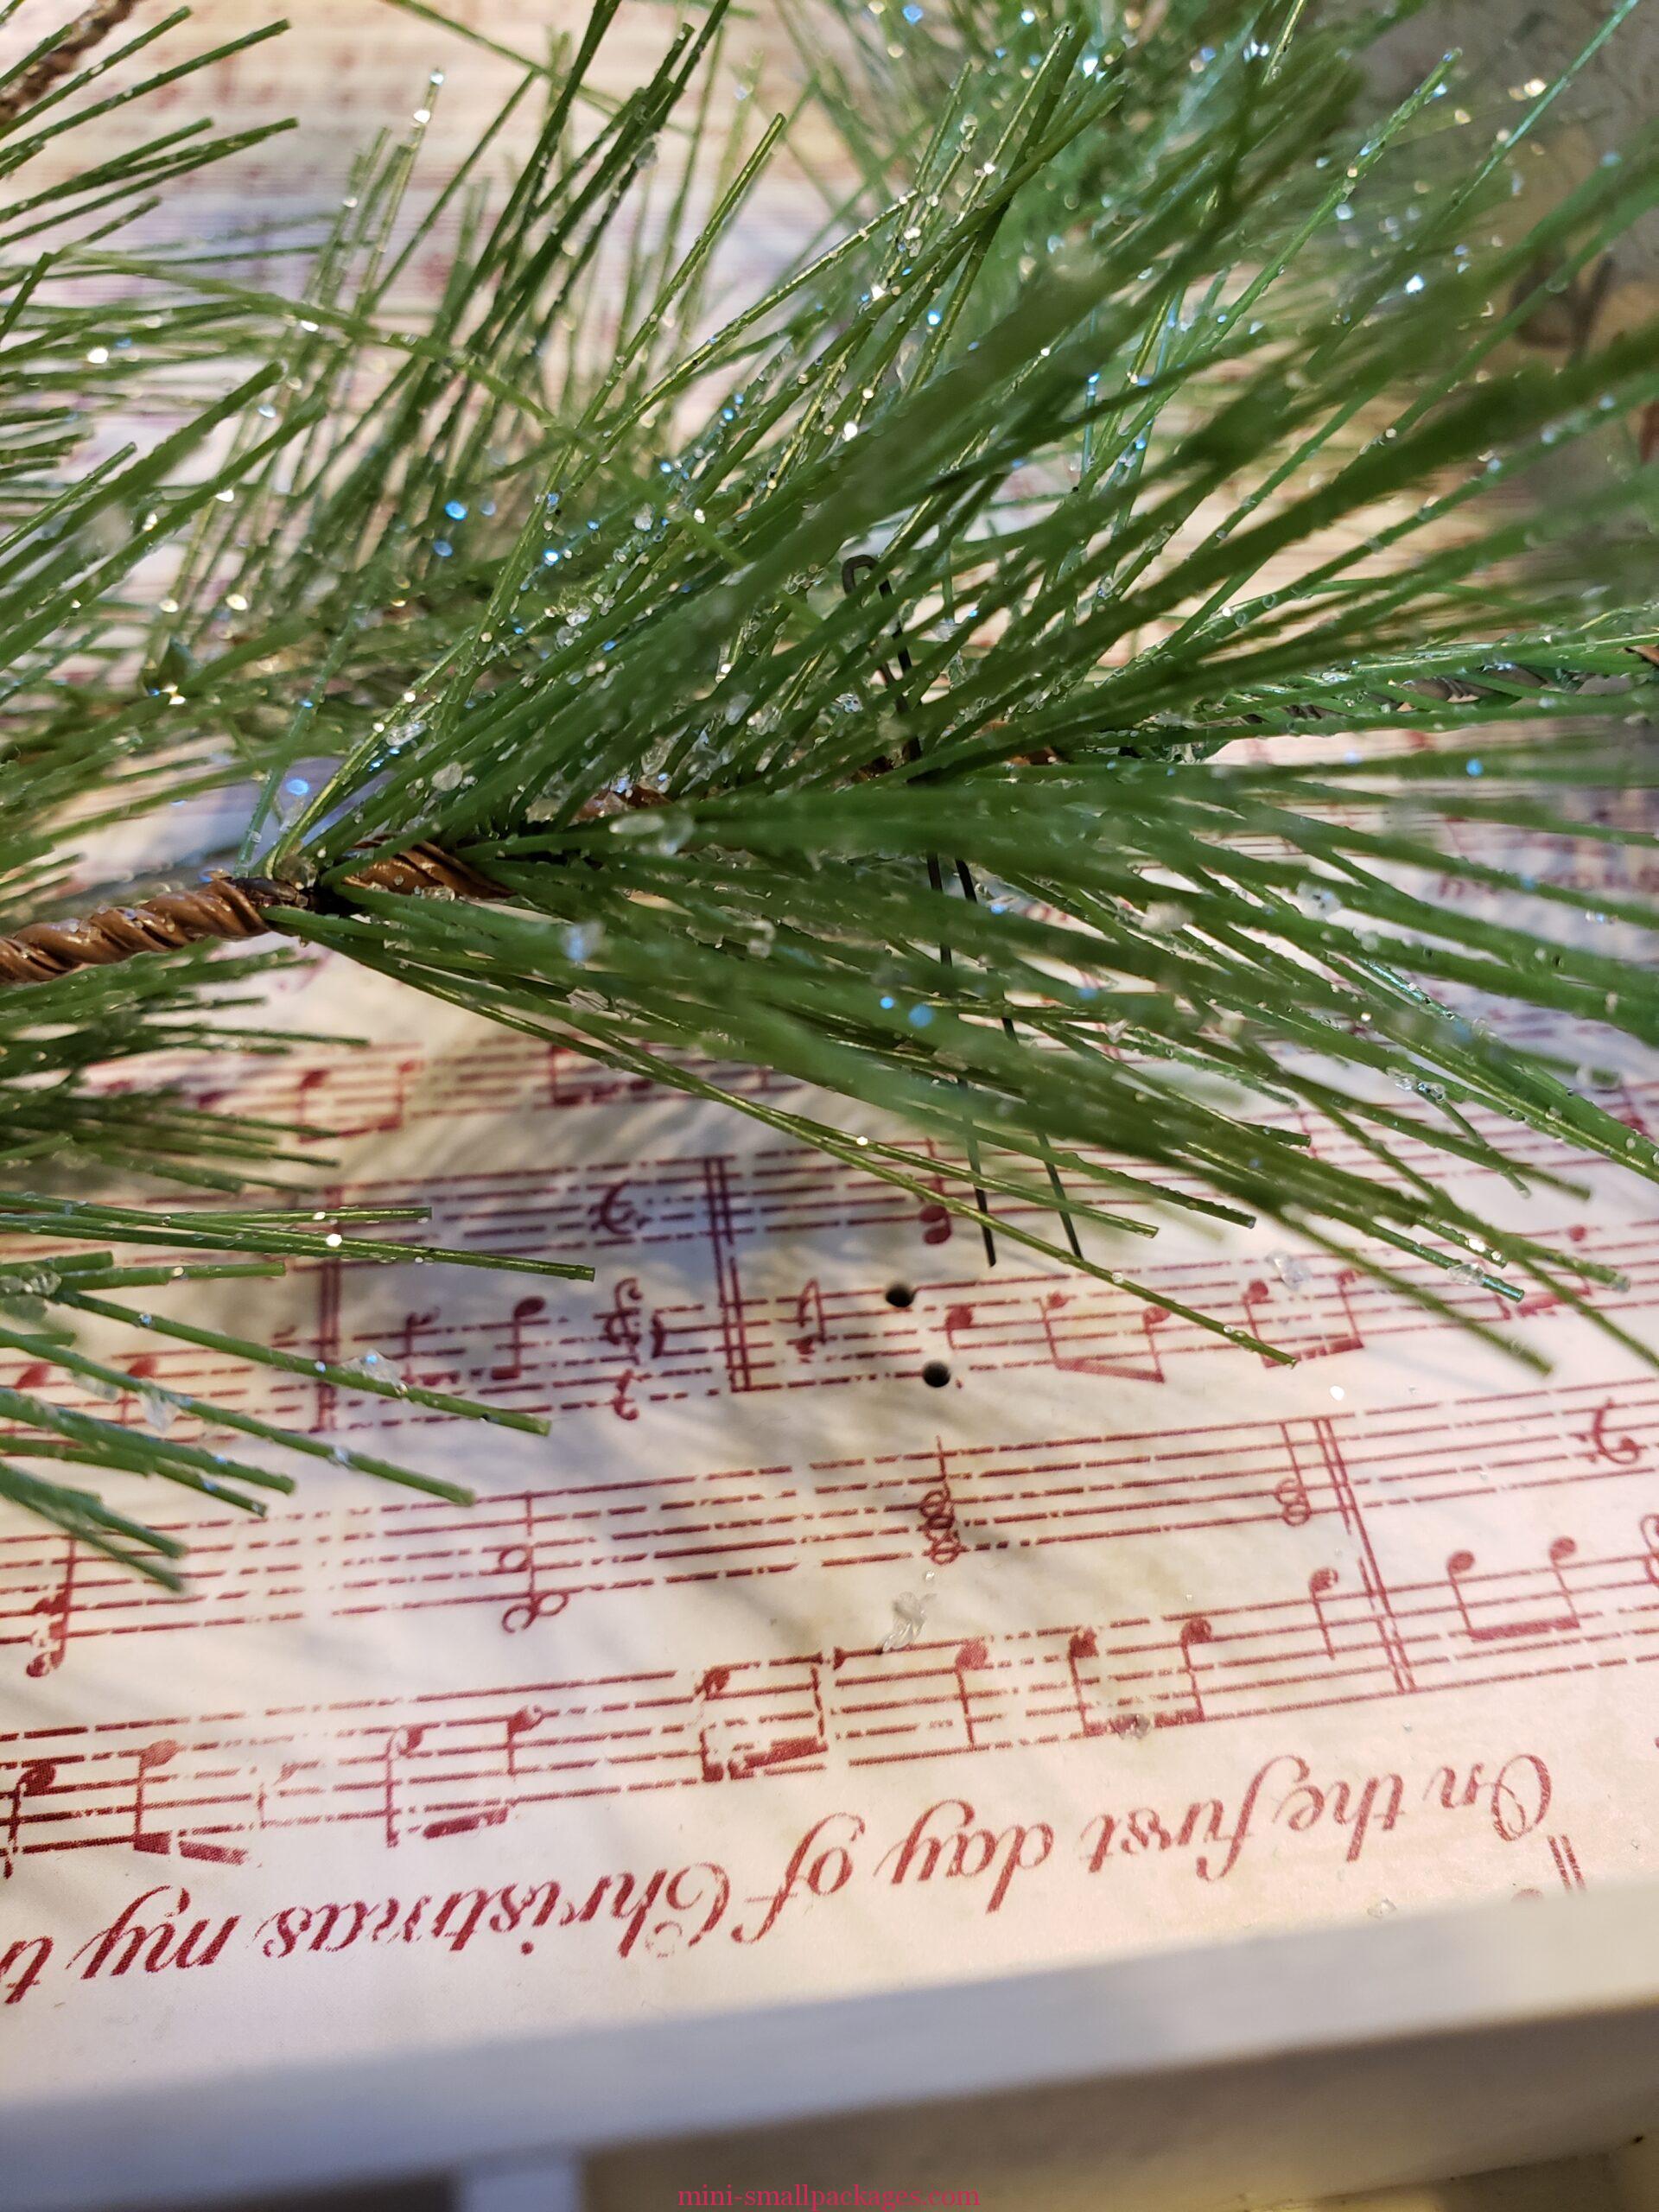
I used wires to hold it in place rather than glue. These wires required holes which I made using a sharp ice pick like tool. I probably should start wearing gloves because I poked myself once. No bandaid needed this time. I made an effort to try to hide all these wires.
The back with all the wires both for wiring and the holding wires.
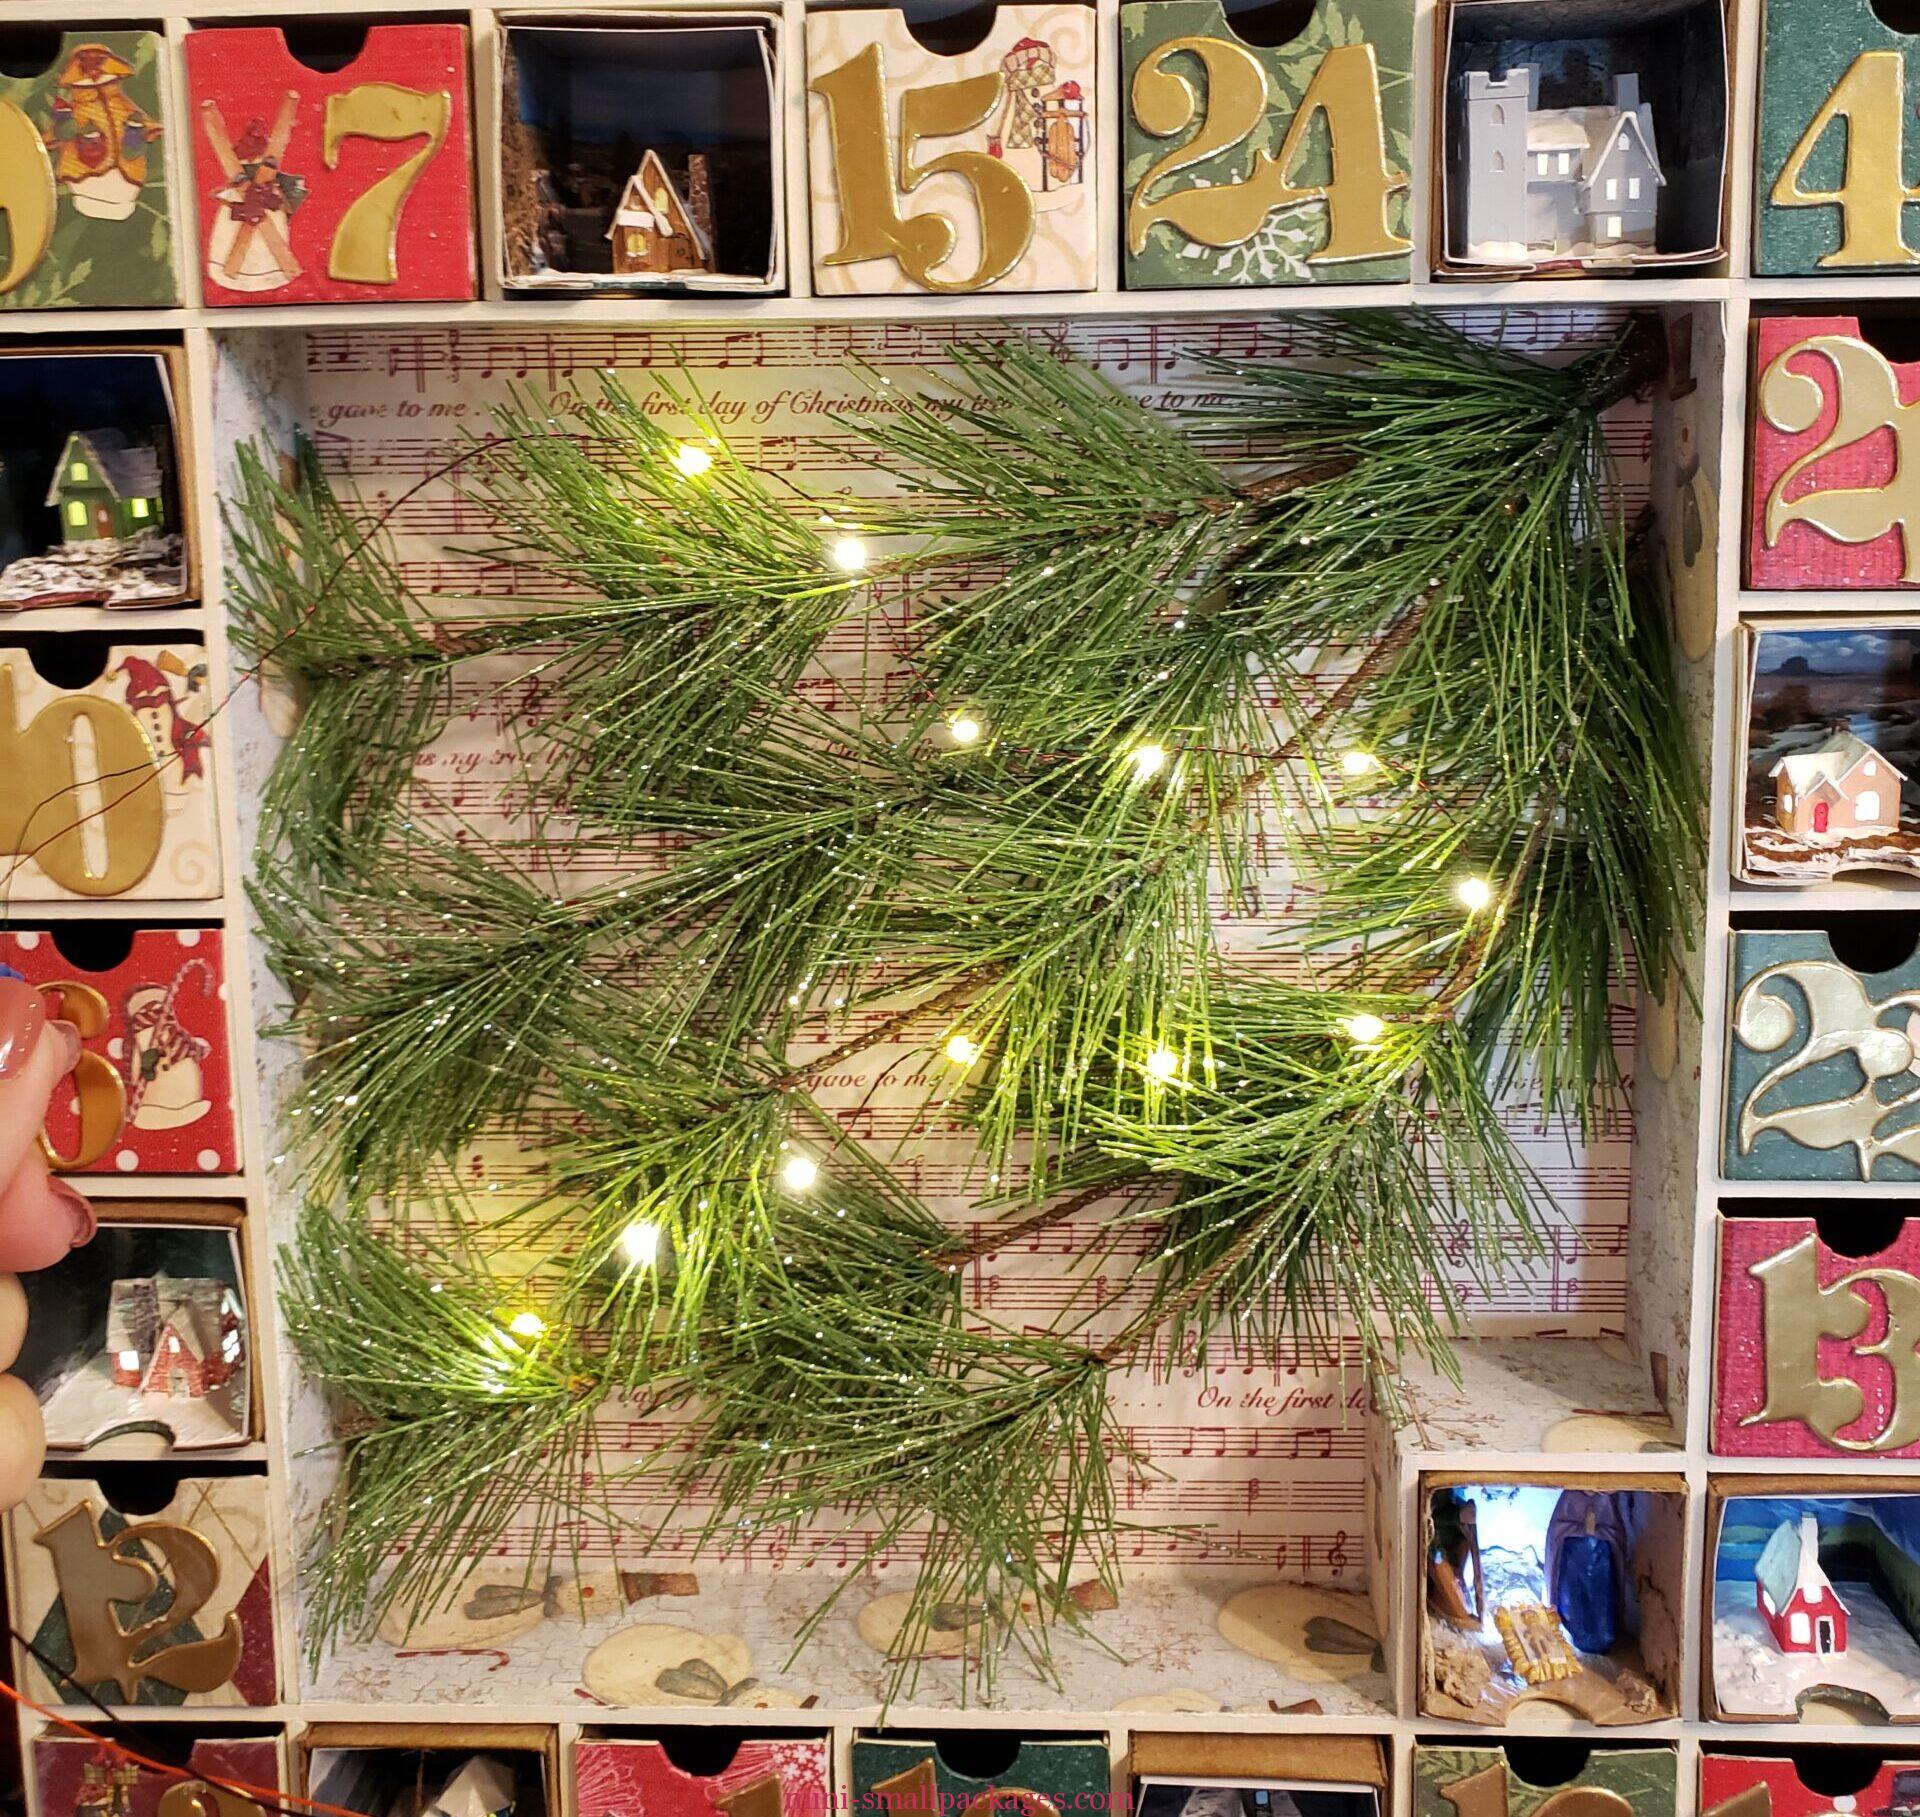
Now that the branches were wired in place it was time to place the lights for the center. I had purchased a light string from Evan’s Designs several years ago and I finally had a home for it. Once I was happy with the placement I also added tiny wires to the wire against the branch.
Ornaments
I have collected many small ornaments over the years. Some I have used on my big tree at the top but not every year. Then there were others that I just had. These are the ones I wanted to repaint. They were resin and I find those usually need a better paint job.
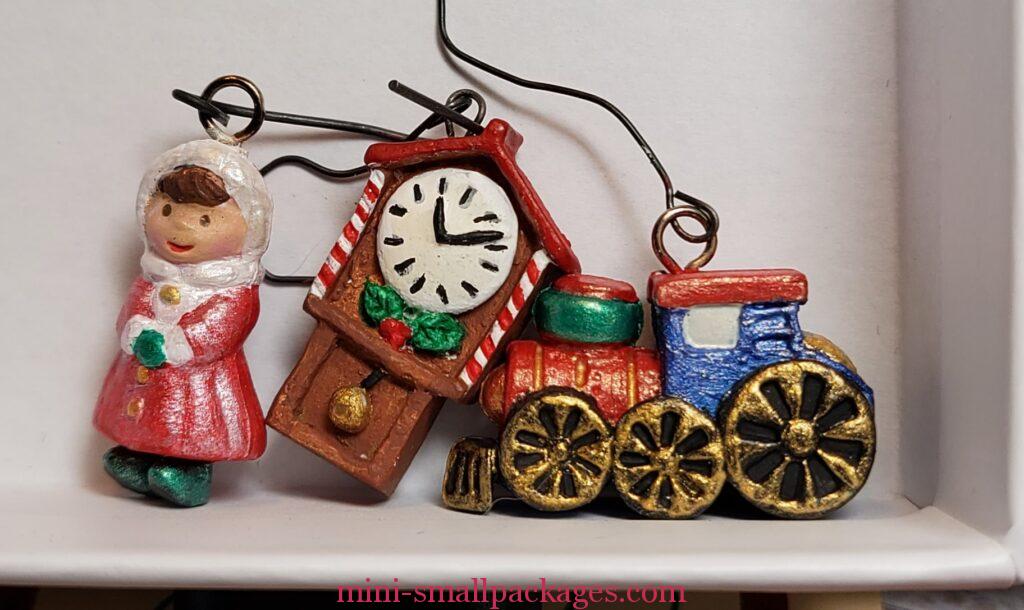
These ornaments will go in the boxes without houses.
Battery Box
I glued on the battery box I made previously and covered it with the paper I used on the inside. I didn’t have enough of the red to use for it and the back.
I also made a lid to contain the battery holder and wires.
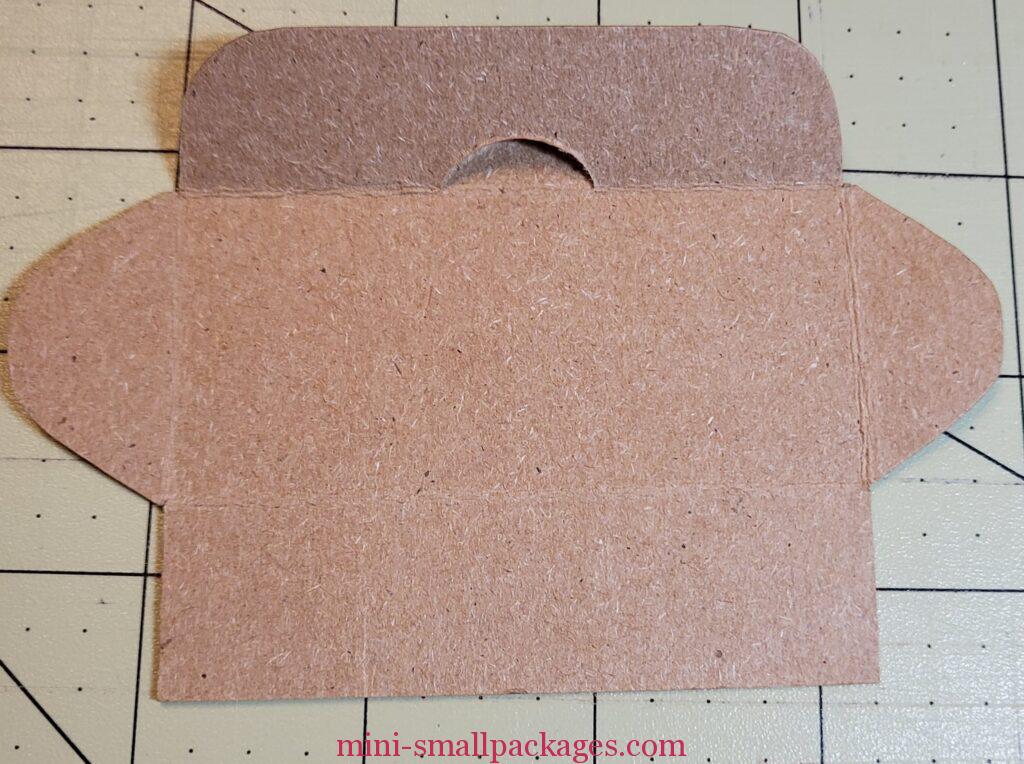
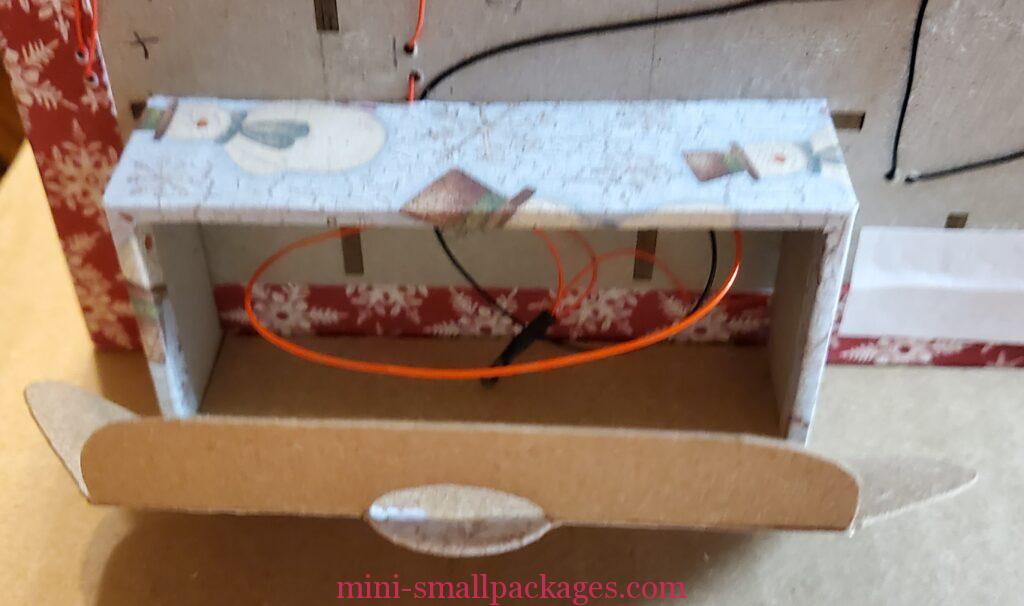
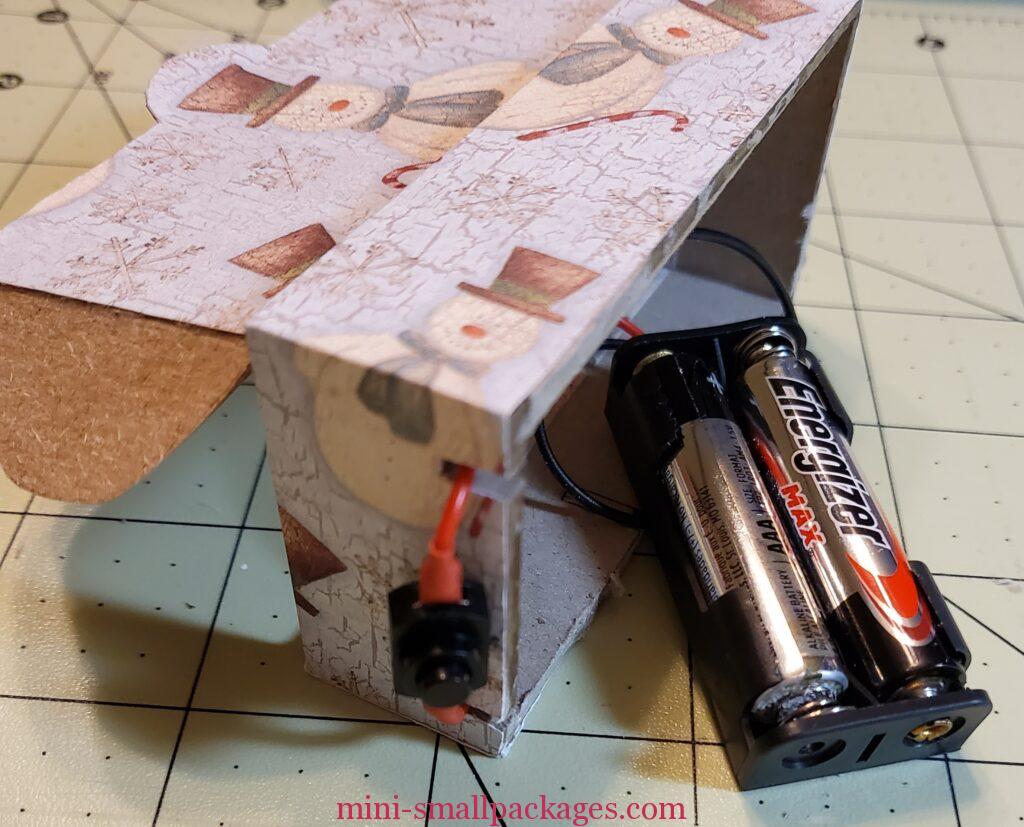
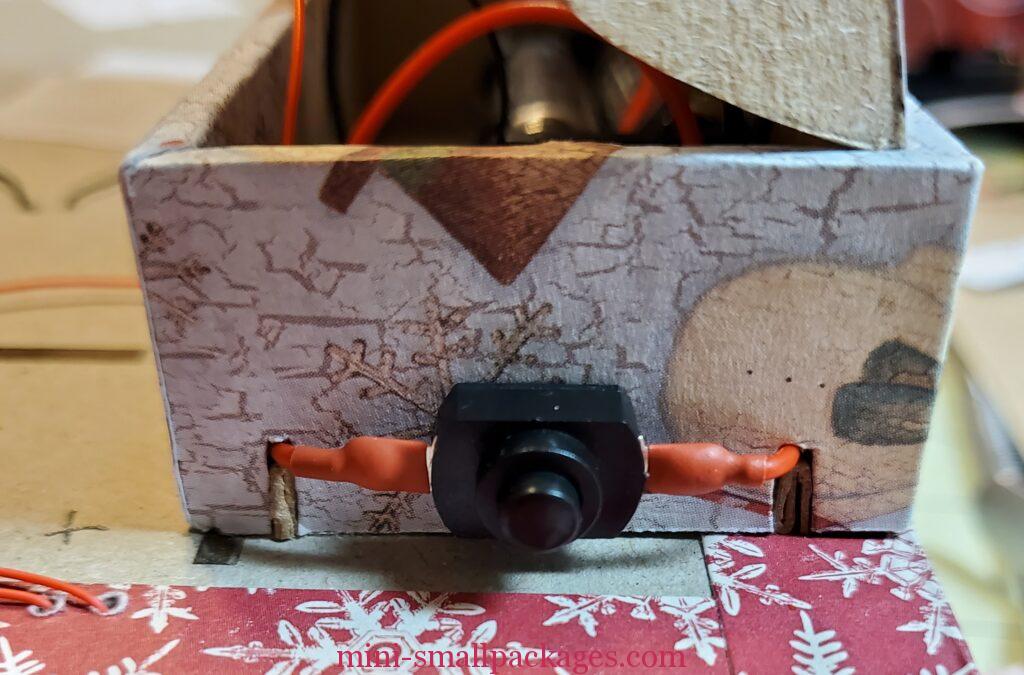
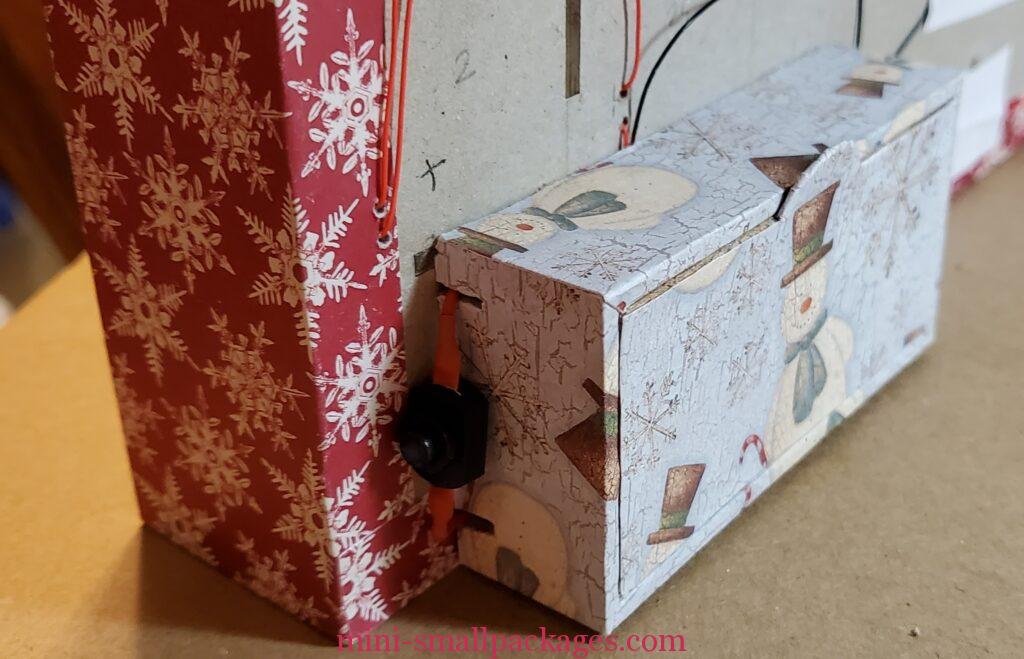
Turns out I didn’t need the quick connect at all. Since the switch went on the outside of the box, I can’t even use it.
FINISHED
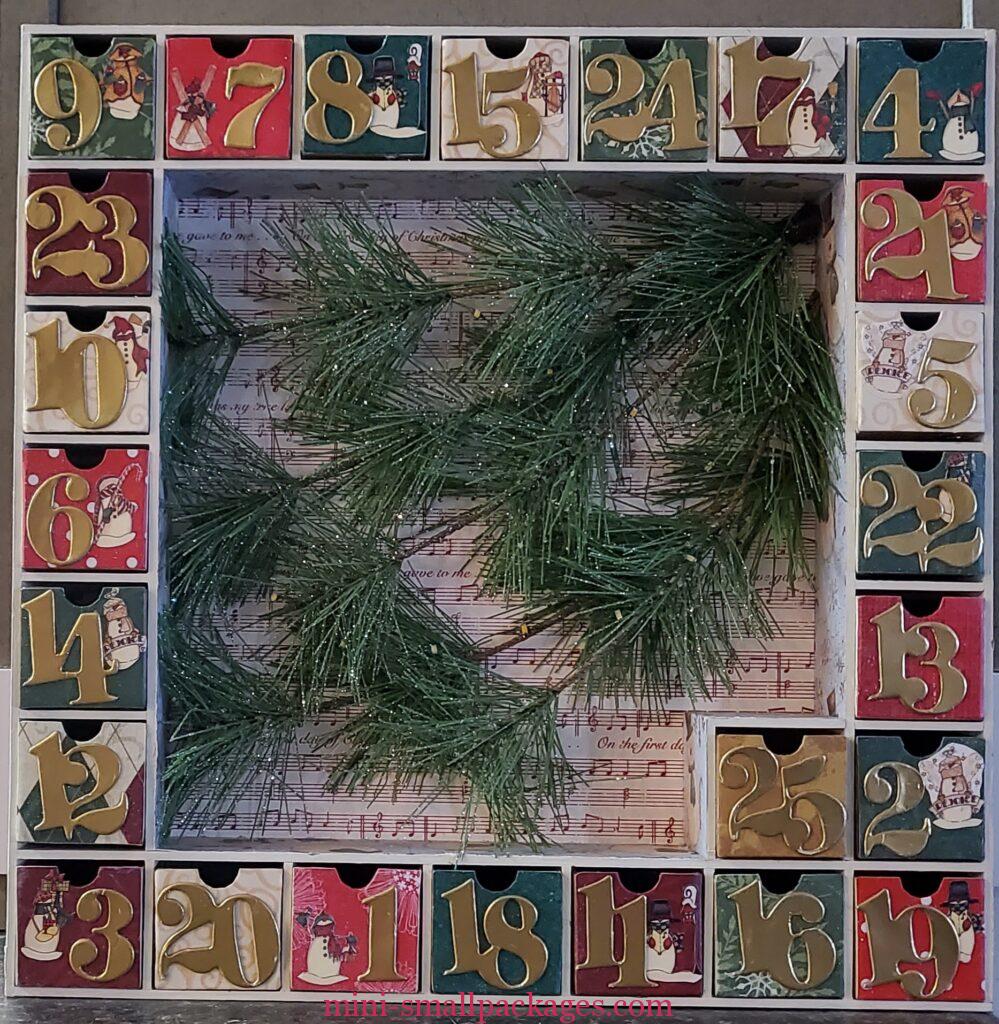
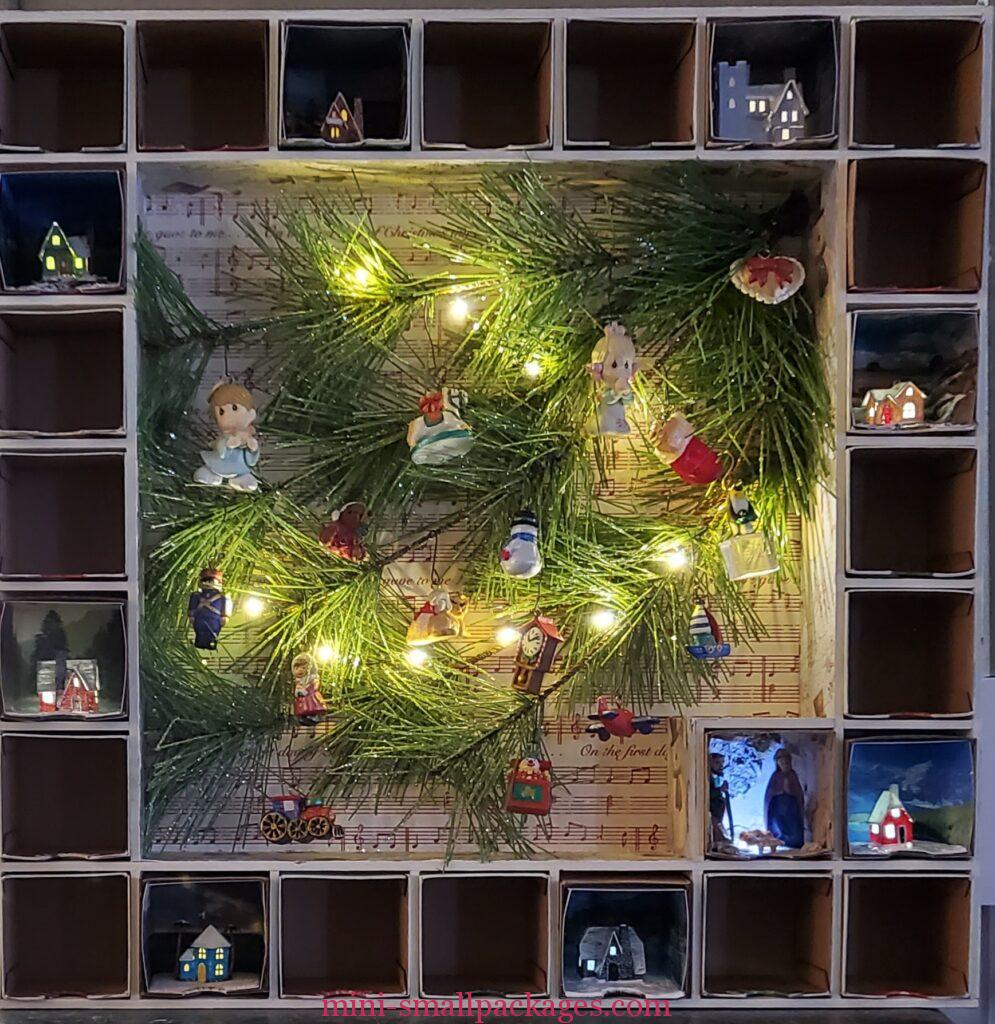
I decided that turning the empty drawers as well was the look I wanted when done. Then you can easily see days left. I tried turning them to show the back but the insides blend better.
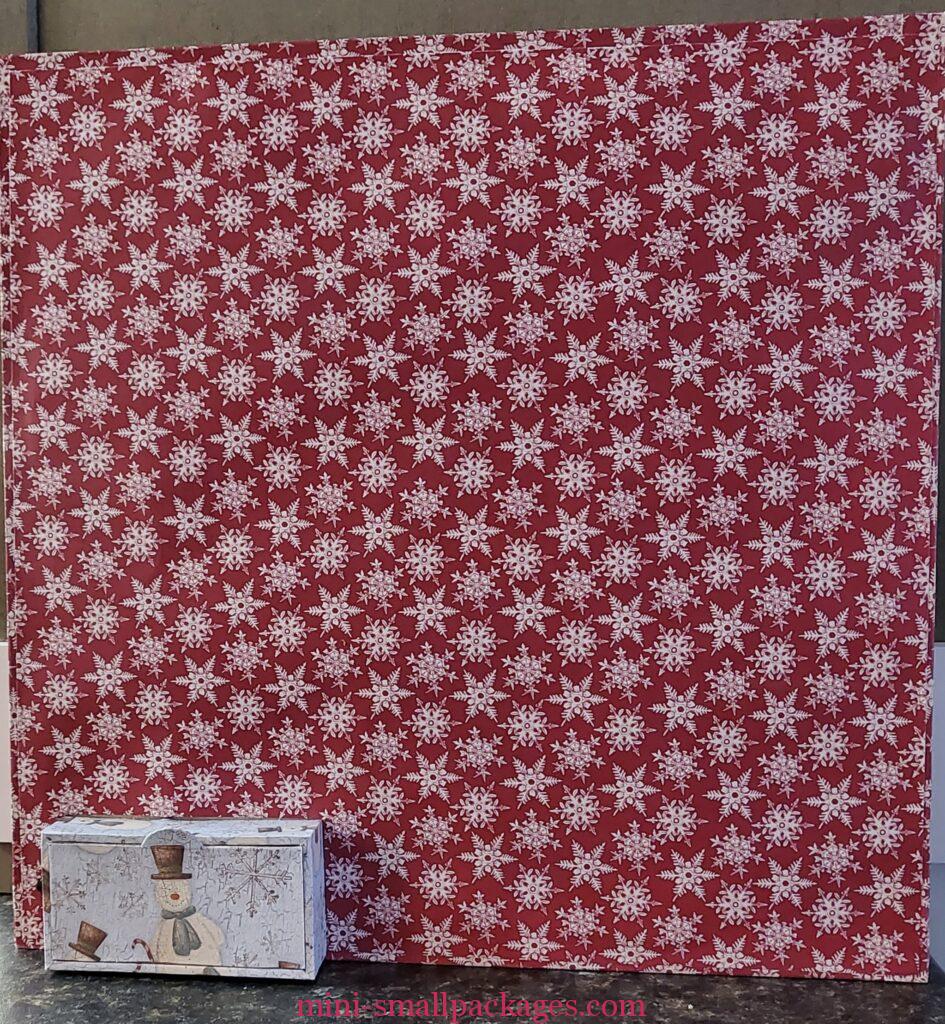
Storage
I decided I would store this during the off season. For one, I don’t want battery leaks as already dealt with that. Thankfully I found it before any damage. Second, how do you display it? Unstarted or Done?
Storing it means it needs protection from the drawers falling out. I had that happen when I had it turned over working on the battery section. Then I went to turn it back over and forgot to grab the board I’d been using to keep the drawers in place.
I made the cover from corrugated cardboard to fit on the front.
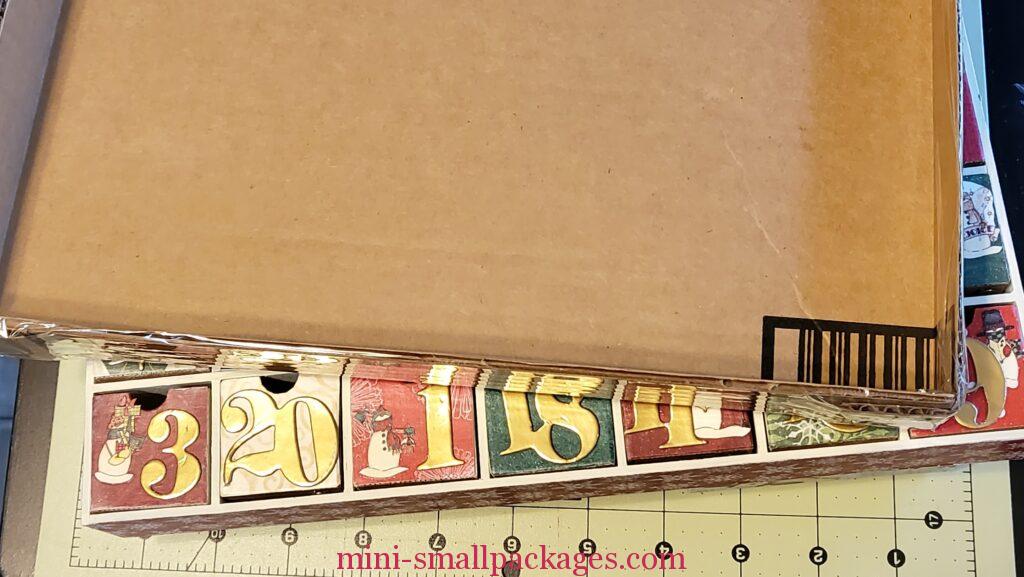
Is it Christmas time yet?
Wow Preble. What a feat. Congratulations on finishing such a lovely advent calendar that will be fun for years to come. It’s lovely!
I hope you do.
Love it!! Your step by step instructions are wonderful. I am putting this in the ‘some day’ category. Maybe next July!! Thanks Preble.
OMG!!! Awesome endeavor! I think I would have given up part way through! You did a beautiful job.