I’ve always wondered what’s in a kiss. Recently I found out.
It’s funny how organizing or moving can compel one to share knowledge. I decided to move two shelves from my studio to my bedroom. (This is so I don’t disturb my son as much. He is currently living in my studio.) One of the shelves had overflow of boxes, trays and a few Christmas decorations. I put everything in a box so it could be moved quickly. Later I sorted it. The Christmas items were all added to my current project box – the Advent Calendar. The calendar was moving along but I was waiting for snow to dry so I decided to work on this kiss box.
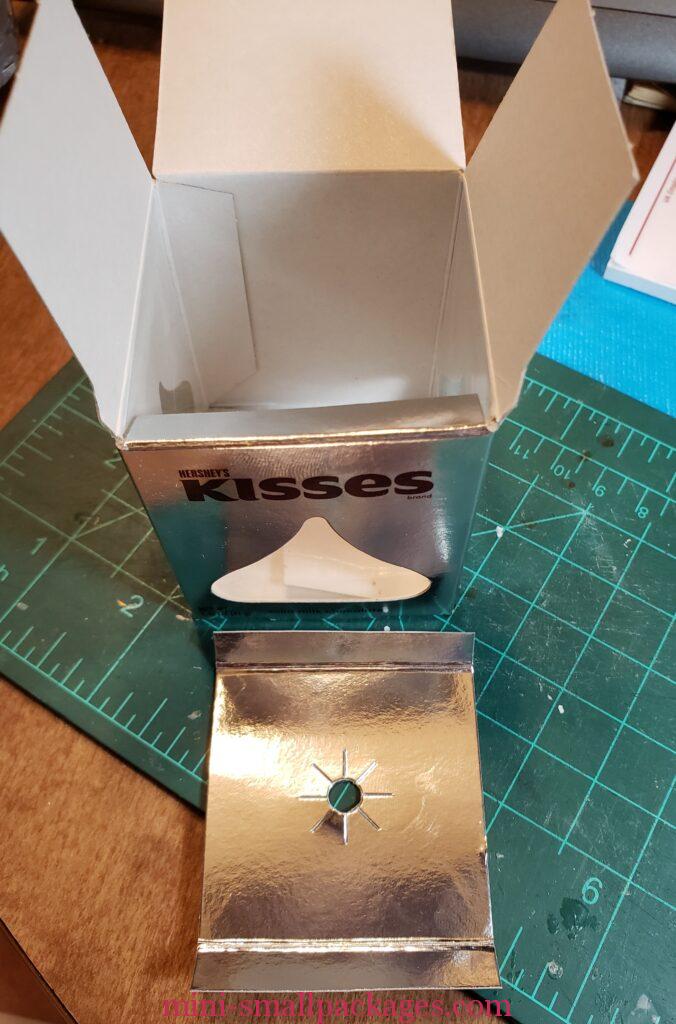
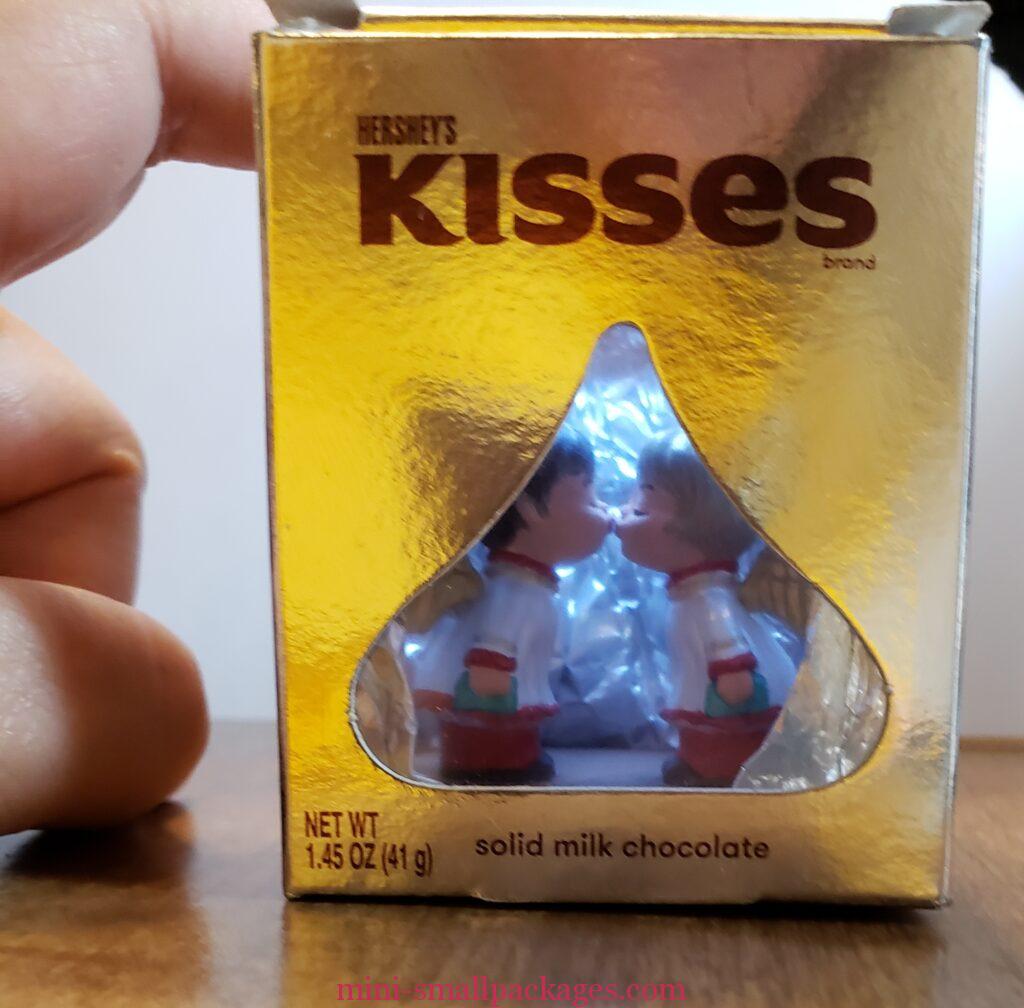
I had saved this box basically because it was shiny, had these windows and I liked the size. Later I ran across the two kissing angels and thought they might fit inside. So these had been hanging out together.
Making a foil kiss
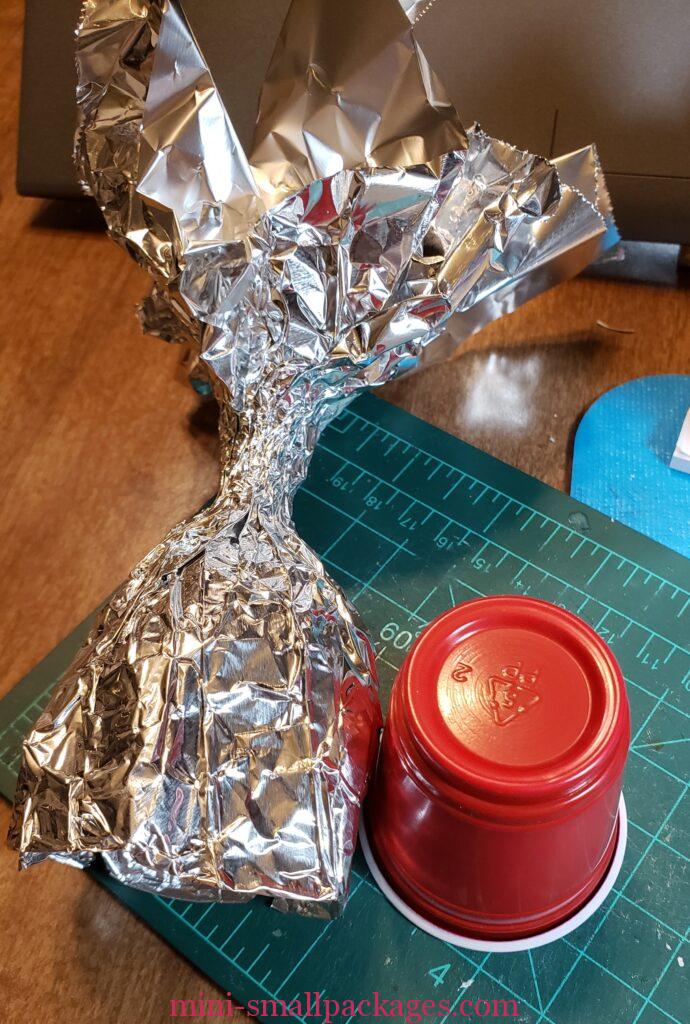
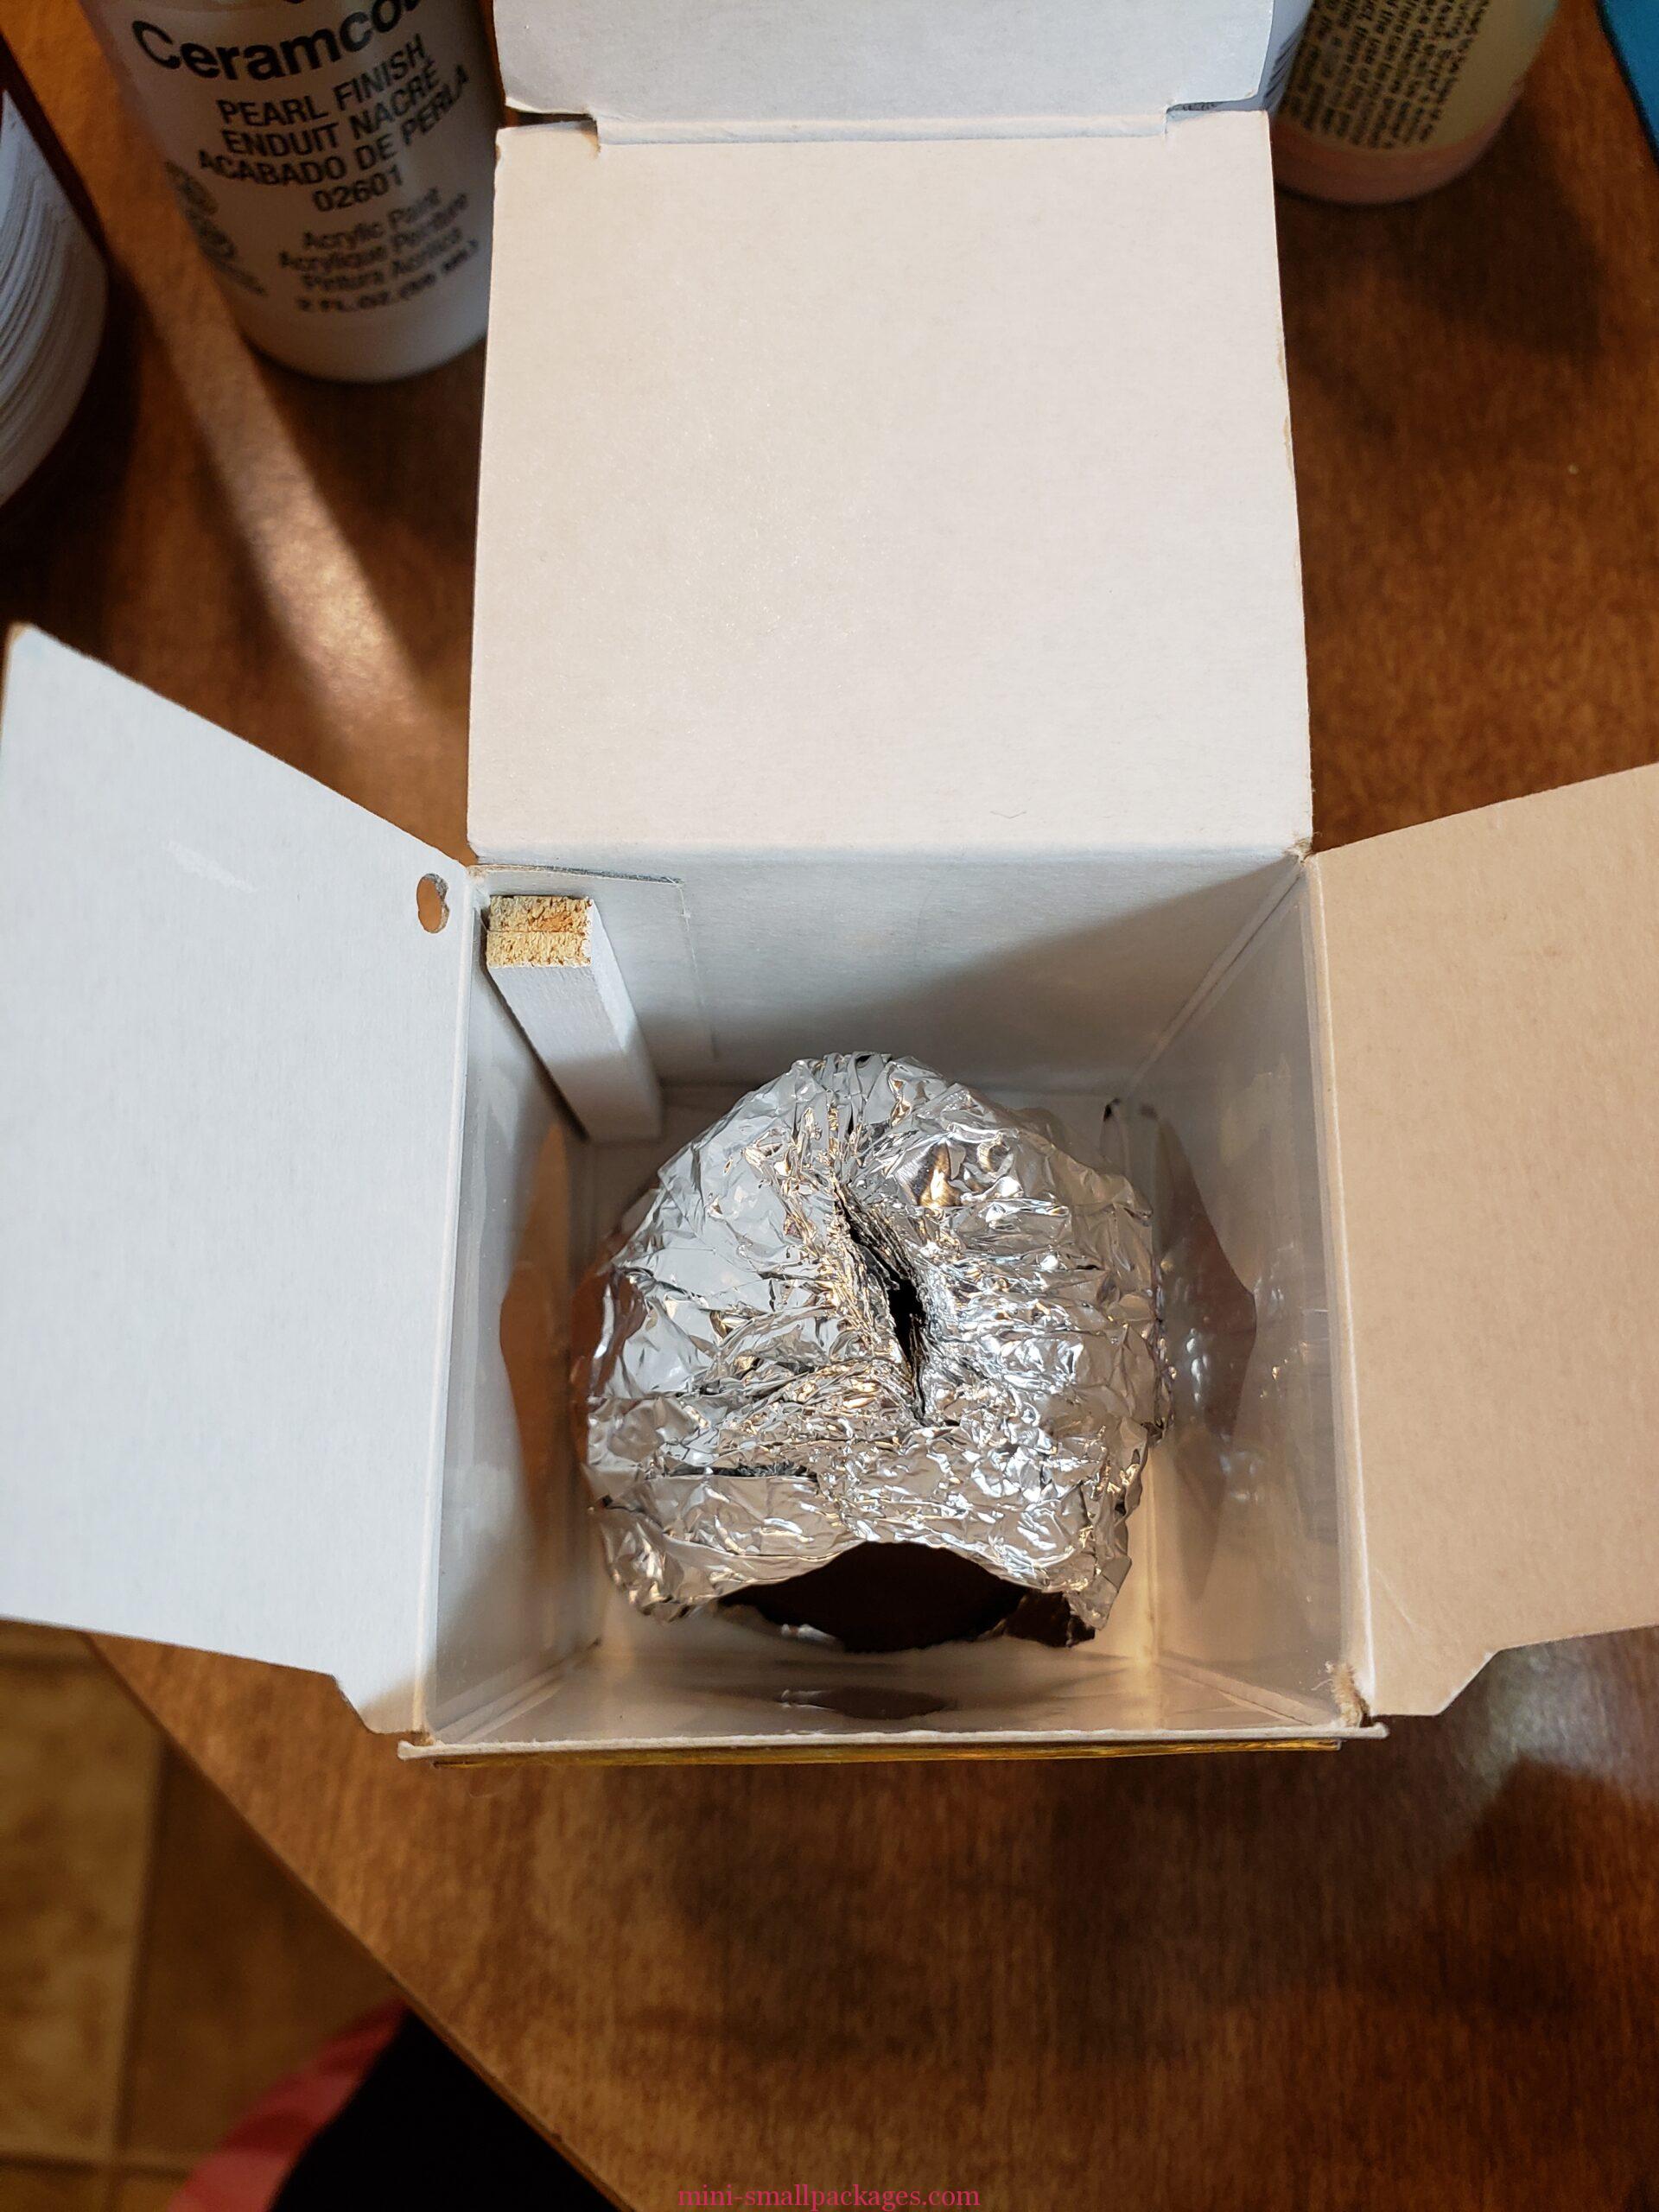
I wanted to make a kiss. I tried heavy aluminum foil but it was too difficult to shape initially. We just happened to have some thinner foil so tried that. It had more the feel that a kiss wrapper has but slightly thicker. I used a mini soho cup to try to make a kiss shape. Hubby helped me to wrap the cup in a shape I liked.
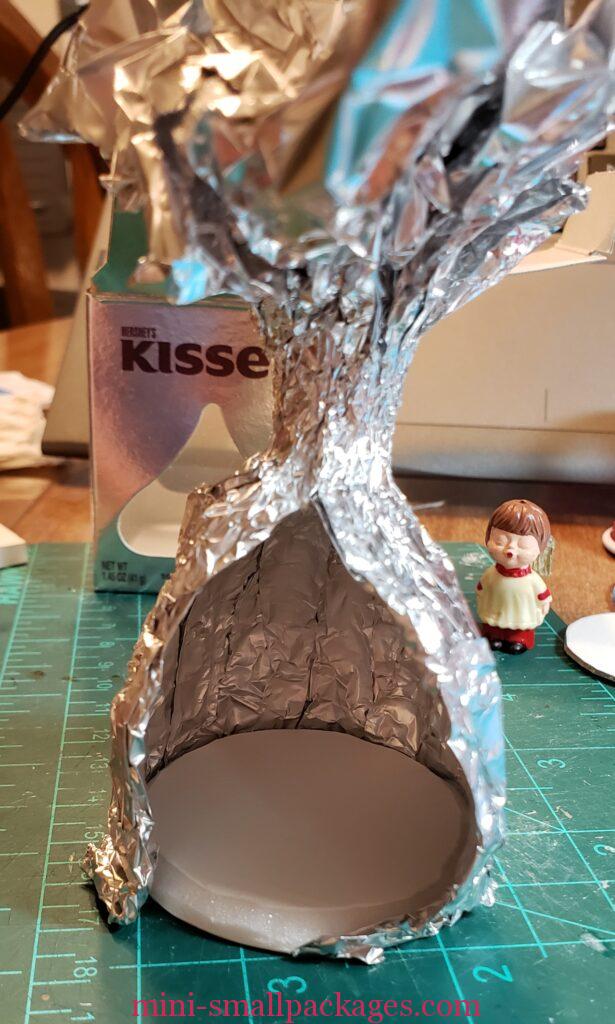
After several tries, I cut out a foam core board circle for the bottom. I shaped the edge to round it using my craft knife. This requires to sort of carve the paper and foam.
I inserted the circle into the kiss shape and even glued in place. Then I realized I wanted to paint the circle. It would be easier to do before shaping. One more try.
This time I glued the painted circle to the foil and I tried a plastic dome rather than the mini cup. The dome was one of those on sale purchases where I wasn’t sure what I would do with it. But it was so cheap I made the purchase.
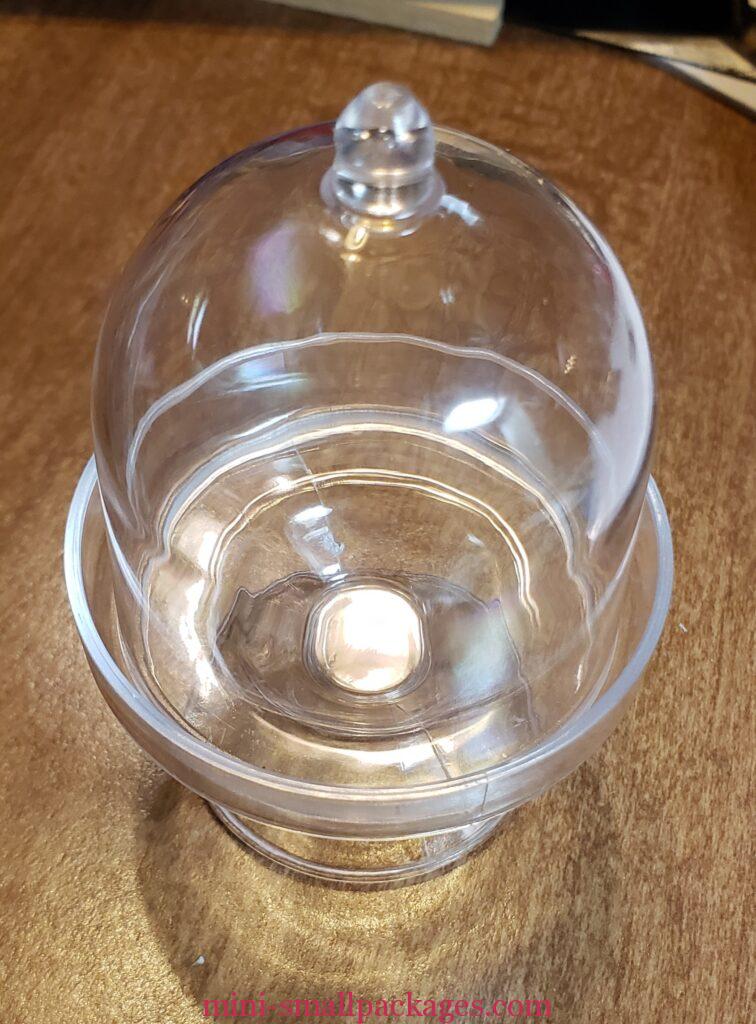
This worked great until time to remove. It was fine but not really better than the cup. The foil still requires shaping. The shape is going to be bigger on the inside too. It wasn’t going to match a true kiss shape.
Now to light it up
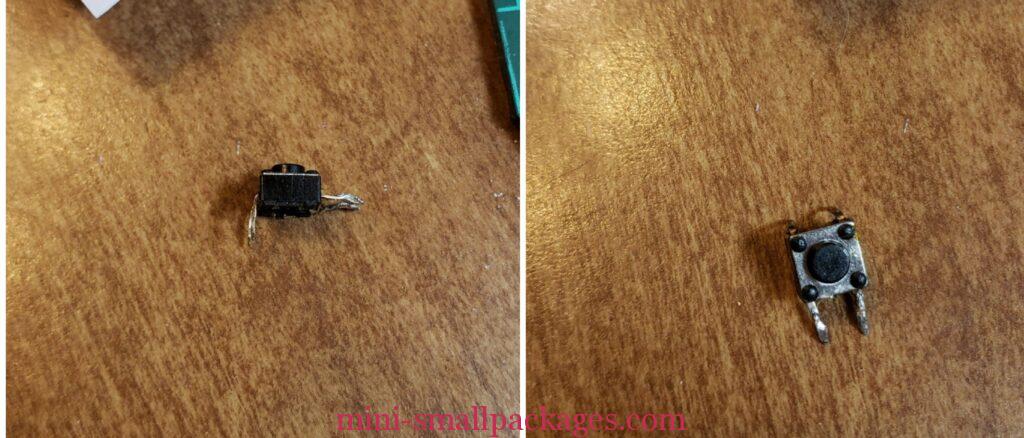
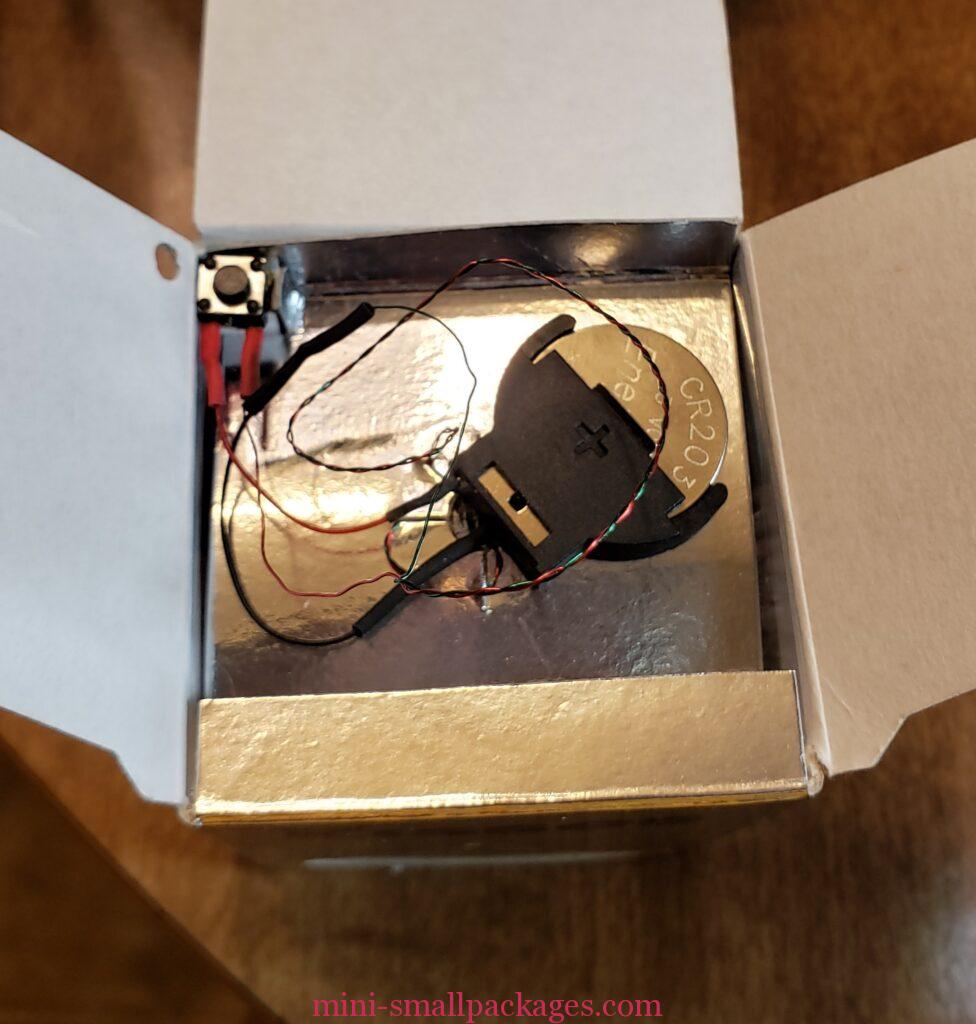
I had this tiny push button we had saved from the inside of something. It had two wires with pads on it. I consider using the pads. Instead I concluded that the button was best.
Now where to place the button. First was in the top front corner. Other considerations was the back. I settled on the back corner because of how the lid folds and holds in place. I didn’t want to mess with that. I am really thankful I thought it through.
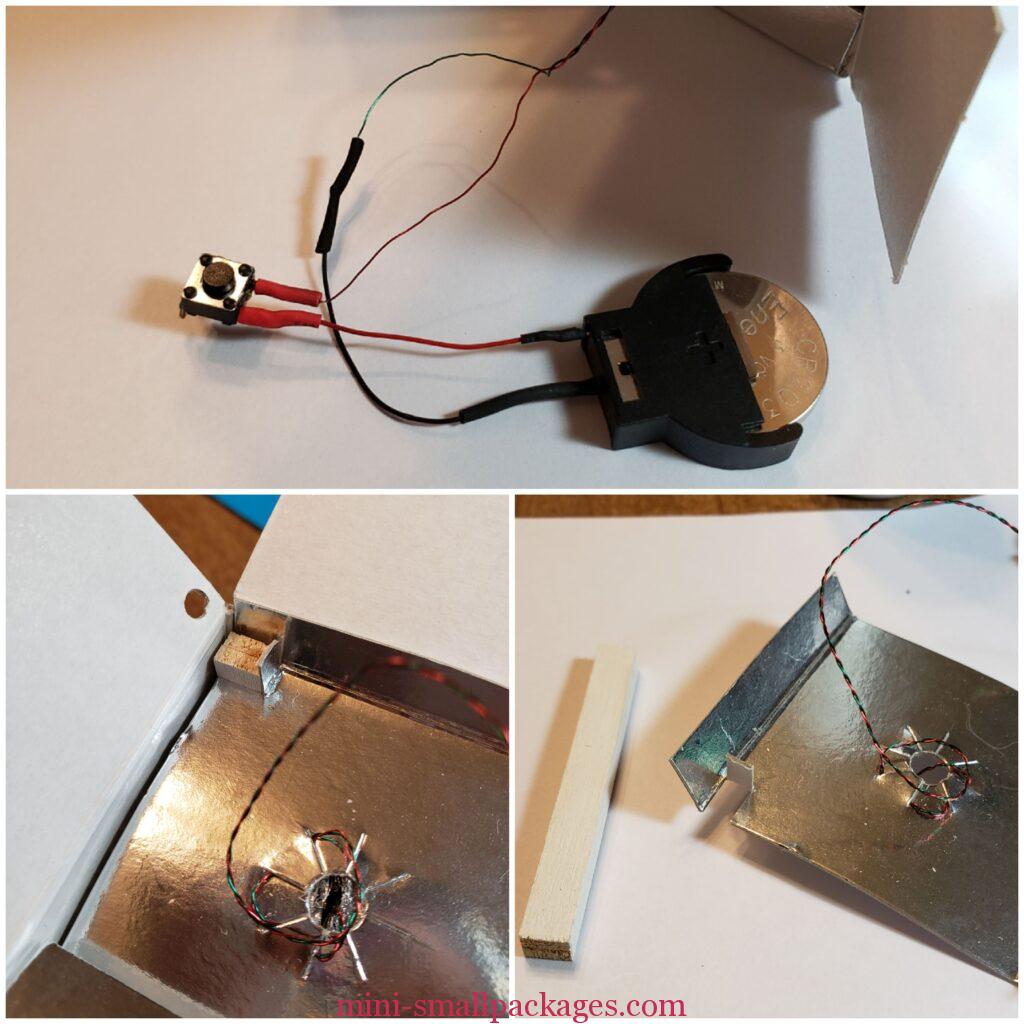
The wood support is made from some scrap I had. I cut two pieces to length (height of box minus the button and how low the button will sit). I glue them together. Paint two coats sanding in between coats. It gets glued in a corner. I felt this was best location as feel it will be less noticeable.
Another consideration for the button and the support wood was running the wire. If the button had been near the bottom it would be more wire used and more to cover. I could have added a false back. However I still need a support to be able to push and hold the button down.
The insert was previously attached and I cut it. This was because it sat lower than I wanted. I kept it for making a space for the battery socket. But for the button, I notched the corner. I made sure to not glue the wood at the very top. I did add the punched hole but it was not necessary. I am happy that I did it only to the flap and not the outside.
The Angels
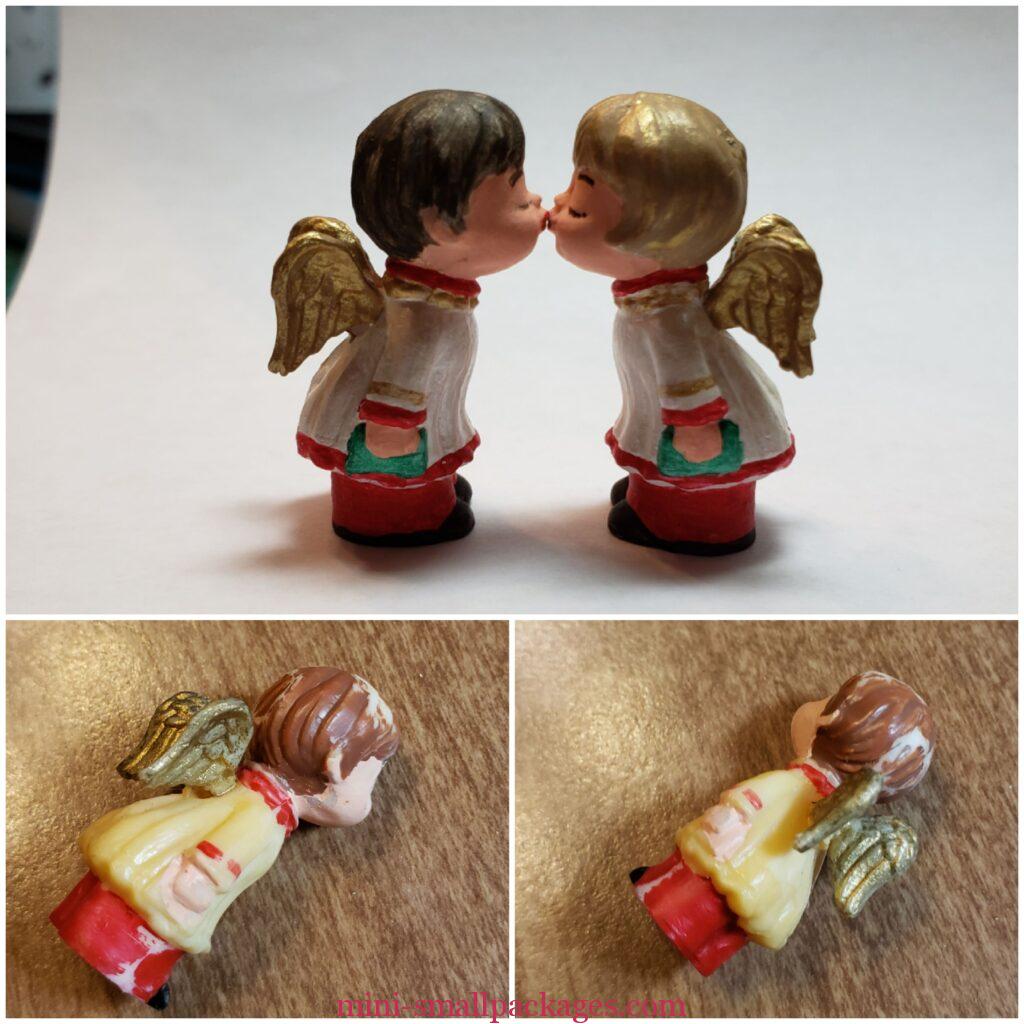
They had to be painted over. The plastic had turned yellow and is especially noticeable where previously left unpainted. I also couldn’t accept the mistakes. I painted all over with white and then added color to the rest. It needed more than one coat on the white areas. I added a pearl finish on top of the white.
Finished

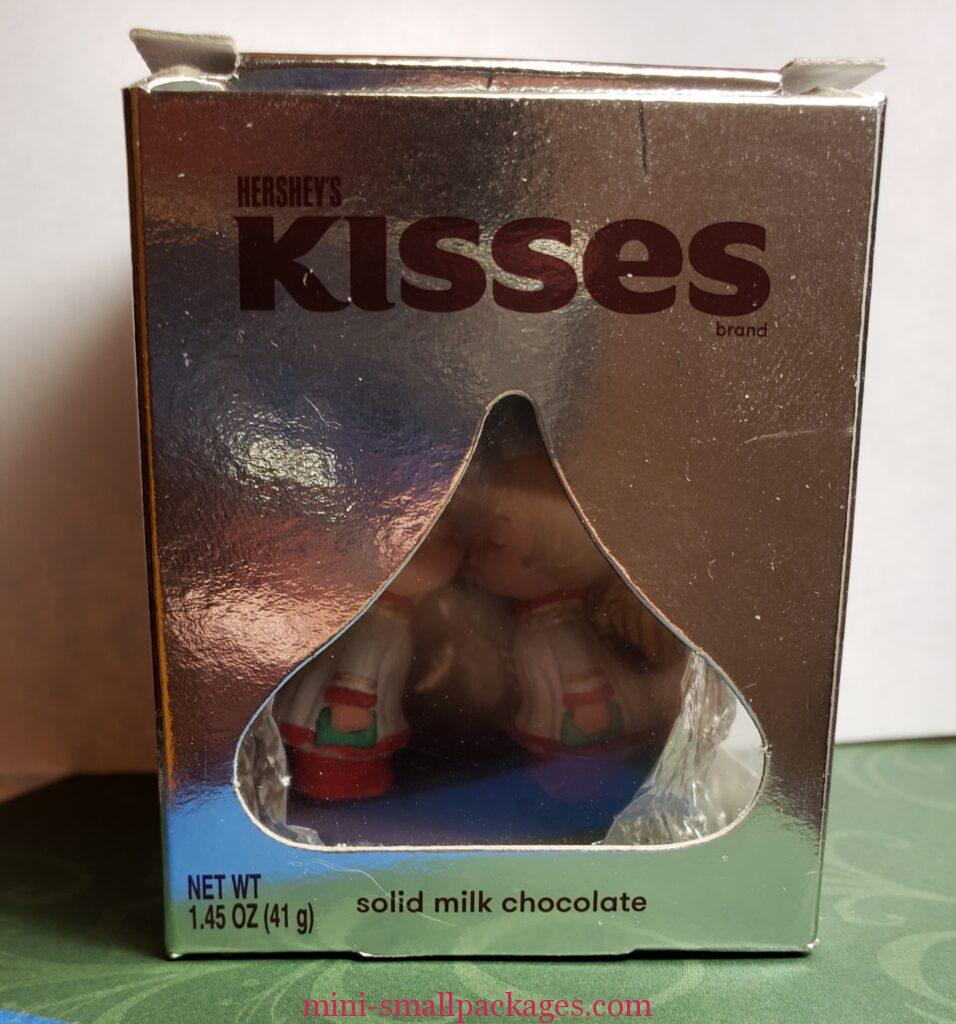
I’m really glad I decided to light this. It looks great when the lid is open but not with it closed.
Happy miniaturing!
Preble