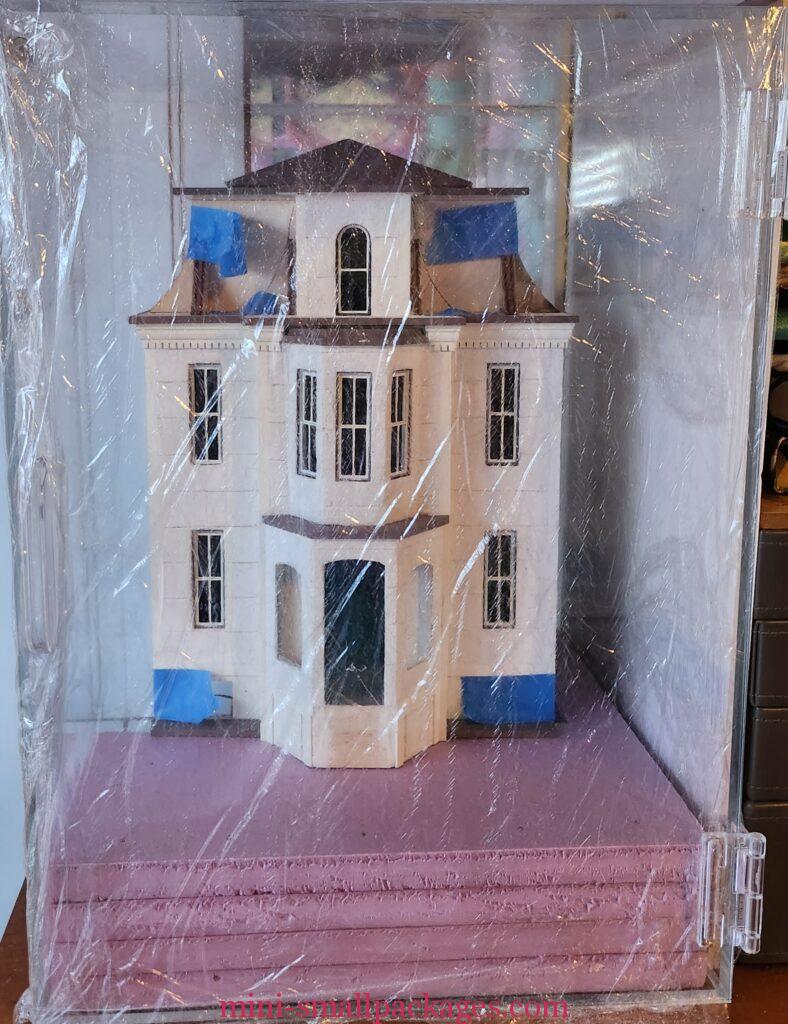
For 2023, the Create.miniatures.org team issued a challenge. It is to work on a big project as a year long challenge. I decided on my Petite Chateau. I plan to complete the exterior less landscaping and make all the furniture and accessories.
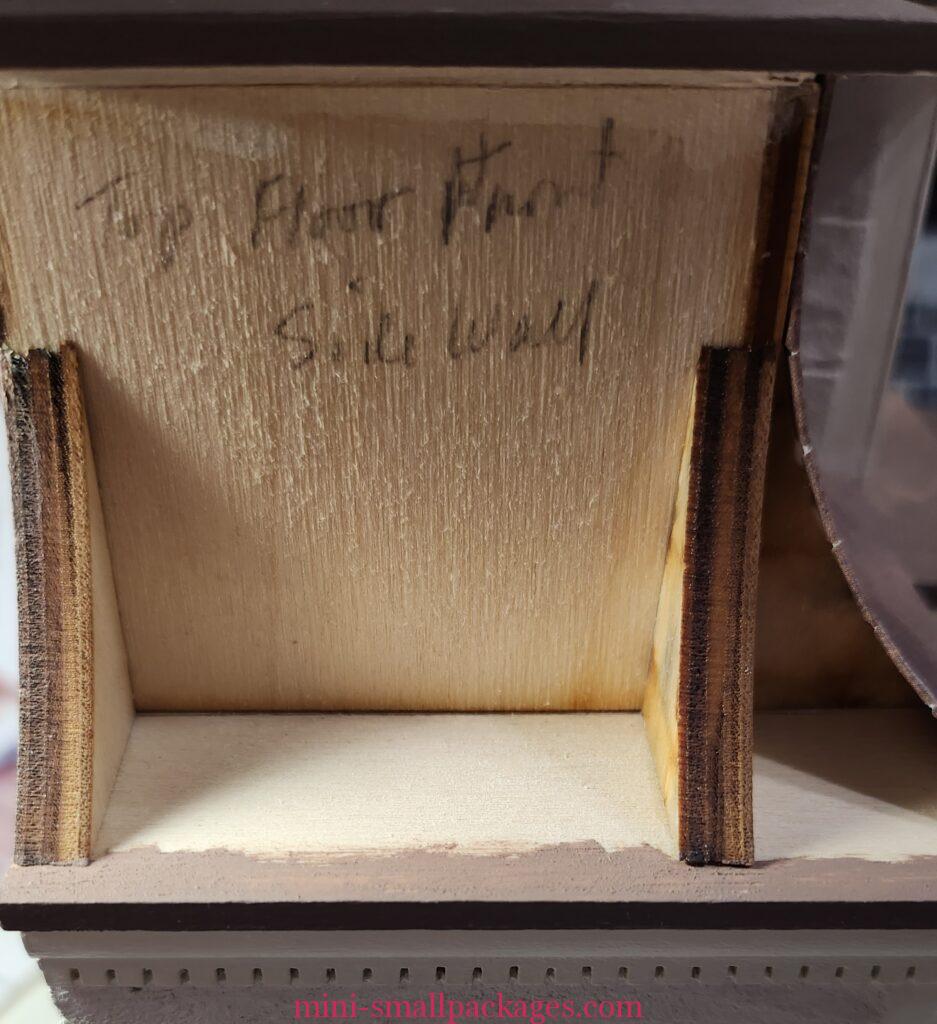
When I last worked on this one in 2021, I was making furniture for the second floor. I also had begun finishing the roof and added stucco to the portico. Exterior part 1
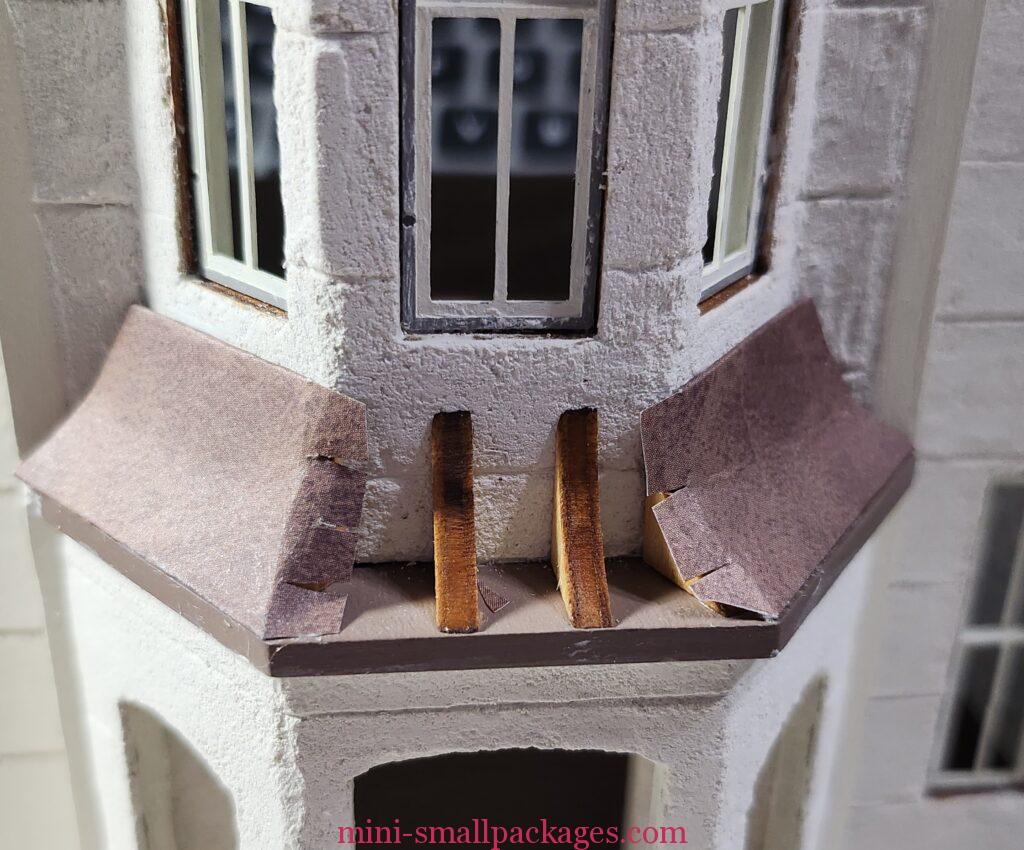
The roof has patterns and I had to add to them because I had added to the walls for my drop ceiling. This was needed for the lighting. I had already done this when I last worked on it. However I forgot where I was.
I didn’t just cut to the pattern. I at least remember that. Instead I test for what I have cut. I need to trim some.
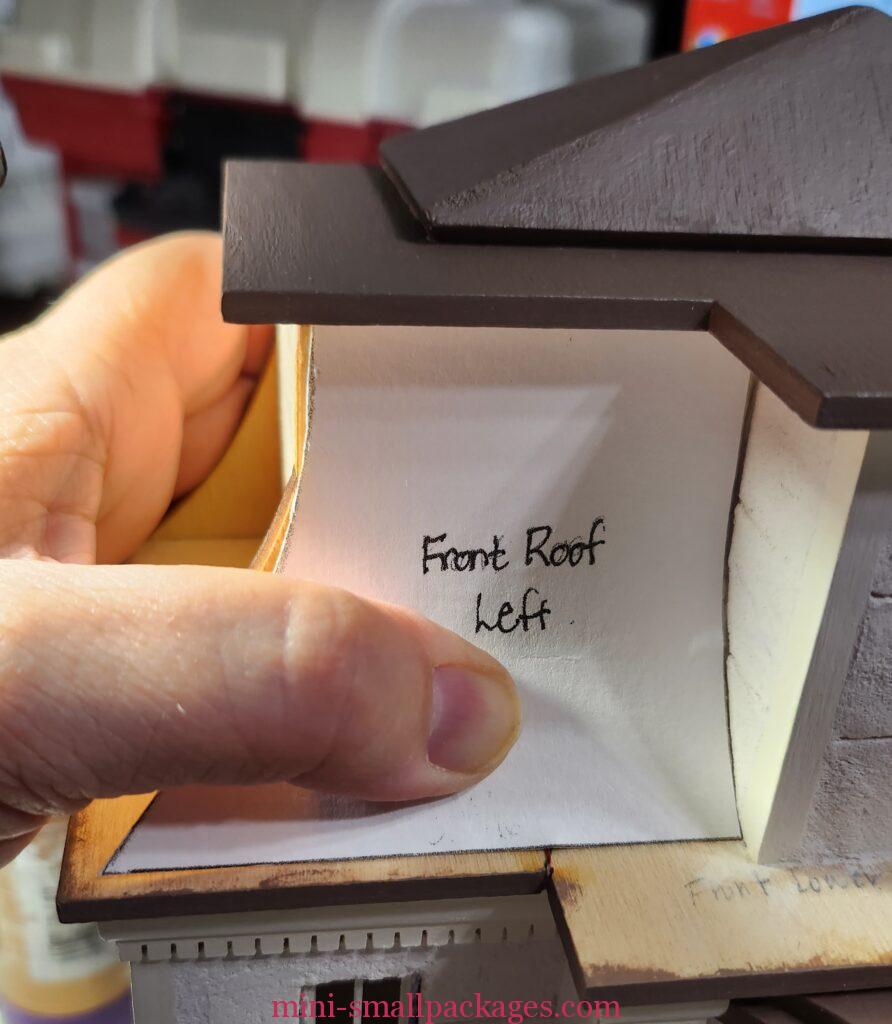
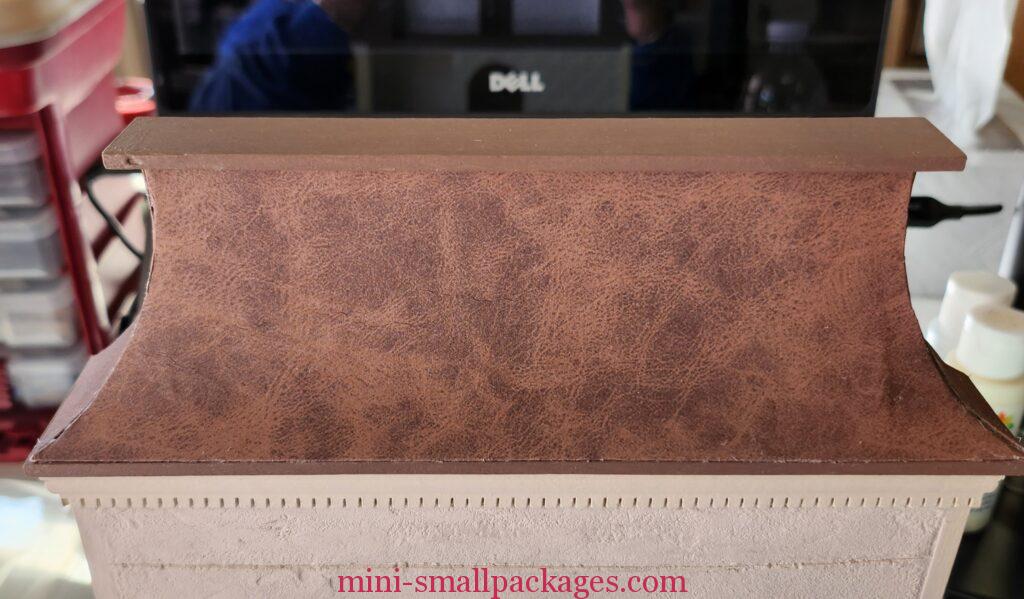
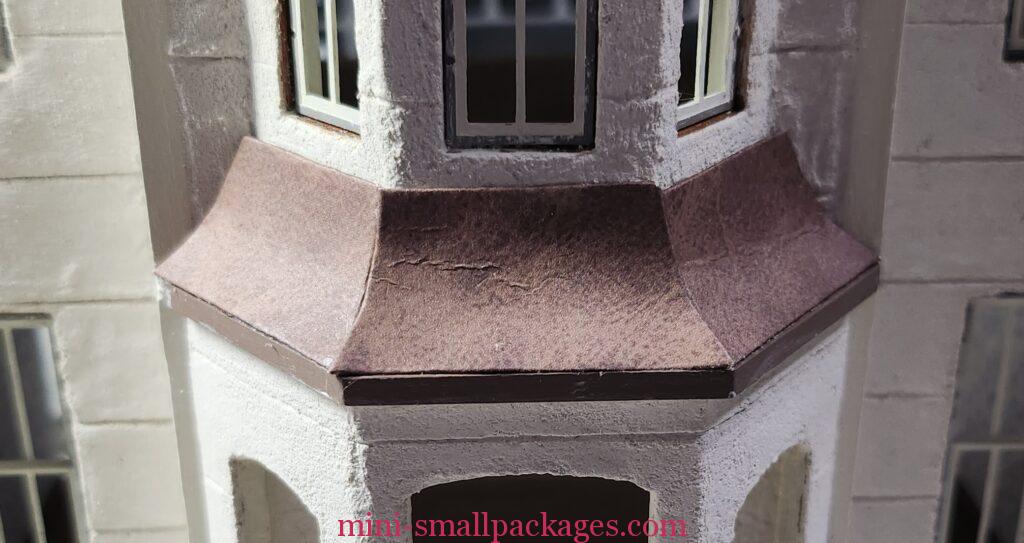
I checked the kit photos and yes, there is the extra edge showing. I am satisfied with the fit so I apply the brown roof paper to the front of the pattern. It was installed but I it requires holding while glue dried.
Then I realized I needed to apply paint along the edge.
Side roof time
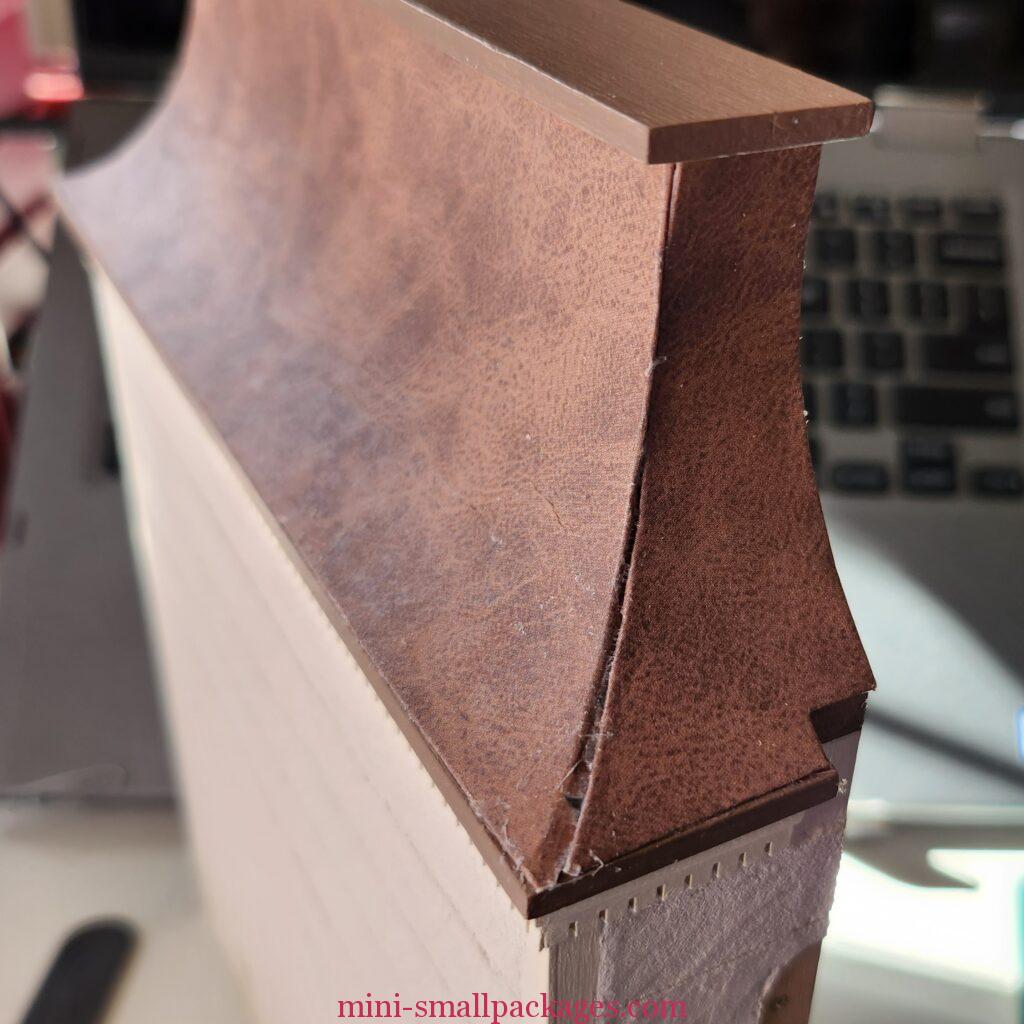
After fitting the front I think I should just cut to the pattern. Then when I test it of course it is too short so I put it back together.
I trim and fit to size them apply the brown paper. Only to discover that I would be overlapping the front. Aesthetically it would look better to have the front overlap the side. But in the interest of time, I decided to let it go. I know I can still change my mind if there is enough leftover roof paper.

I switched to the other side and this time do the side first. But there was a gap at the bottom. I tried to fix it by folding the roof paper past the card pattern. It worked.
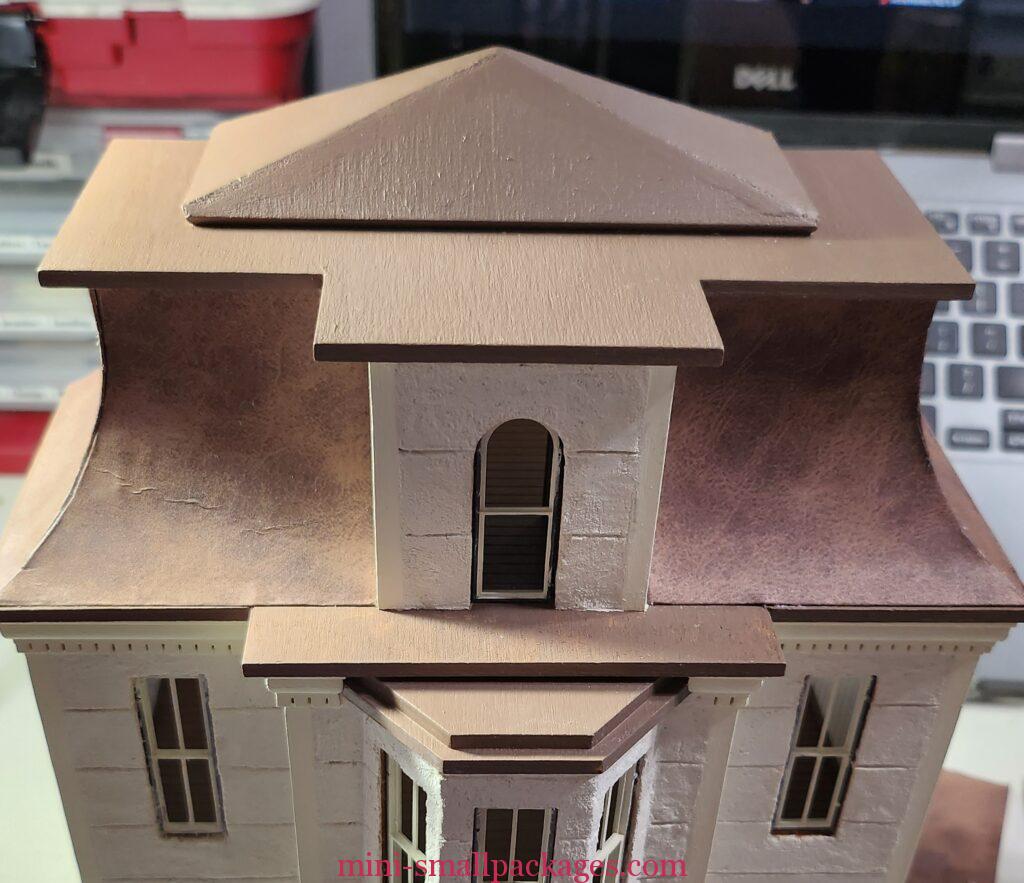
I then worked on the roof for the back. Based on the experience with the front, I did the sides first then the center section.
However the sides were too narrow so as much as I tried to push it together while gluing it still left a gap. Also notice the cut out of the where the hinge is.
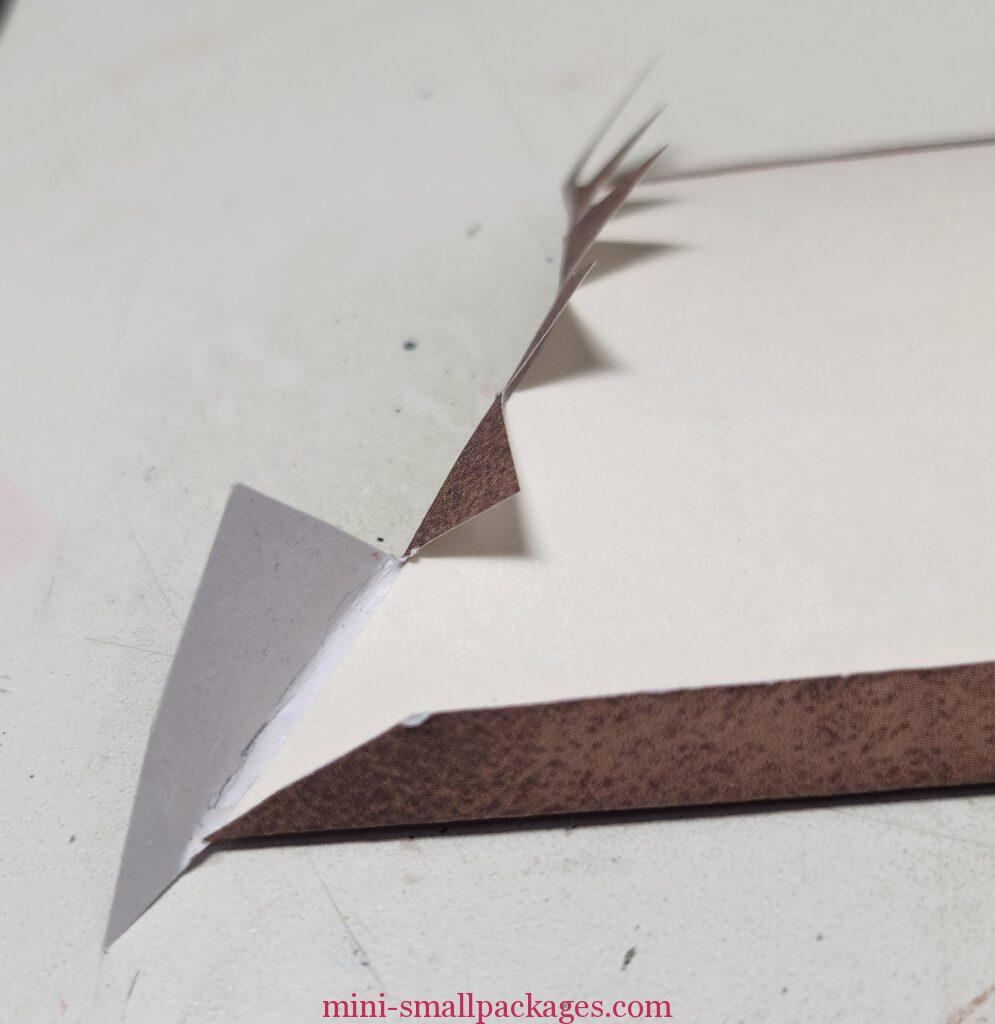
Next up was the portico roof. I tied to help with gaps by leaving flaps on each sideto go under the center.
Doesn’t look too bad from the front but the sides, well let’s just say, “I’m done” and leave it at that.
All posts/pages for this kit can be found here.
Happy miniaturing!
Preble
If you enjoy my website, please consider making a small donation via PayPal.me/minismallpackages. Thank you!