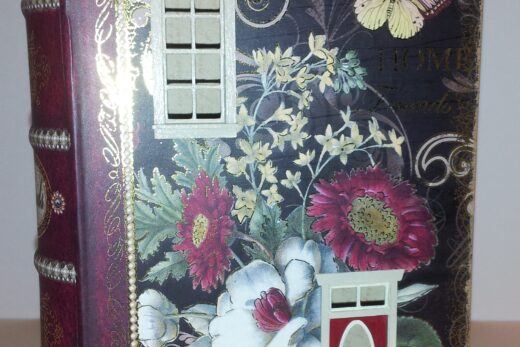
This is number 7 of the Robin Betterley Secret Traveling Village, the 2022 series of monthly kits.
The Exterior
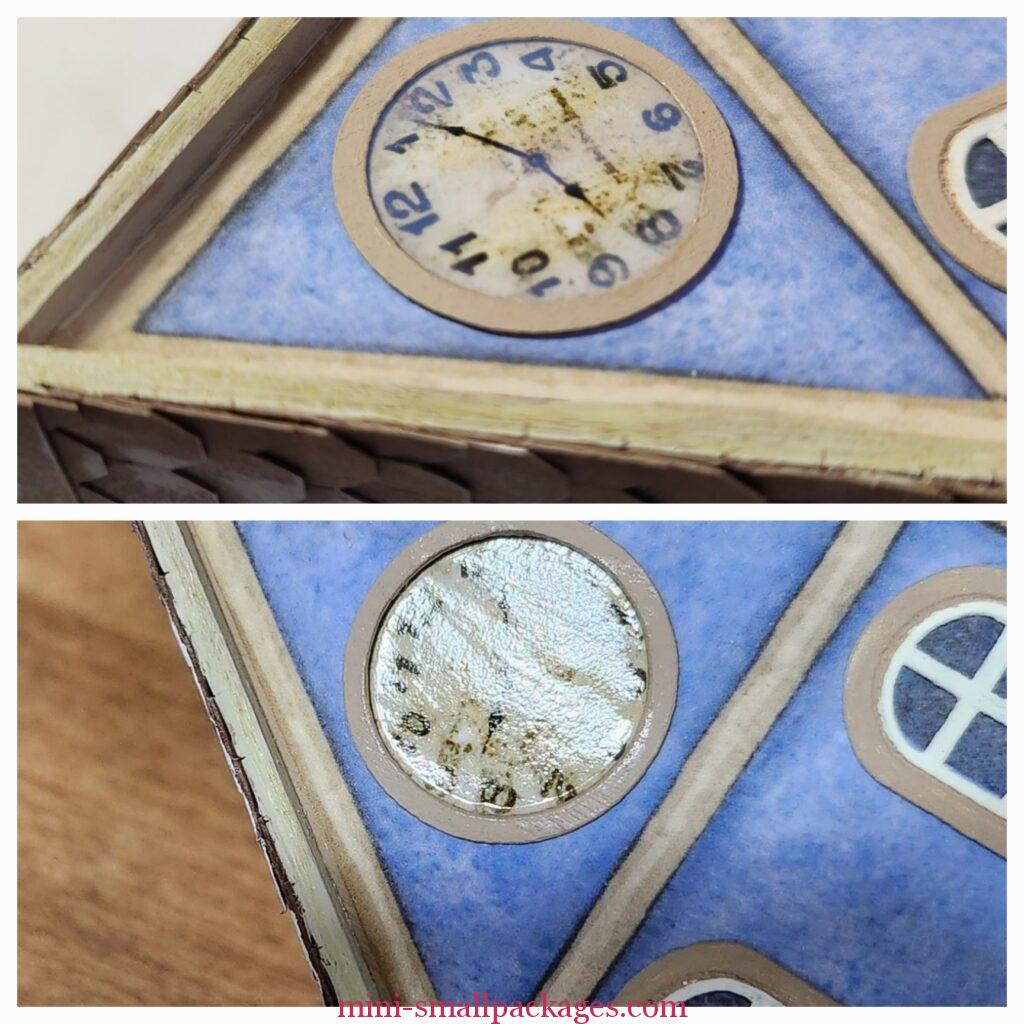
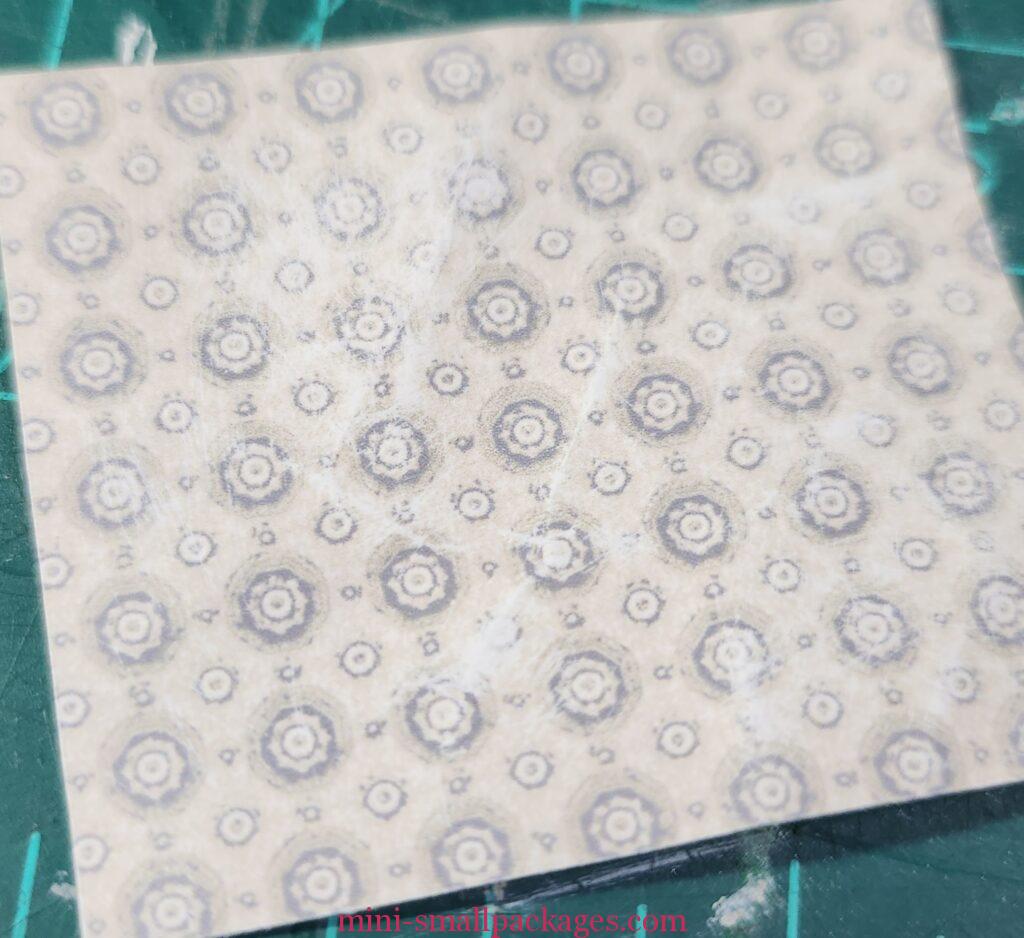
This was done much like the previous ones. The one issue I had was with applying gloss to the clock and unfortunately it was the front one and not the back. The paper wrinkled underneath the gloss. I probably had too much gloss. It did dry to be less noticeable.
The top shows the wrinkle/wavy/warped were there’s less gloss. The bottom, which I had to work hard to get the view, shows that once dry it was hardly noticeable. Only at certain angles can it be seen. As it is, the front looks worse, but again not noticeable even for me. I believe another layer might even out. But I have not done so yet.
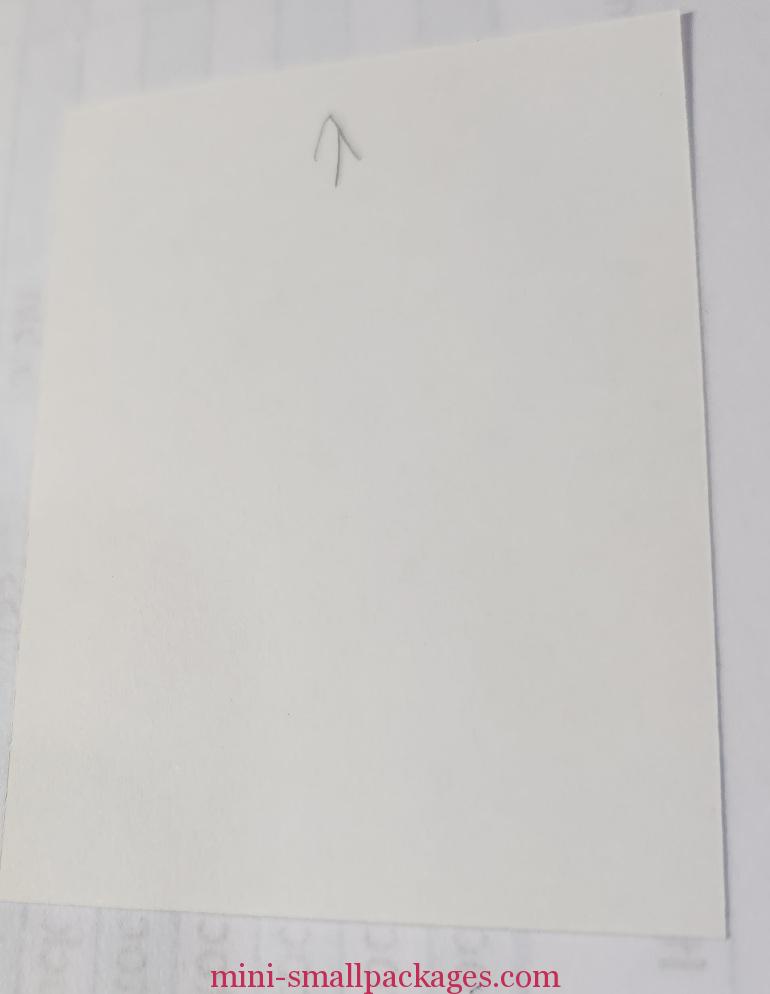
This is the floor after I have sanded it to make it look aged. There was no issues with it, just sharing what it looks like before I put it in place.
Once I decided what direction I wanted it to go, I put this arrow on the back so that if I got it turned around I knew which end went to the back.
Once again I had an issue with a gap of the wallpaper. I really wish there was extra. I know this saves time measuring (mistakes) but cutting by laser could solve that. Of course I do understand that increases the cost of a kit. I believe I would consider it worth it in the end. Robin does mention this in her instructions and ultimately it was covered up in this floor.
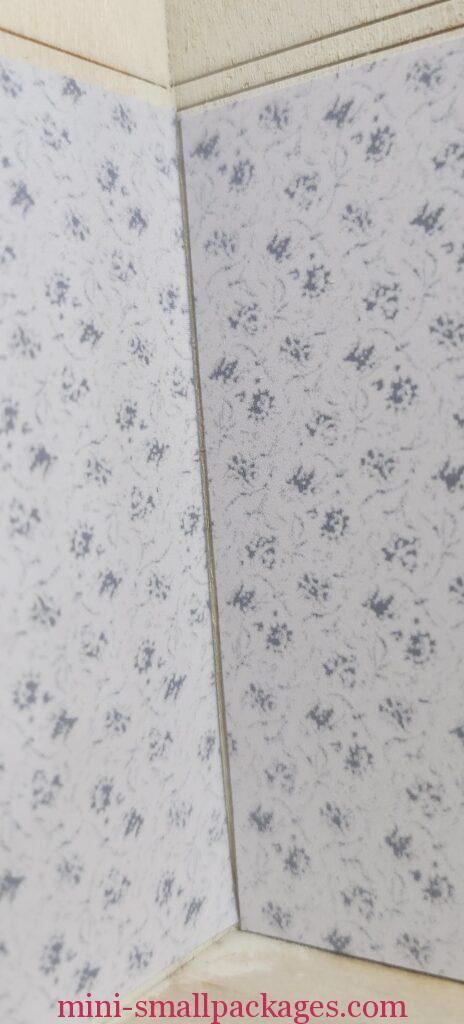
Due to life happening, it was several weeks before I got back to the kit. I mention it because apparently I threw away a piece of wallpaper needed above the door. It is noted to use it in the instructions. If you get to this step and are like me and have lost this piece, I recommend painting to match the paper. I discovered my mistake too late after I had glued the piece of wood in place painted butter cream. I would prefer a grey blue color instead. Being at the top under the ceiling it is less likely to be noticed.
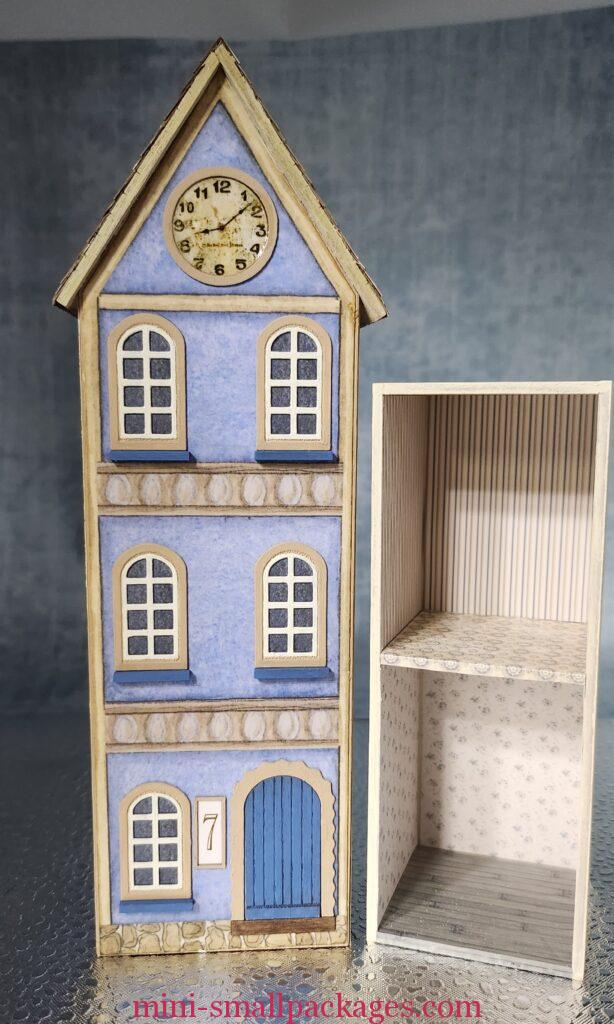
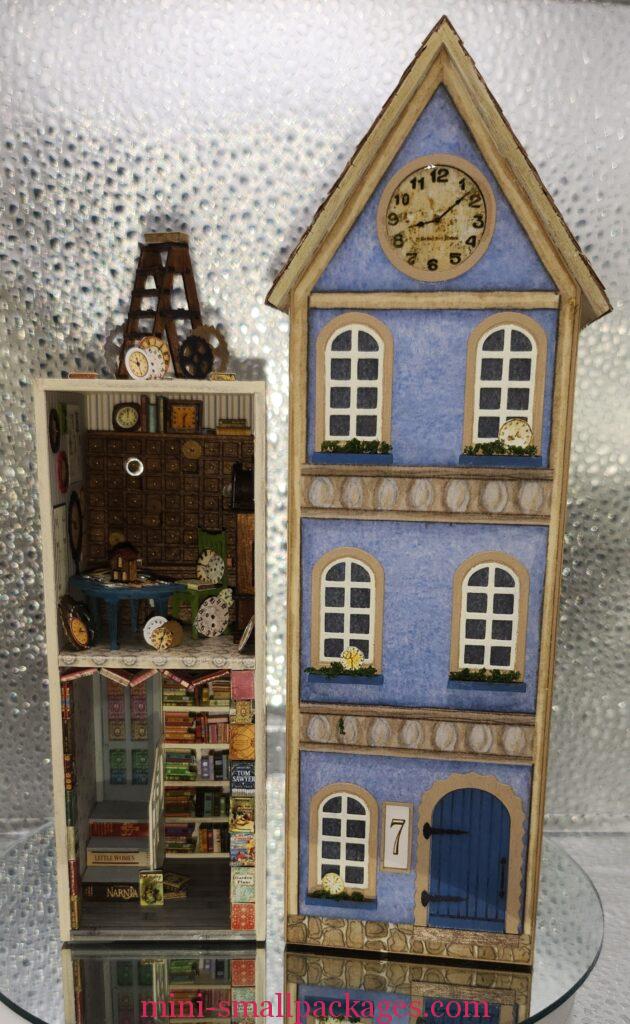
Finished exterior and interior box
The Interior
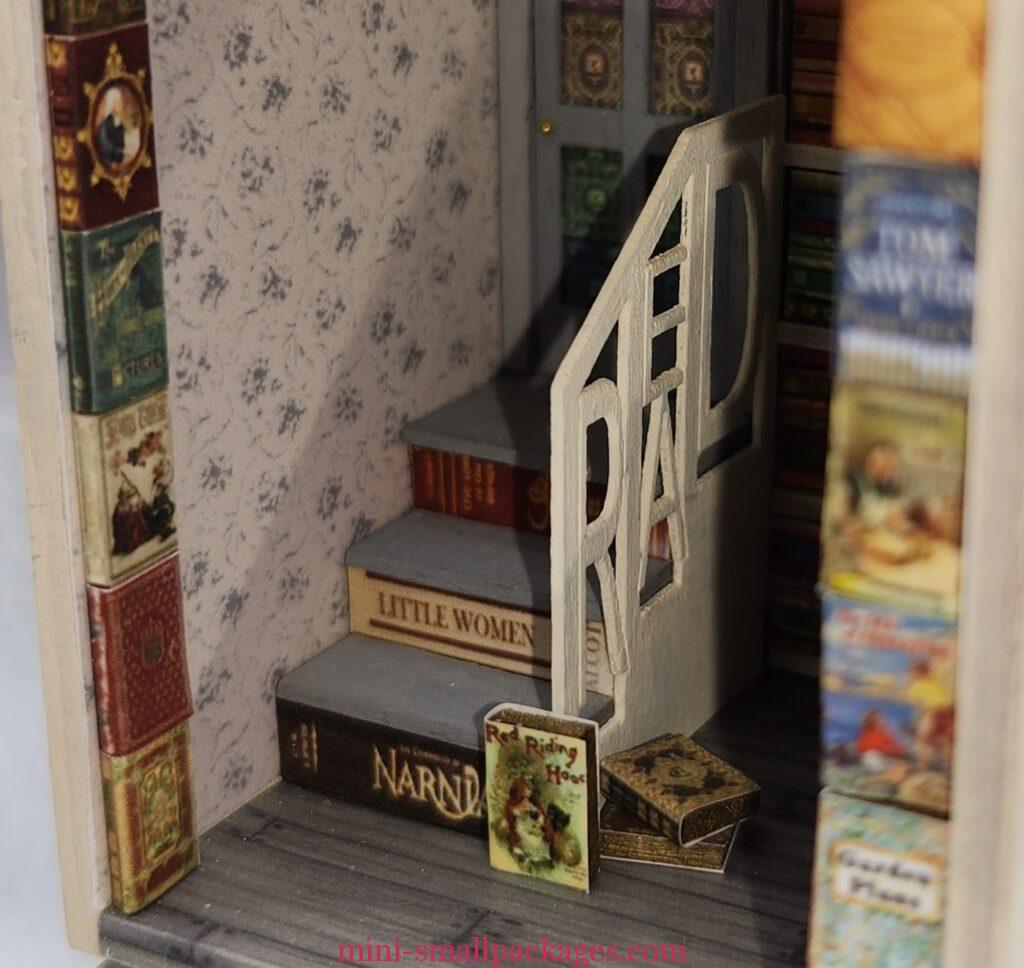
The steps assembly do not get glued directly to the bottom of the door block. Instead the back door wall is glued to the ceiling and left wall. The stair assembly hides the gap left at the bottom.
Building the shelves
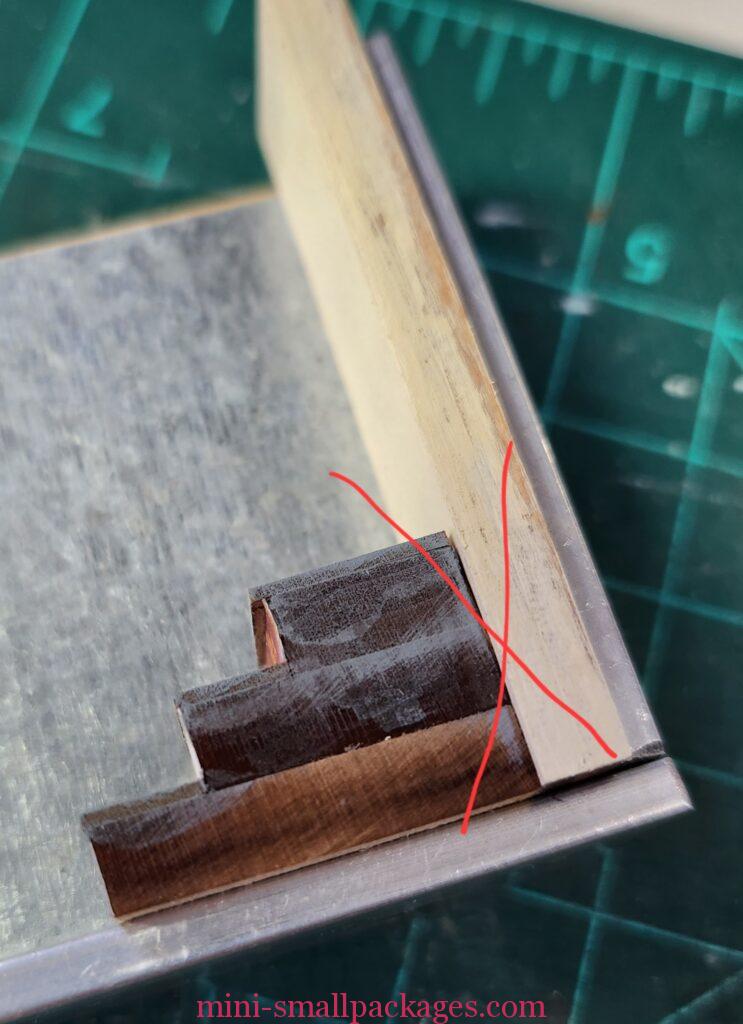
I started with the stacked shapes, adding the gold paint and paper. I did it in my jig to help me see what I was putting where and to align my shelves for the corner.
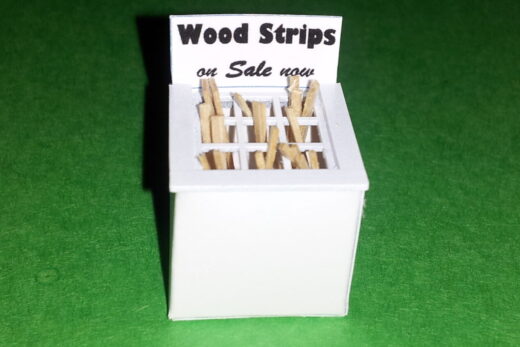
Books
I cut out the wood pieces. Or I should say popped them out. Just like other pieces it really is best to cut them out with the craft knife. Make sure the blade is closest to the piece for best tab removal up front.
I individually added gold paint with a paint marker to the edge initially to some of the books. Later I decided to add to all. The gold edges are not necessary for all, but I just wanted that. It was only needed for the book stacks and the ones for the magical book arch.
After individually painting the odd shaped books, set A and set B, I realized there was a better way. It was the tinyness of set C that made me think how else to do it. Since all the blocks are labeled can easily sort them.
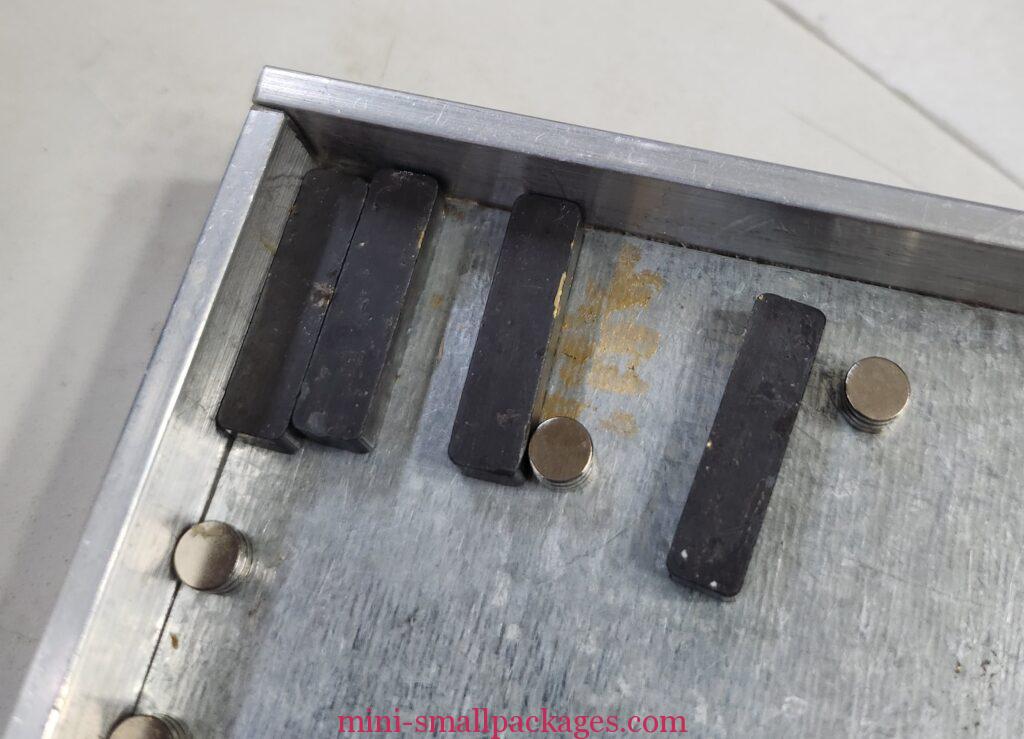
After cutting the sets out of the motherboard, I sandwich them together in my jig and hold together with the magnets and my fingers, then apply the paint to the edges. Once dry, rotate to do another side. I did this with 3 sets at a time.
My picture does not show the books, just how the magnets were. The smaller round ones were to hold the front of the sandwich, but mostly used my finger. The gold on the jig is due to not letting the paint dry long enough before rotation.
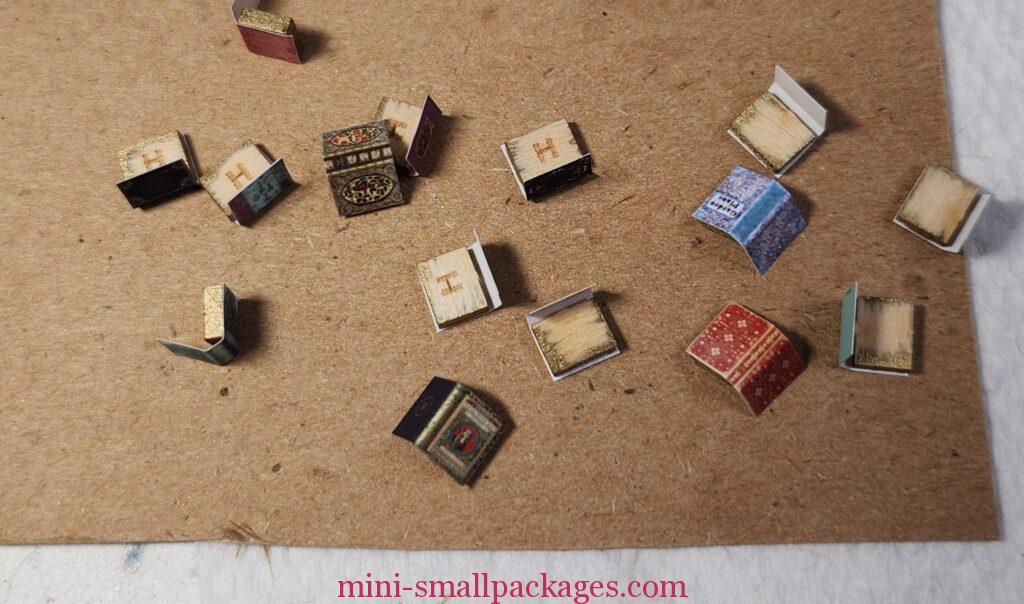
Applying the book covers, just like the instructions say, glue the blanks to the front first. To do them faster, I laid out the covers facedown in rows with all the fronts to one side. Then glue blanks to the same side. Next I fold the covers around before gluing the back. This worked because I only applied glue to the back, not the spine.
Adding the books to the shelves
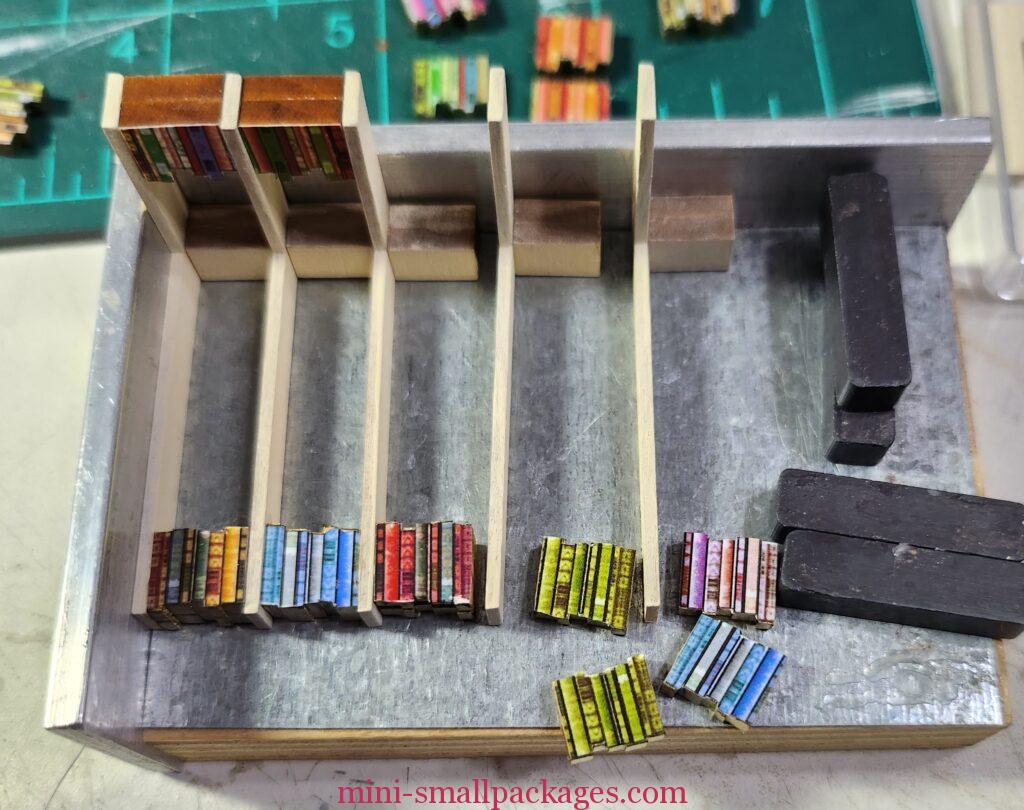
Similar to fabric bolts in the previous month, I wanted to plan everything first. Since this shelf unit is to the side, I choose to work in a plastic box lid not the house itself.
After I got all the shelves on one side done and tight (by inserting books until it was tight), I turned it around and added glue along the backs. I didn’t want to add glue from the front because I was worried I would get it on the covers as I slid them in. Meaning I didn’t really move anything from shelf to shelf. I added mostly the same color per shelf but purposefully not completely.
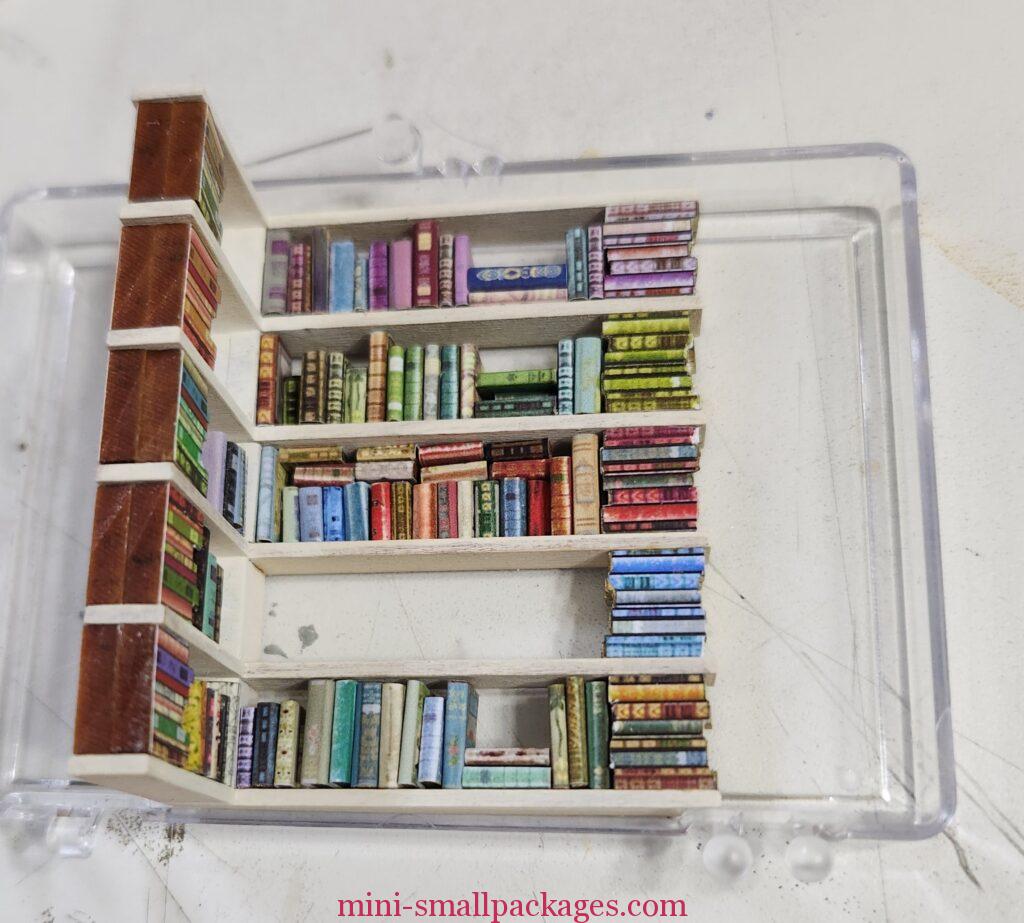
One group wasn’t tight so fell out when I picked it up from the plastic box. That’s when I thought to use blue tape. This works especially well if one doesn’t have a plastic box lid to use and also it holds the books temporarily so no need to make them tight. Then can apply glue to the books individually. If the books are tight, then can remove the tape from the back to glue. But if not, then the tape removes the books.
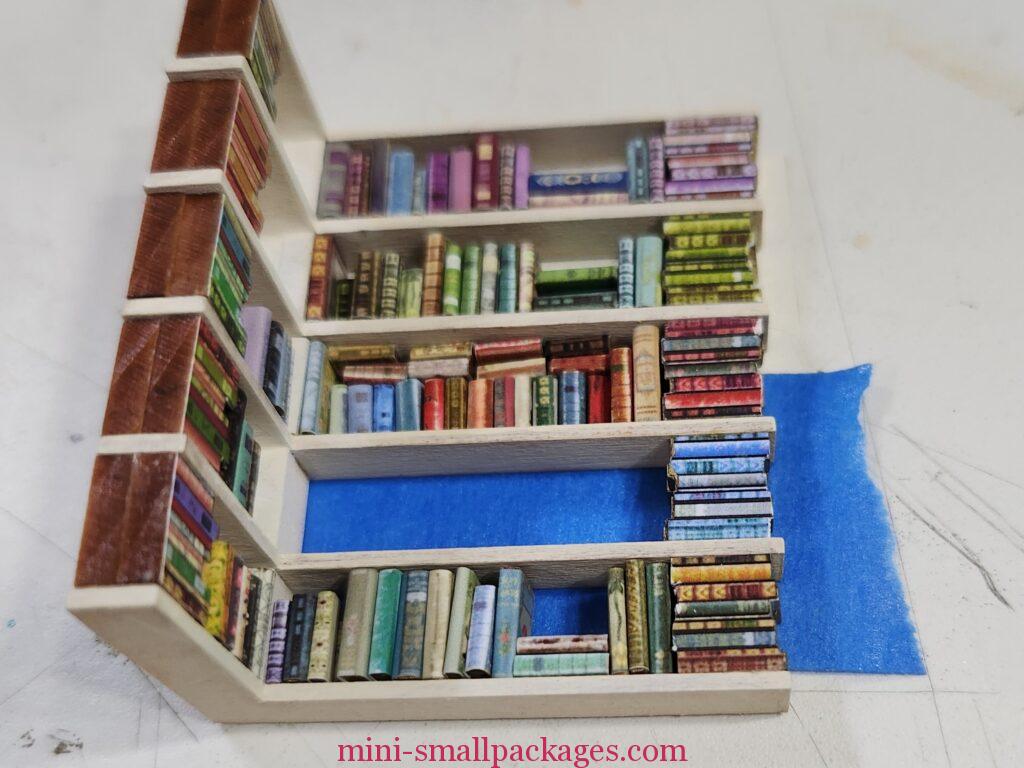
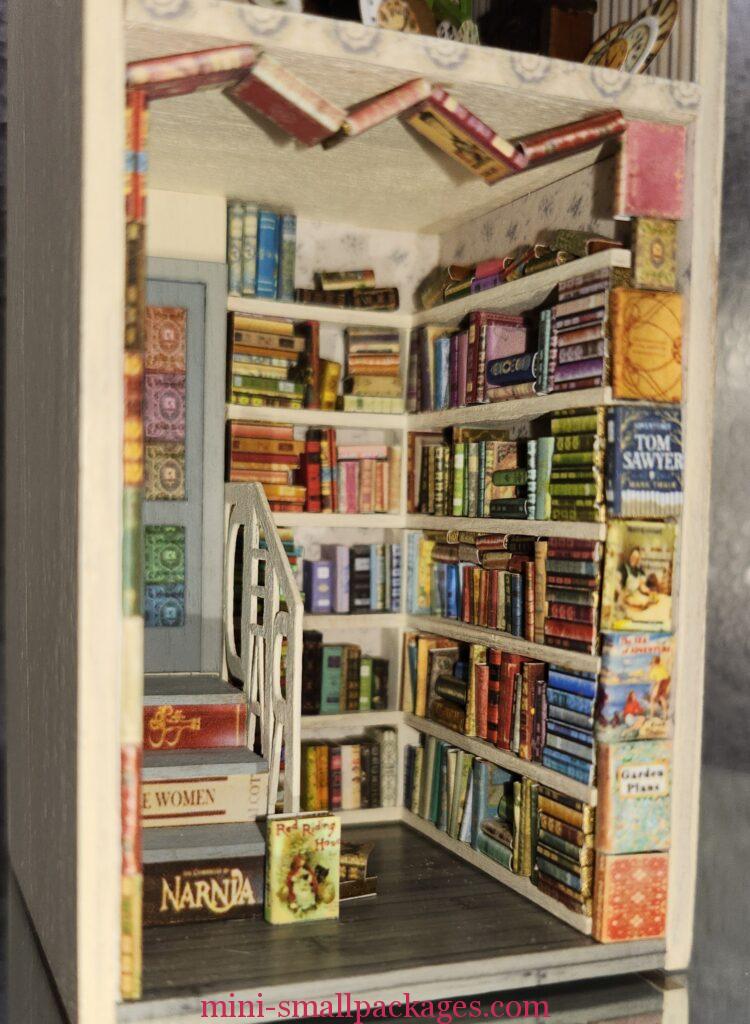
Finished with the shelves
Next up getting it in place. Robin says to be sure it fit… before putting books on. Yes, very good advice I thought I had heeded. Only once the books were on I couldn’t get it to slide all the way back. That was my mistake not pushing all the way back before adding books. I was able to sand the spot that was sticking, however, I didn’t need glue to keep it in place once inserted.
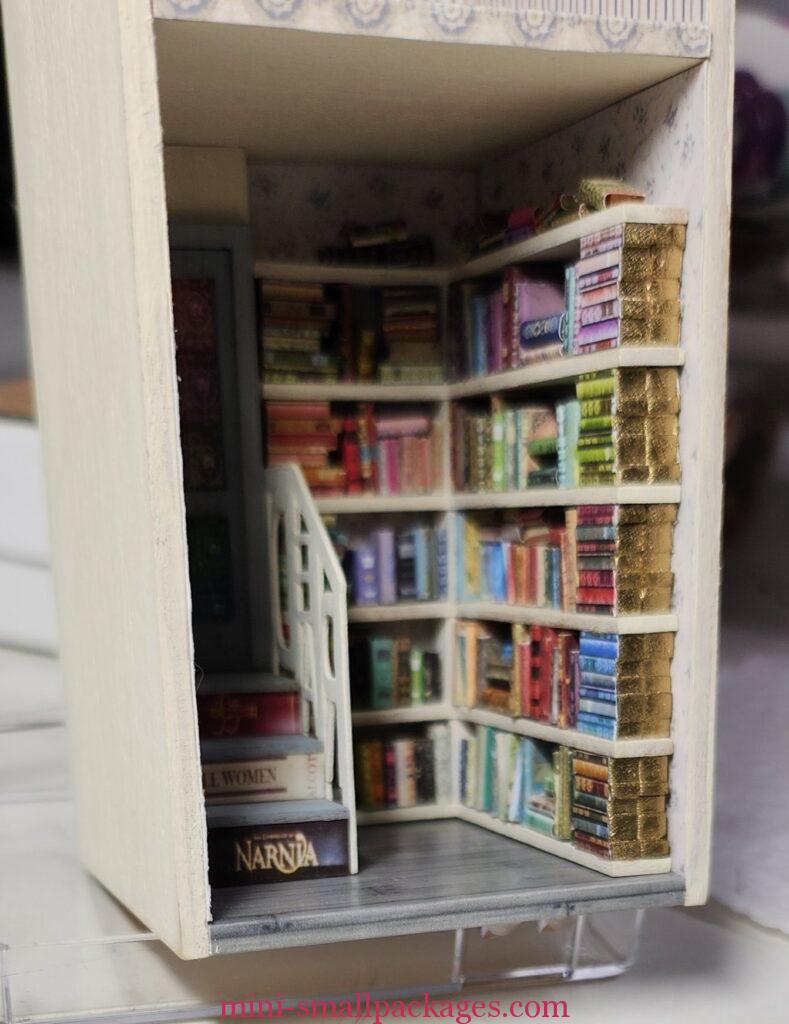
Time for a magical arch. Mine is plainer than Robin’s picture. I’m ok with that.
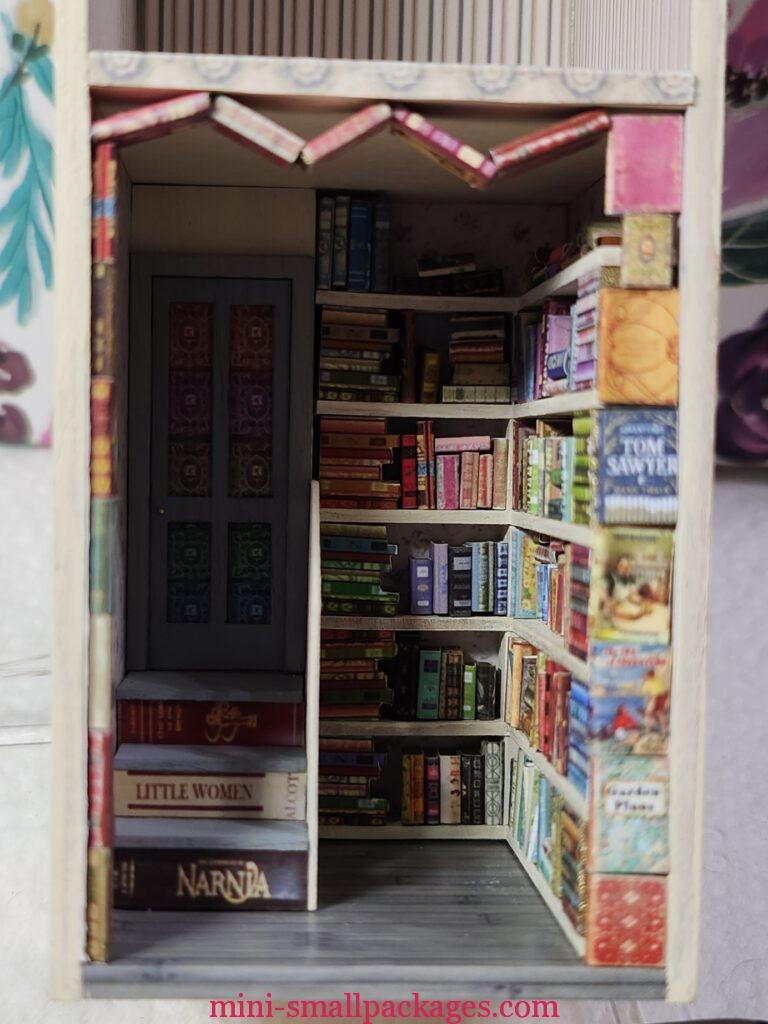
I do have books leftover for the second floor and adding to the other areas after using them for the clock shop.
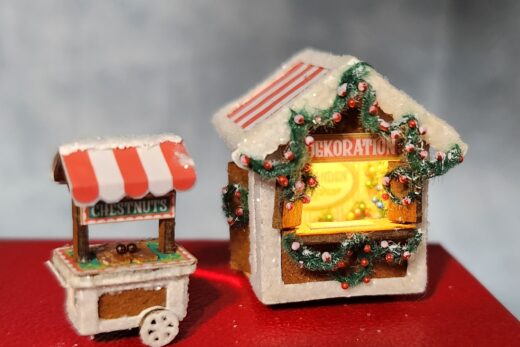
Clock shop
I like to stain all of the pieces I believe will be stained. This can get me into trouble. Only I used an alcohol marker this time. I do this in the motherboard and after assembly. A few problems. For one, is that the alcohol marker May loosen the glue. Secondly the stain may appear different once glued or dried and thirdly if you take it out of the motherboard then you may lose the pieces or get them mixed up.
My recommendation using the alcohol marker is to only stain the pieces for the current piece of furniture one is making. Keep that marker handy so no color mismatch happens by using a different color. This is for when the edges need to be stained. So stain/color before gluing whenever possible.
If using actual stain then go ahead separate from motherboard. However once dry put everything back to motherboard and use blue tape to keep in it until ready to use.
Either way don’t get rid of the motherboard until finished with the whole kit. They help identity the pieces. They also make great test pieces for different stains, etc. One type of wood will show differently than another wood.
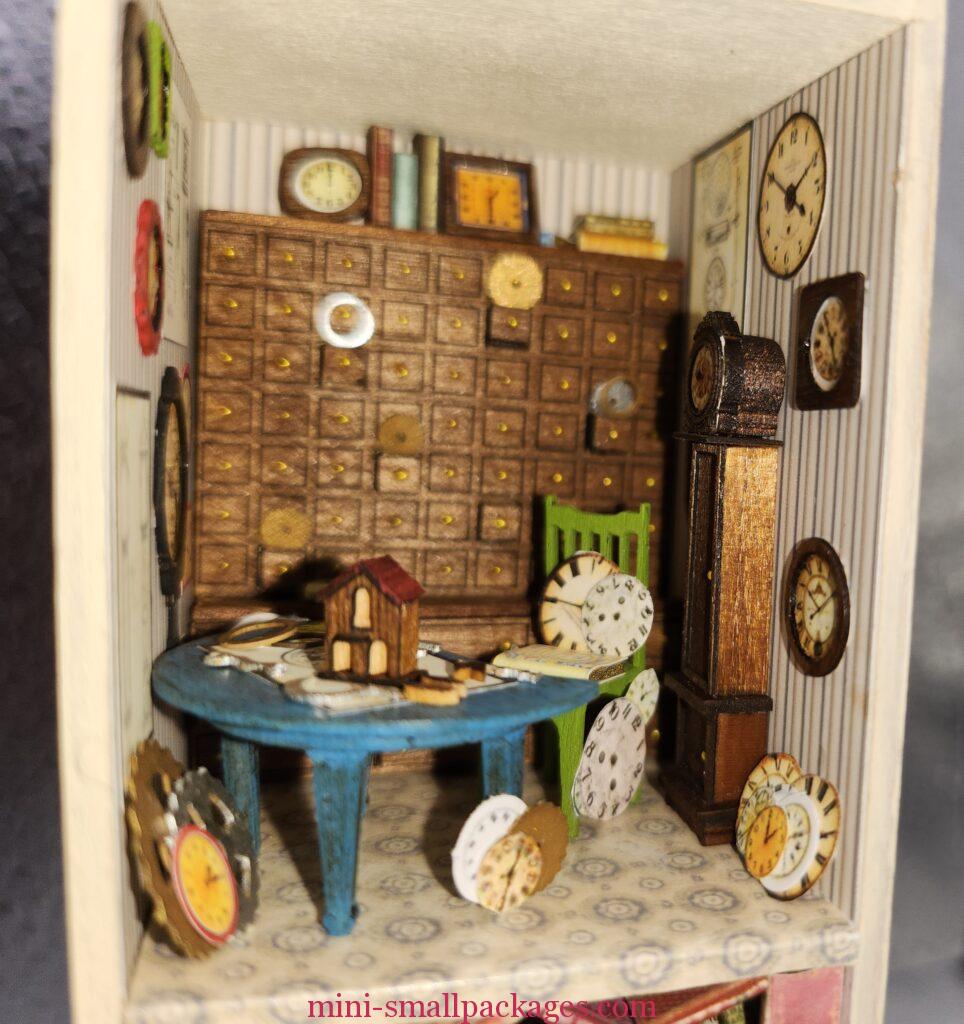
I assembled the large cabinet for the second floor. Make sure to pop out the intended drawer fronts before assembling the multiple layers.
I added the gears and clock faces in place. I wish they had been smaller. But smaller is harder to cut. This cabinet messy display was outside my comfort zone with having things stuck in drawers left open. I may make a mess on my table but I do close drawers.
The gears are laser cut on silver and gold color paper but I painted them because of the edges. I’m glad I have my silver and gold paint markers in fine point. Those edges probably won’t show but I will know.
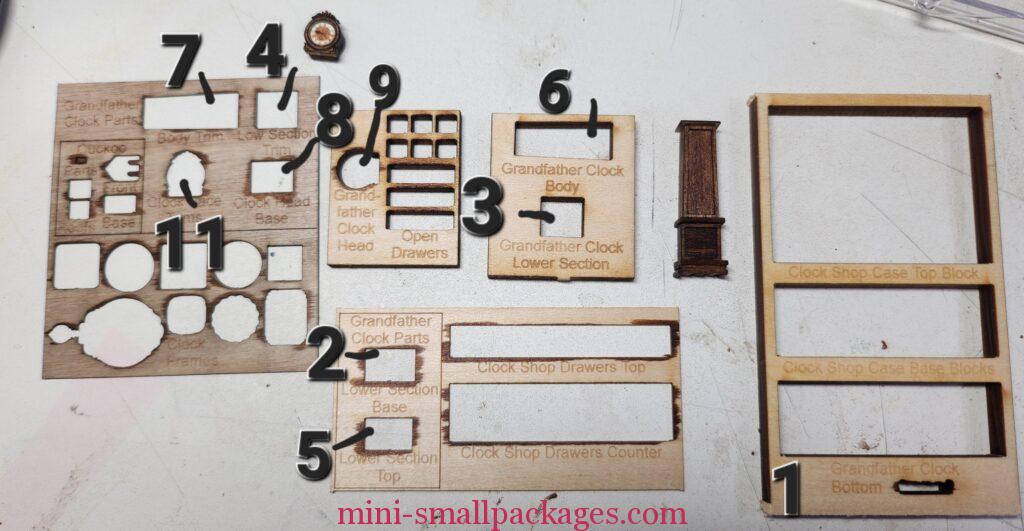
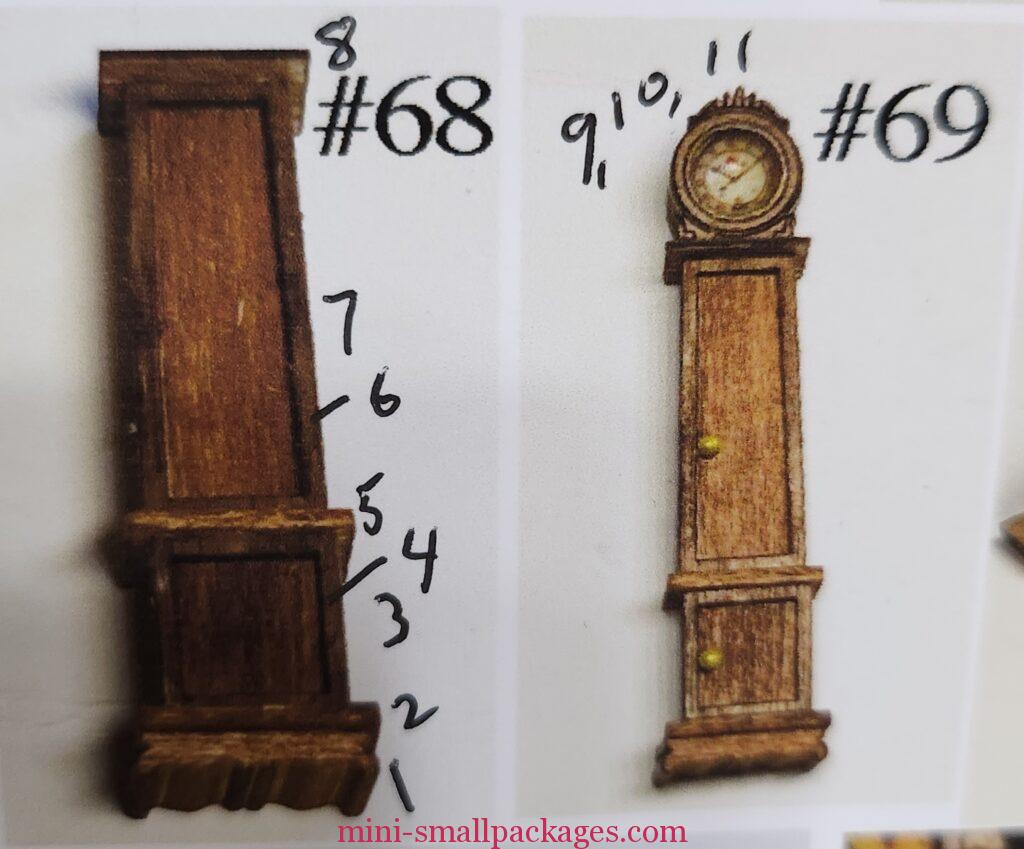
Grandfather clock
This guy was a challenge. First, I probably created more agnst because most were stained. Meaning out of the motherboard board, although it was handy. The biggest problem was having so many pieces. There are 11. This is when numbered pieces and motherboard would help me. Something like get piece A from motherboard C and now glue to piece B from motherboard F. It’s not that the pieces weren’t labeled because they are. It was too many different pieces.
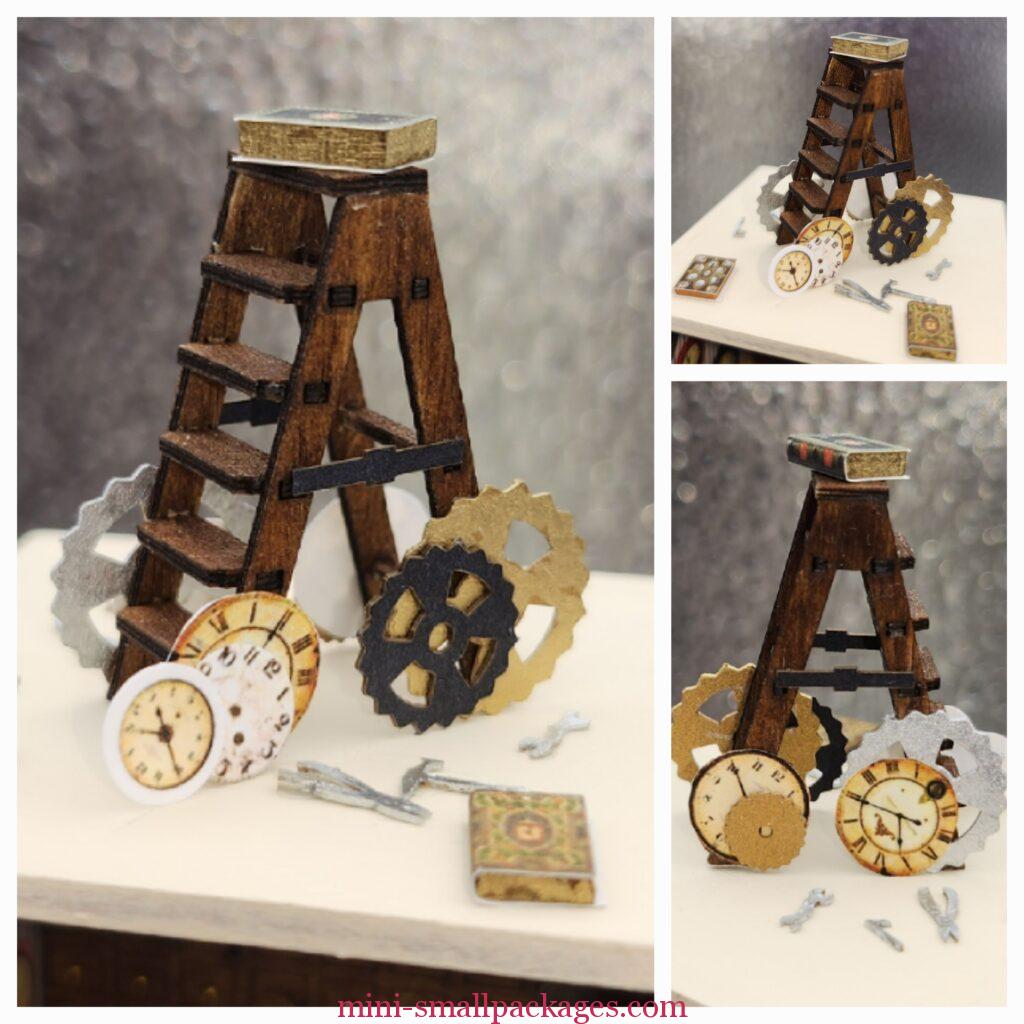
Ladder
I was really confused about the ladder. Not the assembly as that went great, but the location. The instructions pictures #75 show it but in my trying to figure out where it goes I completely missed the part in the written instructions. Luckily I go to zoom meetings and there were a couple of people who knew. I really only put it here because it was designed that way. It was however fun to use up the bits and such around it.
Finishing the Second floor
I assembled the table and chair. I tried to use some wax to age them but had trouble so sanded most off. I liked the artwork and sort of hate how it is hidden in the sides. But I didn’t crumple up any either, just one flat on the table.
Another thing I didn’t do was use books to raise the table. Nope I’d use bricks before books. It isn’t noticeable anyway unless you are looking for them.
FINISHED
Wait! I think. As I was putting the exterior over the Interior, I realized it needs something. I had added the door hardware and the number already. It was just to plain, so I added greenery to the windows and then thought, it needs more. Leftover clock faces to my rescue.
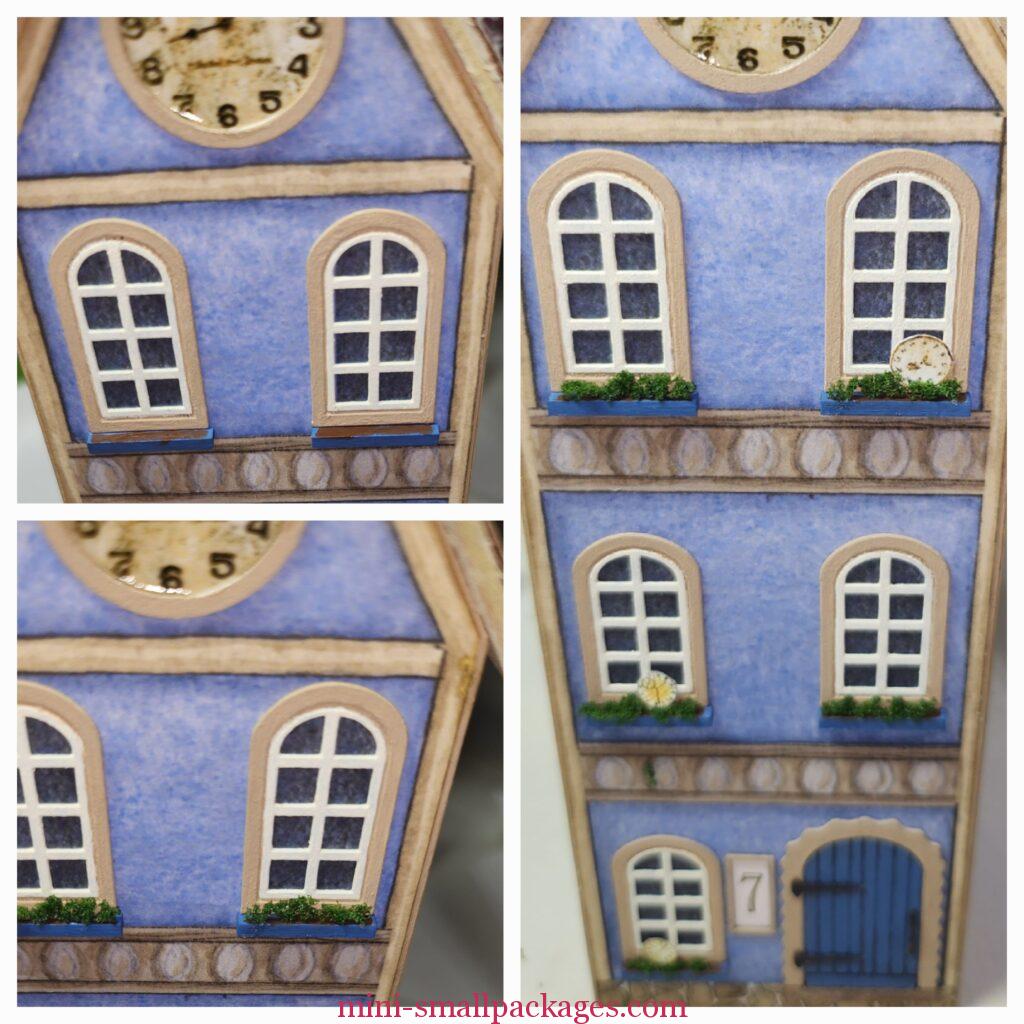
I did not have any leftover book covers so just clock faces were nestled in the greenery.
For the record, in the wagon can’t see the windows in the front. I haven’t built the wagon yet so not sure about the back. With my houses all in a row in fine with having this extra even if later it doesn’t show.
The complete kit

See all the houses so far here.
Happy miniaturing!
Preble
If you enjoy my website, please consider making a small donation via PayPal.me/minismallpackages. Thank you!