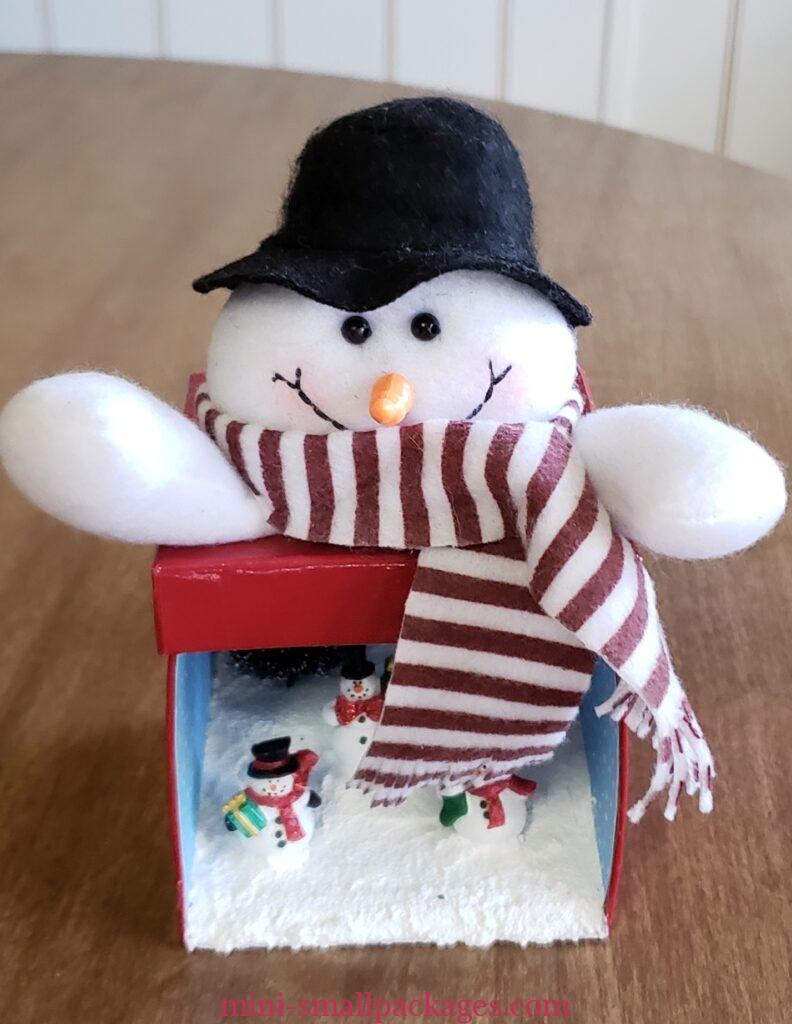
I purchased this snowman box via an online garage sale for NAME. It was in need of some TLC. I knew I wanted it to add to my growing snowman collection. It is both a miniature and a snowman.

Once it arrived, the first thing I did was to remove the existing snow. It came out with some use of the craft knife and a little ‘elbow grease’.
The other items were put aside for a later project.
Slope
To give the snow a slope, I used foam core board. I cut two pieces. Then cut one piece into two additional pieces.
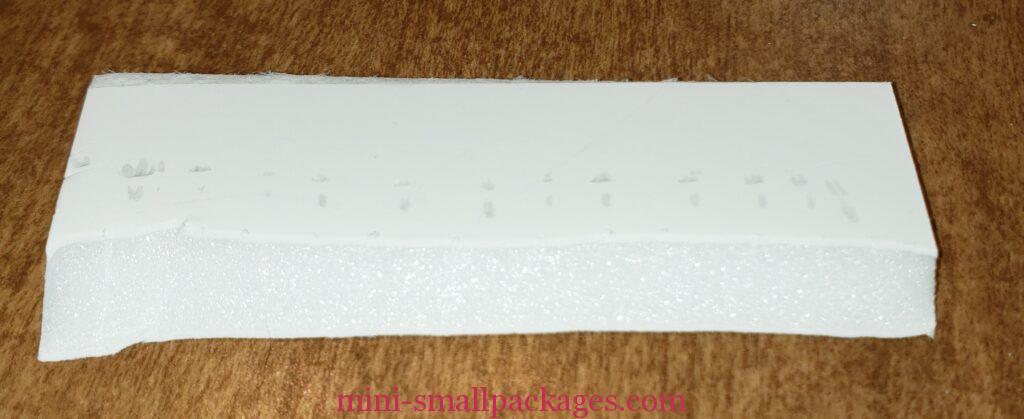
Each of the now three pieces were angled using my craft knife.
In the below picture can see the three pieces.
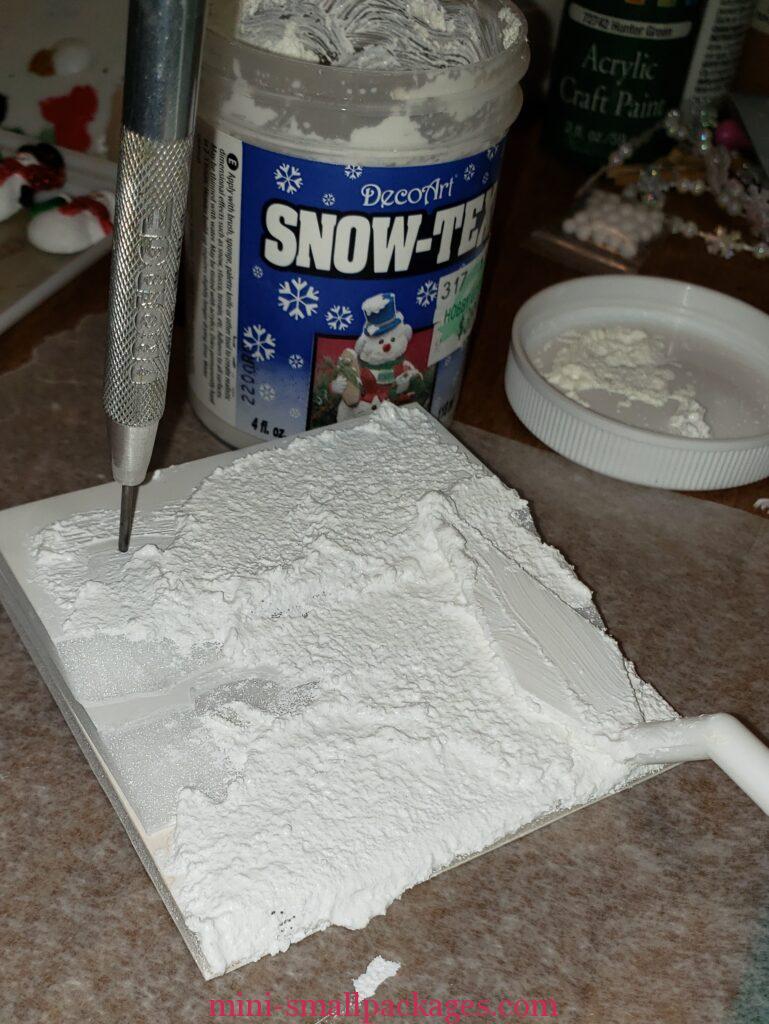
Snow
I really like using Snow-Tex for snow for most things. I have used it before. Sometimes I add glitter over the top, but not for this one.
The tool is inserted to save the hole from being filled in. I suppose I could have just added the hole afterwards.
The snow was smoothed to blend over the layers of foam core and also to cover the front edge. I used the snowman to add indentions in the Snow-tex before it dried. This won’t have a front ‘glass’ to protect inside from dust. That means it either should be put away with the other snowmen I have or go in my tower cabinets. Dust is the enemy and a project like this would be hard to clean up later.
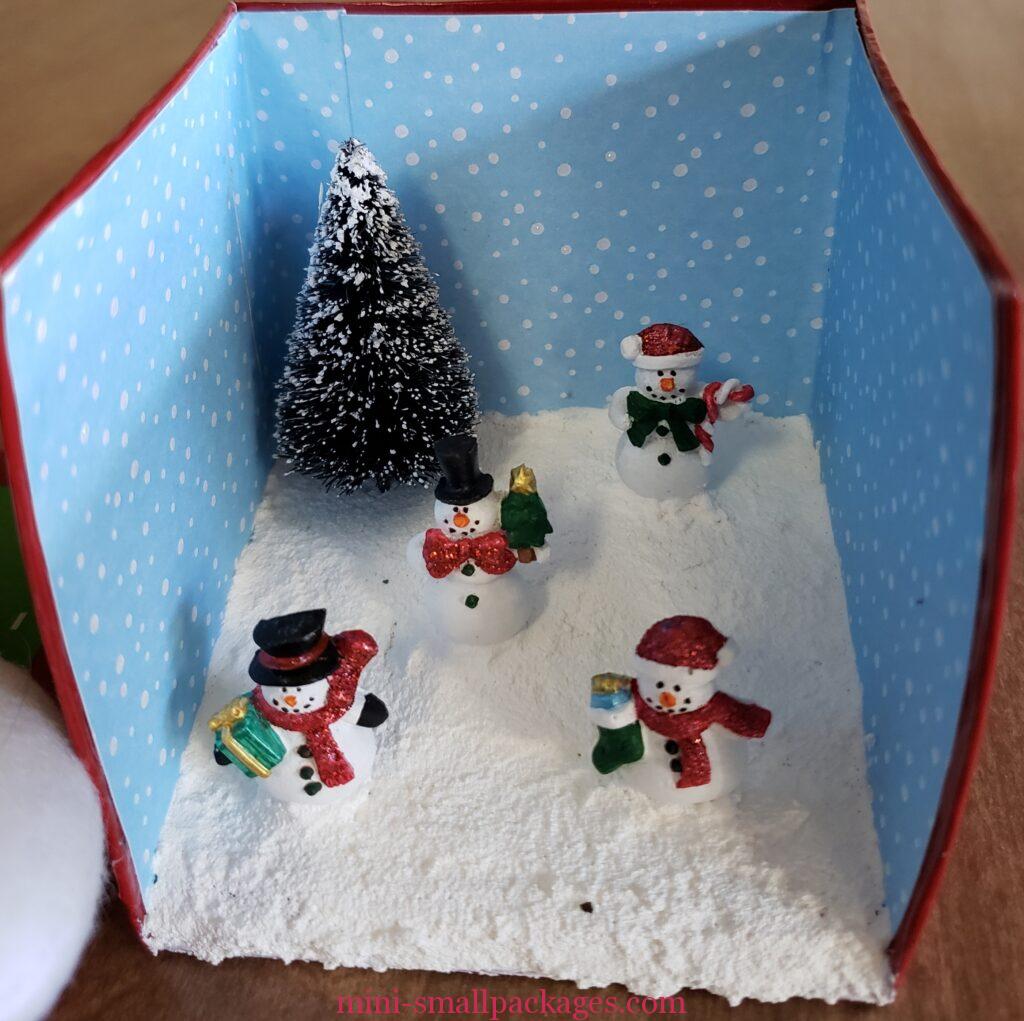
Painting
These snowman needed repainting before I used them. I repainted all them to cover mistakes and change colors on some spots. I used glitter paint on portions.
Once they were painted and the Snow-tex was dry it was time to add the snowmen. Gluing them in place I did use some extra foamcore pieces to help as my indentions weren’t enough to hold until dry.
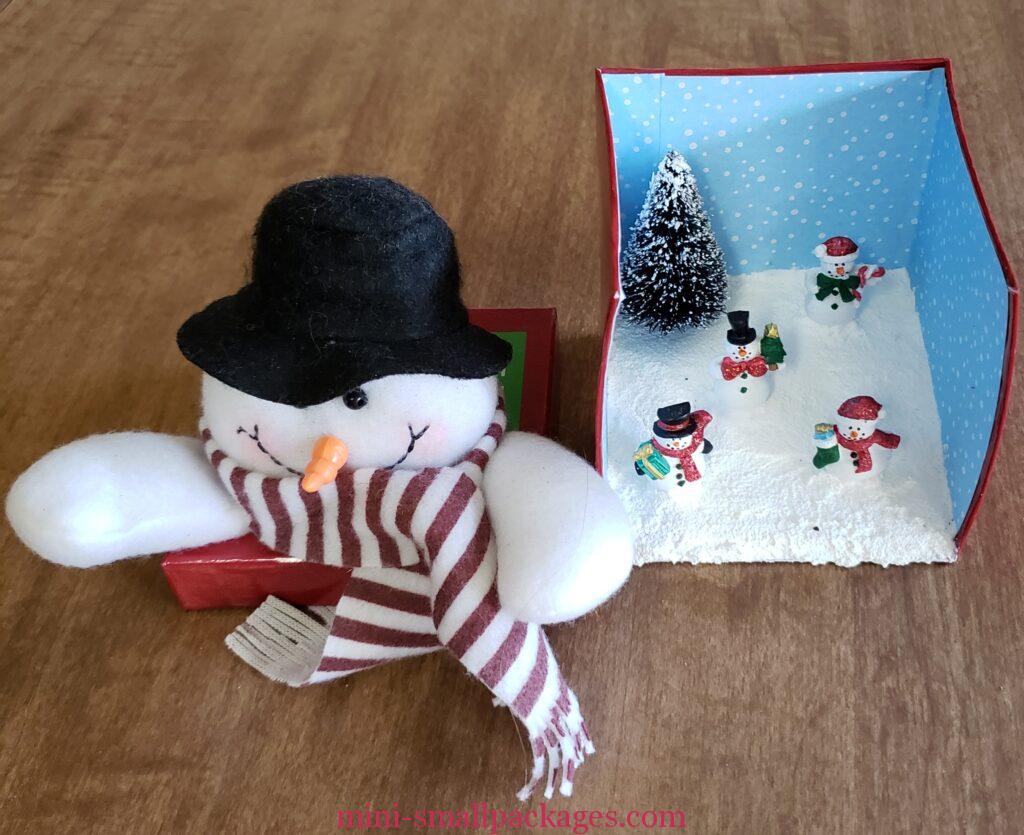
I enjoyed saving this project. It was fast and would be a fun project for children.
Happy miniaturing!
Preble
If you enjoy my website, please consider making a small donation via PayPal.me/minismallpackages. Thank you!

started this ‘ramble’ at your micro OLHP house (love it) and wound up here with the snowmen. At Christmas time I got a pack of goodies in a 3 part box that is a penguin and it is along the lines of your snowman. I have purchased some tiny penguins and am going to have them playing in the snow. It will have a bottom section and a middle section (smaller) topped by the penguin’s head, scarf, etc. Thanks, Preble, for the inspiration! I put my NAME club’s website below, if you want to see the many displays at our 2022 Show. Covid made us miss 2020 and 2021 so we were so happy to be ‘back’.