I recently took a class with Cat Wingler to sculpt and dress a rabbit. I signed up as soon as the class opened because I decided I wanted to learn from Cat and a class is best place to do that.
My apologies to fellow students because I was having difficulty. I know I was grumpy that first session. Partly due to my previous experience with a different clay had not prepared me for working with this one but mostly I just don’t have the right skills. Cat was extremely patient and encouraging of all of us. I also didn’t have my workspace prepared and had to move things around so that made me frustrated and feel behind.
In my normal way, I would just soldier on with my mistakes but Cat said to start over. I did more than once and on my third and fourth try had something I was satisfied with to move on. I continue during class working on these two guys. This was the sculpting part of the class.
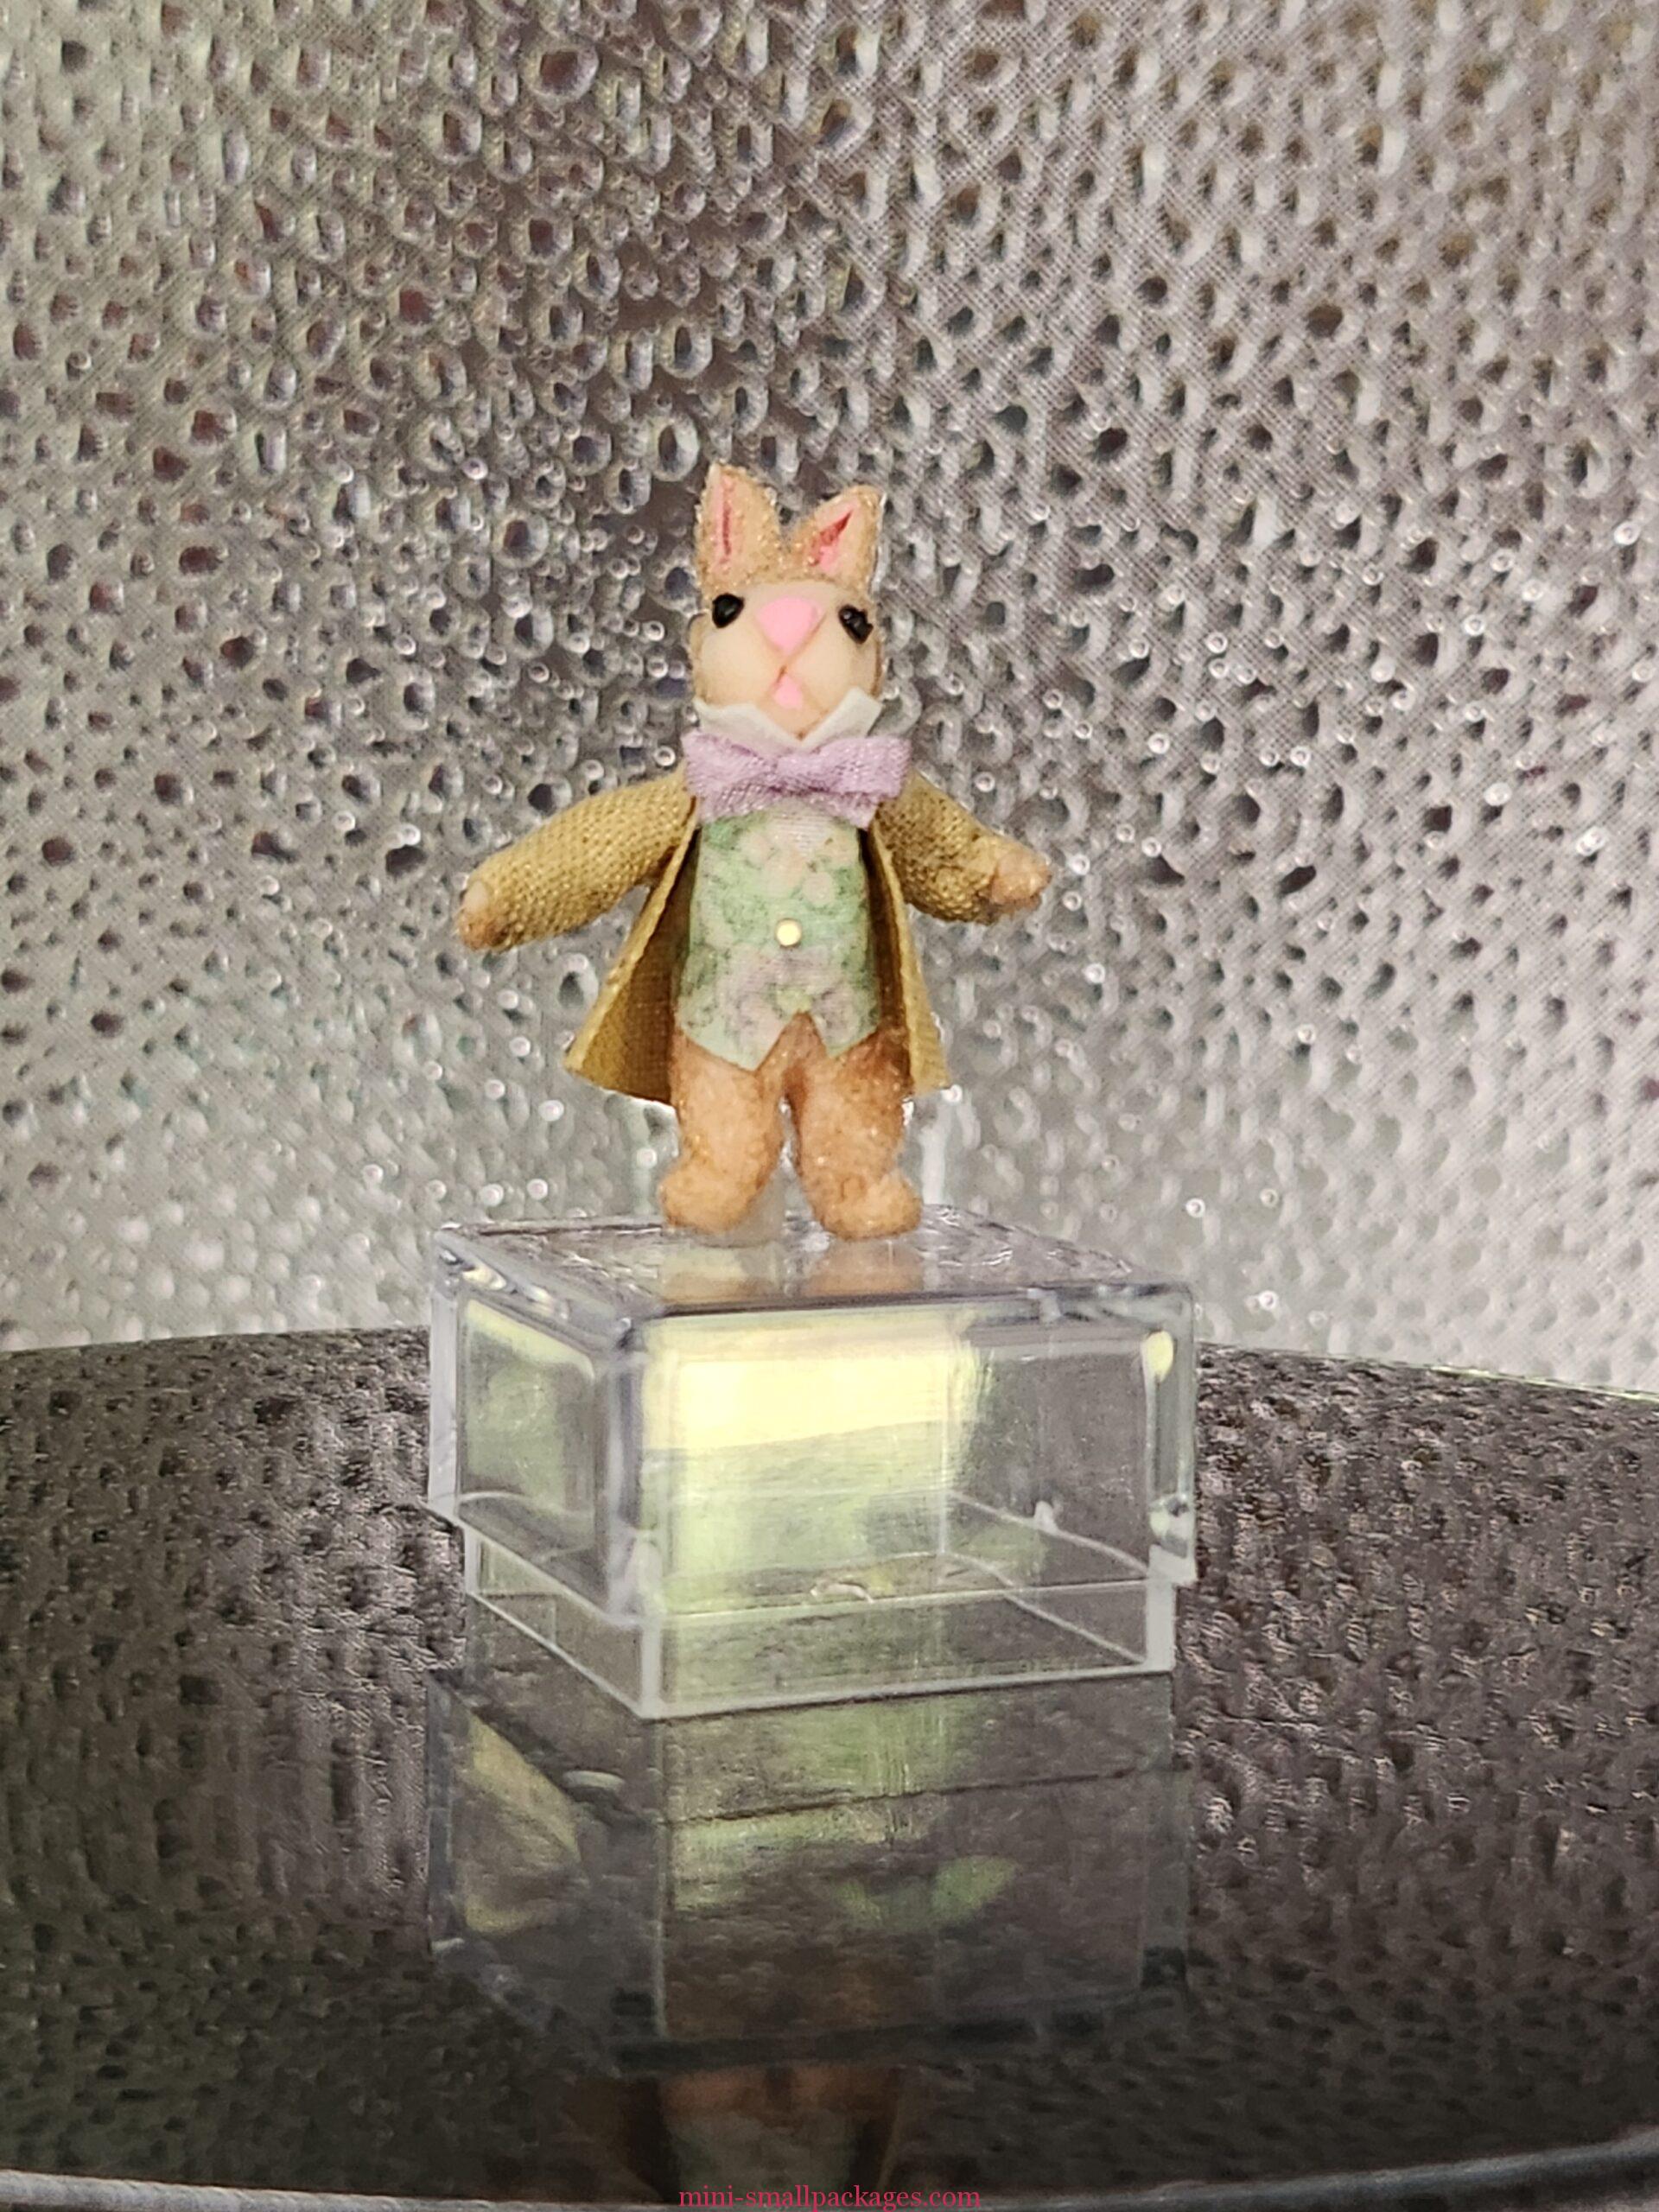
After class I made number 5 which I was the most satisfied with. He is about half the size Cat was teaching.
For day two I was ready with patterns made smaller because I wanted to dress number five first. I reduced the patterns by 25% and that wasn’t small enough so did at 50%. This was still not quite right and I adjusted on the fly.
In real life I have seen the use of muslin for test fitting before cutting more expensive material. Cat’s use of paper towels is a brilliant alternative to muslin especially for smaller scales.
We added the fur before dressing but I ended up adding more after. Between handling during dressing and maybe not applying enough, I needed more. Although I will agree certain parts needed fur before dressing since would be difficult to add to those areas after. You could wait at the risk of getting glue and subsequently fur on the clothes.
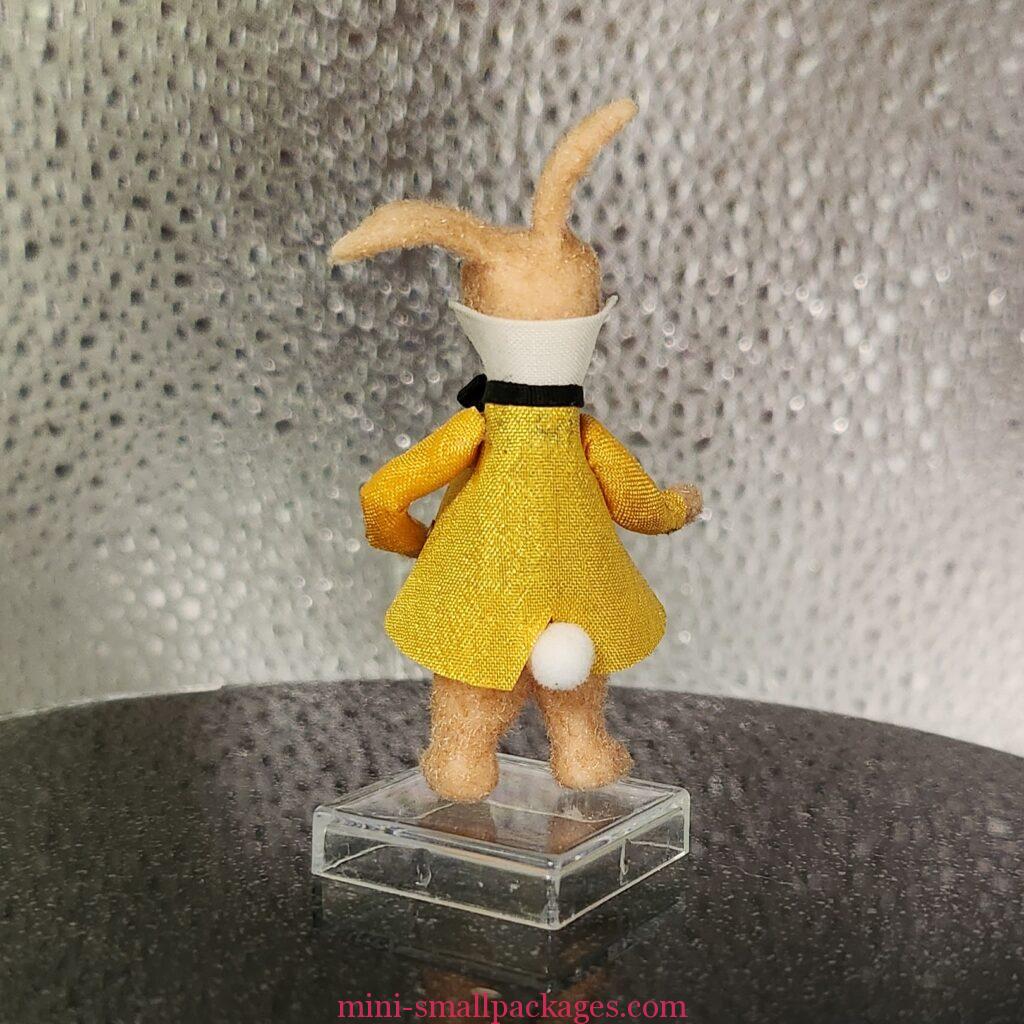
Having reduced the size of Mr. Hare, I had to find a tail. My solution was to trim some from a pom-pom that I had. I also had to find eyes and used the balls from inside of wiggle eyes that I had in my stash. I had previously cut open the wiggle eyes to use the clear plastic for bowls.
All the buttons were sequin holes and not included in the kit I received.
I dressed number 3 and 4 after the class. I decided I would sell them so I enlisted my husband and son’s opinion on what to dress them with since I wanted them each different. It was subject to the available materials I have. That was a fun time going through my fabrics as I hadn’t seen then in awhile.
Other things I learned or were reminded of:
- Using cardboard to bake on to avoid shiny spots
- I don’t like the feeling of fimo on my hands. I’m used to sculpey.
- Dressing shoulders – I was thinking to attach the arms when we shaped then. We removed then after and before baking to make him easier to dress. What I didn’t understand was that they didn’t need to fit back exactly because the fabric will be in the way. Instead, we wrapped the fabric neatly around and then glued together. This was a totally different thing than what dressing I have done of dolls in my past. I was able to muddle through this and make it work.
All 3 together
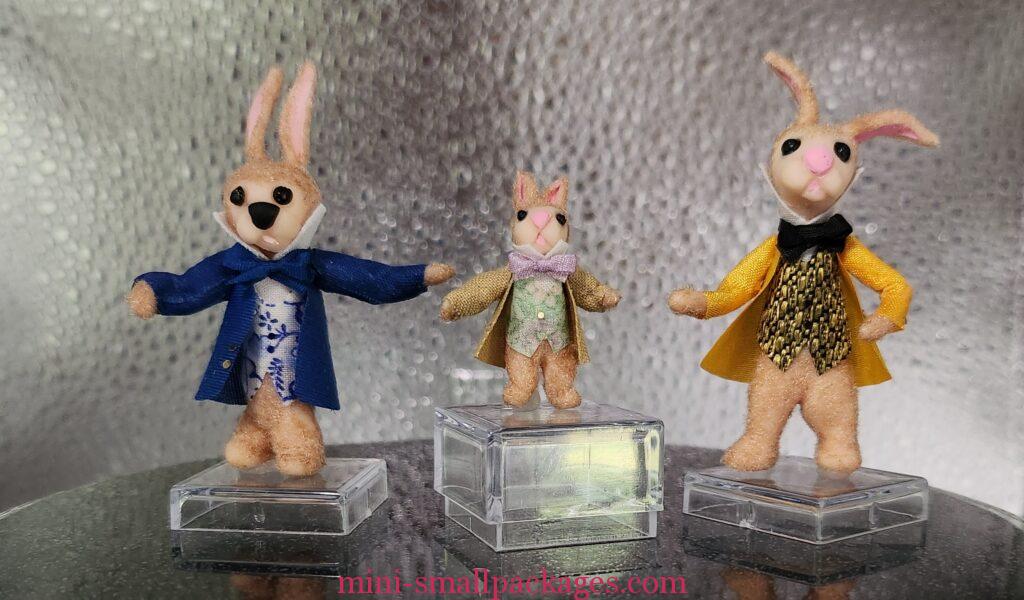
I have the 2 larger listed on Etsy if interested.
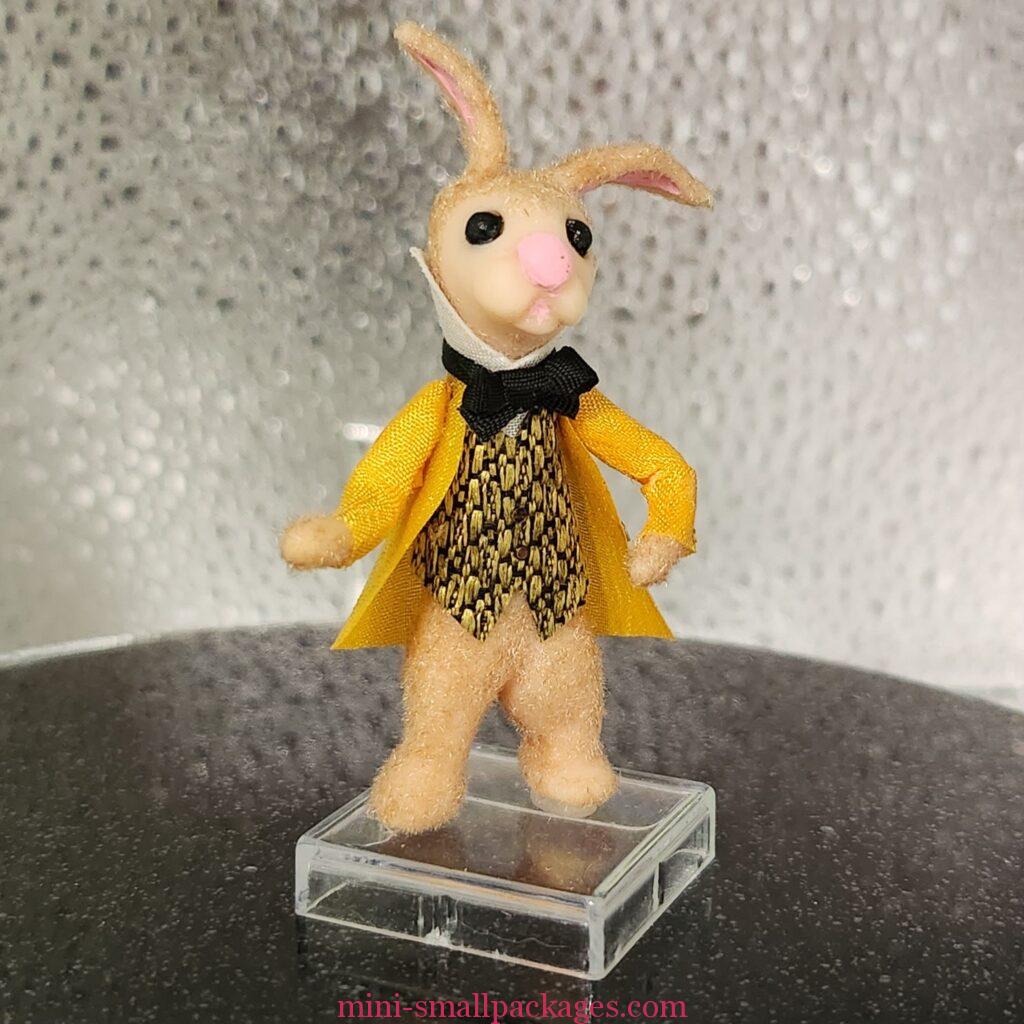
Mr. Gold
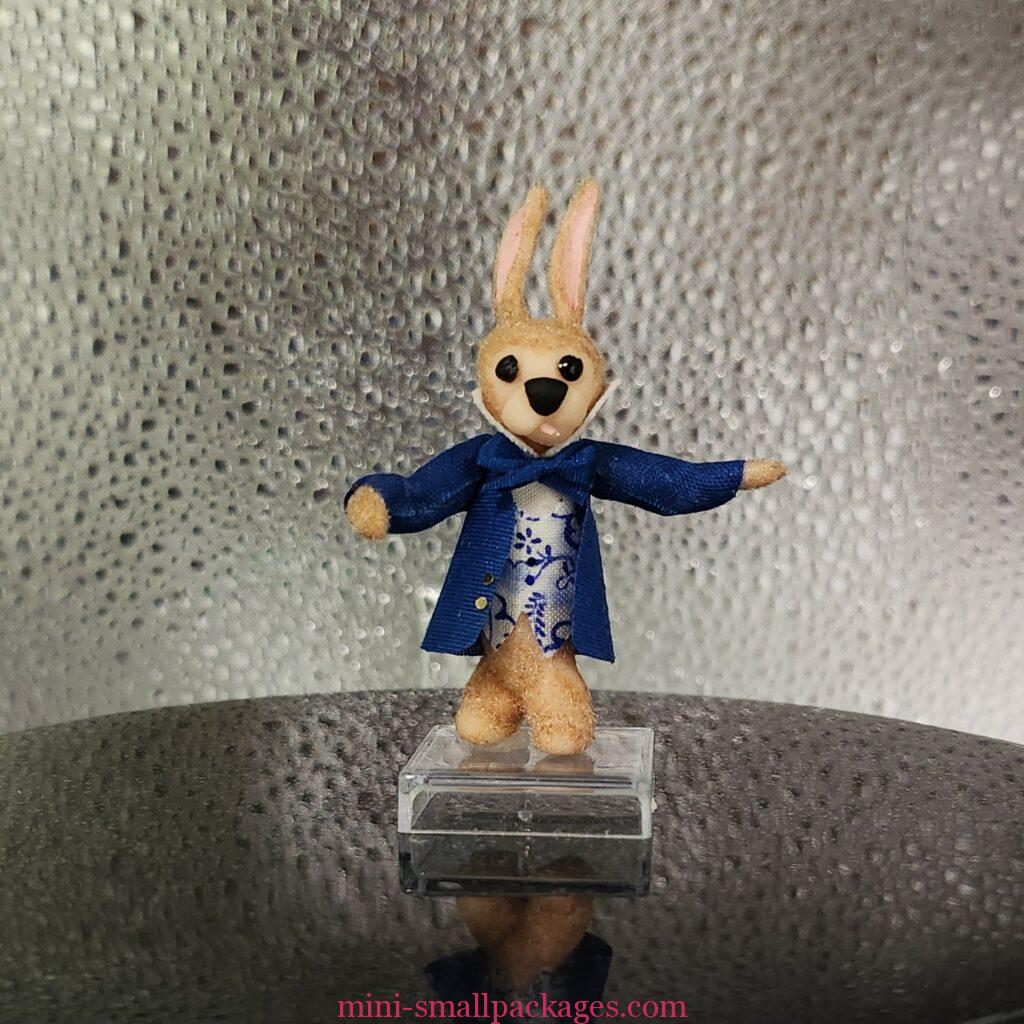
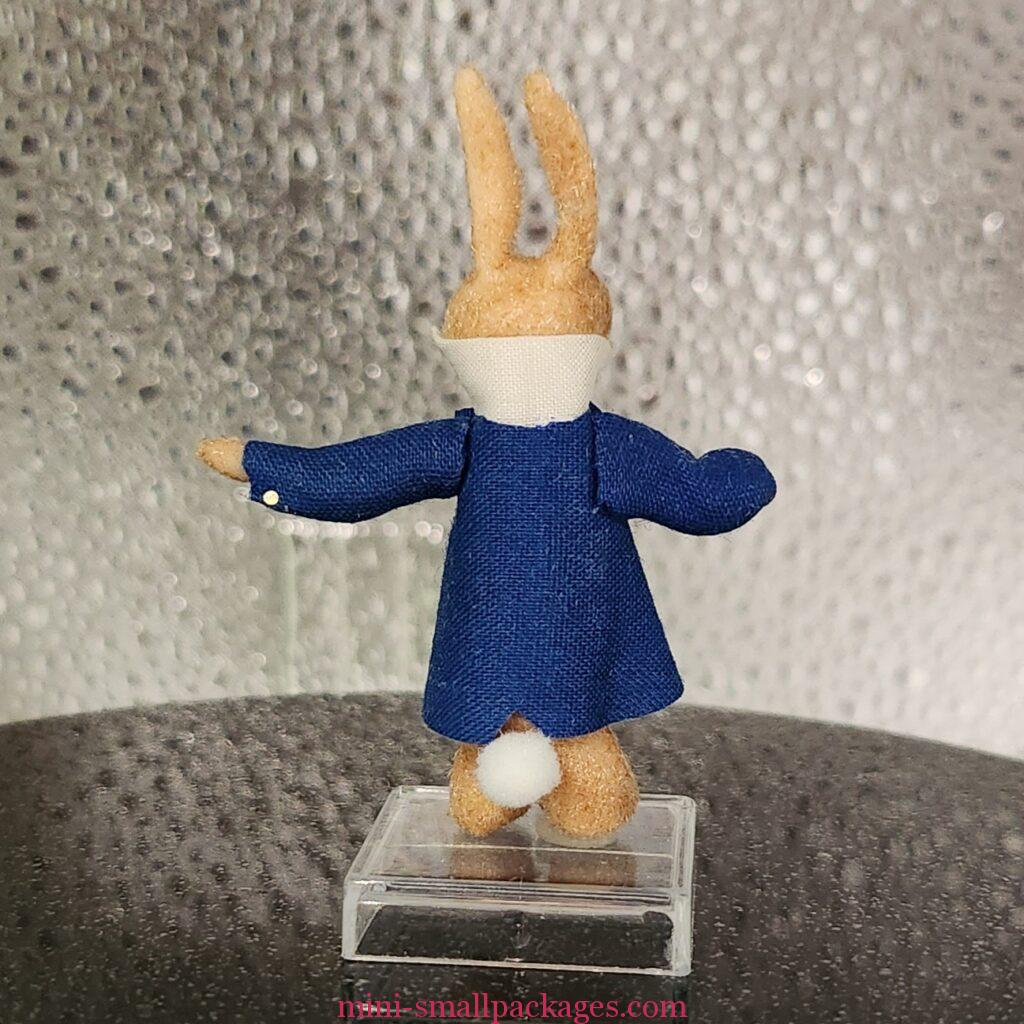
Mr. Blue
I absolutely recommend a class with Cat. I will definitely consider any in the future. I learned so much even if I don’t like clay.
Happy miniaturing!
Preble
If you enjoy my website, please consider making a small donation via PayPal.me/minismallpackages. Thank you!