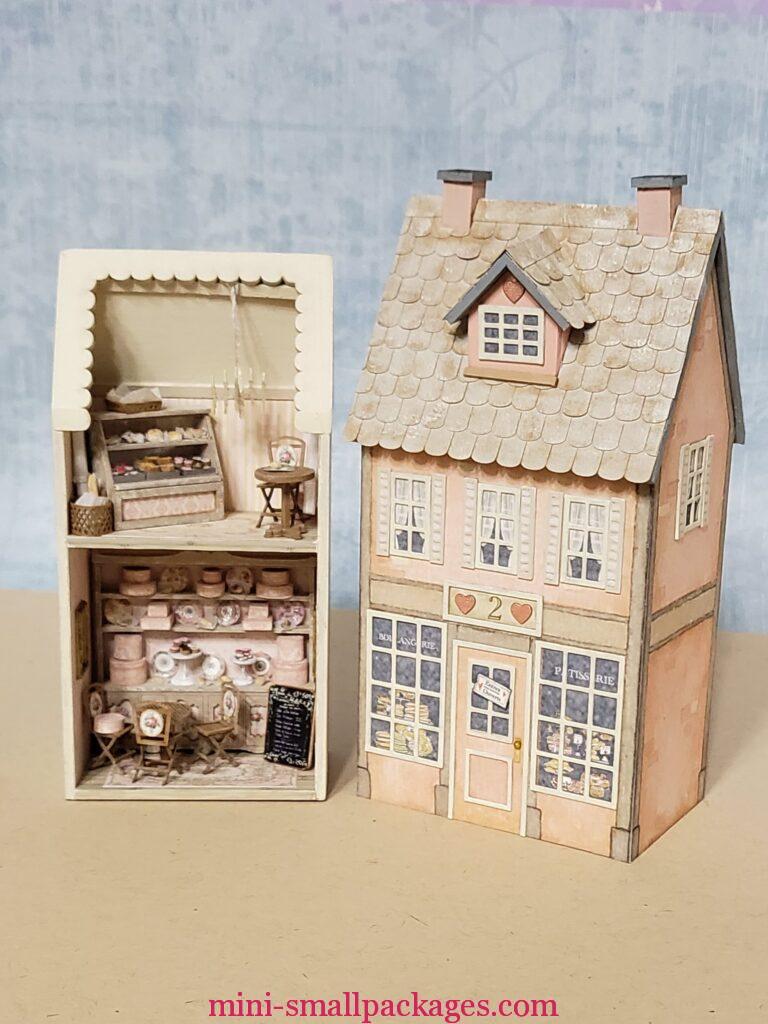
February house by Robin Betterley Miniatures
I feel off kilter working on this because it is April and now May, then June for finishing. Yet I am determined to get on track with these so this one was next on my to do list. It helps that others are working on them in the zoom mtgs I attend. Which brings me to my first tip.
Roof
In one of the mtgs, I was told to just apply the shingles before the dormer. But no, I had to follow the instructions. That person was right and I should have taken their advice. If you are reading this before doing the roof on the bakery, it will be easier to apply the dormer after applying shingles. However I caution that you make sure to not use too many shingles.
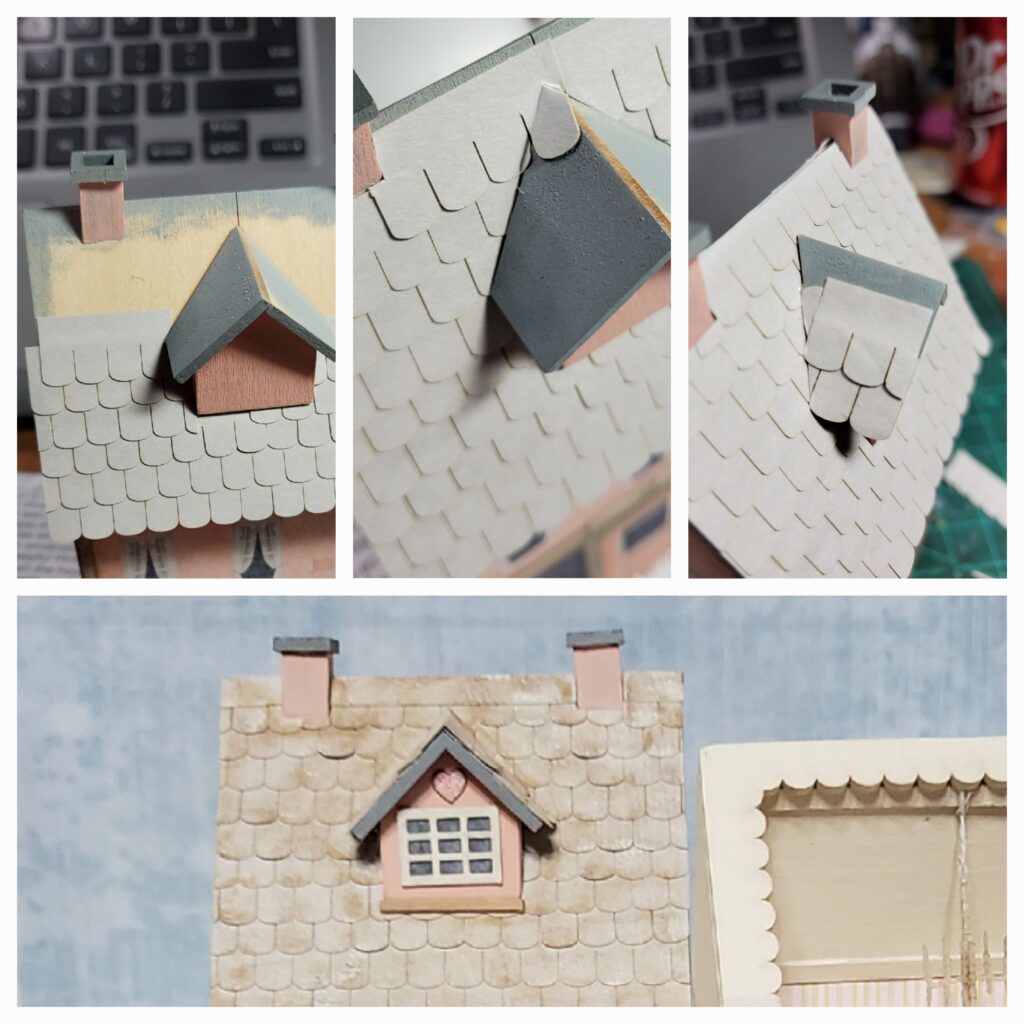
Dormer
Set aside two rows of shingles for the dormer. Maybe even do the dormer beforehand. Only thing is the dormer does not have much to work with to line up the rows. It should have 3 rows but they are partial ones. If you choose to shingle before placing on the roof, leave at least half a shingle overhang on the angle side. But don’t cut the angle until ready to apply. You will need to judge how much to trim away. To be clear I did not do this way so do so at your discretion.
Applying the dormer after the shingles gives you the ability to line it up with the shingles better.
I didn’t notice the dormer trim was in the kit until later. Obviously I need to better read the instructions.
Interior
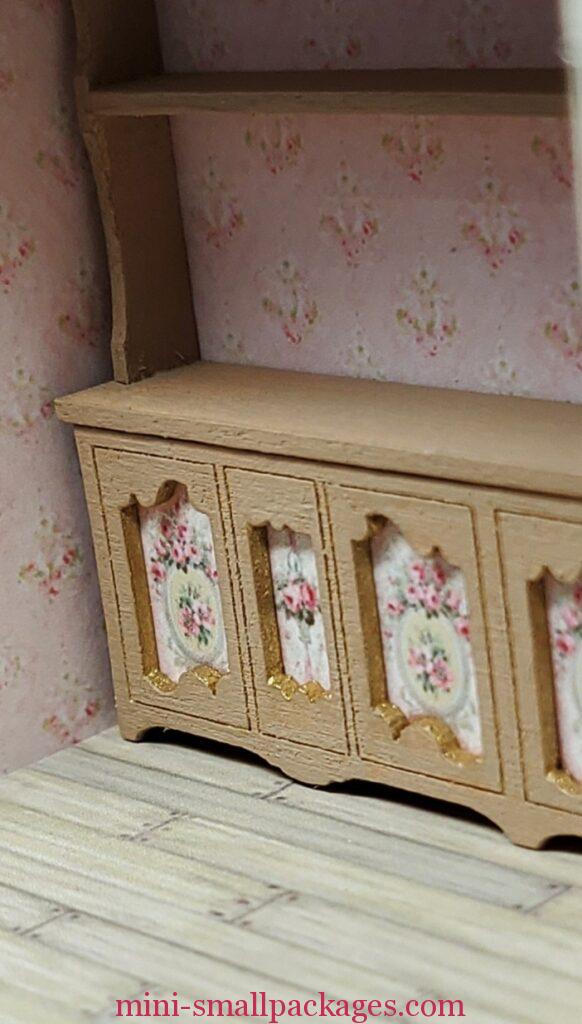
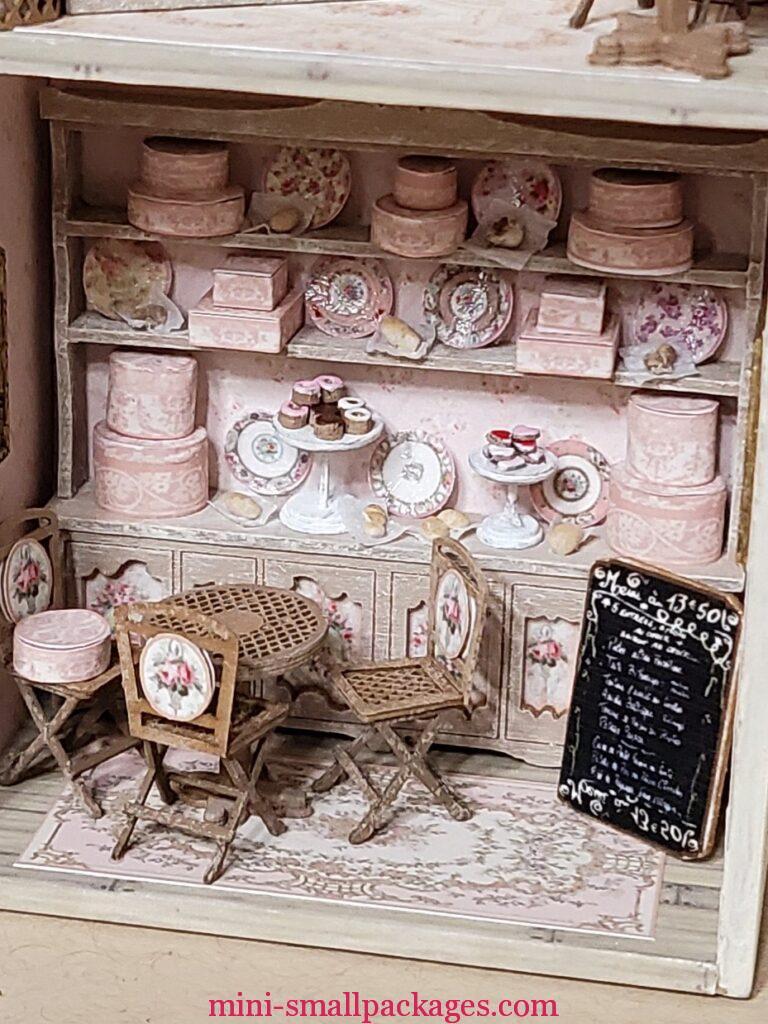
Large shelf
The gold on the wood edges was so subtle that I decided to try adding to the etching. It didn’t work to my satisfaction so I painted over. A very fine point gold marker might work. I just don’t have such.
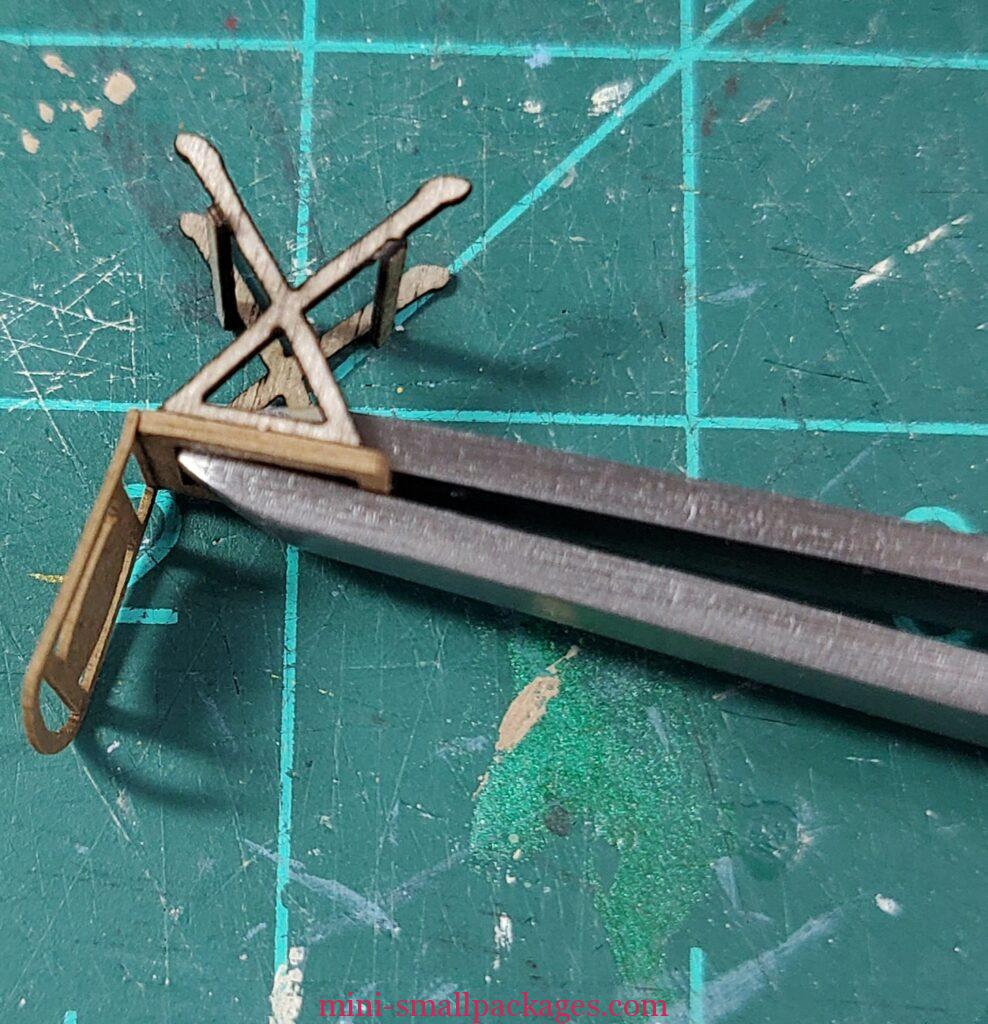
Chairs
I love these chairs. Once assembled I used my bigger locking tweezers to hold onto them while painting. I loved that there is a notch for the cross piece of the legs. It made it so much easier to place the cross pieces consistently.
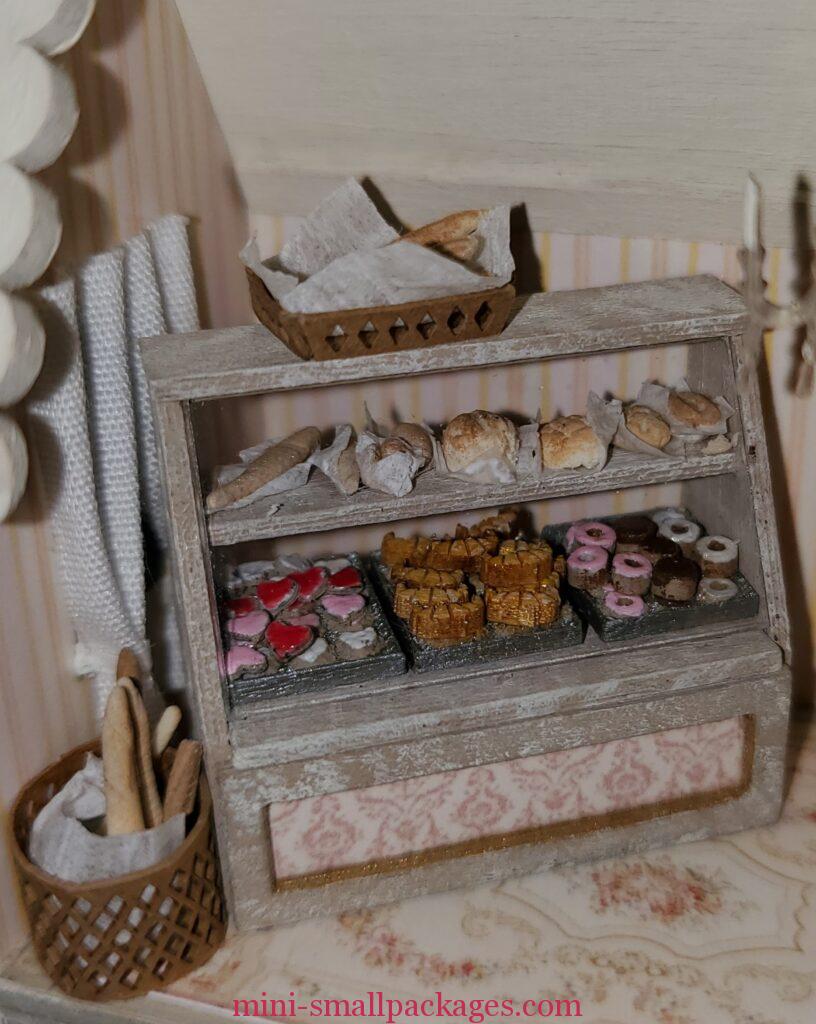
Pastries
There are 3 trays of laser cut pastries. Plus extra pastries to add. I painted edges with sealer but not using a paint pen I didn’t need to. To hold the trays at first I used a temporary glue dot on a paint bottle.
Then I put temporary tape on a lid and added each piece for painting. This is easiest for the individual pieces.
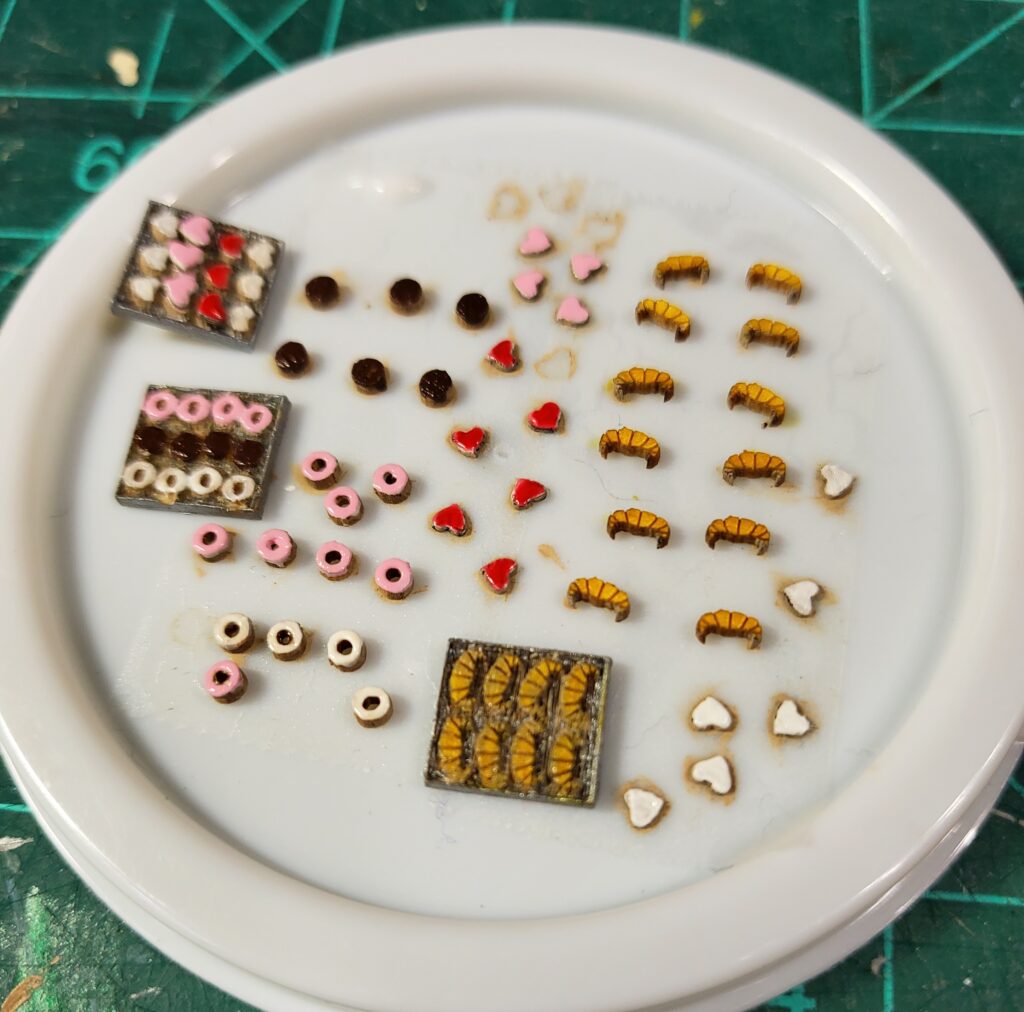
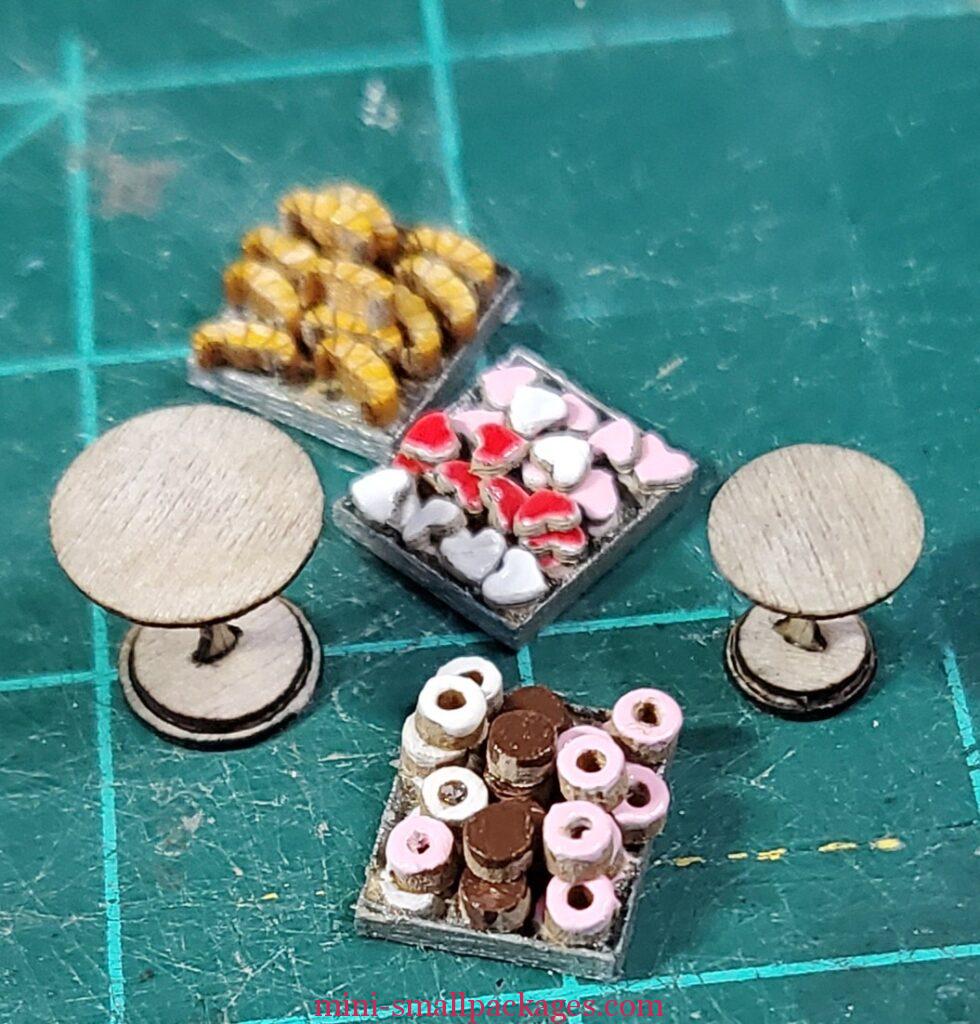
I glued all the pastries to the trays them made the pedestals. Oops. I need some pastries for the pedestals so I removed some of them. I had added a glossy coating so it was easy to remove and re-glue.
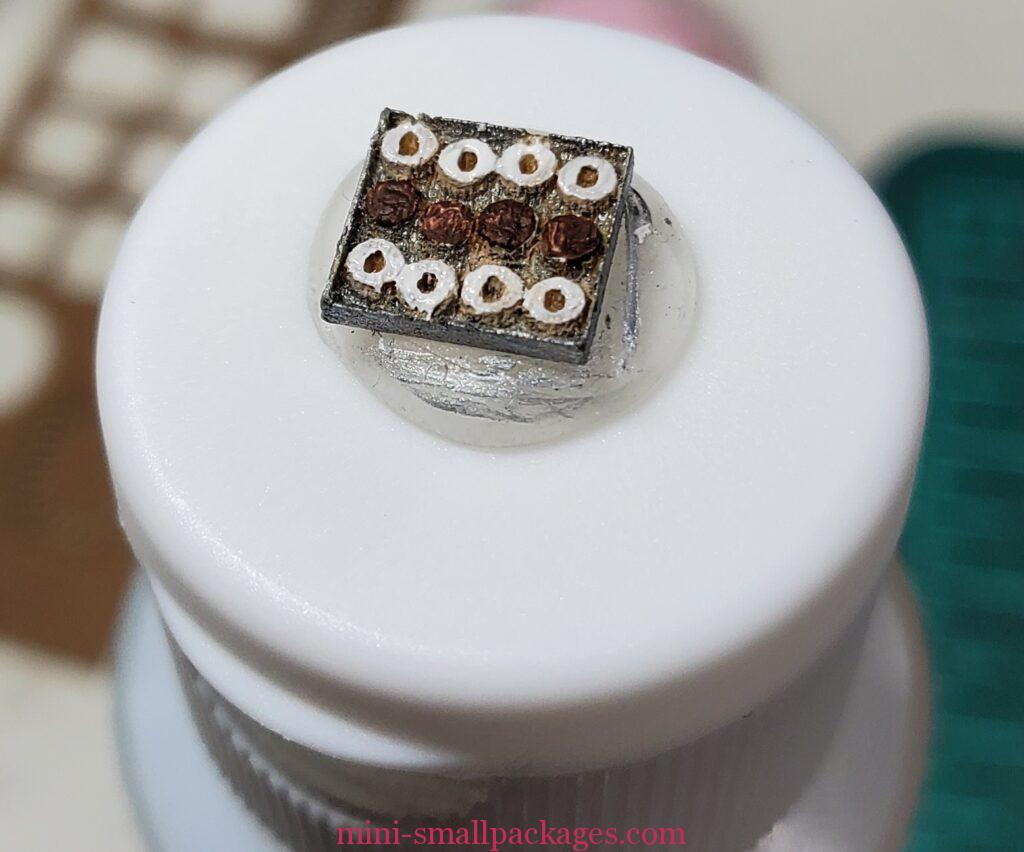
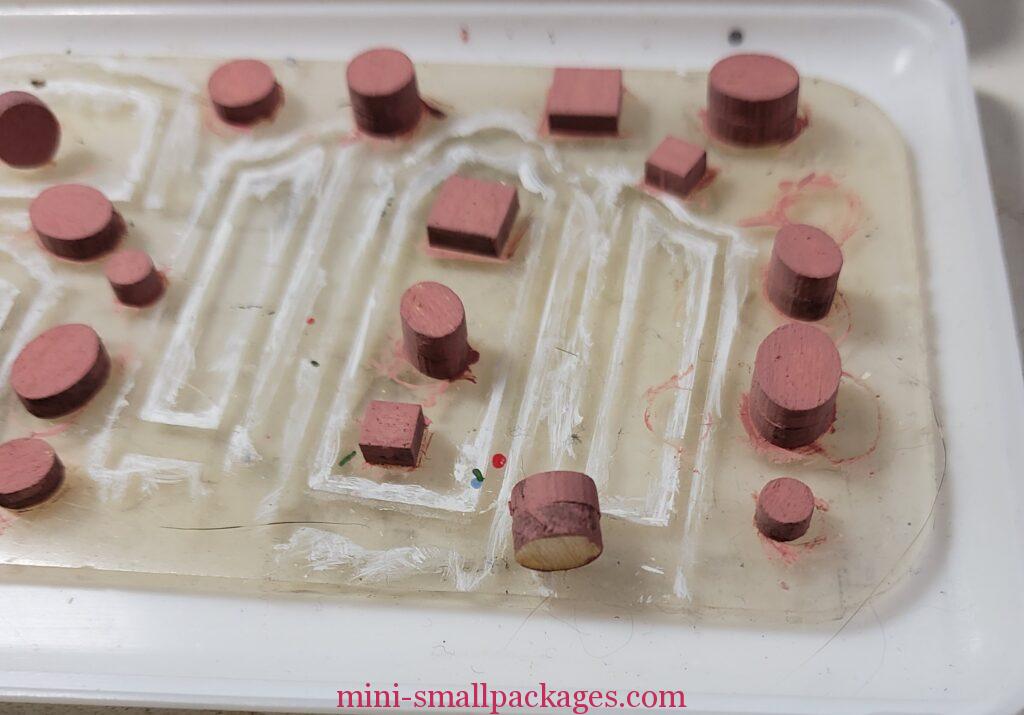
Boxes
The boxes are to be based coated. I got out my silicone paint palette for these. It works great but it is most helpful to clean between uses. It loses its stickiness otherwise. I misunderstood about the bigger boxes being two glued together. So I had to paint more having left some in the motherboard thinking I wouldn’t need them.
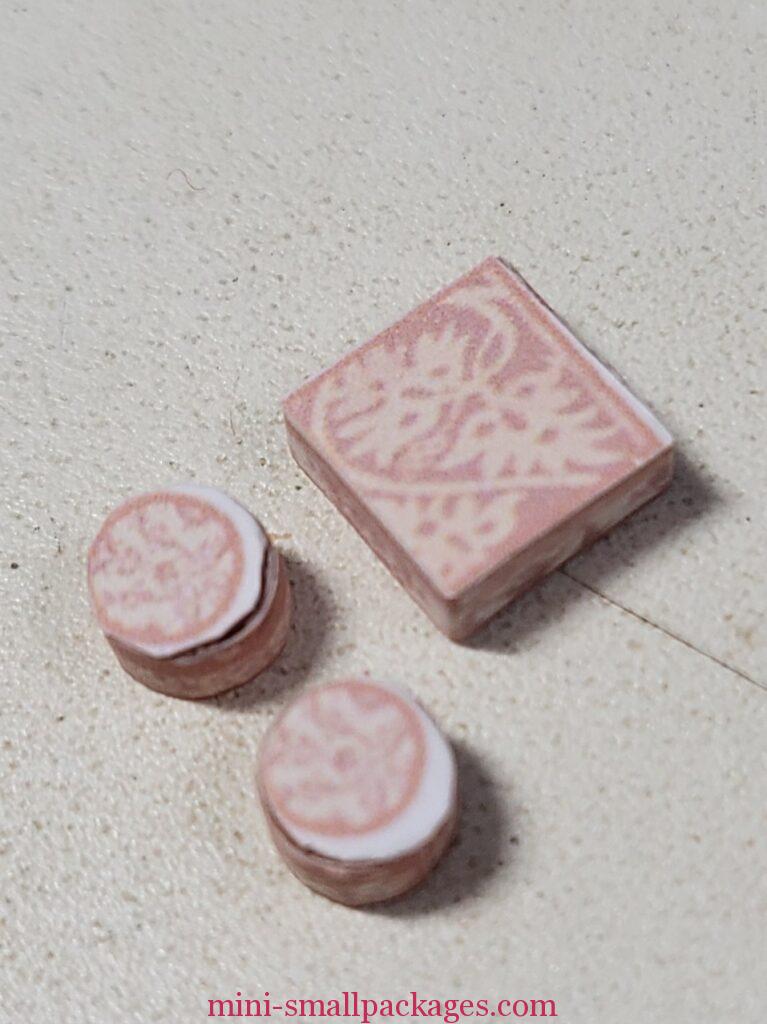
To apply the artwork, I like to apply glue to the block and then while holding the artwork up to my light to position the wood pieces in place. Once dry, I then cut around the block. This works fine except if the artwork is smaller.
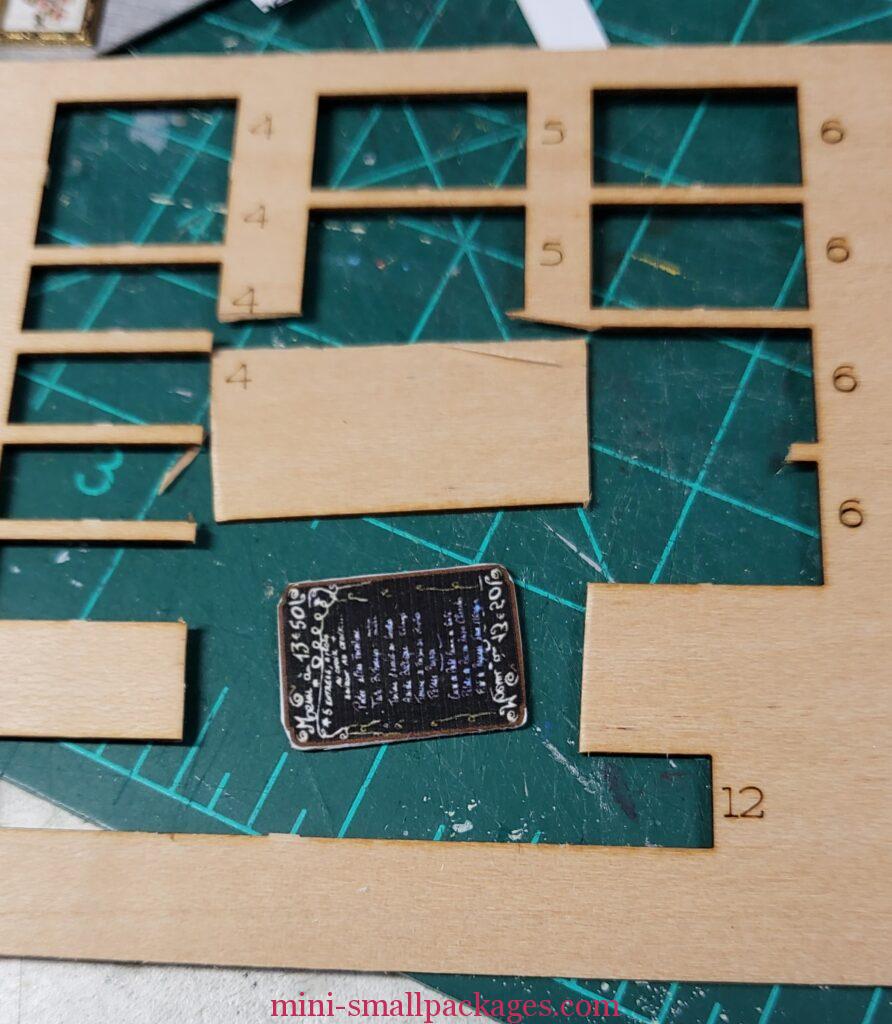
Chalkboard
For my chalkboard I decided to add a piece of wood. I pulled out scraps from a prior kit. I glued on the paper then trimmed the wood using scissors. Then I sanded the edge and added gold paint.
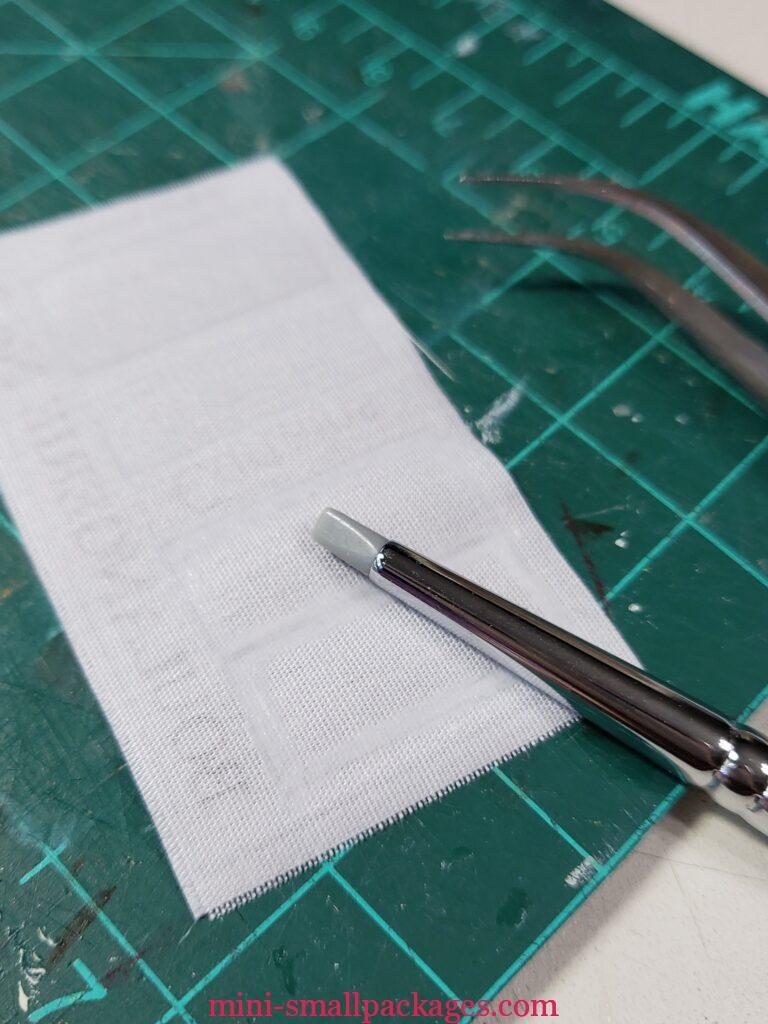
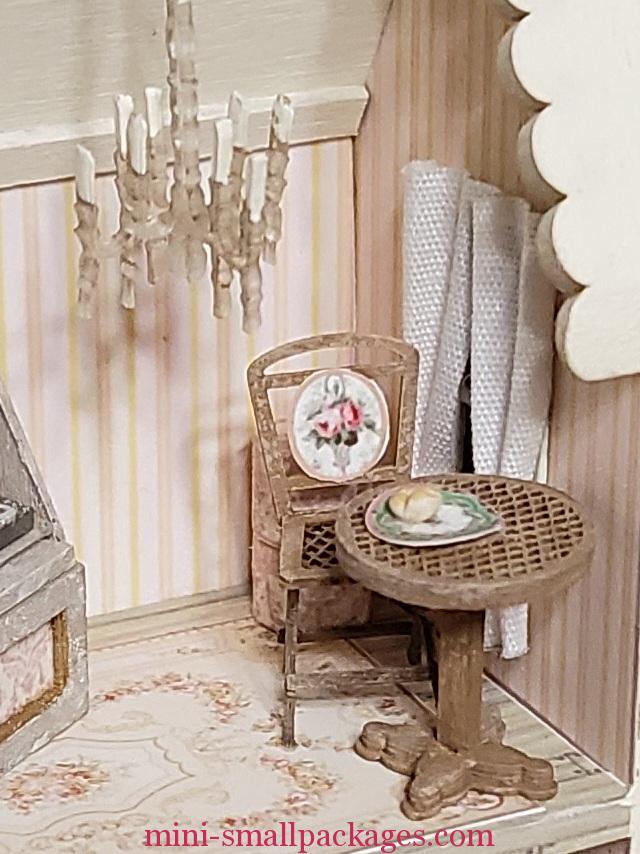
Curtains
I applied glue to the fabric using my new silicone brushes. They worked great for this. I’m still trying different things with these. I bought a set at my local big box craft store. Price was right to try them out. I can see how they work for thicker paint or other medium.
Everything is done except the bread.
It is a bakery so I need bread, right?
Bread
After my feeble attempts, I’m ready to lay out some “bread” by buying some 3d printed items. Although I should let my hubby print me some is why I haven’t yet.
Moldy bread
Not moldy as in gross but molded. I have a mold a bought several years ago and never tried. The dealer even included pre-colored air dry clay. I had to buy new clay because I never used it before and of course that clay was dried up.
I made two mistakes. 1. I forgot to use powder (mold release) and 2. I ignored the instructions where it said don’t leave the bread in to dry. I came back a couple days later and they weren’t all dry and I got just a few pieces out.
I tried again with powder and it was difficult to get the molded but not dry pieces out.
My ultimate conclusion was to get rid of the solid mold (the dealer sells one that is silicone now) and I made a few by hand. Unless hubby prints me some, my baker is having a hard day with the oven or maybe their assistant called in sick.
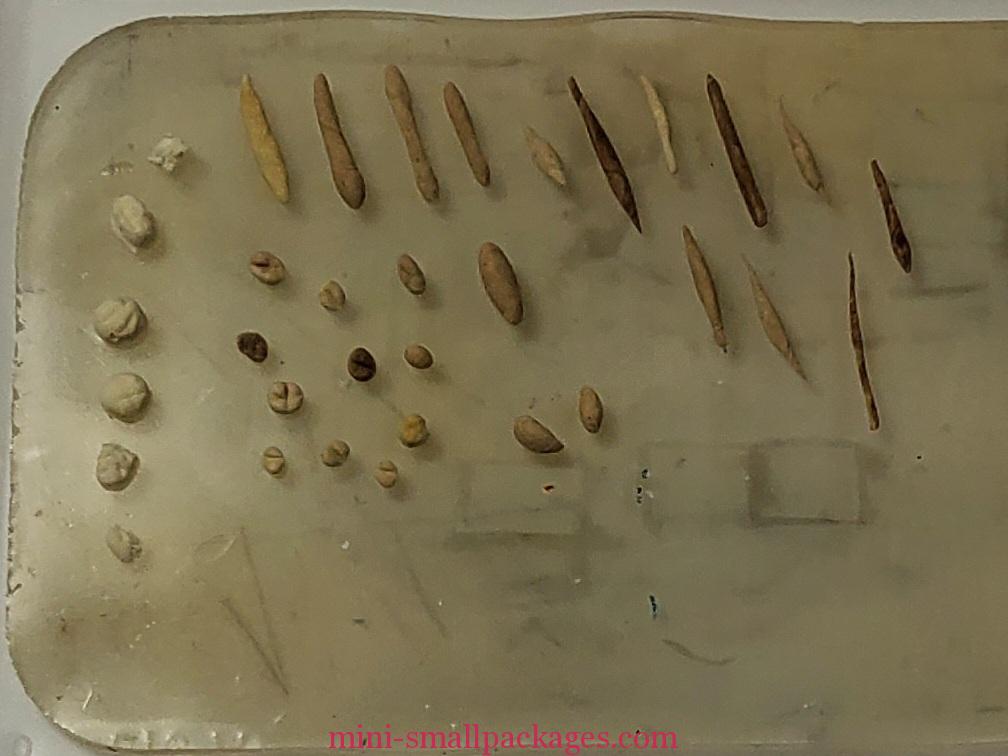
On the left, the white pieces are all I got from the mold. The rest I made by hand.
Here they are after painting with the 3 colors above.

They are sad pieces of bread, but I am going to be happy with them in the project. I thought bread making would be easy but it was same problem I always have – color and shape.
It oonlt took me a month to come to the bread and finish up. I did take a vacation during that time and had other commitments.
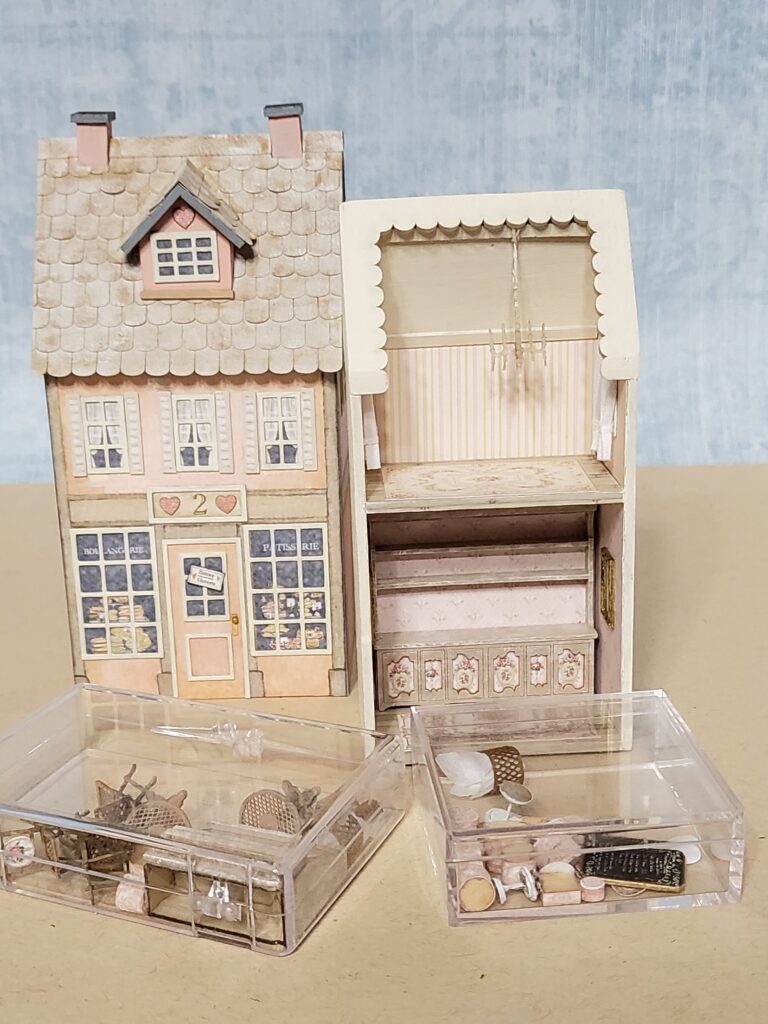
Finished Bakery
Interior first

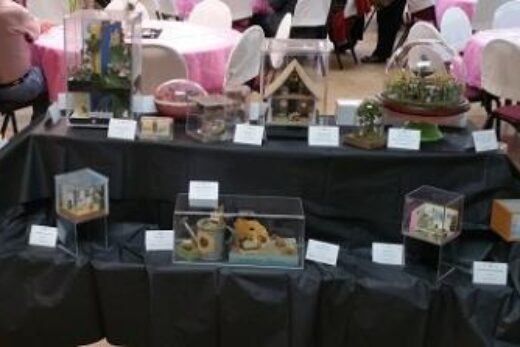
Additional photos
Full interior with exterior
Happy miniaturing!
Preble
If you enjoy my website, please consider making a small donation via PayPal.me/minismallpackages. Thank you!
Others have said this one was the tightest one so far. I didn’t have any issue except I realized my top floor table stuck out so had to move it. I think the difference I use the stylo+ dremel to do most of my sanding. The scalloped trim for sure can cause an issue if it is really smooth with the sides in the front.
Thank you for creating this blog. I, too, just finished House #2 today. One frustration that I had (as did another mini-maker) was that the interior house did not fit smoothly into the exterior. After much sanding of both parts, I finally was able to insert it almost all the way but I still have about 1/4″ sticking out on the bottom. That works for me since in the final stage in the wagon, that will not show. Frankly, I’m afraid that if it did go in all the way I might never get it out again and all those fiddley bits that I worked so hard on would never be seen again! Comments?