1-48 scale pegboard rug rack Instructions by Preble McDaniel copyright 2014
As part of a swap the group I swap with, they do individual swaps for every swapper and then one big swap item that is given to one other swapper. The theme for this swap was a miniature shop. For my big swap item, I choose a hanging rug display. Here is how I made that item.
Materials needed
- Fig1 shows all items needed to make this project.
- Fun foam or similar
- 1/16”wood dowel or wood toothpick
- 1” to 1-1/4” tall – adjust if desired
- 1 each 3/4” diameter wood or foam disc
- 1 each 3/8” diameter wood or foam disc
- White paint
- Wire – 20 – 26 gauge – I think I used 24
Tools needed:
- Scissors and/or craft knife
- White glue
- Sharp point such as needle
- Clear packing tape
- Wire pliers and cutters
- Drill bit for 1/16” dowel
Steps
- Print and cutout two peg-board pieces and some of the rugs. Regular copy paper on best settings will work.
- Cut out the foam matching one peg-board piece. Additional cut a slot in the middle of the foam to allow the wood dowel to be inside. See fig2.
- Glue the two pegboard pieces to the front and back of the foam middle. Make sure the dowel opening is to the bottom.
- Trim the pegboard to match the foam after the glue has dried if needed.
- Use a needle or other round pointed tool to make holes on each dot.
- Pull a piece of tape – packing tape or shiny giftwrap tape about an inch long.
- Lay the rugs close to the long edge of the tape. Leave room to be able to fold the tape over the rug. There should be tape resulting around the rug.
- Fold over the tape over the rugs. Press together nicely so no air bubbles on the rugs themselves or immediately next to them. Can use a credit card or fingernail to smooth over and around the rugs.
- Cut around the rugs – can leave the top end a little longer if desired.
- Poke a hole in at the top of the rug into the tape. See fig3
- Layout the rugs on one side of the pegboard to plan where they will go. Remember to center the placement of the rug so that a peg is centered at the top.
- Cut a wire about 3/16″ long then fold it to 1/16″ to form a L. Insert the long section into the hole in the rug package. Extra pegs can be added.
- Select where the rug will go and insert the long end of the wire into place. The wires typically held in place, but can add glue if desired.
- Repeat until all the rugs are hung on both sides.
- Cut the wood dowel to length (height desired).
- Cut out the round two piece base from wood or foam. Make sure to cut/drill the holes.
- Insert dowel and glue in place in the pegboard and the two piece base. The smaller base piece goes on top of the larger.
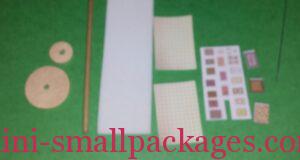
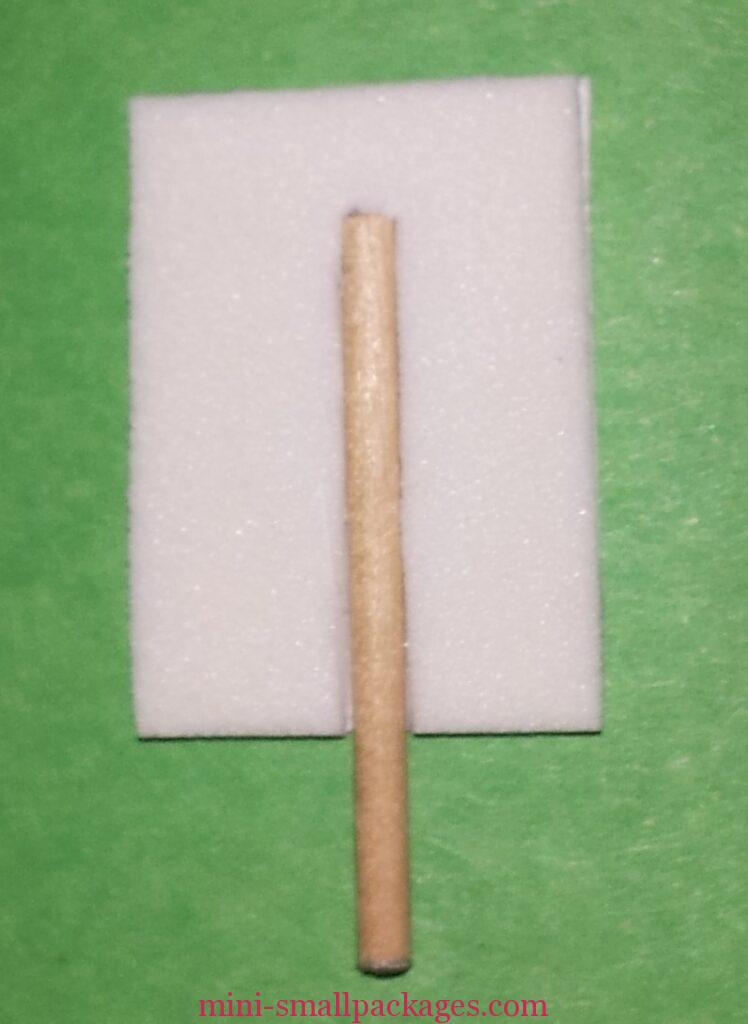
Fig2: showing inside of peg rack 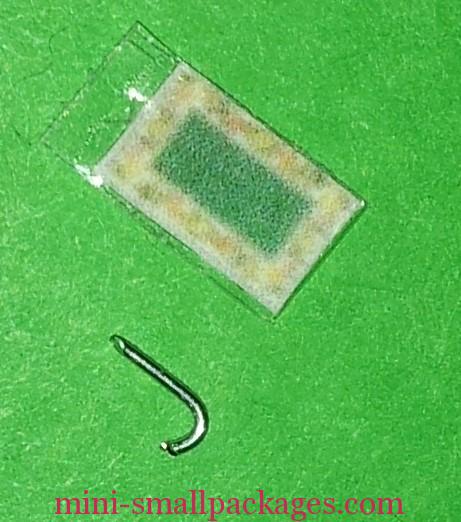
Fig3: rug and hanger 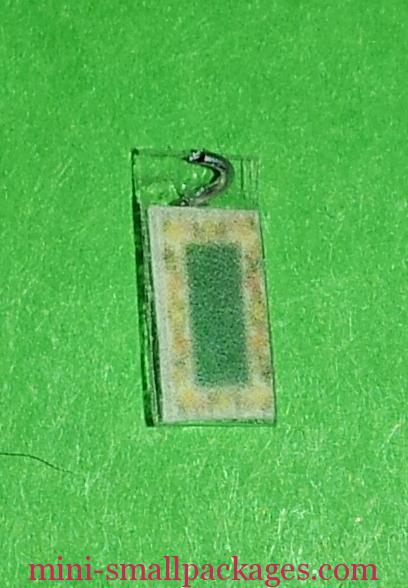

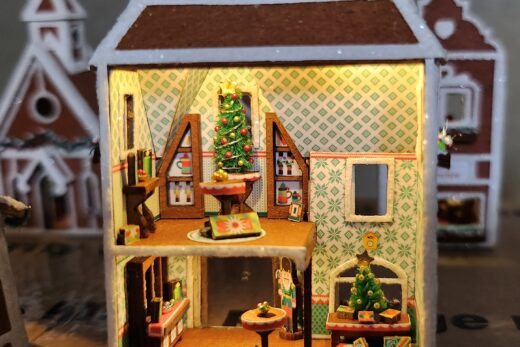
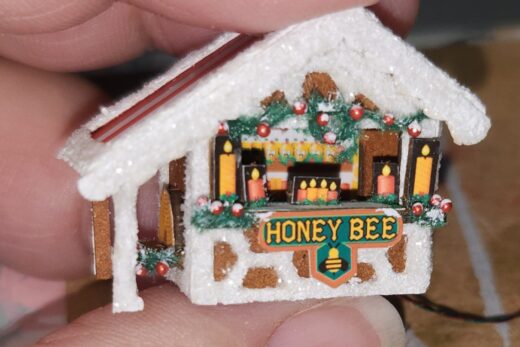
Fig4: Finished item side A 
side view 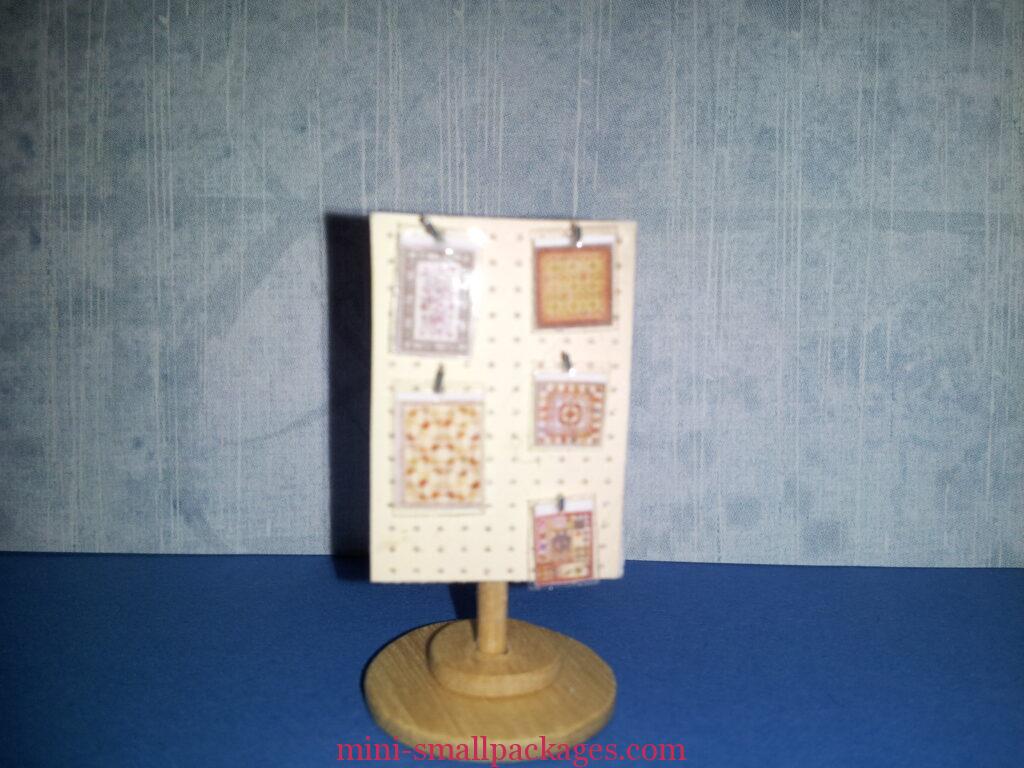
Fig4: Finished item side B
Happy Miniaturing!