This project drew me in because it is a shop in an ice cream container. I had wanted to do one of those before. This type of project is one of my favorite things to make in miniature – A project in an everyday object.
The project was offered by KitKat Miniatures. Sadly, she is not offering them. But there might be someone out there who still hasn’t finished theirs and maybe needs a few tips.
It’s been a while since I assembled much of this project. I attended Kathy’s class which got me started. It was in the last of 2025 that I did the food. Most of the furniture was assembled earlier in 2025 when I took it on a mini vacation with friends who were doing craft projects. Each of us doing our own thing.
Lighting Tips
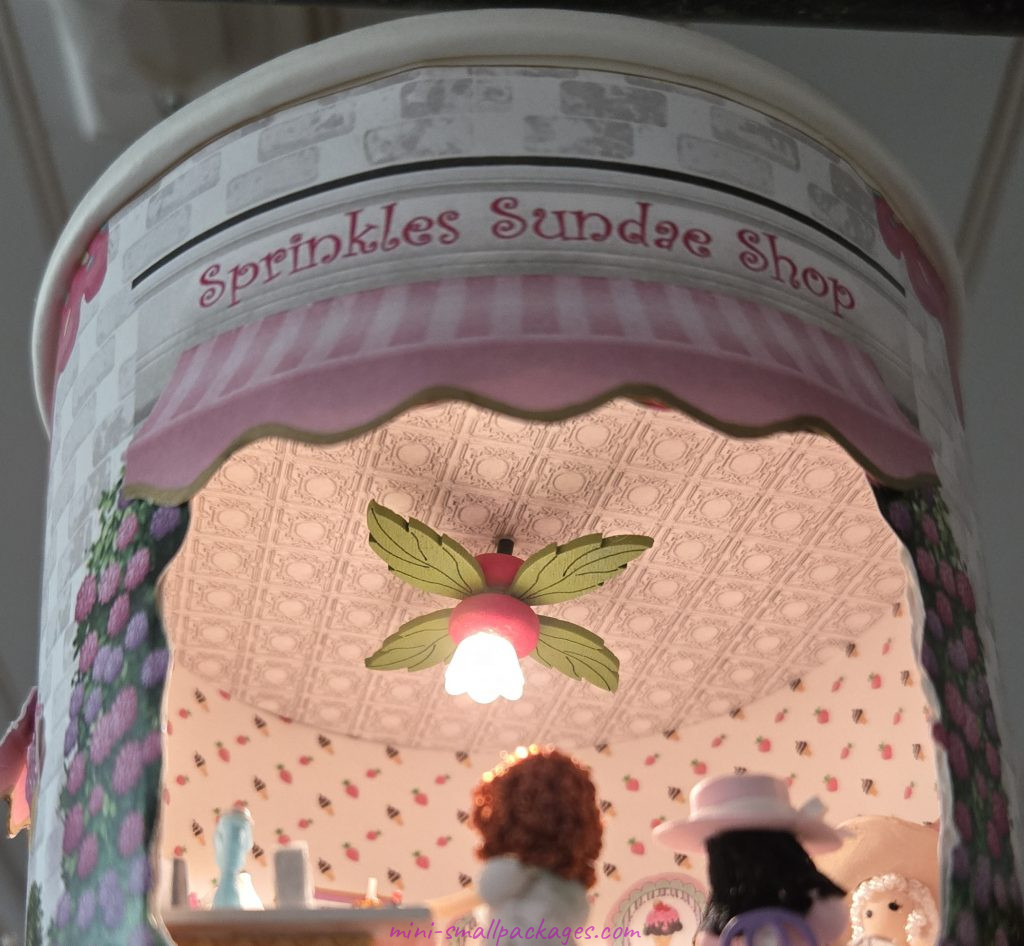
Kathy’s instructions are quite good. I loved that she included electric element. I wired up the ceiling fan and the excess wire on the top side, I glued under a piece of paper. This stabilized the ceiling fan fixture for removing the ceiling which is needed in order to put things inside.
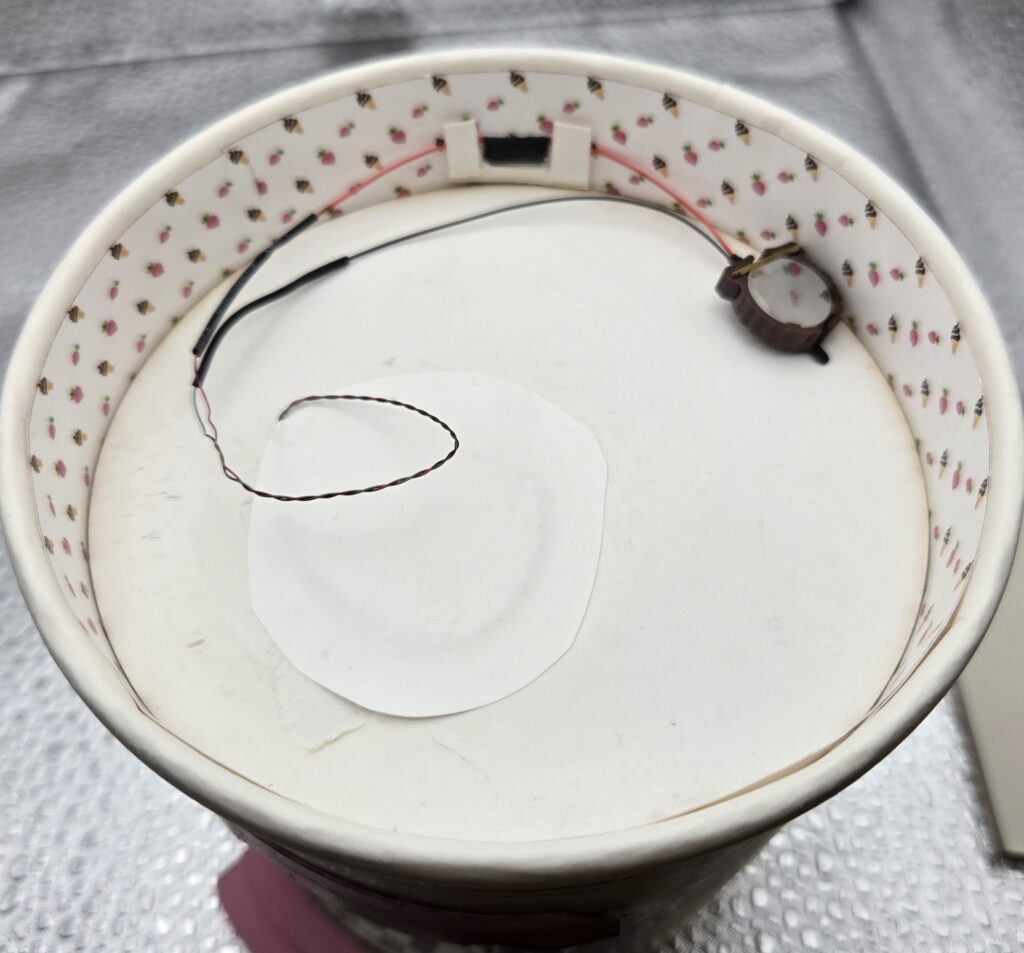
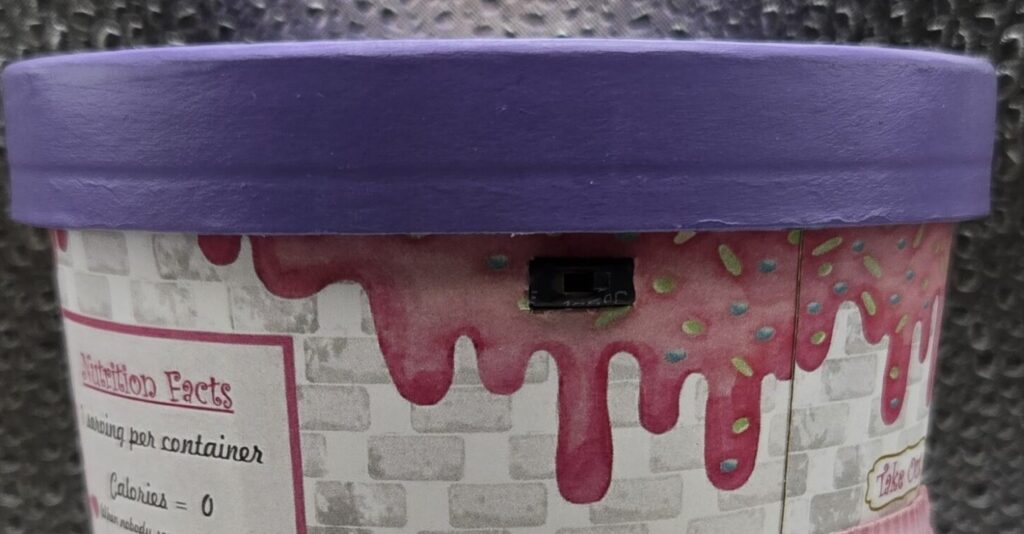
I decided the switch must be accessible from outside the lid. I cut a hole in the side that fit the switch. This hole is just below the lid. One advantage is the lighting is only attached to the ceiling and wall instead of the ceiling and lid. Although the length of wires make attaching the switch to the lid acceptable to work with.
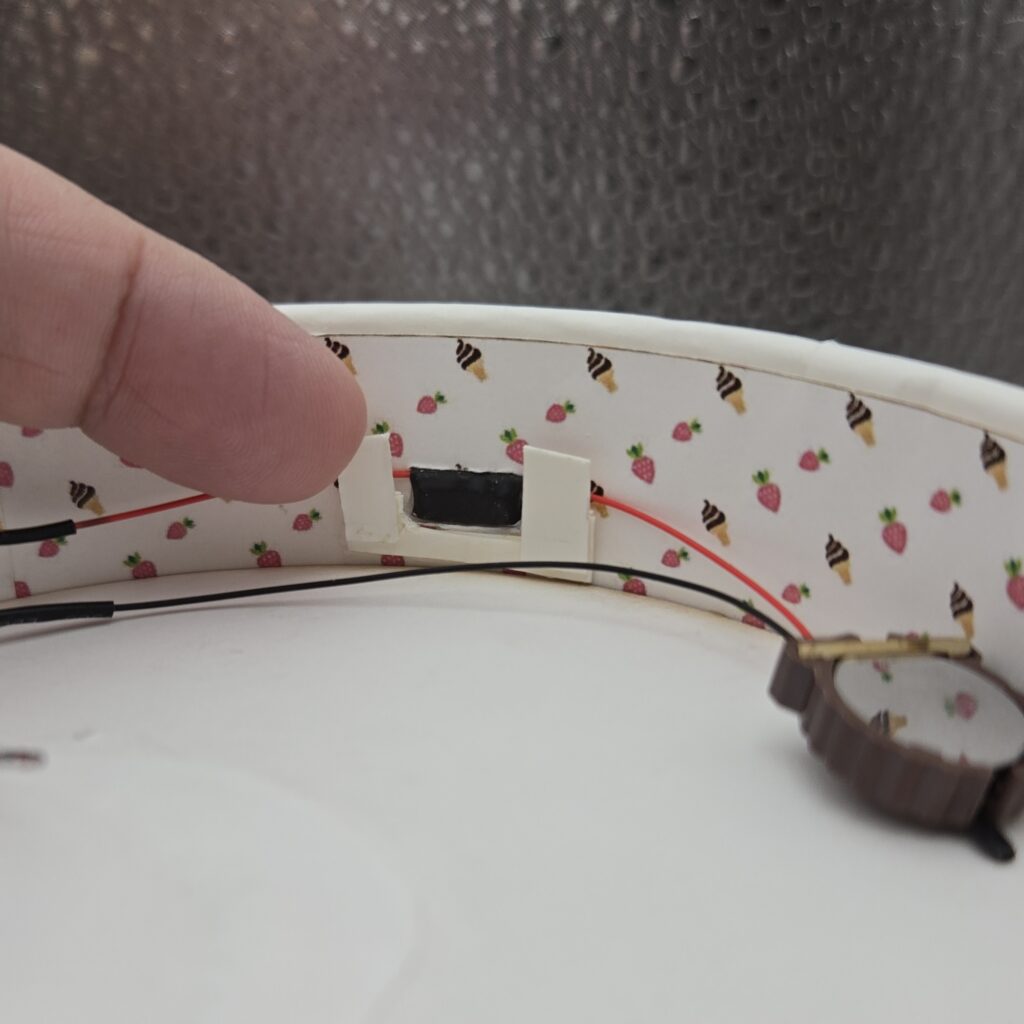
Then I needed to come up with a way to hold it in place. I added tabs to hold the wires against the inside wall on either side of the switch. The wires just slide behind the tabs. It is two layers – one smaller than what you see to give space. I cut it from the excess from the window opening.
That was helpful. However moving the switch to turn on and off was not stable. More recently I decided to add a piece of foam core that pushes against the switch and the opposite wall. It is not glued in place and won’t be so that everything is easy to access, including removing the ceiling. Both ends of the foam core piece were rounded so the piece is tight but not pushing out to make the walls not round.
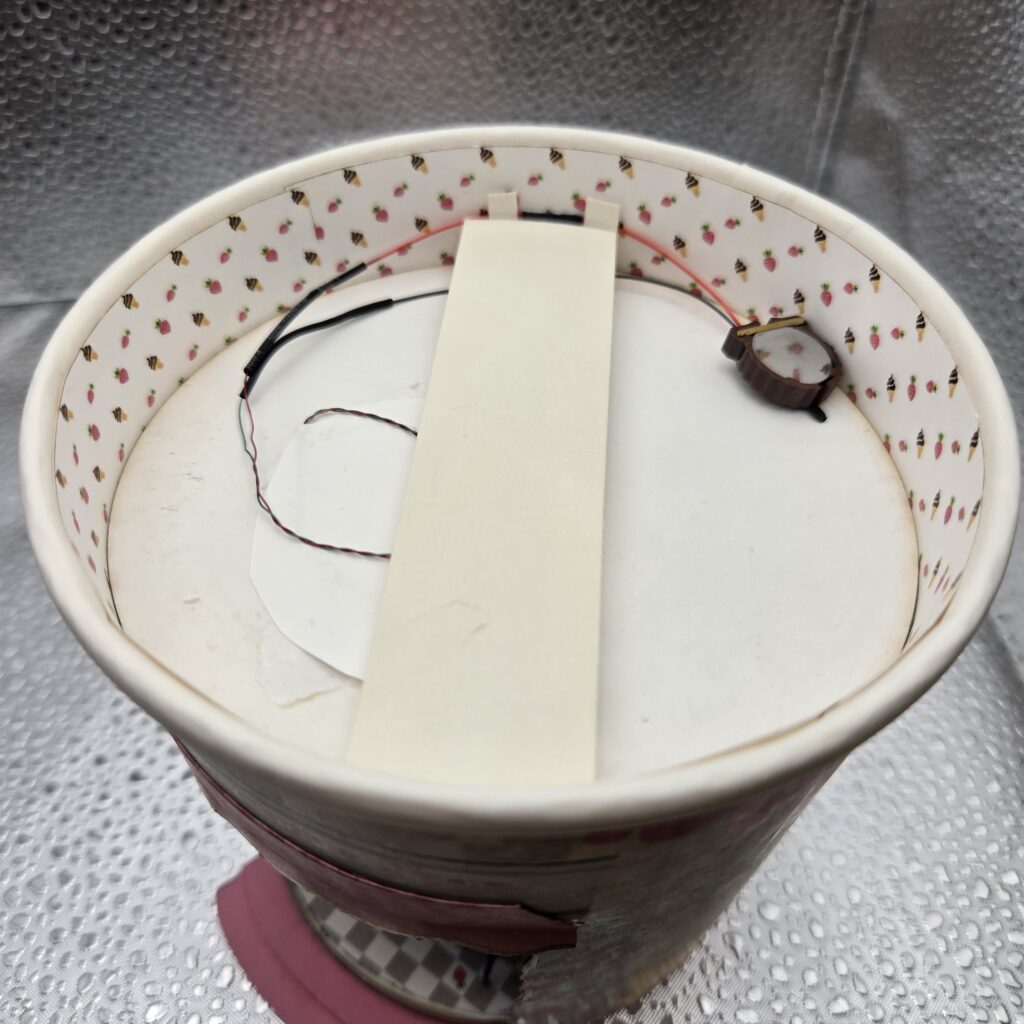
To stabilize the switch for use, this foam core piece (rounded on both ends) is pressed in place.
Take Out Window and other Modification
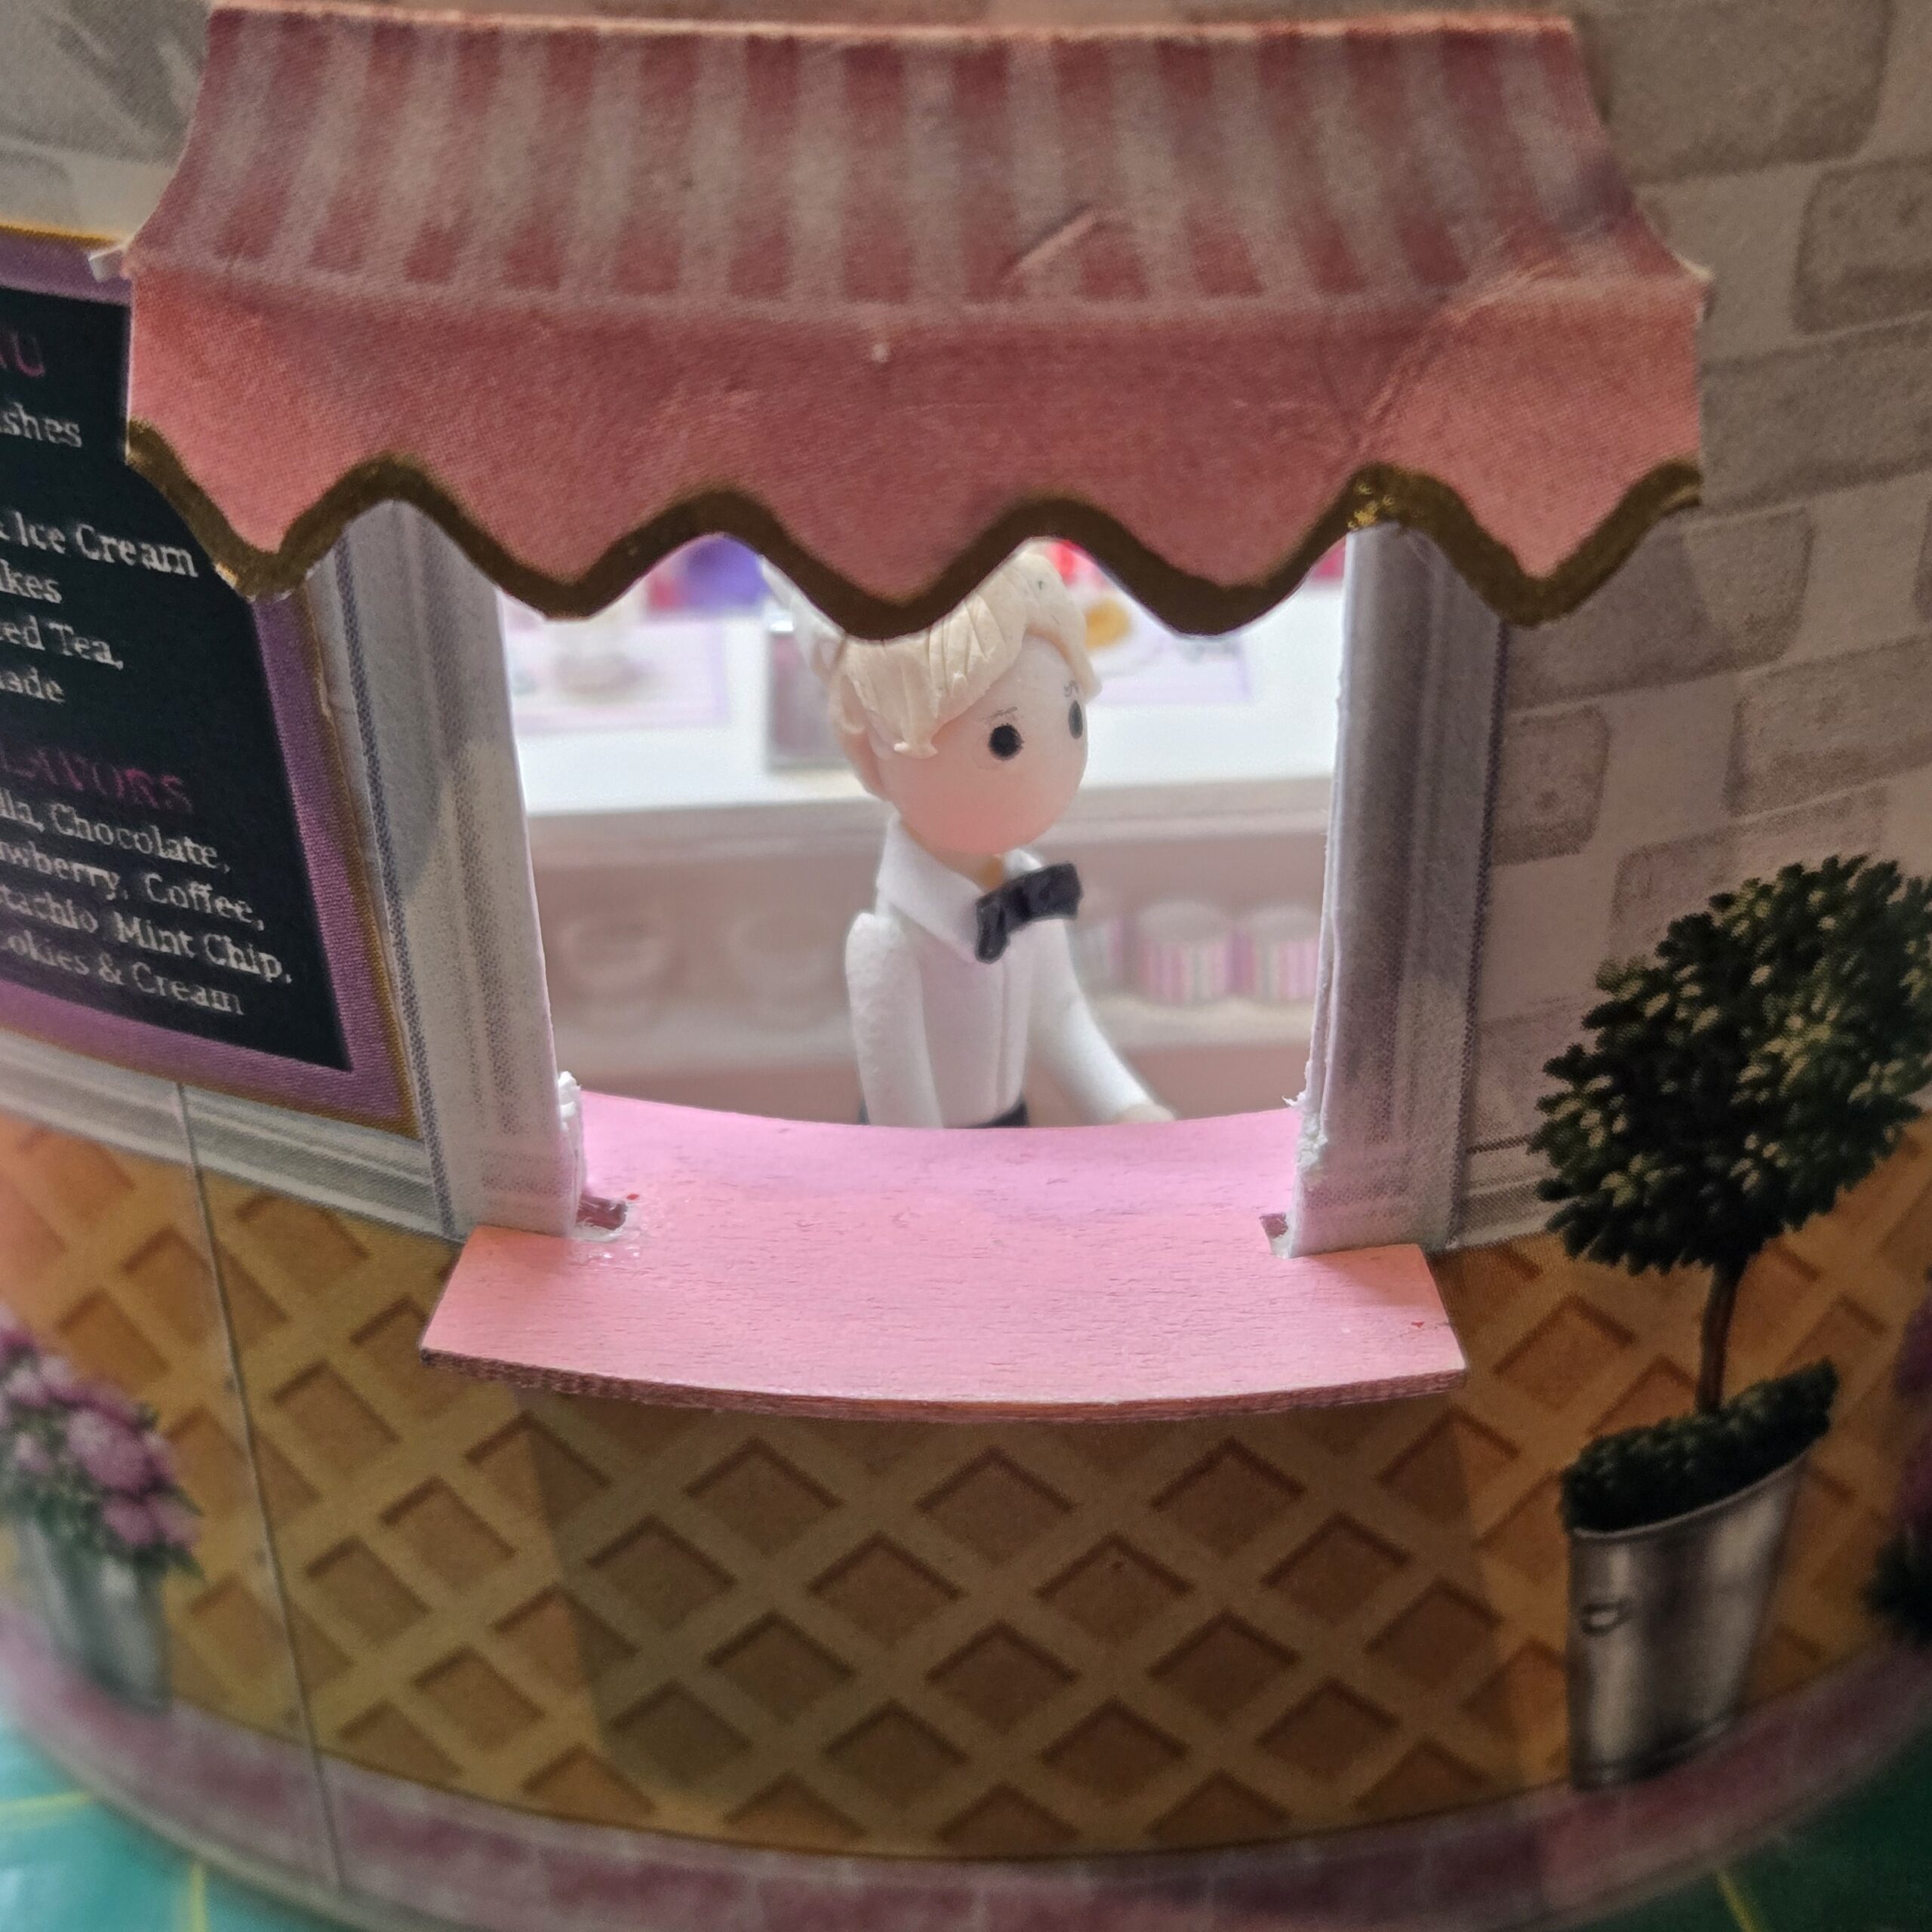
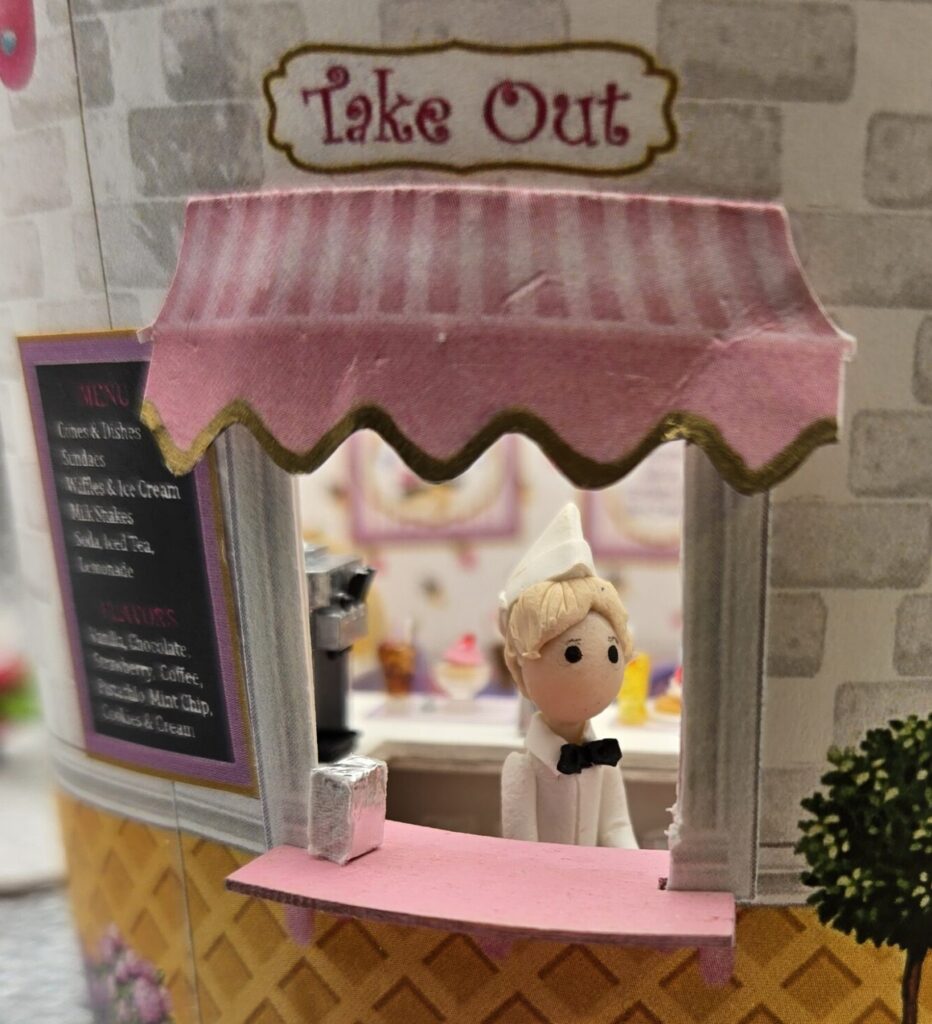
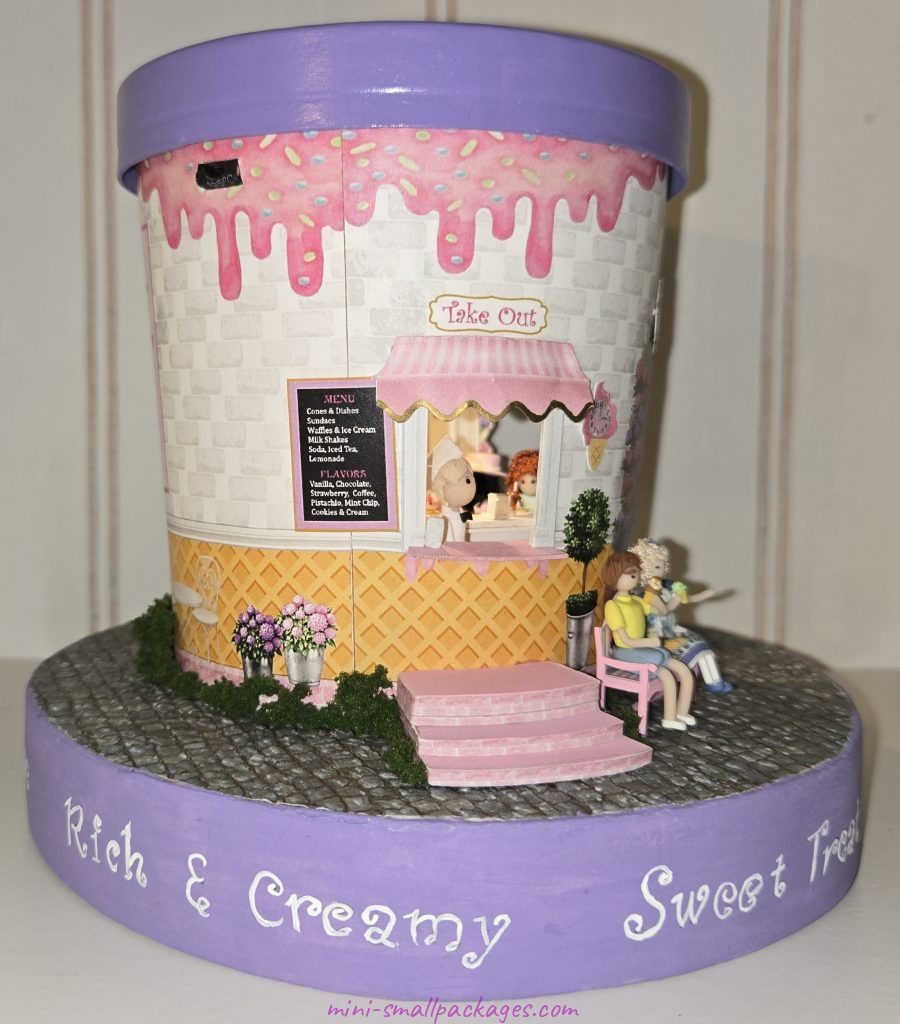
Another modification I made was to the Take Out window. It is high for the dolls that Pat Hamilton made. I cut this down initially and made it too low. So I fixed that. Then after placing the soda jerk doll, I decided to cut it down again, just not as much. I cut it to the horizontal trim on the outside.
Side steps that were provided didn’t allow the dolls to stand on the step in combination with the window counter. I added foam core pieces to make the steps deeper and one extra step. Although they still can’t but if they hung onto the counter they could.
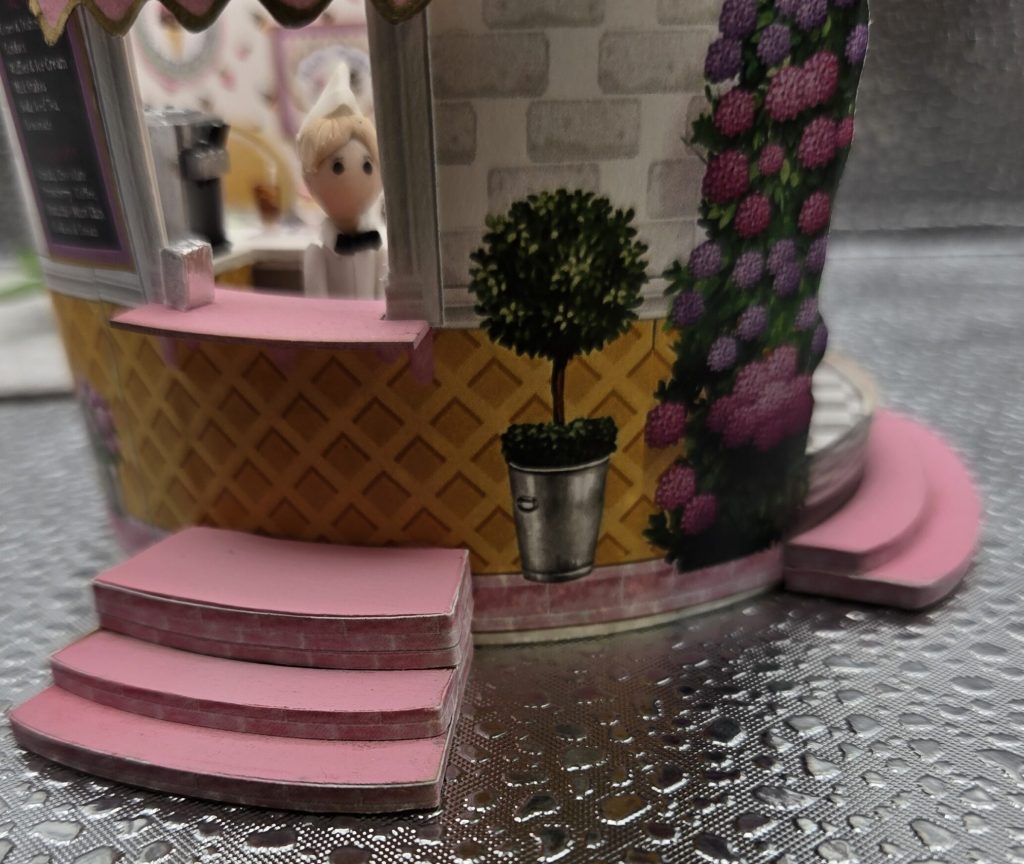
The front opening is beautiful plants that I carefully trimmed around. I highly recommend patience and small sharp pointed scissors.
The awnings are printed and I did my best to make them curve and be dimensional. For the side one was easier I believe because it was narrower.
Accessories
The clear glass items are 3D resin printed. They have a frosty look. Kathy outlines how to make them clear, but I didn’t have the same materials available. Instead I used UV resin on the exteriors. That’s the kind that requires a UV lamp to cure. I have one that is for doing nails.
Compare the cola glasses vs the raft they are on.
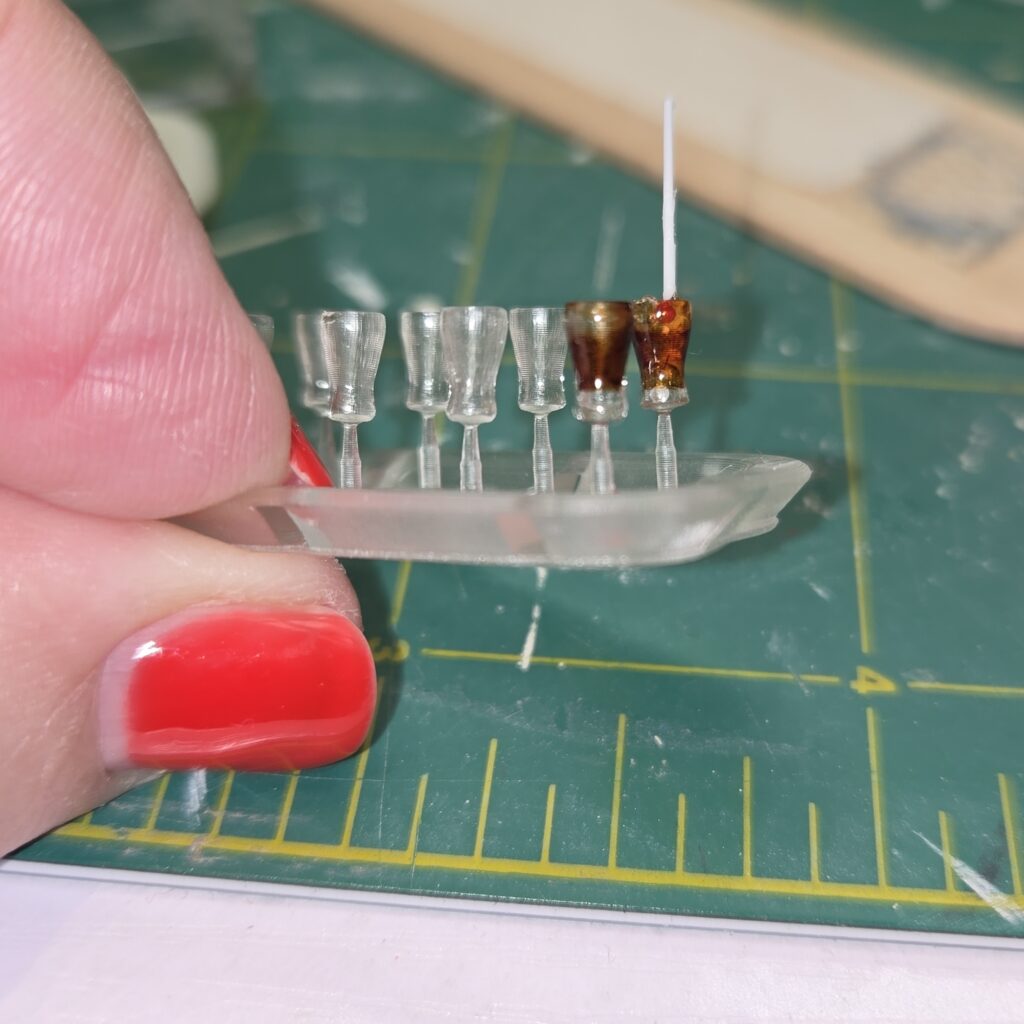
For the soda drinks I used a micro tip sponge brush and alchol marker to color the inside of the glass. Then I added the ice and drops of gloss sealer. The cherry and straw were added before that dried. The outside was the UV gel resin I painted on and cured with the UV light.
Included in the kit were plastic bristles for straws and clear round no hole beads /marbles for ice. There were all sorts of glassware for a soda and for ice cream dishes. More than I could fit. Plates were 3D printed, as were waffles, ice cream cones and ice cream scoops ready for bowls and cups. There were cups to be made with paper. Plus red marbles for the cherries. For toppings, I used various colors and then applied a gloss sealer for shiny. The flatware was laser cut cardstock. The placemats were paper cutouts. The napkin holders were made using aluminum foil, paper tissue and a block of wood.

The counter was made from a wood kit (included) with printed paper for the outer side. The stools were a laser cut kit which I used the chrome marker on the base.
What to do with my extra cups I didn’t use, even with making extra? I put them under the counter. It is really hard to see them as have to look beyond the Soda Jerk, but they are there.
Chrome Marker – Highly Recommend
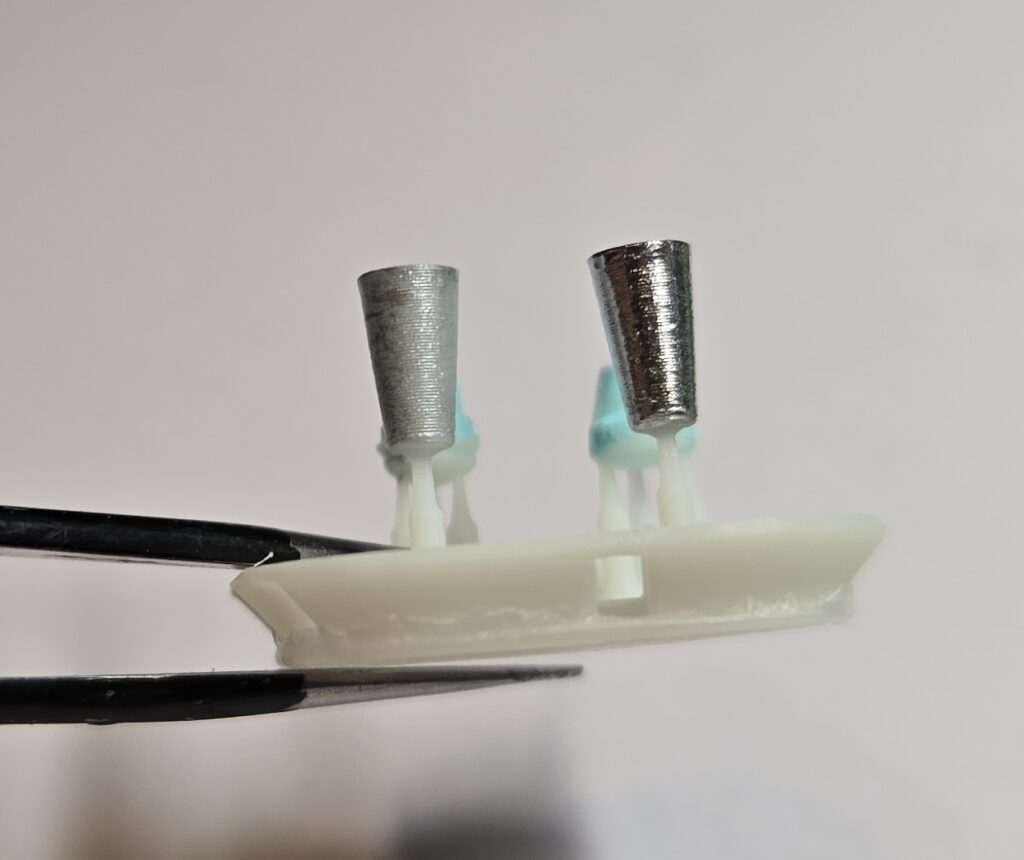
For the blender and the soda fountain, I used a chrome marker from a set on amazon.
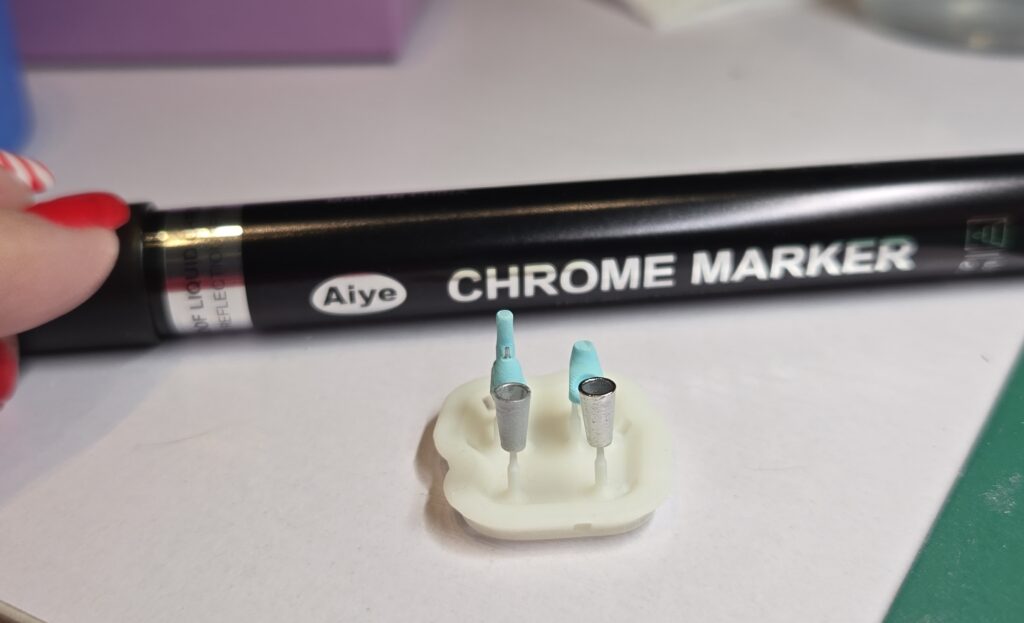
See the difference the marker (right) vs a silver paint (left) I had. I add the a gel UV gloss over the blue on the blender.
Here’s the soda fountain. Opps! the Soda Jerk broke one of the levers the first day.
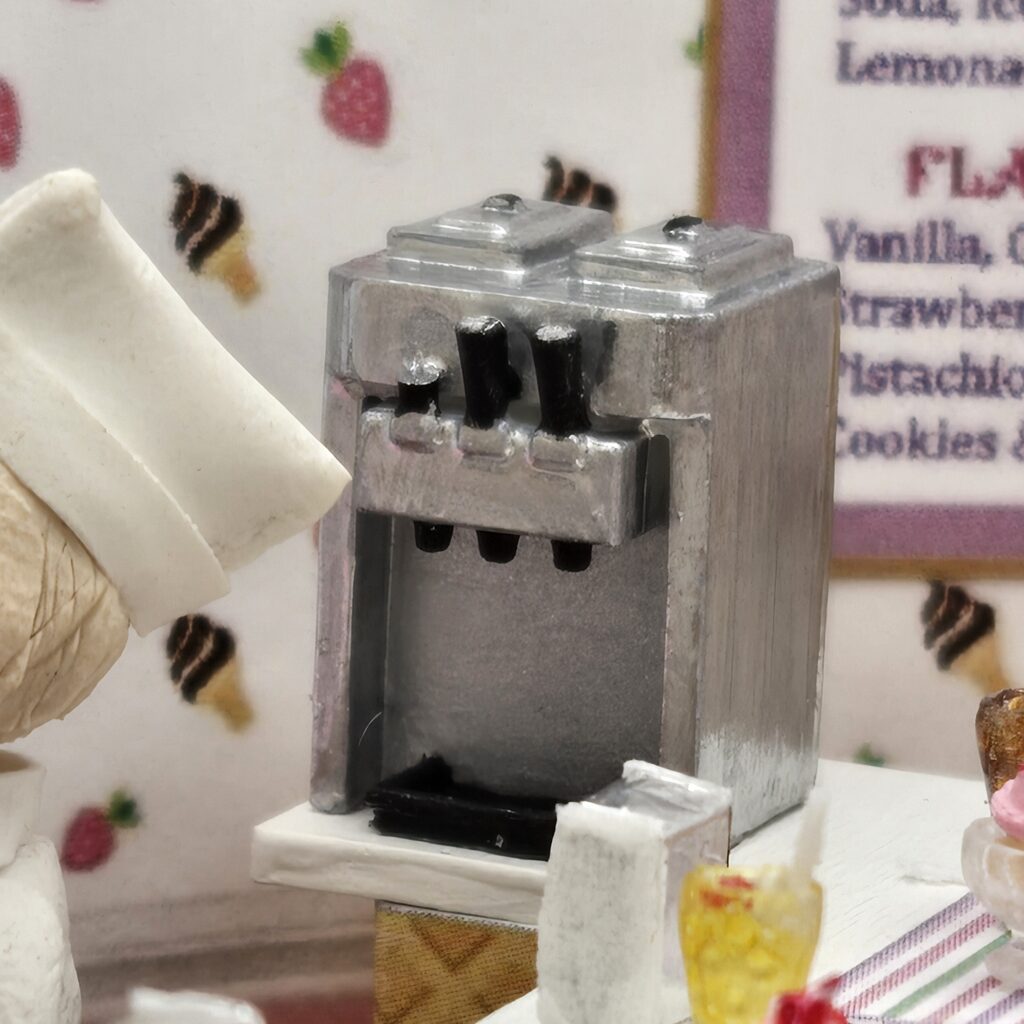
It was much harder to get a good solid coat of the chrome on this larger piece. The set did contain different tip sizes so that would help but not totally.
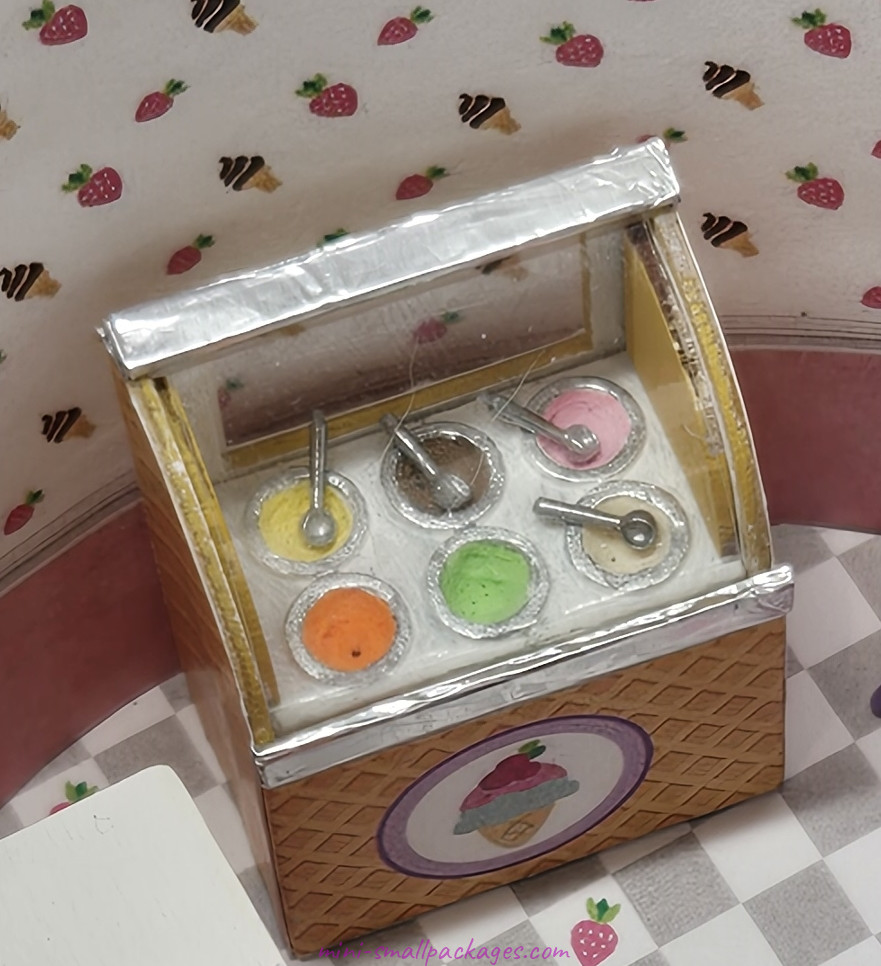
Ice Cream – You Scream – Freezer
I really love this ice cream freezer. For the ice cream, I used a material called Light and Fluffy Scuplting Paste. It reminds me of lightweight spackle. I colored it with paint and then carefully scooped into the buckets. It did shrink, some more than others which I suspect is due to having more paint added. But it was easy enough to fill in with more. Although not too much later since I did mix these colors.
I used aluminum foil on this as well because it was before I got the chrome markers.
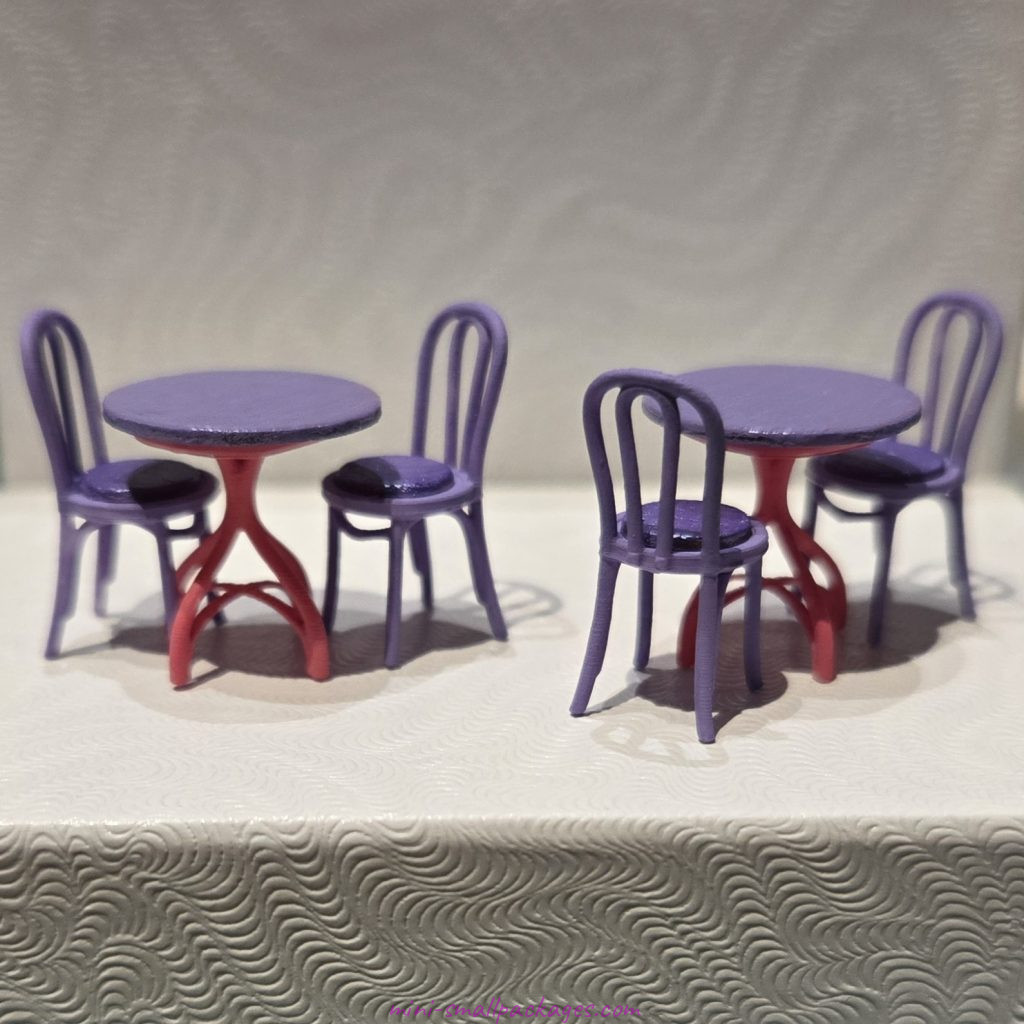
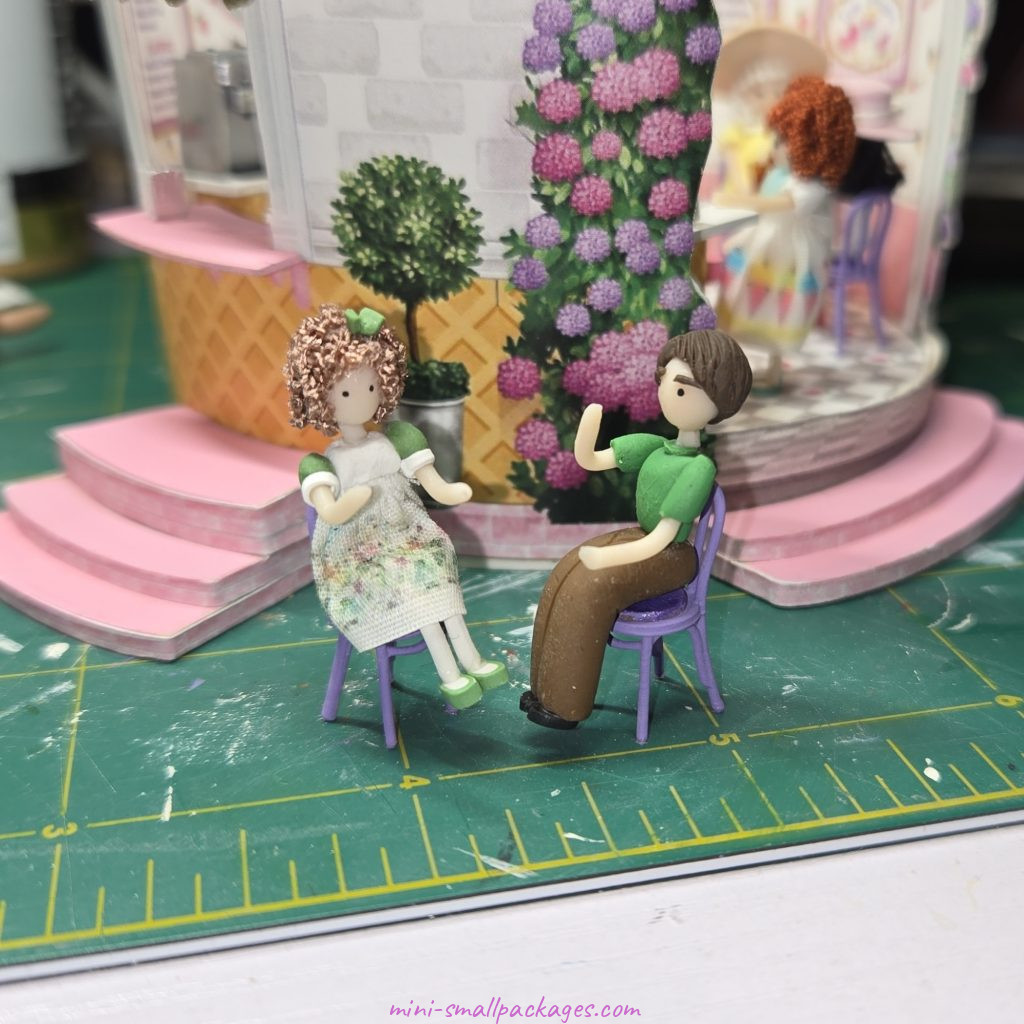
These table and chairs were included with the kit. They are 3D printed and they are perfect for the shop. When I was ready to paint them, I decided it would be fun to use more than one color and I went with the color of the lid and pink. The seat cushion is a darker purple.
Dolls
Initially, I ordered 5 dolls from Pat Hamilton. She makes some wonderful dolls for our scale and it is great that she is working with other artists like Kathy for ones that go with their projects. Once I was ready to put the dolls in place I was not sure who got to go where.
I often convince myself I don’t need to wait to do a step. In this case, it was because I wanted to glue things in place like the counter and table/chairs. This can get me in big trouble. But for this is was only tiny, minor spots on the floor and one broken chair leg that I replaced with a sprue.
After reviewing the dolls I had and what I had seats for, I decided to order more dolls from Pat. She very graciously sold me more. I only needed to gently move one table and two chairs.
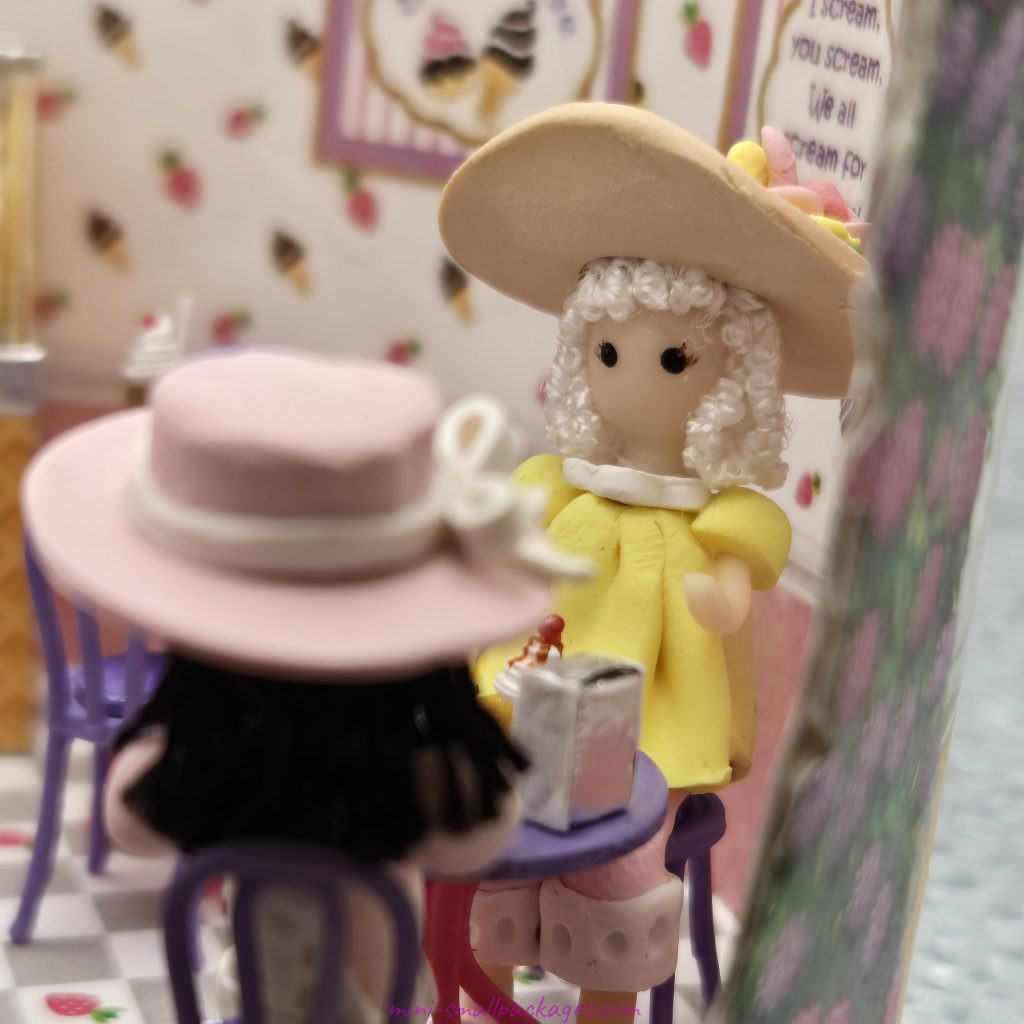
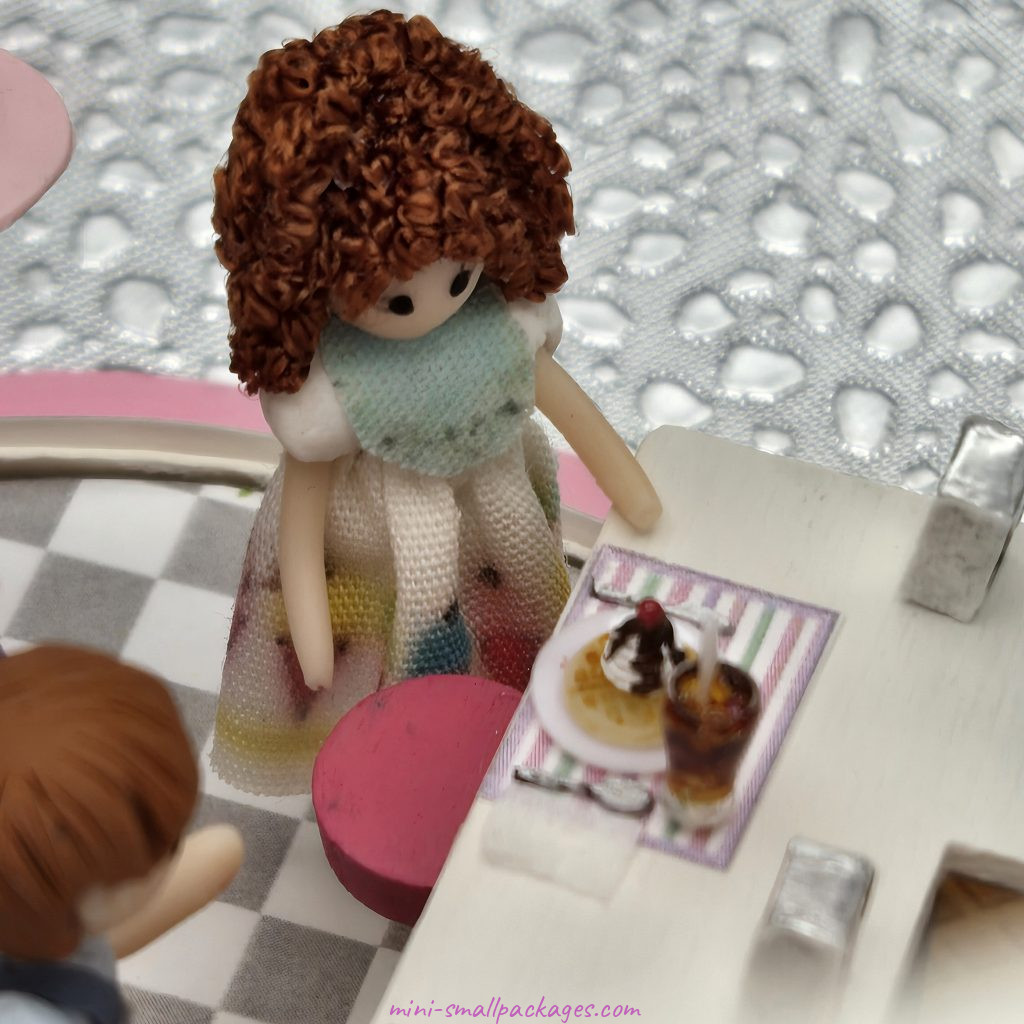
In the back by the ice cream freezer is Mark and Mandy. They were late arrivals so I took their picture before placement. I just love the print on the dresses.
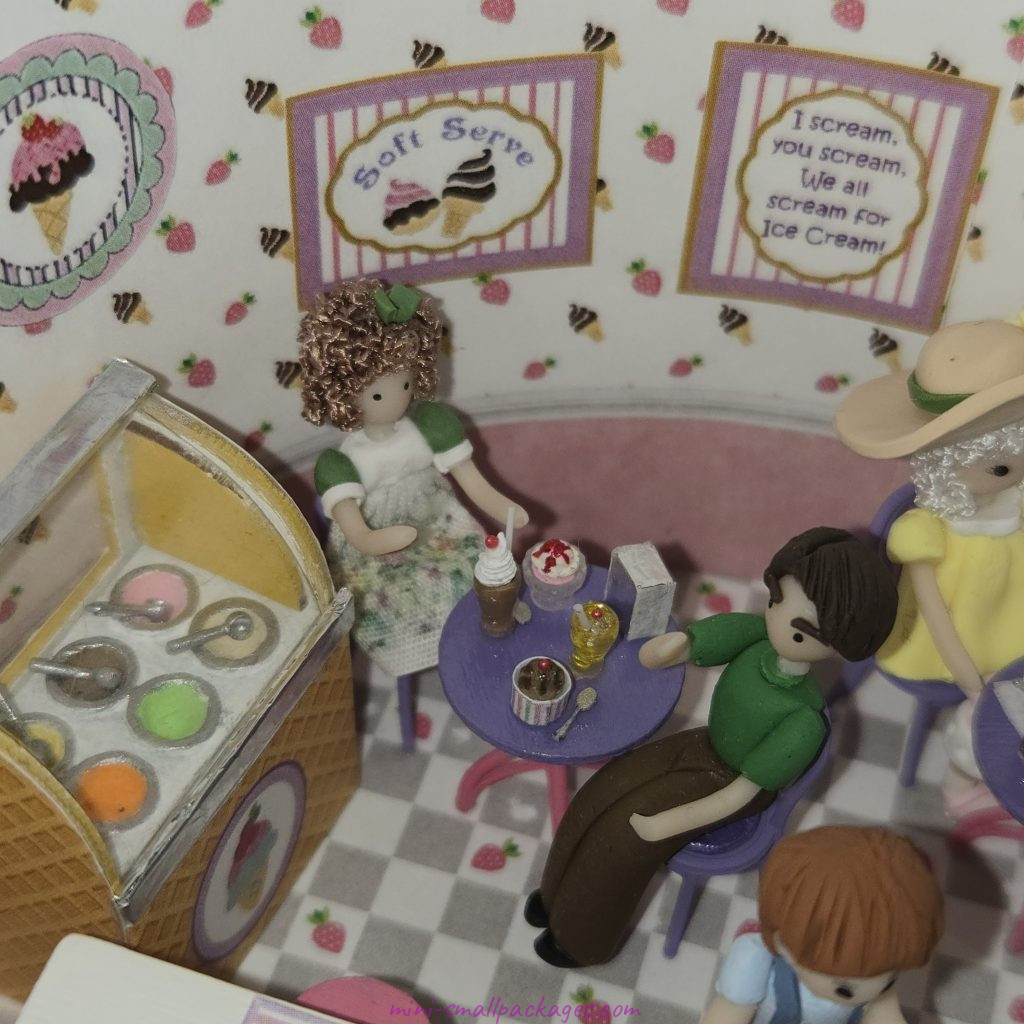
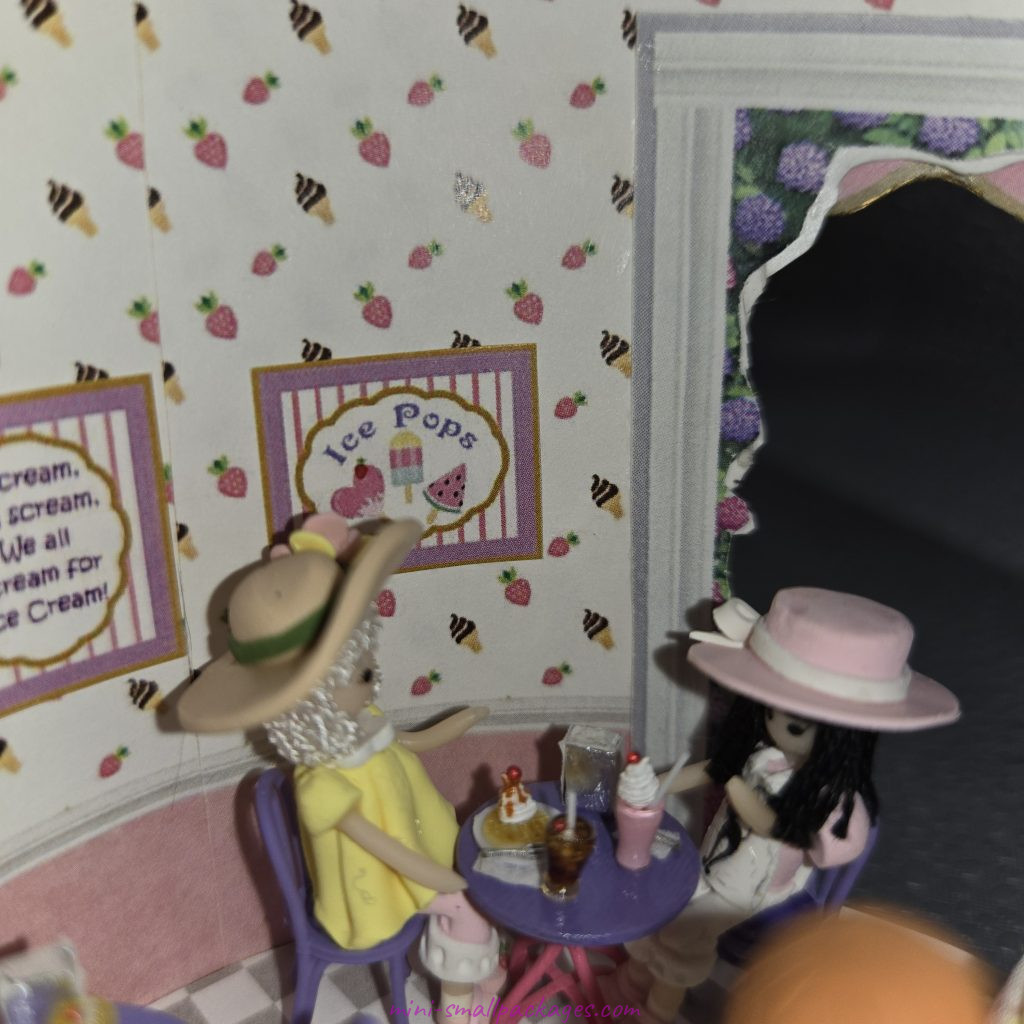
At the counter we have Jack and Jenny. They are just getting their food so haven’t sat down yet.
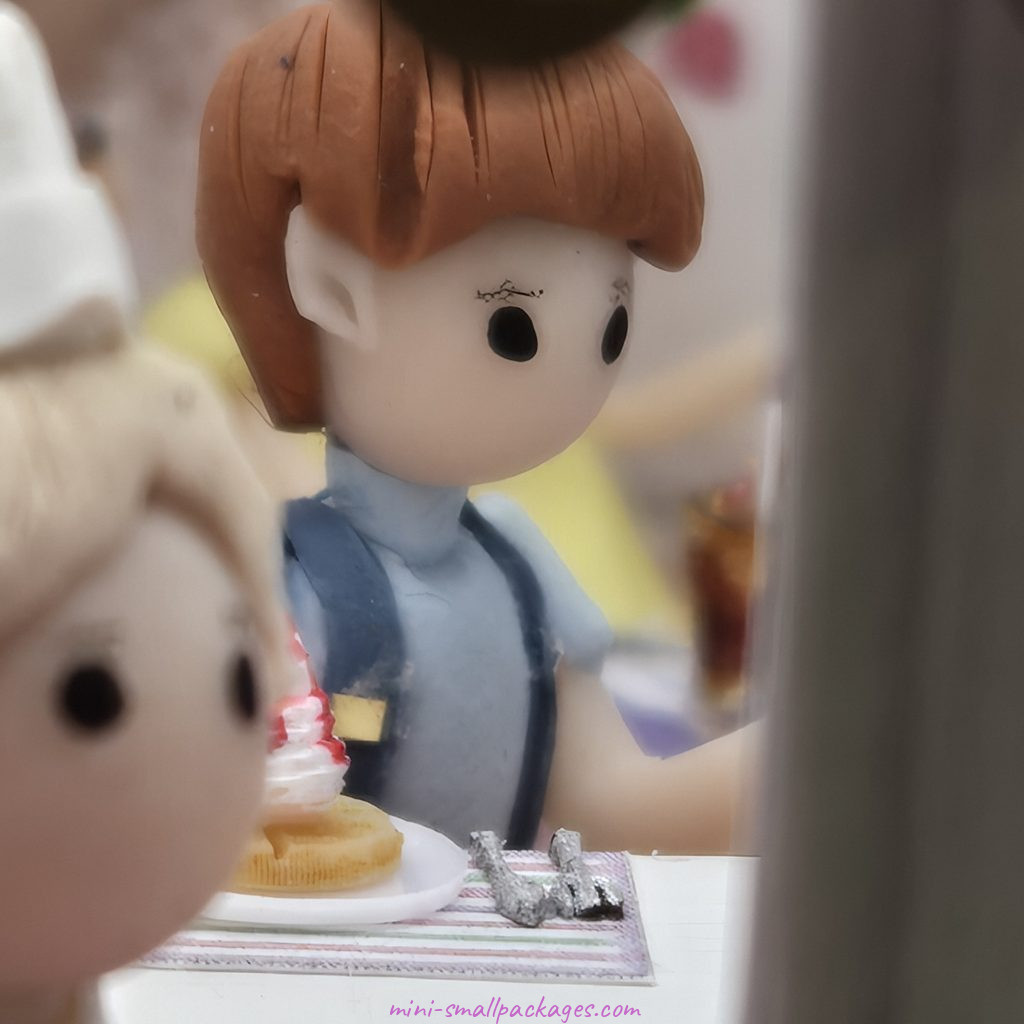
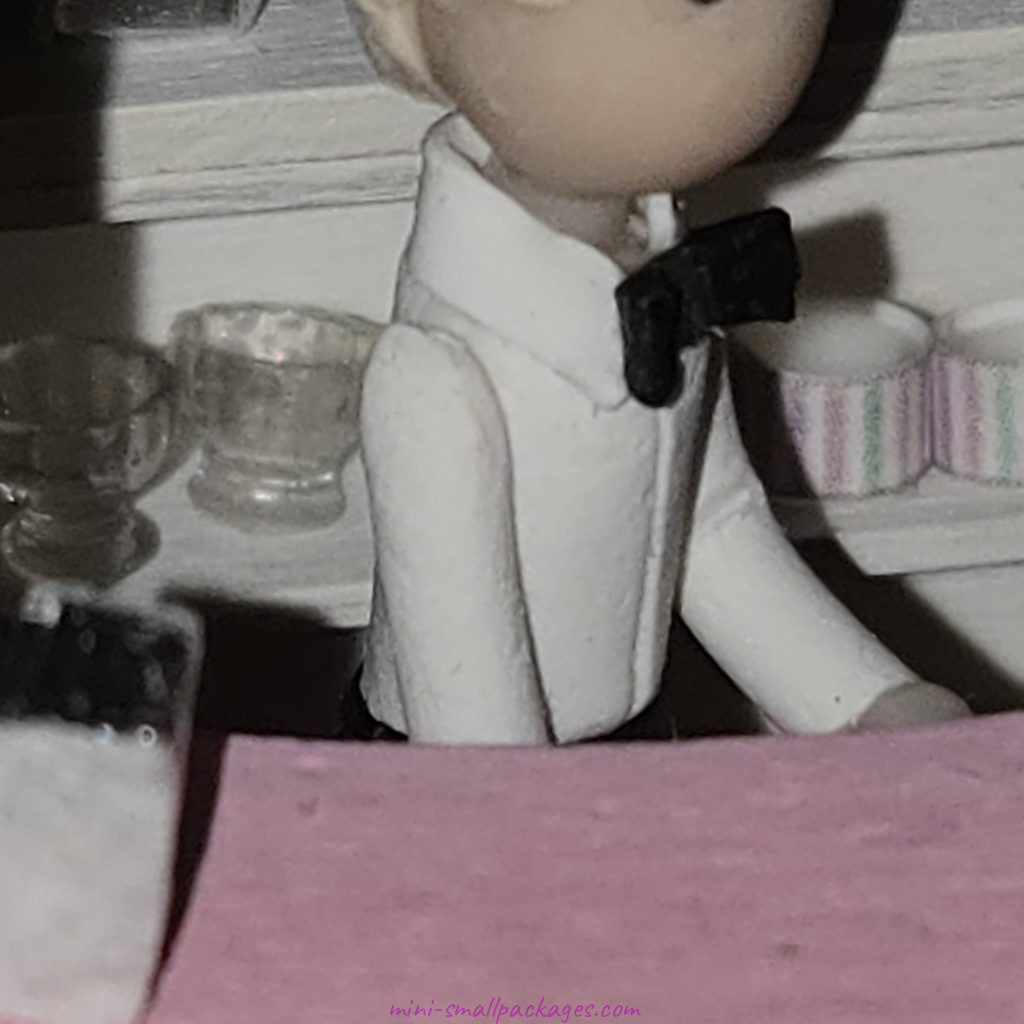
We don’t want to forget the Soda Jerk who is happy to make these wonderful dishes of food and drink.
Exterior landscaping
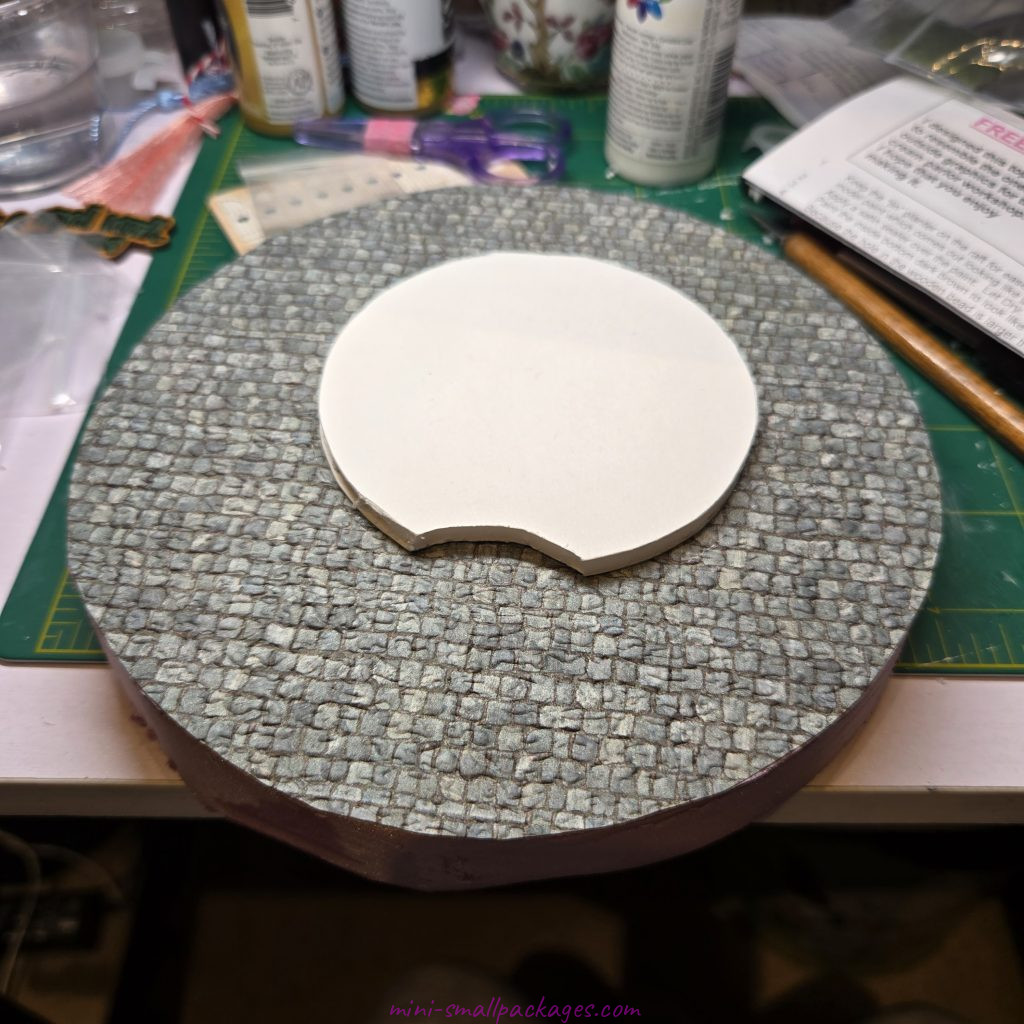
To make it easy on myself for once, I picked out a sheet of paper stone. This paper is embossed and I got it from Stewart Dollhouse Creations, but can found on ebay and etsy in bulk. I trimmed to the size of the base I cut long ago to fit in a clear plastic ornament container. It doesn’t fit exact to allow for room to get it in and out.
Next, I added a foam core layer to keep the ice cream container in position. I didn’t cut a full circle as I was using a piece I had and the cut out will be hidden.
I would like to tell you that my next step was the wood trim around the base, but it was not. Since I would change that step were I to do this project again, I will show you what I would do next. (Not what I did next.)
I sanded the pink foam smooth with sandpaper.
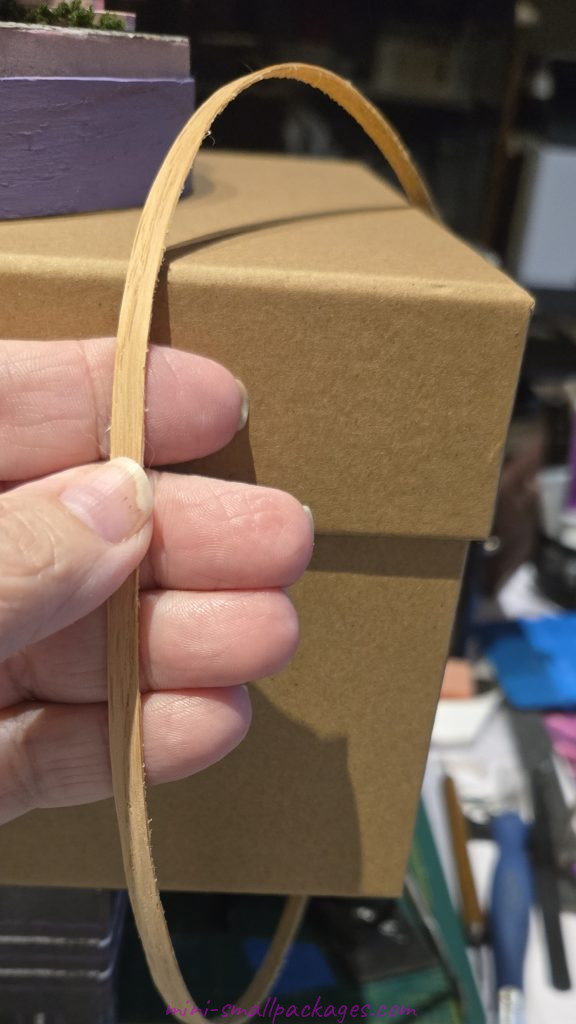
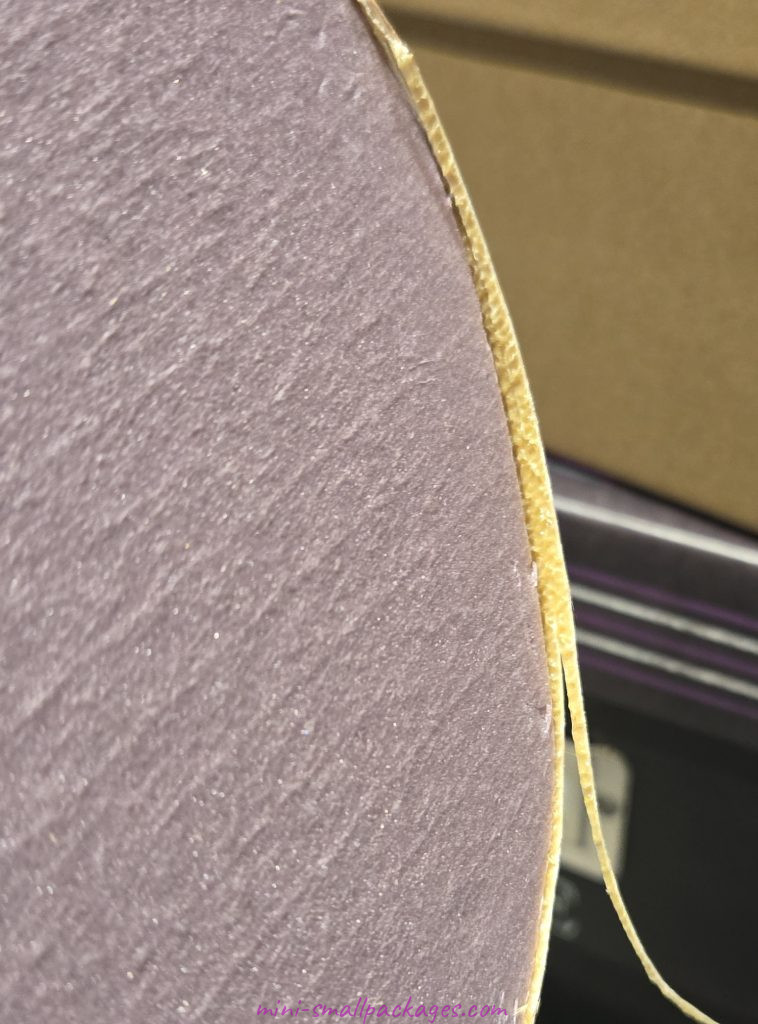
Then I added a row of veneer. My adhesive veener is not wide enough, so I cut another piece to fit. This is how wide it is relative to my base. It is not adhered yet.
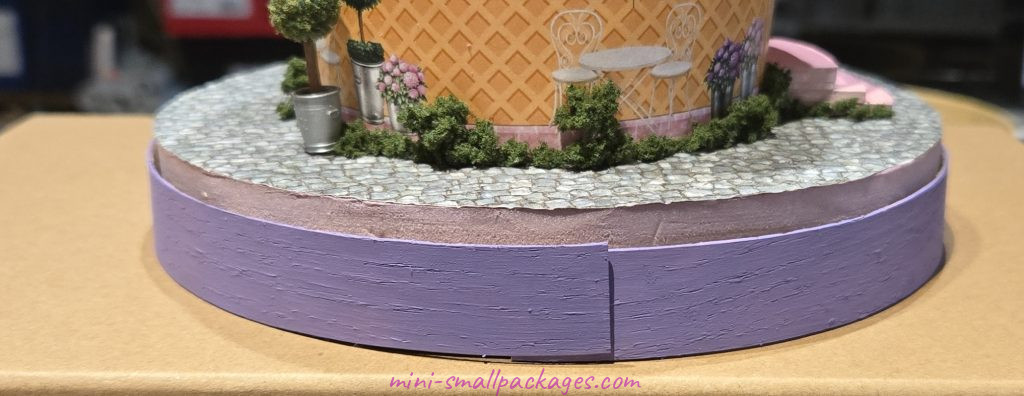
I actually adhered the wide band first, then applied the narrower band to the bottom. That way I could trim away the excess. Although I did trim it before adhereing to the pink foam.
To adhere the veneer, I used a small iron tool. It did get hot enough to melt the foam, so it was a touchy situation because I wanted it to adhere but not melt the foam underneath.
I also had some minor problems with gaps between the stone paper and the wood veneer. To fill those, I used the light and fluffy sculpting paste and painted over later.
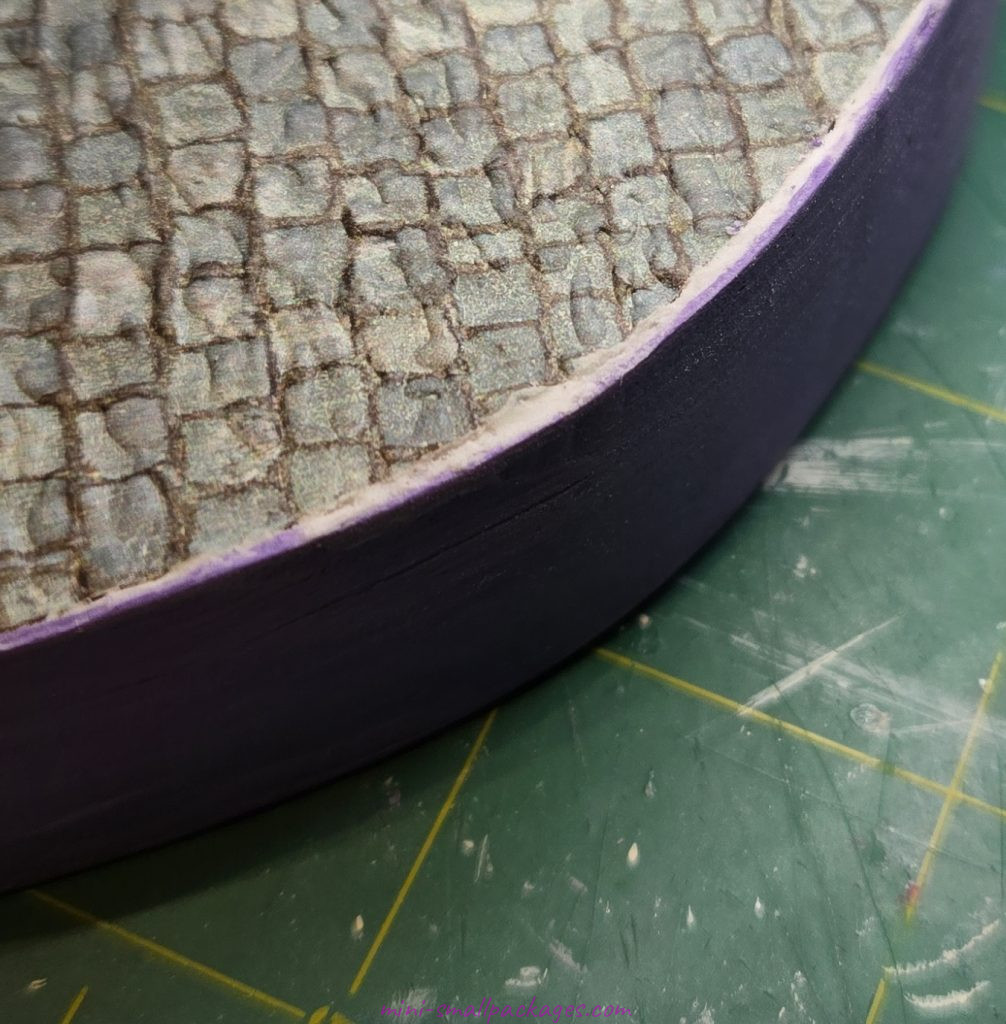
To finish off the base, I painted it. Then immediately realized I needed to fill in some gaps between the two rows of veneer. I used the sculpting paste again and sanded it smooth.
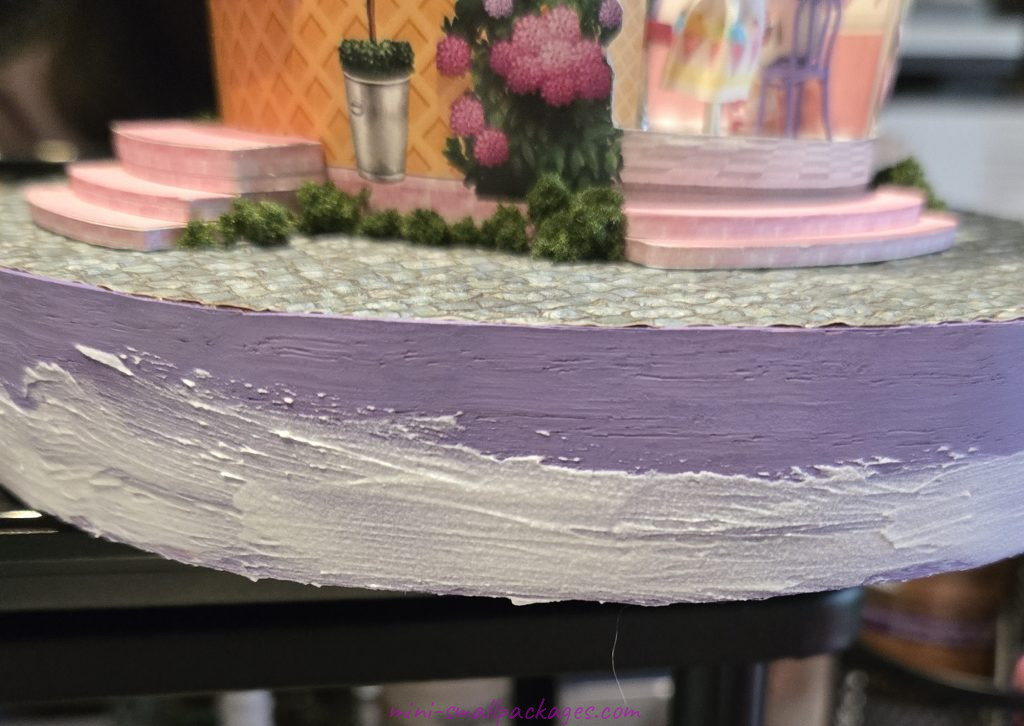
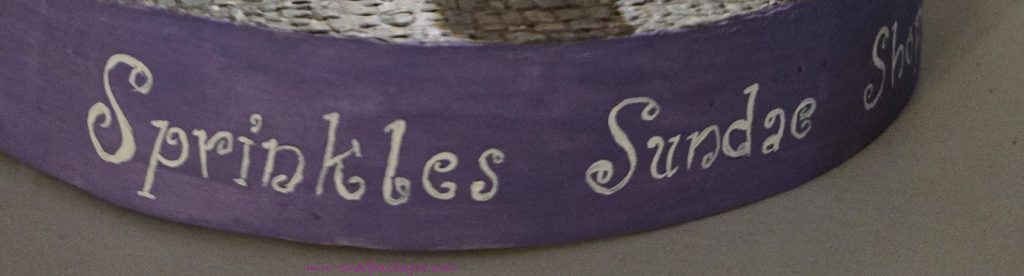
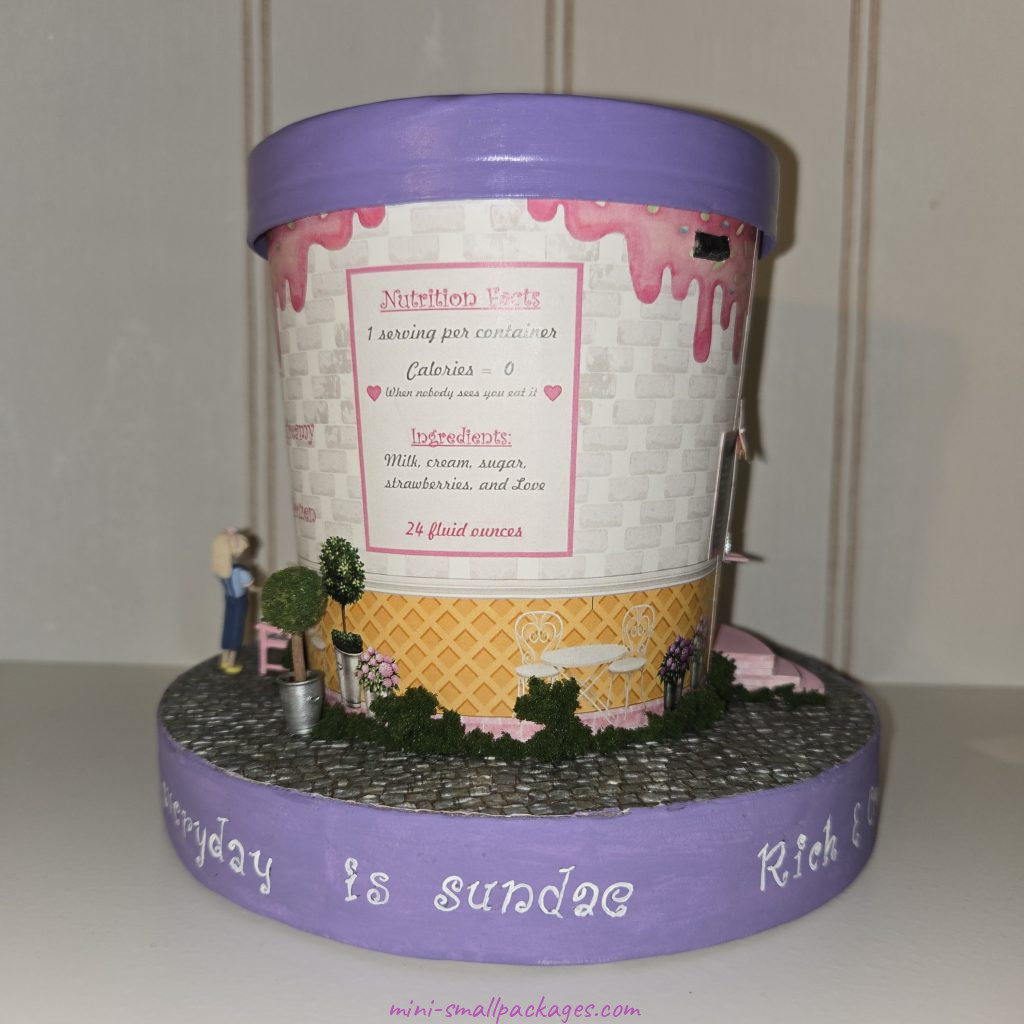
Once all was smooth and painted lavendar again, I drew the letters on with pencil. Then painted over with white paint. It is a good idea to plan for the part that is most likely to show. So the name in the front was done first.
To center it, I used an old technique my father taught me which is to write out the words you want to center. I also do it about the size of what I might write although that is not always practical depending on the project. Then place a slash after ever two letters or spaces. So it would look like this Sp/ri/nk/es/ S/un/da/e /Sh/op/. Then count the slashes. Whichever letter or space is the same number as the slashes is the center. So in this case was 10 slashes and slash between “Su” was the center. Then start off writing/painting that letter or letters. Allow space to draw the other letters aproximate size.
That is where the pencil came in handy. I could gently erase if it was too wide or tall. Now, I could have taken this further and spaced out the entire words I applied but I winged the others. For a long title, one can determine the spacing by quarters or even eighths.
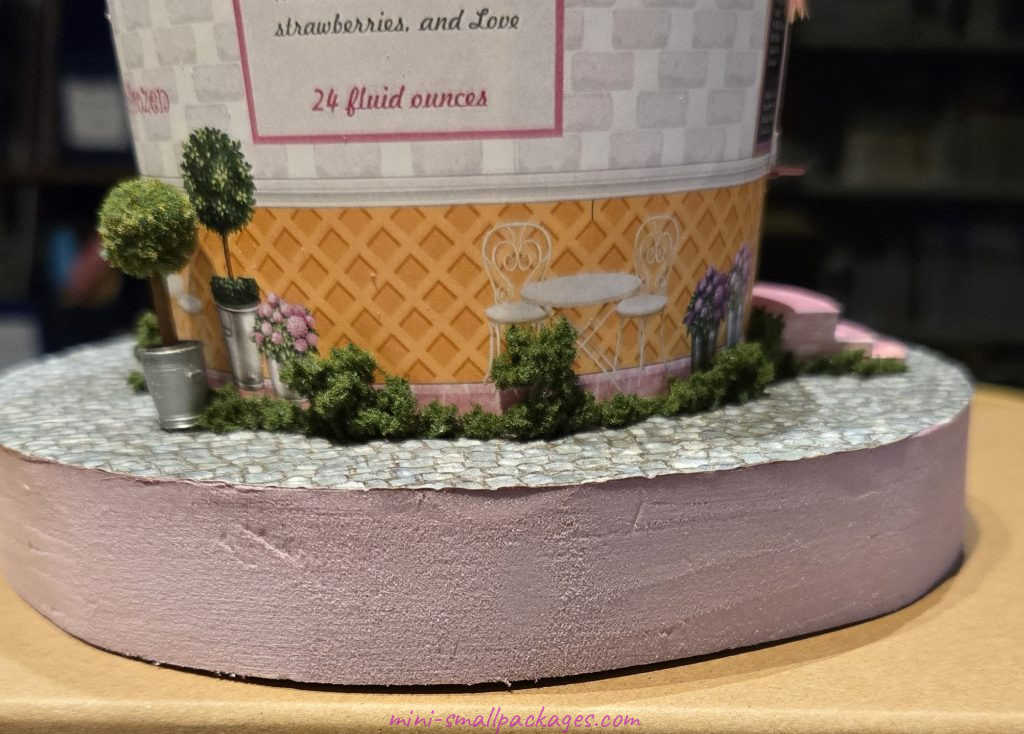
Meanwhile, to landscape the project, I added simple bits of green medium coarse foam.
I also assembled the topiary kit that was a free gift with purchase.
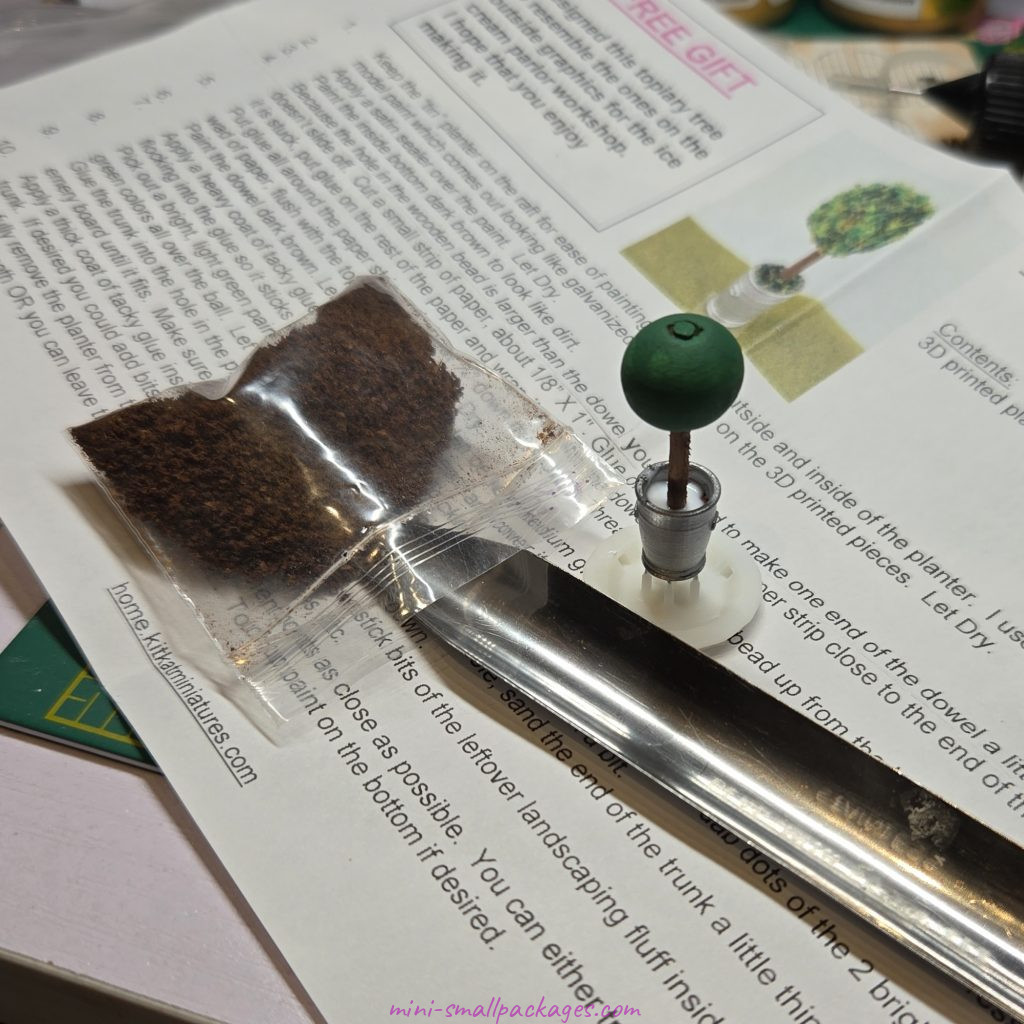
It was easy to do with one problem. That problem was with the material I selelcted to use for the ball. It contained spikes. I think it was shredded from a foam with a backing. I’m pretty sure Kathy may have included greenery to cover with, but I wanted it to be more bushy, so was using my own.
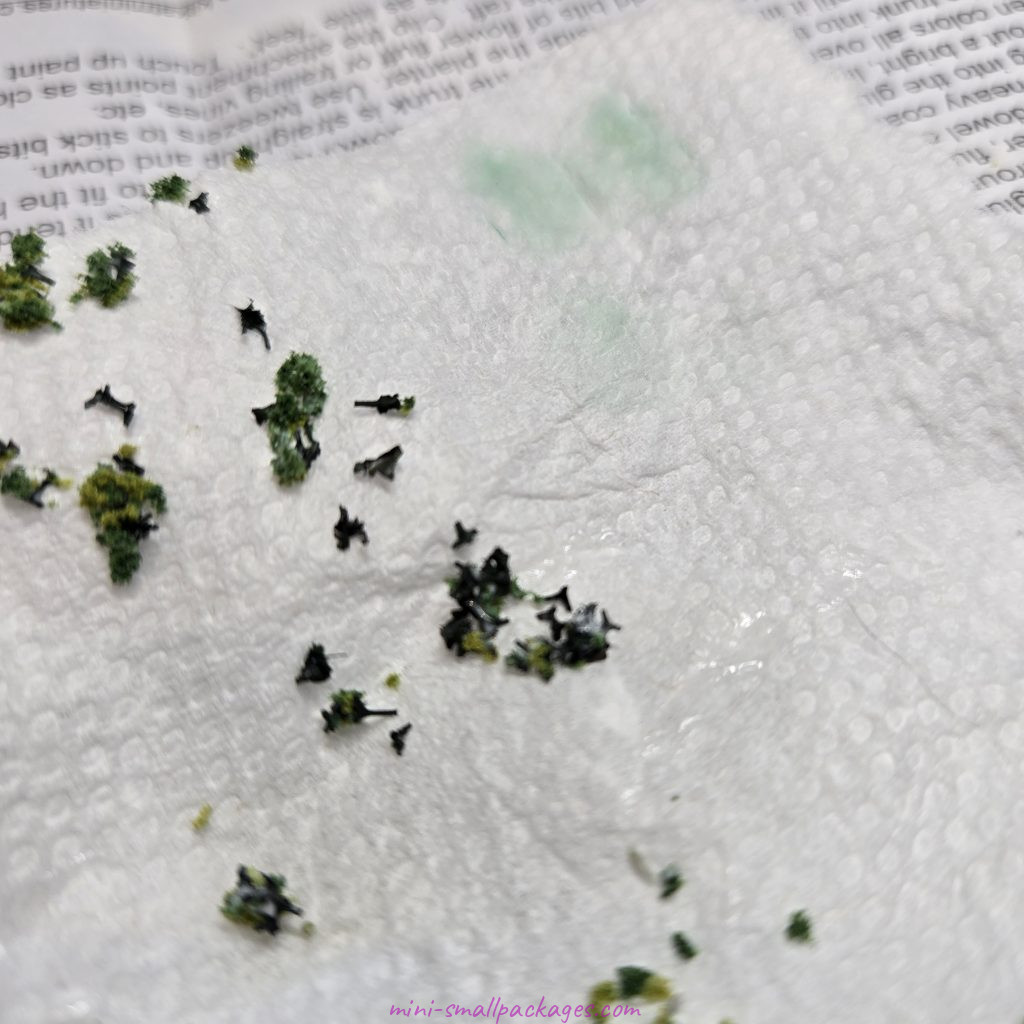
Thankfully glue is forgiving when it is still wet, so I wiped it all off and started with something finer.
Lastly, I added the dolls on the benches and then glued them in place. It is all coming together now.

Without the light it would be most difficult to see inside since there is only two openings.

Happy miniaturing!
Preble
Comments are welcome.