On Pam Junk-Knapp’s group SmallerAndSmallerAdventures, she challenged us to make a ME themed house. I had to do the house so that I could participate in a swap.
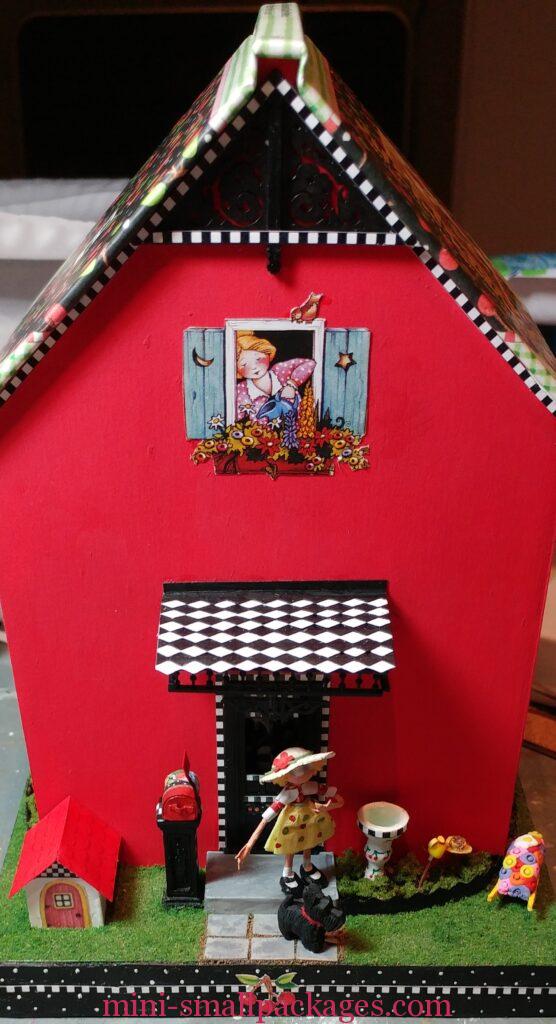
The doll by Susie Newell, doghouse and dog by Kimberly, birdbath by Fay Zerbolio, red mailbox on black pedestal and the teapot and teacup bird feeder was made by Tammy Witthaus and the wheelbarrow by Merri Allen.


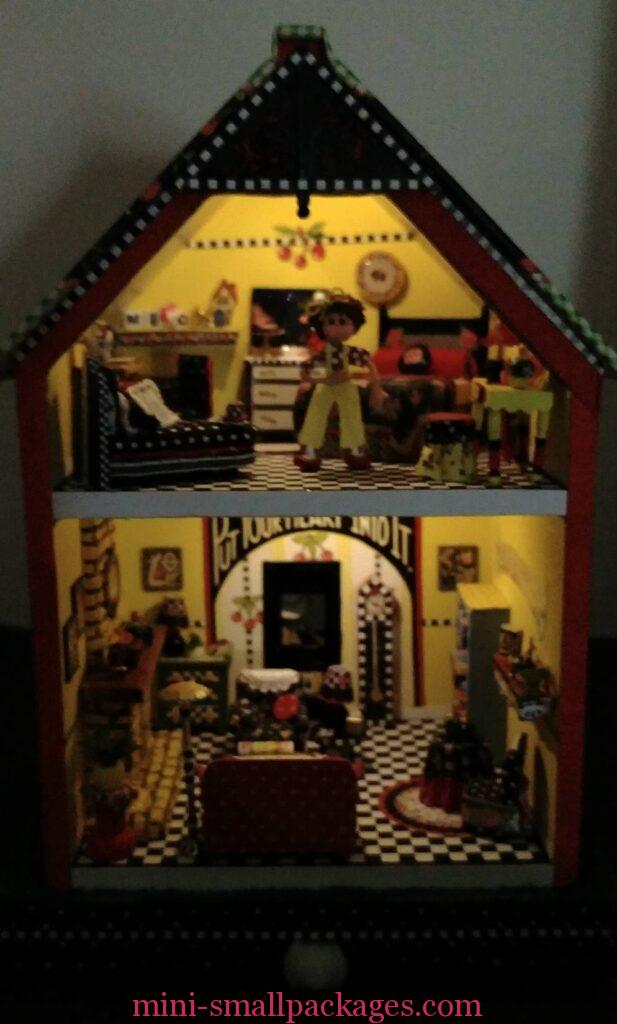
Let’s go inside and see what is here


ME Book House – how I made one
The house I decided that I wanted to do was using a small ME book. I was so confident that I was going to do so, that I looked on ebay and ordered just about the first one I came to. (Note to self: check all listings for the best deal.) When this wee book came in the mail I headed in my studio and started planning the size of it.
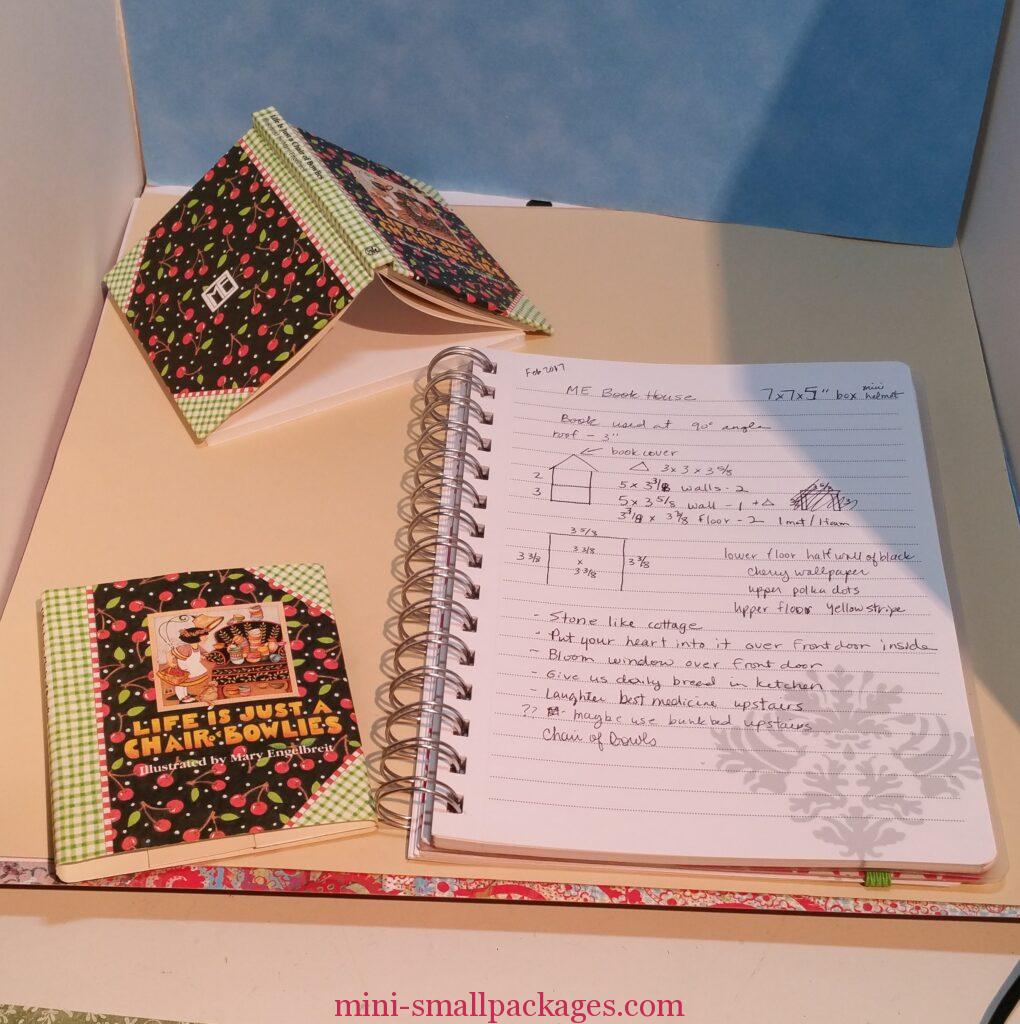
I had seen several houses made using this book but none that were two story. I figured I was going to need the two floors so I thought about what cover/case I might put this in and how big it could be to fit the book.
Later when I realized how many swaps I had, I started considering whether the two floors would be big enough. Since I hadn’t bought a cover yet I started thinking of other containers I did have. This was because I was running behind and the deadline was fast approaching. I really didn’t like any of the other options I had, so I decided to go with my first plan with the book cover roof in mini helmet size case. I’ve ordered the case on Amazon. I had used one for another project so I used it as a guide for measurements.

After deciding how big a house to make, I got busy really working with the project. First I needed to remove the pages from the book. Rather than just cutting it out or tearing it, I tried gently to separate the inside cover page from the first blank page. This worked fine with only a little bit messing the pages at the separation. In the above pic, the separation has been started at the top. I was unsure at this point if I was going to somehow use the excess flap, or would I scan it to make smaller print wallpaper.
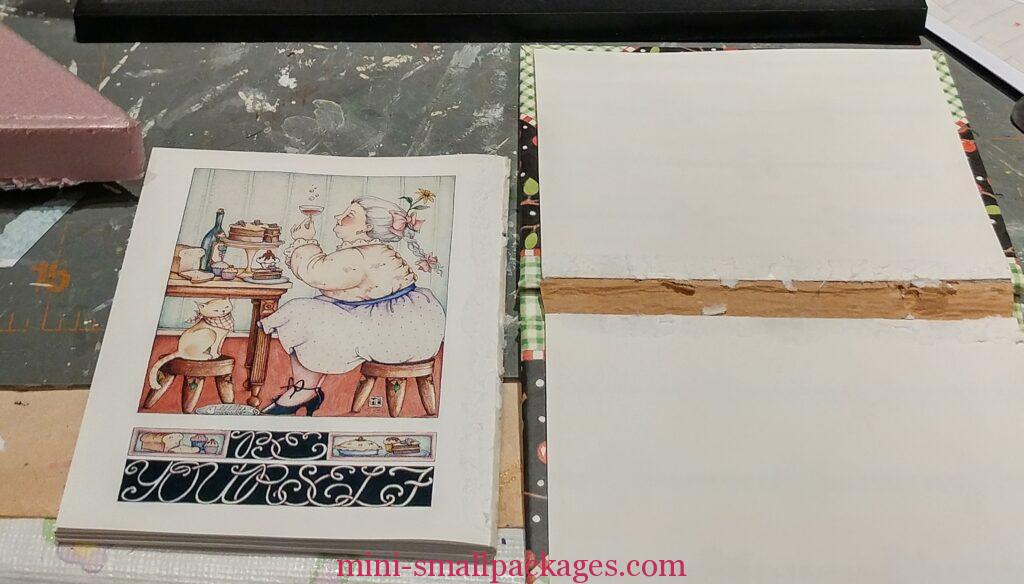
Here is the pages separate from the book. Note the end papers are folded back in this pic. There is still a connection (brown area) between front and back that helps the spine be square. I’m unsure if I want to keep that or not.

I’ve cut the top of the first wall of the house. It will be the front of the house. I am using the pink foam to determine how much space I have. The case is 5x5x7 inches. I want to use as much of the 7 inches as possible and need to know if the base can be this thicker foam or not.
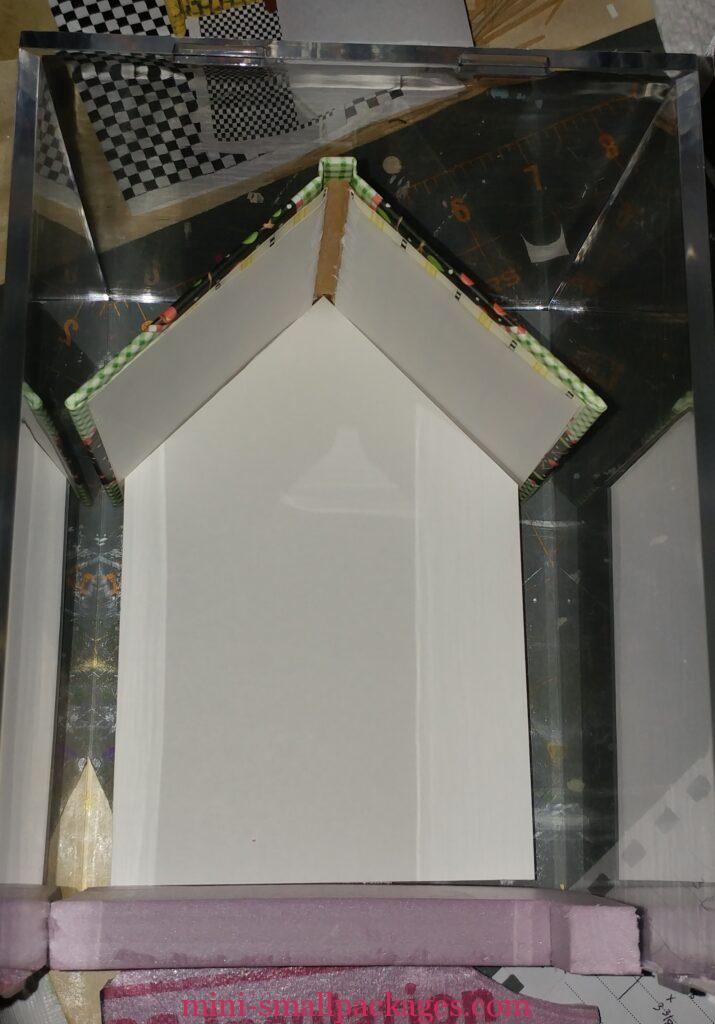
Now I have cut the house front to the height I want.
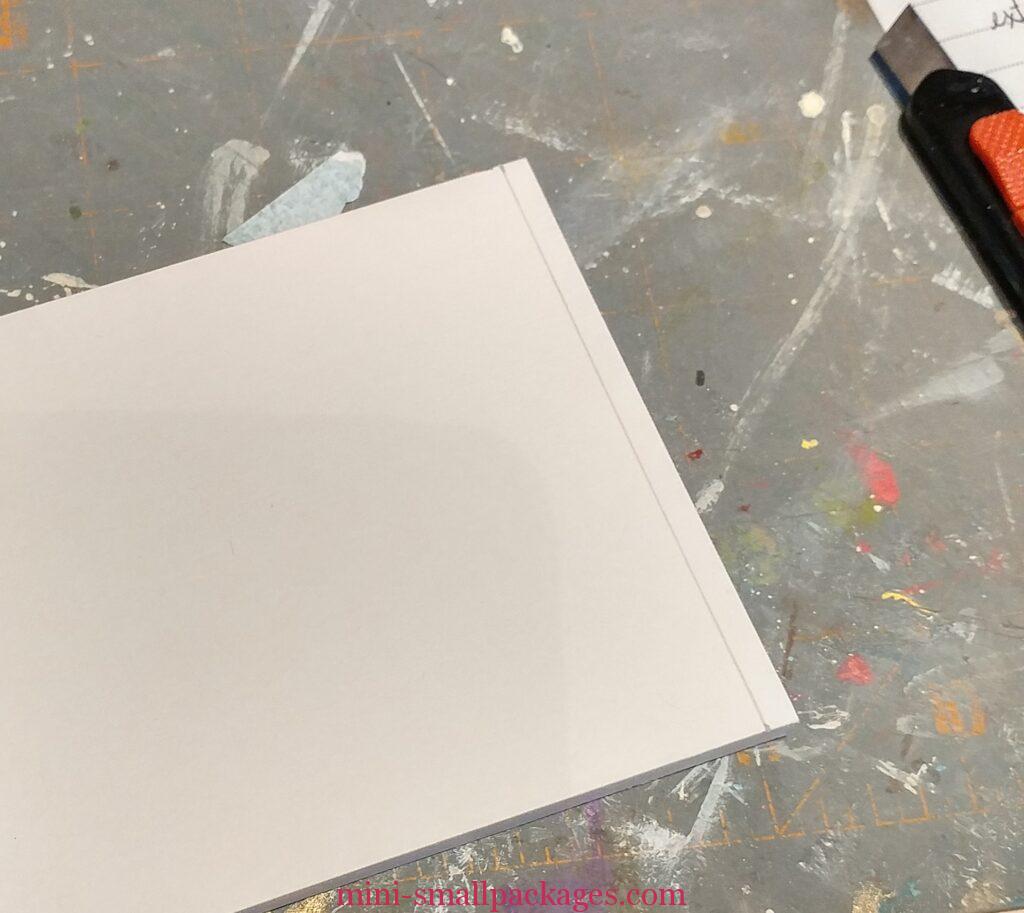
Next was the walls. I prefer that my walls fit to the roof, so this means I have to make an angled edge cut. This pencil line is the cut that will be to the back. When cutting I attempted to not cut into the paper on the other side, just cut away the foam and top layer of paper.

I’ve cut my walls and two floors and now I am playing with layout. I want to know if I can fit it all in. Also during this test, I found how low the upper floor could be (top of the fireplace chimney).

I also check my Swaps Mall if there was anything I could use. I think I have decided to use this round table and chair instead of the nicer wood one that was part of this swap. The person who gave us that set, also gave us a nice kit for a hutch. I would like the hutch to go with the table and I am not in the mood to make the hutch so I will save them for another project.

I went looking in my stash for a door and found both a door and frame. Plus the gable trim pieces. I liked them so decided they would fit my house. I also got to thinking on whether the walls would be enough support for the roof, so I cut this triangle support. The foam core board was used to determine width of this and the top section is sized based on the gable trim (shown to the left).
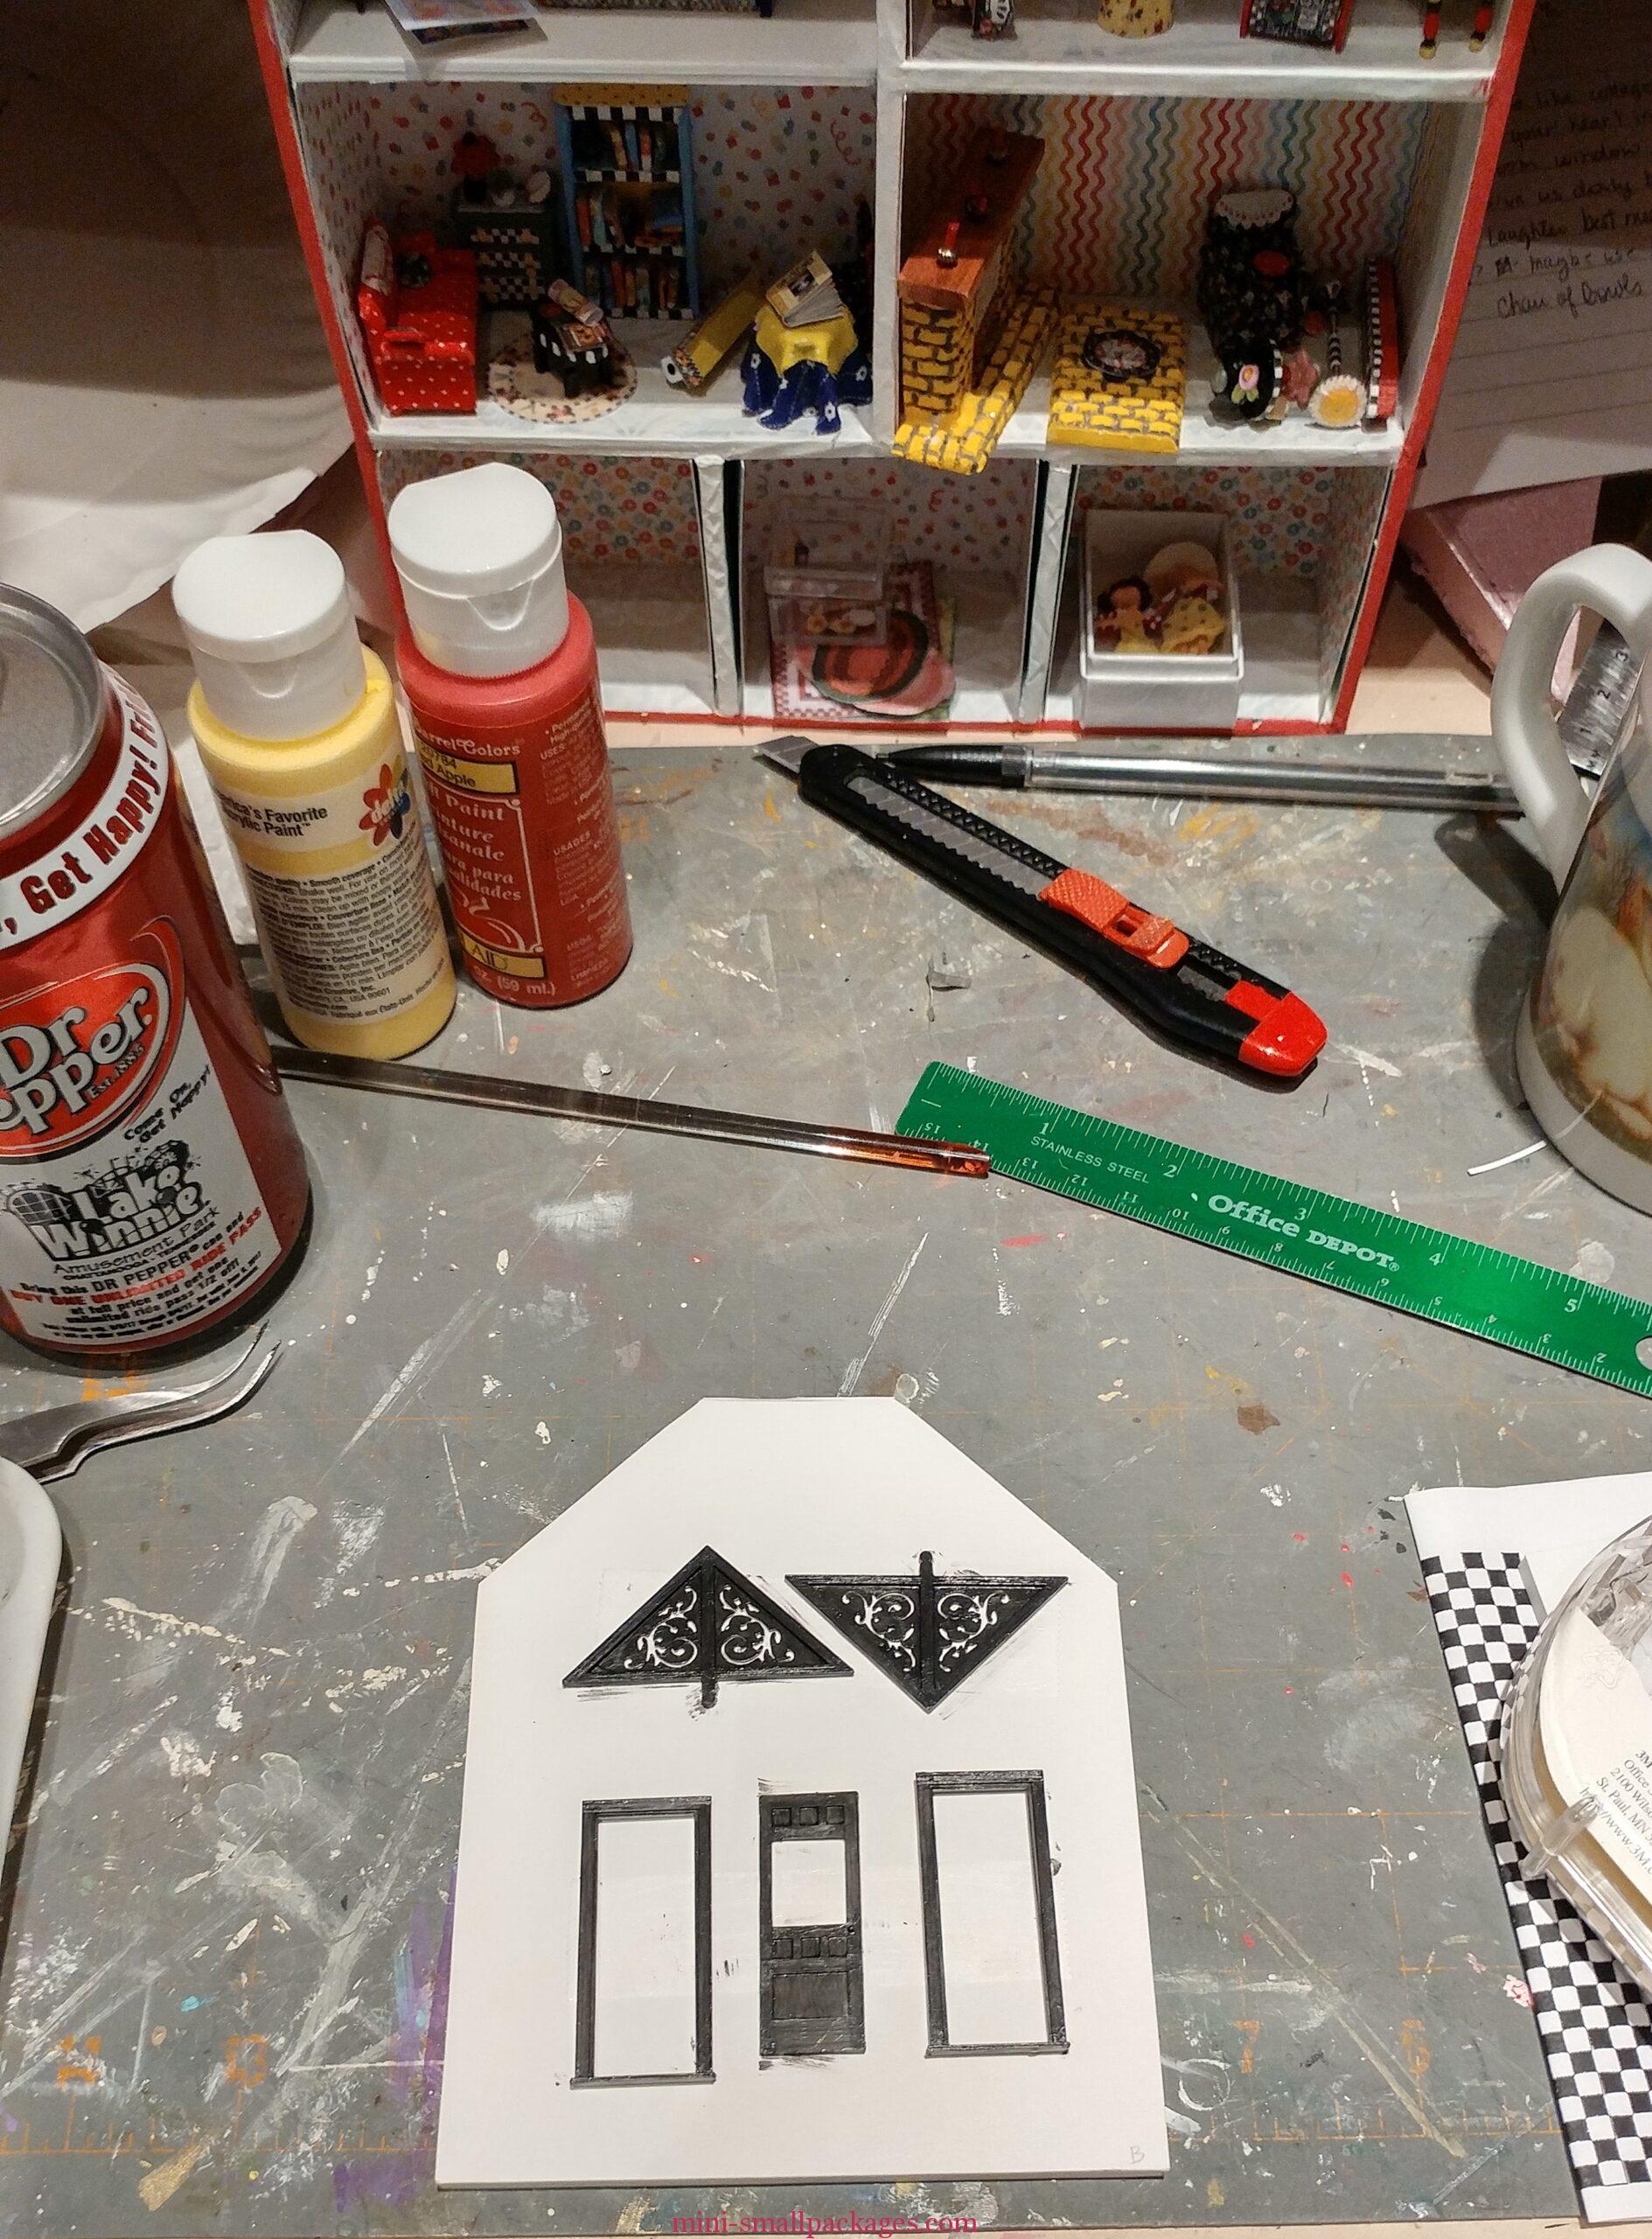
My work desk looks almost clean here relative to how it looks later. The shelves in the back was one of the other containers I had considered. It would have required painting and other wallpaper. But it is very useful here on my desk to display the items to go in to the project. I may just keep it there. It sits nicely under the bed tray I have on this table. On the white piece is the plastic trim pieces. I am going to use one door frame on the outside and the other on the inside. Then the gable trim will be on front and back. They are adhered to this board using double stick temporary tape. I started with acrylic paint and a brush. Then I tried the black paint pen that I loved using on the dresser swaps. (Note to self: buy more paint pens in basic colors.) Yes, it worked beautifully on the plastic trim as well. Although it was a touch fiddly getting the corners covered. A tiny paint brush would have helped if I had really needed it.
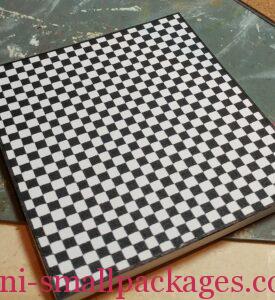
Both floors are same black and white check paper. I found this in my stash and applied to the floor with tacky glue I spread with a brush. Then after applying the paper I smoothed it out with the edge of the book to remove air bubbles. (The book was handy.) Once dry I trimmed away the extra paper.
Since I didn’t do a terrific job of aligning the edges of the paper to the floor, I decided to add black to the edge of the floor. I did this with a roller ball pen. I hope it doesn’t turn color later.

Here’s the roof support piece after I had painted all the exterior walls red. (Inside will be yellow.) I choose to paint to avoid having to create wallpaper. (Designing stuff on the computer can be fun, but also can be time-consuming. So instead I went with what was readily available to me now.)
For this roof support I decided to add this checked trim to the underneath instead of deciding which color to paint it.
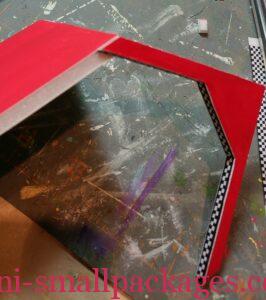
Here’s when I realized that I didn’t plan for the walls being in between the front wall and the roof support piece. Meaning my side wall was too wide. Fortunately that was an easy fix. I trimmed the walls to the right width and then added the cut out for the roof support to fit flush into the wall.
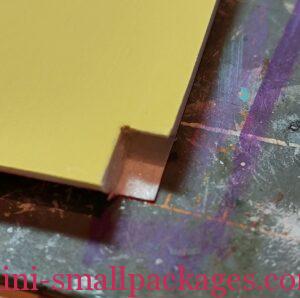
Not sure how well it shows in this pic, but the cut isn’t square but angled back to the other paper layer. (Later was unsure that this was really necessary.)
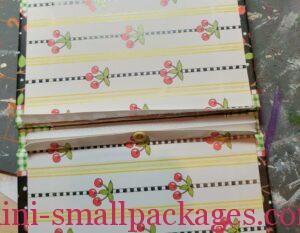
This shows the end papers I saved but have now trimmed to overlap. Also can see the foam core spacer added.
At this point, I am planning the lighting. I had thought of it before which is why I haven’t glued the walls together yet. I am going to use two LED chip lights in warm white. (Not sure the warm white was the right choice.) I ordered mine from Evan Designs.
The top one will go in the book cover roof. I finally cut into the flaps (end papers). I added a strip of foam core so this would be leaving the square spine intact as well. I am not sure how the yellow grommet is going to work, but the plan is to run it through the grommet and behind the foam. Then it will run along the top of the roof support and down the back (exposed foam) edge of the side wall.
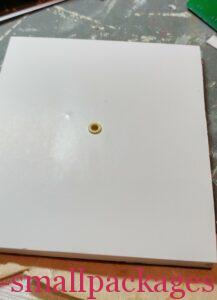
This is the light hole for the lower floor. I poked a hole in the foam core of top floor here in the middle and also tunnel (see hole in lower right hand corner) so the wires come out the corner and will run down same back (exposed) edge of the side wall.

After the LED’s arrived, time to add them to the project.
For the first floor’s ceiling light, I had to get it in the tunnel. The LED wires were very flimsy and also there were two of them, so I used another wire to pull them through. (I might could have used a small straw here if it would tunnel into the foam core.) I used the heavier wire going in and used my tweezers to pull up in the hole. Oh and I found that holding the board up to the light (on my desk) helped me to insert in the right direction of my hole. Once the heavier wire was pulled up, I could then twist the two LED wires with the heavier wire so that I could pull the LED wires back thorough. I did have them go through the yellow grommet first. Once through the right direction, I removed the heavier wire.
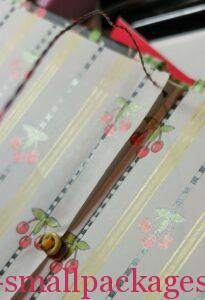
The top ceiling light, I pull through the yellow grommet, then the paper, then the foam core board and then along the spine and the reverse at the end where the roof support will be.

At this point the right side flap of the book cover has been glued in place under the left side.
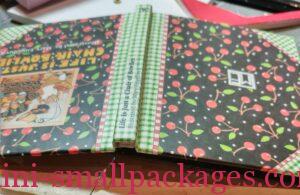
Note the wire is coming out the top of the book which I had decided would be the back of the house.
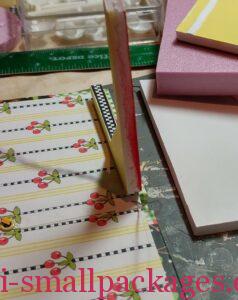
Here the roof support glued to the left side of the book where the wire will not go. Not sure how well can see it, but the foam core has an indention for the wire on the side that the wire will run.

The roof support is glued in place and the wire is sticking out on the right side.
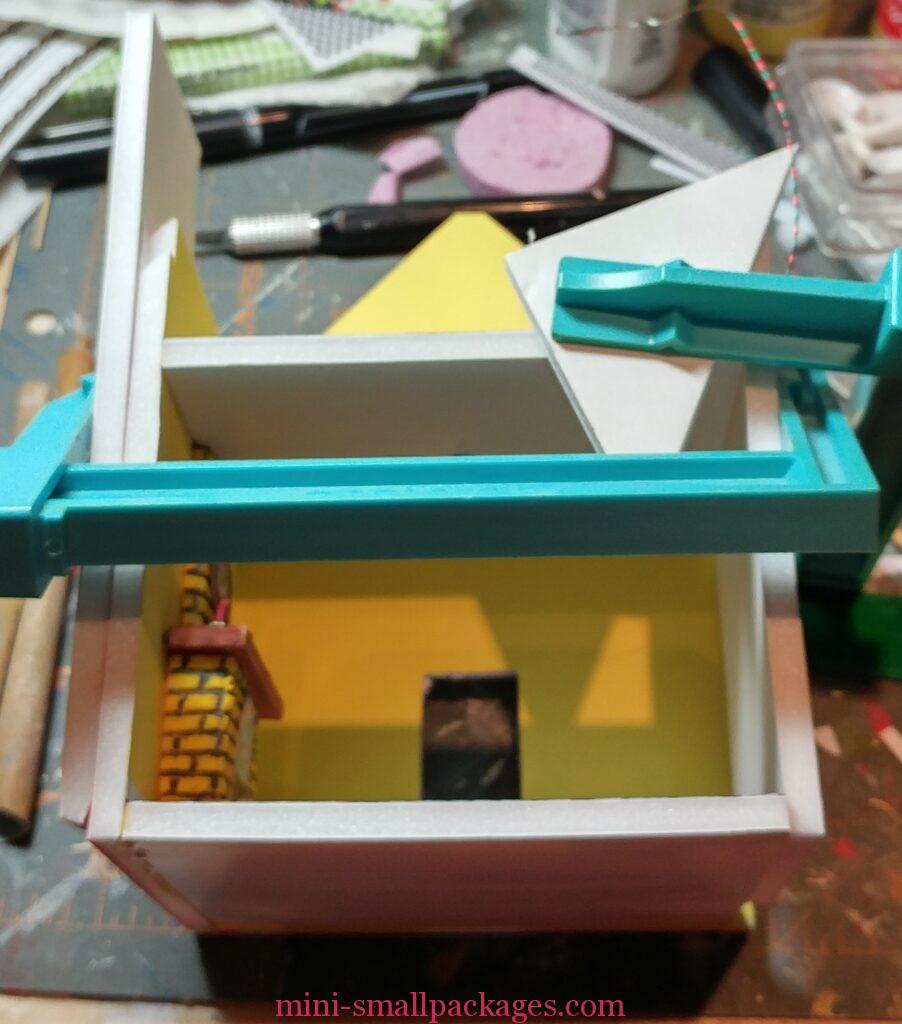
Here I am gluing the ceiling/floor in place. I determined the floor location based on the fireplace chimney. Note that to clamp this, I am using extra pieces between the clamp and the walls. This is to protect the walls from indents if I clamp it too hard.
My next step was premature. I had waited to glue the floor, the second wall and book in place until the LED’s arrived. But I should have waited longer, because I wasn’t finished with the interior decoration. It would have been fine with just the ceiling/floor and not the side wall or the book. So I still need to do some planning ahead when wiring and building.

To make sure that the book glued to the front wall, I used my large metal magnetic gluing jig. This is a larger one that my hubby got for me years ago. It came with the magnets and its about 10×10 inches or so. I use it mostly when gluing buildings since I mostly work in 1:48 scale. The house wall has a piece of foam core board under it so the roof is flush against the magnets.
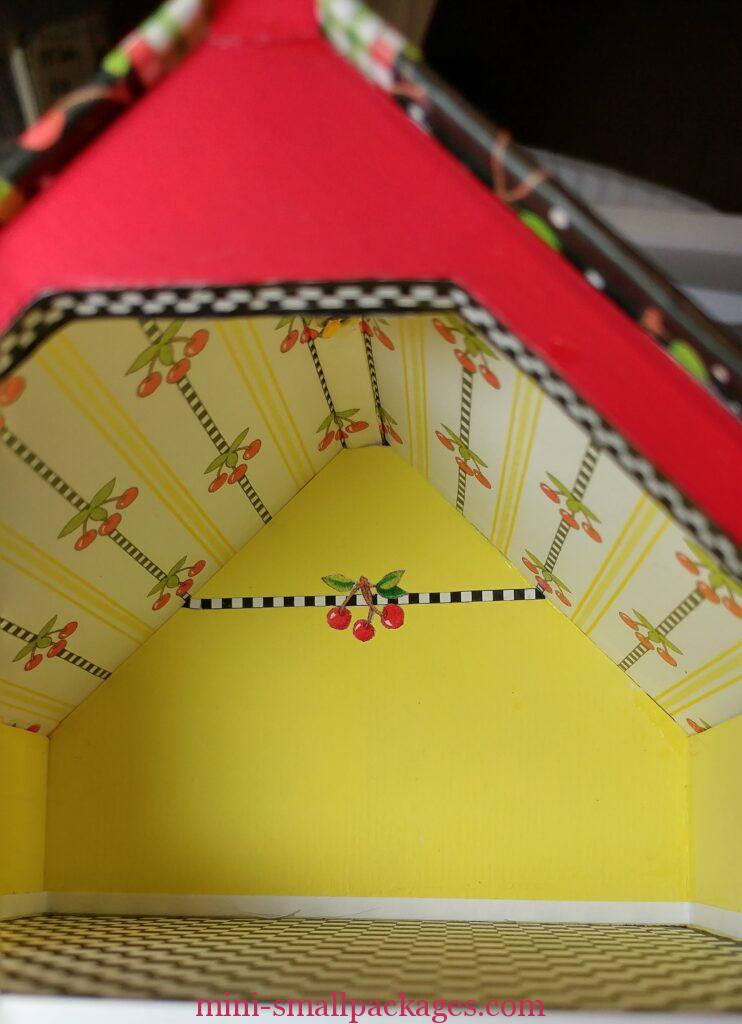
It isn’t obvious in this pic, but I added a piece of thin card to the square caused by the spine. Then I painted it red.
Here is some of that interior decoration I did. I cut this from the pages of the book I am using as the roof. I also added the white baseboard. I use quilling paper for baseboard for 1:48. It is really easy to use. I bought a bunch last year, probably enough to last my lifetime.

I also had added the white corner molding, white baseboard, and trimmed decoration to the bottom floor. The side wall edges are still exposed here. But I have added the thin card to the floor edges to cover the foam core.
The other book houses I had seen used the ‘Put Your Heart Into It’ illustration on the outside. But I decided I would rather have it inside. Because of my rush to glue the 2nd side wall, floor and roof in place, it was difficult to get it in the right spot. I finally elected to accept that it was off center and just live with it. At first I wasn’t sure what to do in the area below the arch. I was looking through the book for ideas and came across the scraps from the inside the cover pages. I used the piece I had cut away as a template to then cut the striped paper to fit in the archway. The door opening then was also cut.
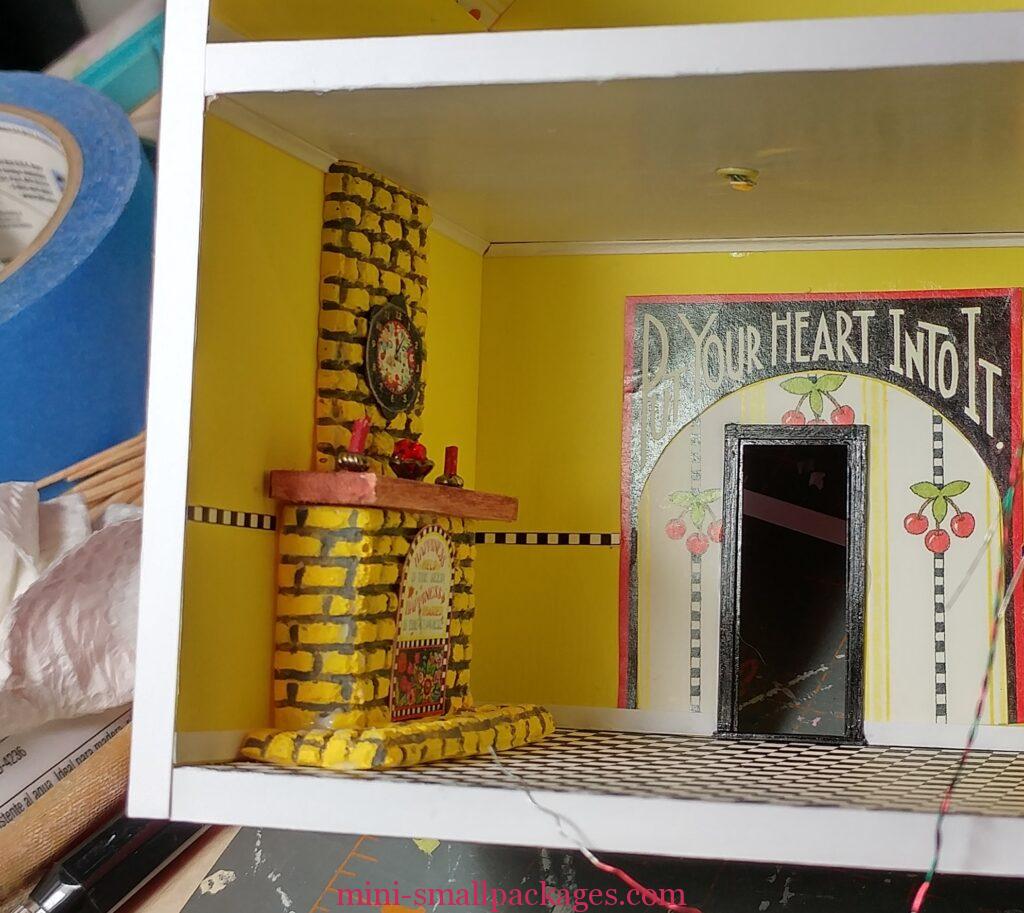
I eyeballed a good spot about the right height on the left of the fireplace to start adding the black/white check trim. I then used a cut piece of paper as my guide for the rest of the room.
I had decided to use a door and frame, with an extra frame on the inside. The inside was great with the arch but that left the outside too bland. I found some various prints in the pages from the book and used them best I could.

If you look real closely, you can see the black/white check I used in the door frame as well. This was to cover the gap I had between the two frames. Fay Zerbolio made that super cute clock. The welcome rug was from Pam Junk. I cut the fringe part to give it depth. (Really can’t see all that in the house later, but I like it and know it is there.)
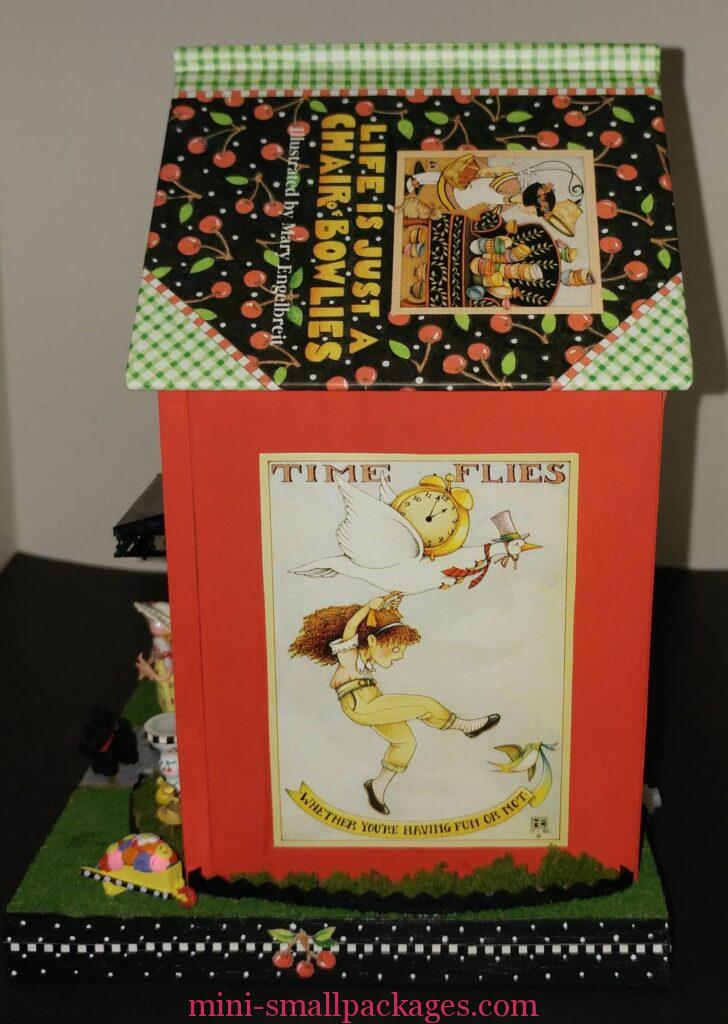
I added some additional ME illustrations from the book to the sides of the house. It was funny to be cutting up a book. I hated to do so, but I kept telling myself I was being silly as that is exactly what I bought the book for.
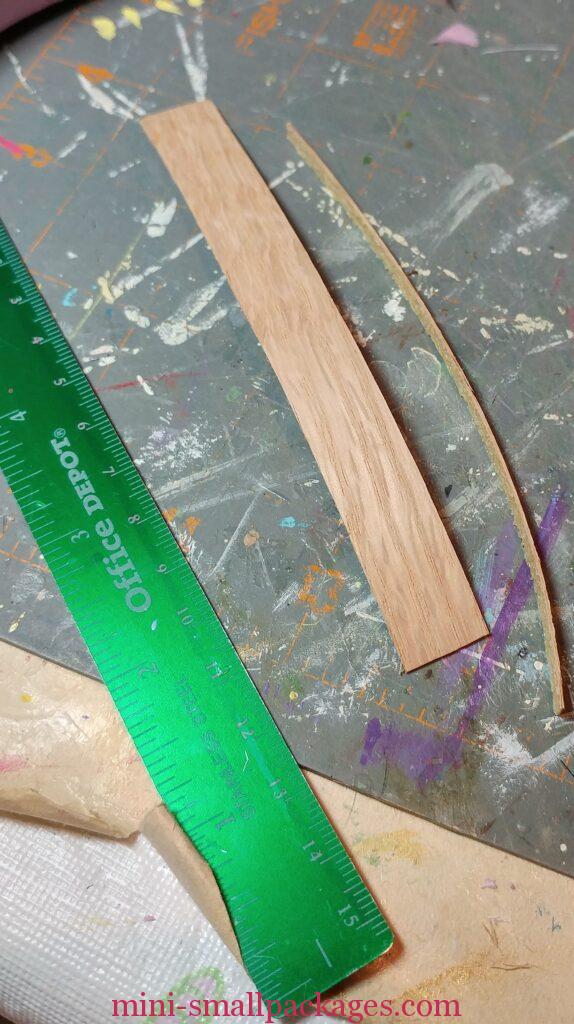
When I use a foam base – pink foam or foamcore, I cover up the edges with something. In this project I used this wood veneer trim. It has glue on the back of it that works using heat (like from an iron). I trim it to the right width first. It is far easier to cut when it can be flat, than on the base.
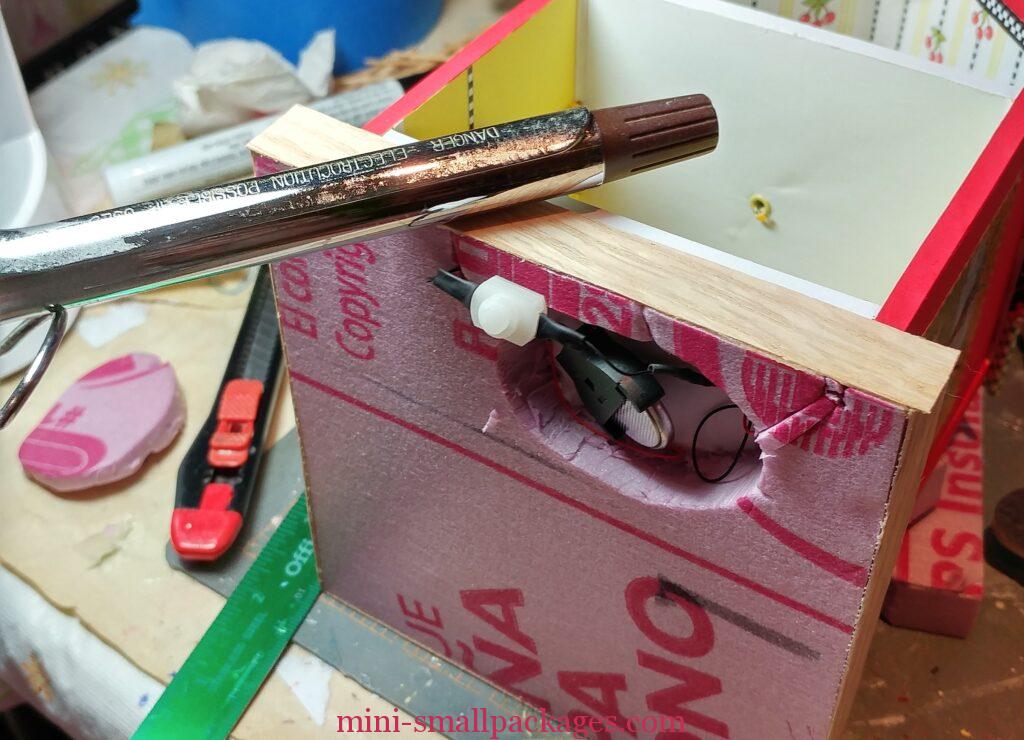
I said to adhere this wood trim I needed heat. Well my clothes iron works, but it is so big. Plus, the foam can be melted so I have to be super careful with the big iron. I have also tried a straighter, but found this small curling iron works fine. So yes, that is a curling iron in the pic.

Wood sure looks nice. I cut the corner using scissors. I could leave it the plain wood, but already knew I was going to paint. This is after all a ME inspired project so it needs more…
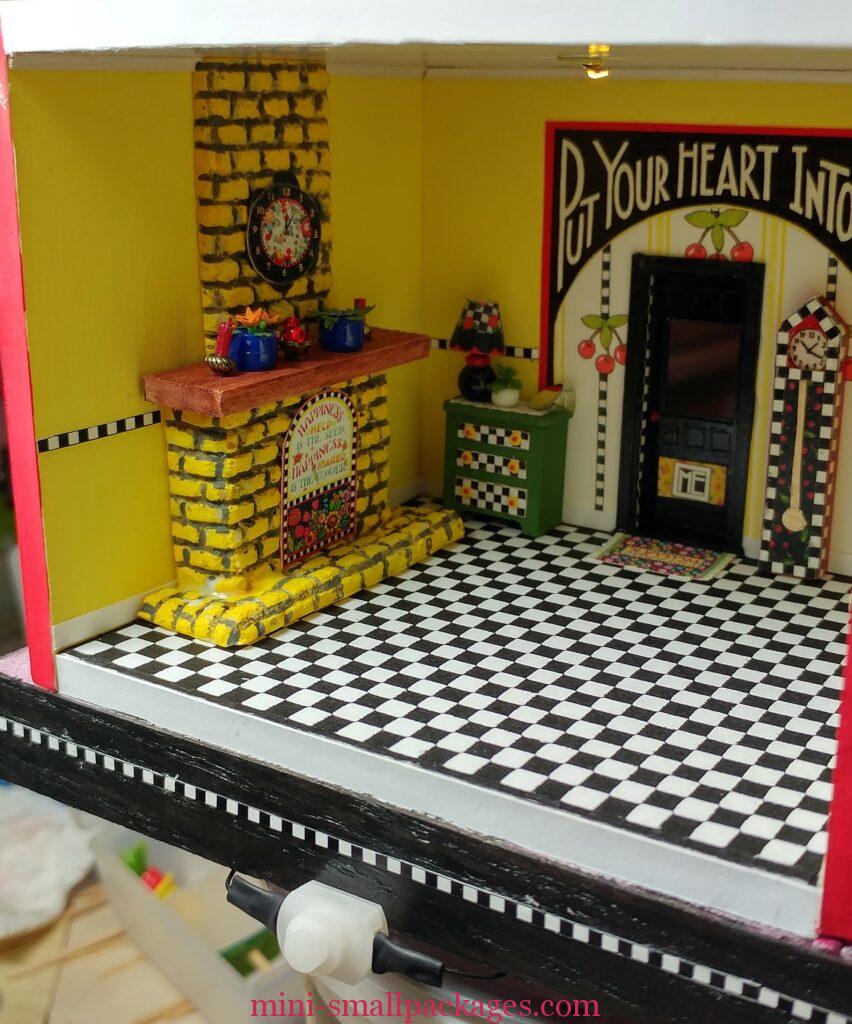
I also knew I was going to add something extra detail to the wood veneer. I ended up using the book pages again. I cut out the black and white check for several pages. Also the cherry decoration and the bowl of cherries at the bottom of the pages were cut out. Then I realized I couldn’t use them together on the same side. The spacing of the bowl versus cherries was different. I choose to not include a design with the checked line in the back because that is where the switch will be.
I am debating on what extra I might do. Again, I convince myself quite easily to not try and make something on the computer.

Meanwhile I switch back to decorating mode. I have decided that I would use the fabric provided by Pam Junk to do a table. I pulled out my table cover jig I had made and used when I did a swap of tables. (Jigs are great when doing multiples.) It was using paper not cloth so the jig didn’t work quite the same. But I was happy with my results.

Rug (paper printie) also from Pam Junk. Plant from Barb Striethorst.
Oh wait back to the wiring portion…

First thing I needed to do was add length to the top ceiling light wires so that they would be long enough to go under the pink foam. For my last wired project I had purchased a spool each of black and red wires. The wire jumper (I think that is what the extension is called) for the red, can be seen near the pink foam. The junctions are soldered together and I use a shrink tube to cover. Both red wires to the red on the battery holder side and the black and green get soldered to the black on the switch.
Most of that is under the trim that I added to hide the foam core of the side wall. I made sure my groove was deep enough to allow for the wires and shrink tube.
It is nice to have things on hand. I also found in my stash a push button switch wired up to the battery holder. I am pretty sure I bought it that way. I love using the 3v coin battery holder and switch with the LEDs.
I also love using this pink foam (it used to be blue and I have also seen it in light green). Color doesn’t matter, it is that is so easy to cut, lightweight, and sturdy.
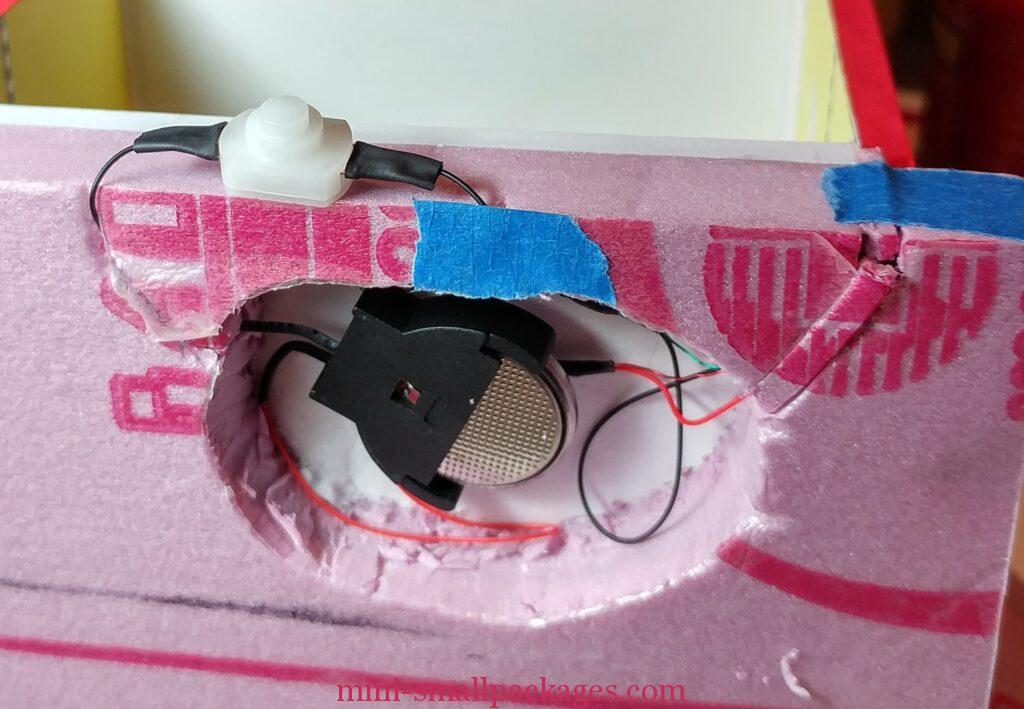
Next I tested how and where the push button was going to go. Having a few months ago put the sleigh bed village into a case and cut into the cover so the switch was on the side, I knew it was better that I just plan for the button to be completely on the outside and just cut holes for the wires to go back in. This was just easiest. It wasn’t that I couldn’t cut a hole for the button to be inset. It was that I wanted easy. The below looks way better than I did on the sleigh bed cover.

So here is the result of the plastic cover having been cut into just enough to allow the wires to go in and out with the button totally on the outside.
When I realized I should have left off the roof at least in arranging furniture and decorating the walls, I decided I need to go on with the placement of furniture. Having swaps to play with is a lot of fun, except in this case, it was too hard to get it all in unless I was gluing. I do glue once I decide where to place the items.
So here are some pics as I added the swaps…
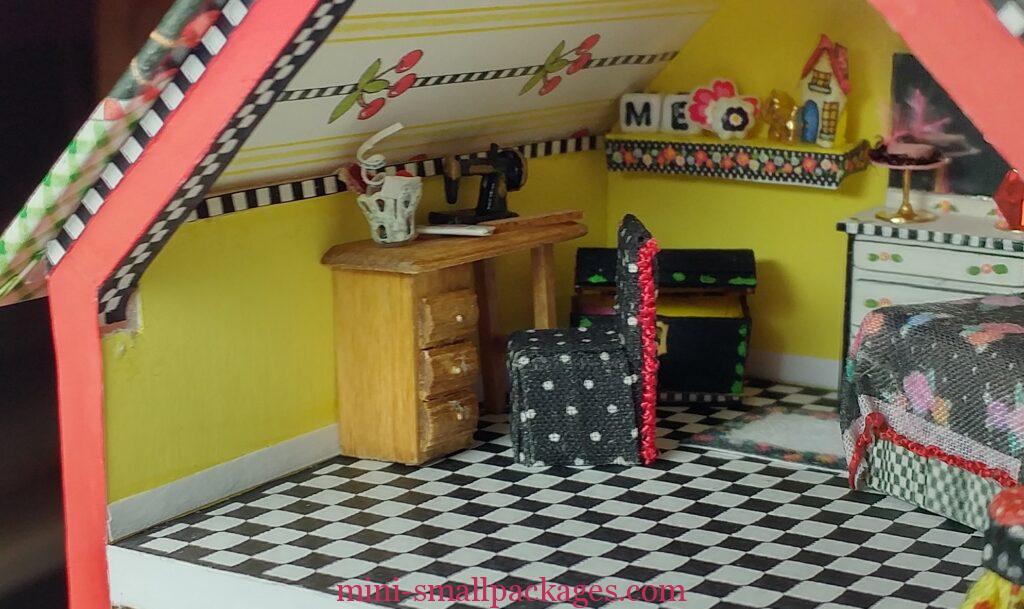
This sewing table and this chair was not part of the ME swap. They were in my Swaps Mall.
The chest (in the back corner) was made by Laurie Parker. The shelf above made by Cathy Wojewoda.
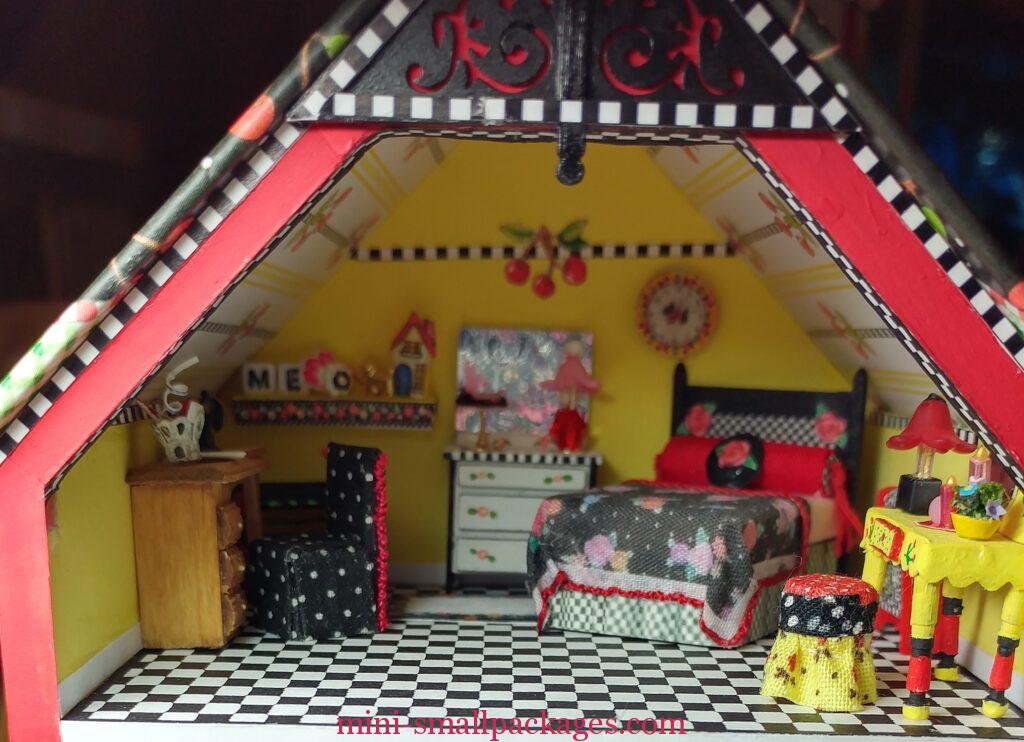
I didn’t want to cram everything in, but I still had lots of swaps and cozy rooms.
Dresser by Preble – this was my swap – how I made my dressers
Bed by Betty Turmon, clock over the bed by Michelle Moltzen, hat stand on dresser swap from another time, lamp by Julia Greenhalf and dressing table with matching stool by Kathy Grissom.
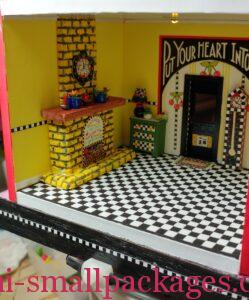
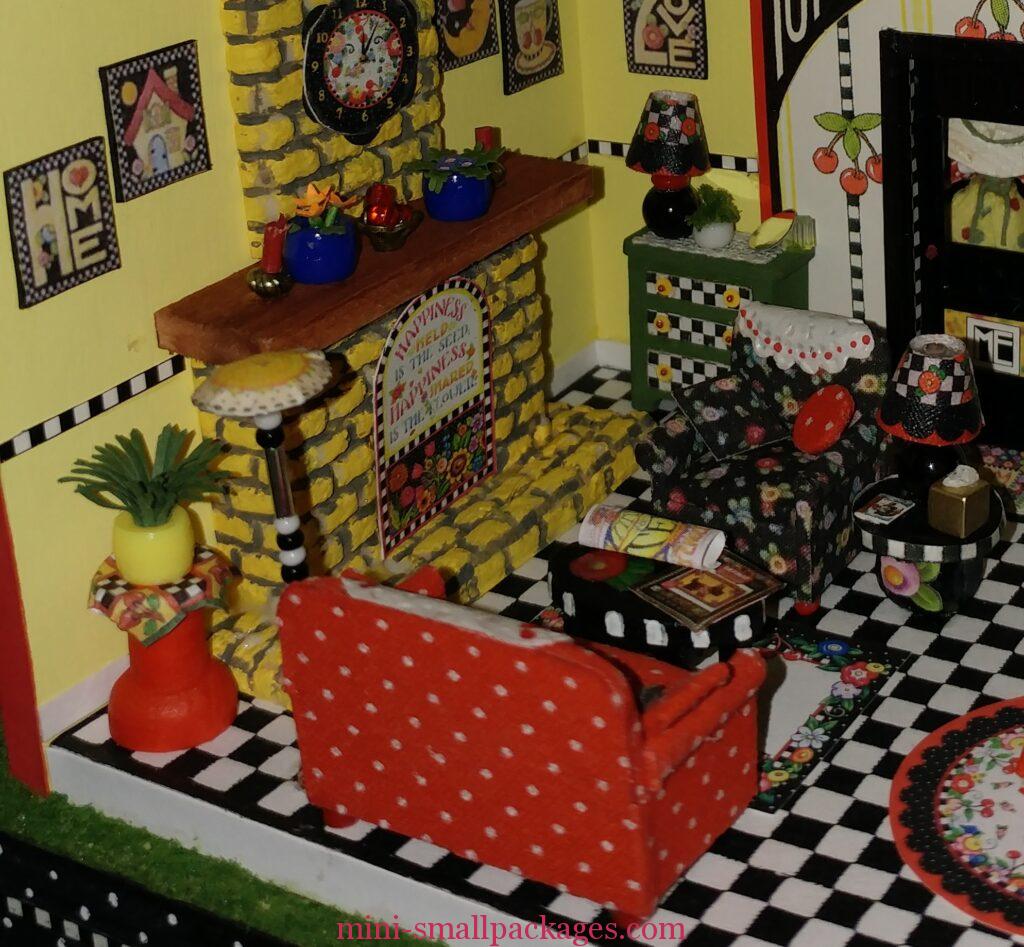
The fireplace and chimney were by Rose Furlong. The lamp on the green chest was a set by Leann Kirsch. I put the lamp it had on the dressing table (shown above). On the mantel are two of Barb Striethorst’s plants.
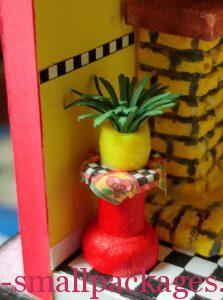
I added a tablecloth to this plant stand by Barb Striethortst.

The blue bookcase is by Fern Rouleu. The black parson’s chair with the round table is by Kristie Dubord. Shelf above the table is another one by Cathy Wojewoda.

The oval table is by Alicia Ramirez and it is on top of a printie rug from Pam Junk. The flowered chair is made by Pam Junk. The low table beside the chair is by Barbara Kenyeres. The red sofa was made by our swapmeister, Mary E Johnson. The tall floor lamp (yellow shade) is by Michelle Moltzen.No sofa as once things go in it can be hard to get a good pic of them.
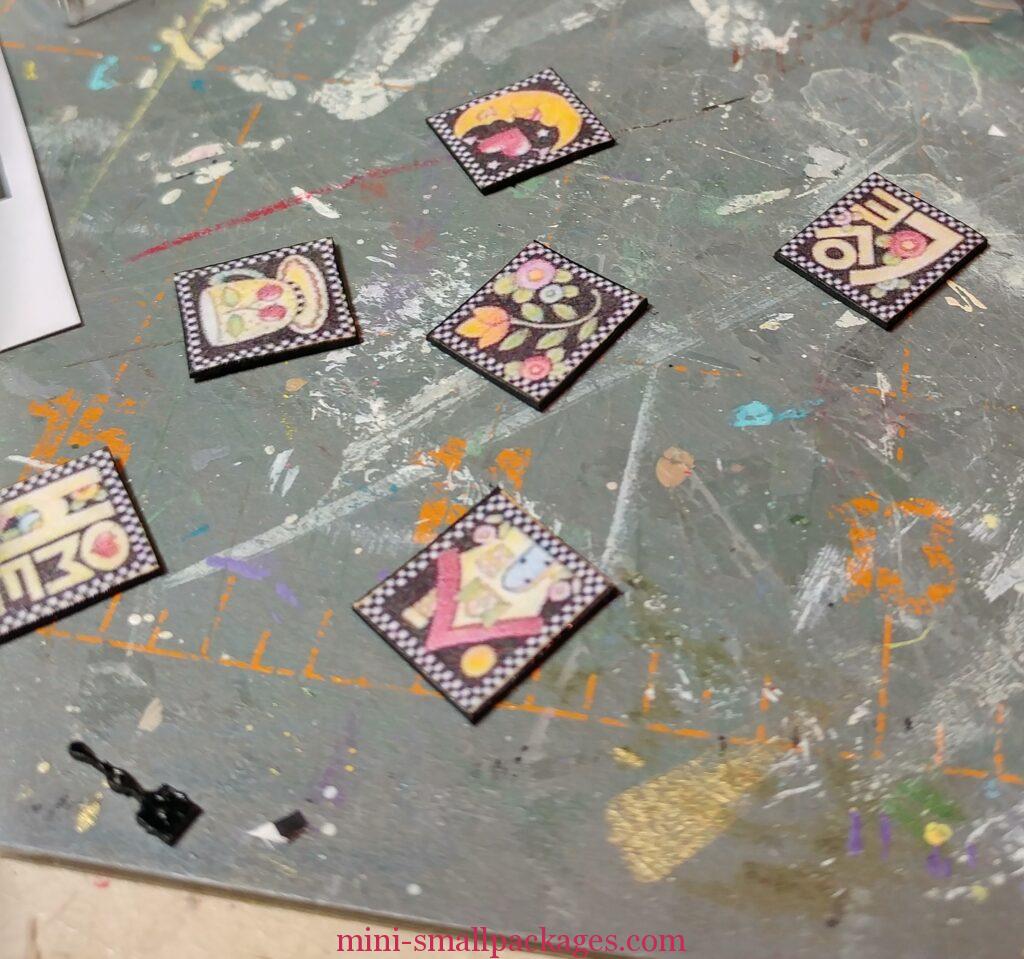
Kimberly gave us a printie with 6 different illustrations. I used these as wall art on the lower floor. These were all together on a small sheet. I glued them to cardboard (like cereal box or a paper pad backing) and then cut them out. I used the wonderful paint pen again to color the edges.
Also included in one of the swaps was this wood rug beater. I painted it black and added it to the dressing table as a brush.
Now that all the interior was done it was time to work on the outside.
Well oops my planning of the house placement relative to where it was on the base was not thought through. When the cover arrived, I tested the house inside it. I had not done this with the other case I had, only whether the top or would the bottom fit. I realized that I needed to allow for the roof overhang in the back.
I removed the wood trim from the back due to the wiring. I was thinking that I could just trim the front to allow for the overhang. But then I realized if I cut down the front, it would be misaligned and there would be a new gap. I had stopped myself before I had removed the trim in the front.
I realized my best bet was to separate the house from the base. Which I was able to do with a small metal spatula tool that is used with grout. Thankfully I hadn’t started landscaping yet.

I have glued it in place with the extra room in the back to allow for the roof overhang. I used these sand bags to weigh it down and let it dry overnight. Saved me having to hold it for a long time or making a custom clamp.

Inside I had used a illustration from the book to go over the door and then some other detail to go around and on the door. I also wanted this outside, but what do I have left to use.
I looked in my stash for something else and found this spool trim. It was already black so no painting required.
It starts out the long piece. I made the roof that long, but then when I went to another piece to cut sides, I realized I had cut the right width and that looked better. So I cut down the porch roof to fit the cut width.
The roof is just folded paper that I painted.
Then the trim was glued on and I touched up the edges that showed gray.
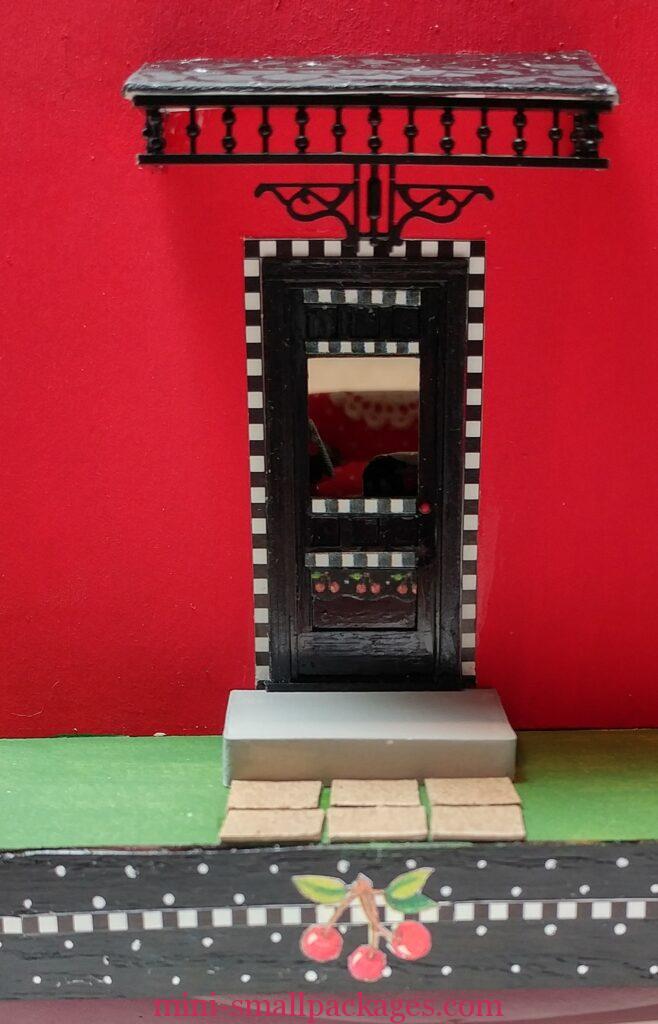
Next I was adding the pavers. I painted them both with gray and black paint muddled together. I then added in some of the fine brown ballast around them.

I painted green all the exposed pink foam around the house. Over that I used the fine ground foam for grass. The flower beds are made using a thin card cut with my pinking scissors (not the fabric kind). I filled in with fine brown ballast to represent mulch and some bushes/plants from the med. green foam clusters.
The base has the polka dots added. Those were done one at time with a tiny ball stylus.

Every time I do a project I learn new things. Sometimes I learn old things too because I forget to apply things I have learned. Sometimes it is that I am too cocky for my own good and others I am so excited about how it is going, that I don’t want to stop. It was so much fun to accept this challenge and I am so pleased with how it all turned out.
I thought I was finished…
I like to display my finished projects on the bar counter in my kitchen/living room. I can see it as I go about my day and should anyone visit they could see it too. As I walked past it, I kept thinking that the front was too plain. I finally figured out a change that I wanted to do. I still might need more embellishment – maybe some checks along the corners…

Leaving the roof I made in place, I simply added the shingles to it.
To make these shingles I cut strips from thin white card using some zigzag scissors (similar to pinking shears but not those). I then painted some of them black. I glued the strips together alternating colors and unlike in normal shingling process, I did not stagger (offset) the points. Instead, I tried to line them up. This gave a really nice checkerboard like affect but with shingles. I also added a piece of flashing – the flap that sticks up and is glued to the house as this is how it would be on a real house. I am very pleased with the result and have been able to move on to other projects.
Happy miniaturing!
Preble
If you enjoy my website, please consider making a small donation via PayPal.me/minismallpackages. Thank you!