A stacked boxes project
Inspiration
Years ago I saw a project done by Debby Barsaraba. It was a stack of boxes done as a sort of house, but not necessarily. I thought they were neat because the boxes were covered inside and out and not necessarily typical wallpaper or siding. I saw pictures of her club’s projects and I was really interested in the idea.
Several years later Debby wrote an article for NAME’s Miniature Gazette (issue Sept/Oct 2008) which was a Americana theme. The project there included basic instructions. I stored the idea away until I could bring it to fruition in my own way.
Meanwhile I got an idea to make a Mall in a dome. This was just a way to display all the swaps I have received. I have them in divided boxes but basically hidden from view much of the time. This Mall would be a temporary location for the swaps. Ideally.
Having them on display is a proven (at my house) way to get something used. My minis ‘speak’ to me and have at times done so from a display dome I have now. I am inspired by the minis I see, so having them on display might get them moved sooner rather than later.
Then along came the Mother Goose project I did. I tried using the boxes idea for that. But I was lazy and didn’t make actual boxes. I tried just making walls thinking that I could just glue those down to the base. It took more work to do that. Lesson learned for sure.
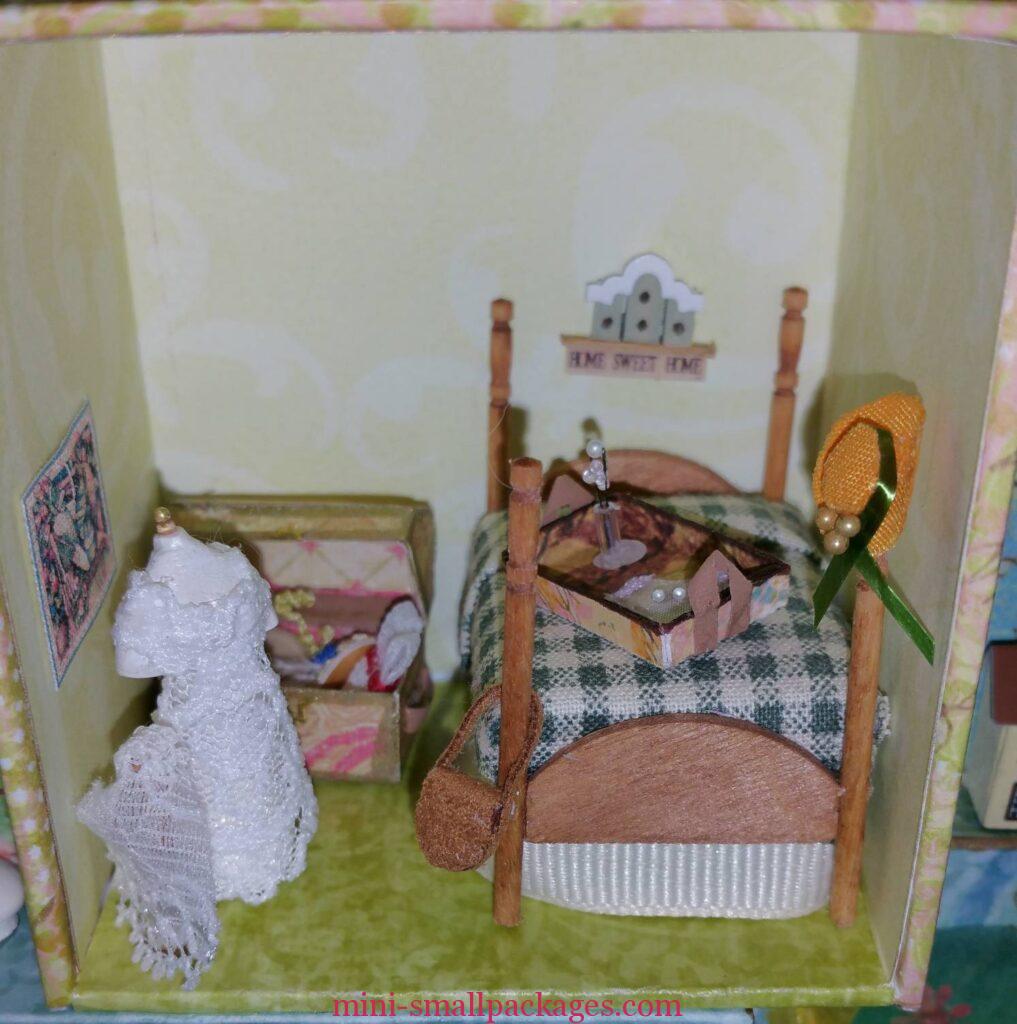
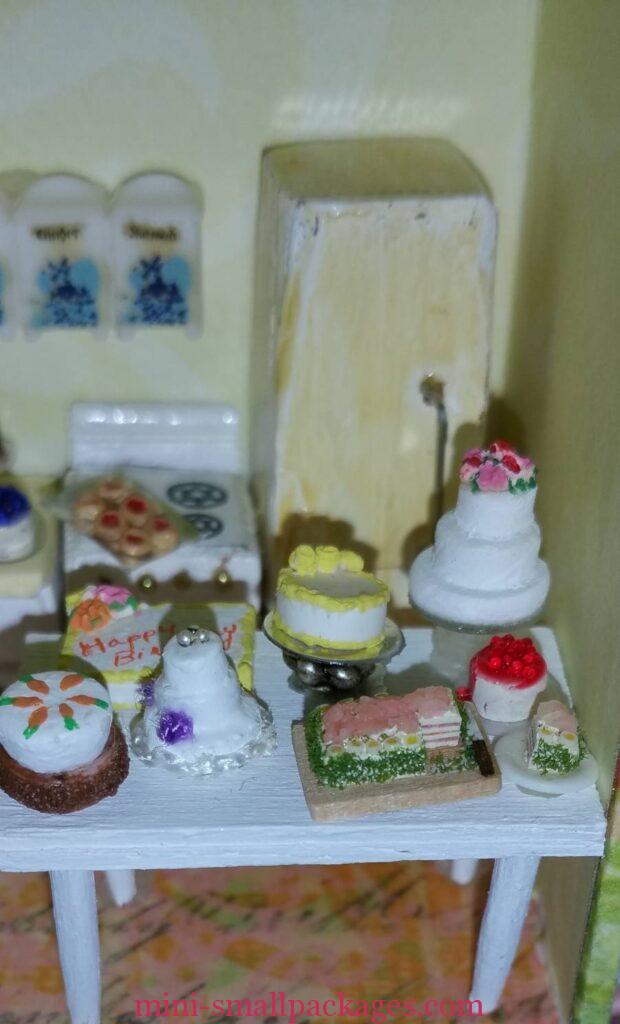
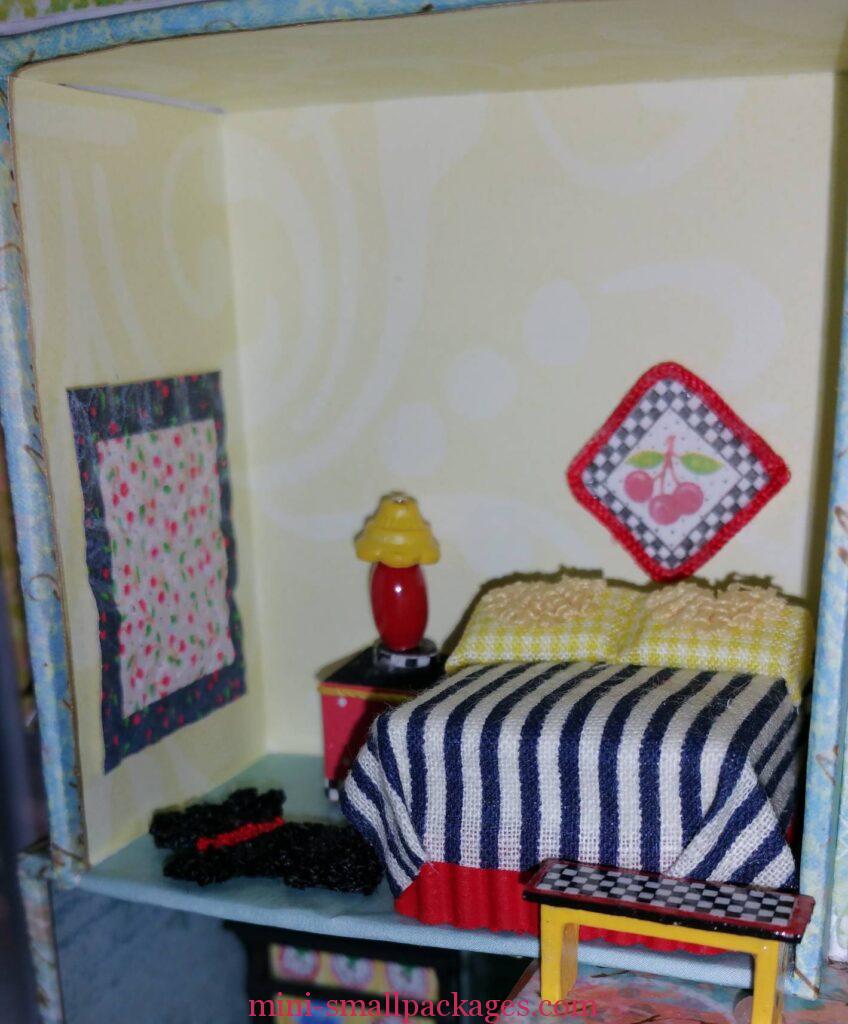
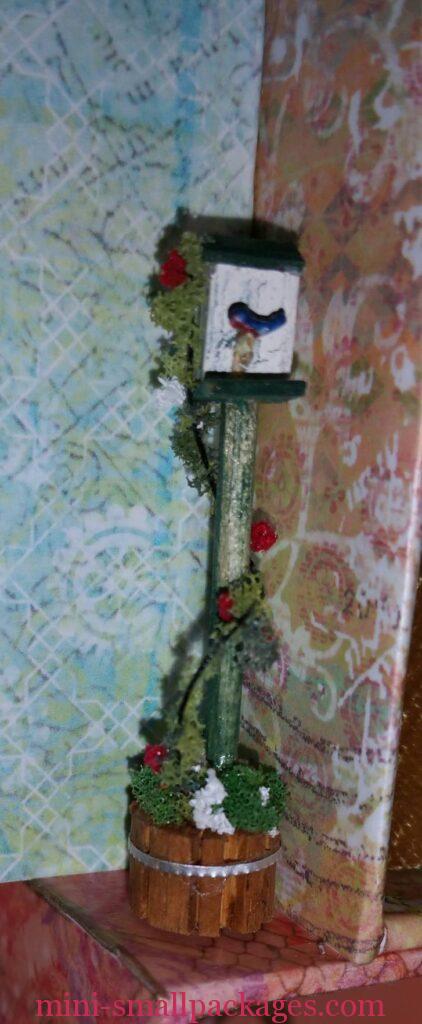
Want to see the rooms close up? Skip to this part of this page
How I made this
Building Boxes
Earlier this year I bought the cover that I needed for this project – a football case. So in March I started building my boxes.
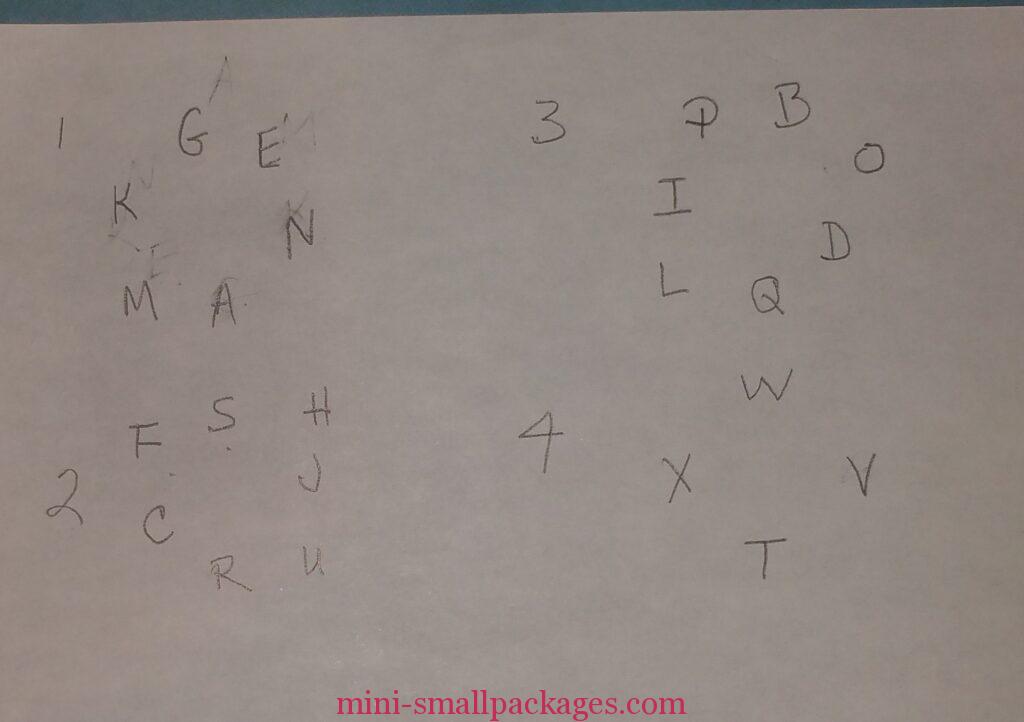
Here are some initial ideas I had for each layer

I was deciding – how they will layout, how many layers, how many boxes I might need.
I also needed to determine the height they had to be cut and whether I was going to include a floor between each layer. Ultimately I decided no on the floor layers and just use the boxes. It was the height of my container and the number of layers I had that determined the height of each layer which are all the same.
Using the details from Debby’s project in the Gazette I cut a bunch of boxes. Her sizes was my starting point, but I cut more than her list.
I wasn’t sure how many I might need so I made boxes and stacked them and repeated until I came up with a configuration I liked.
I used matt board for the boxes and my one base is of foam core board.
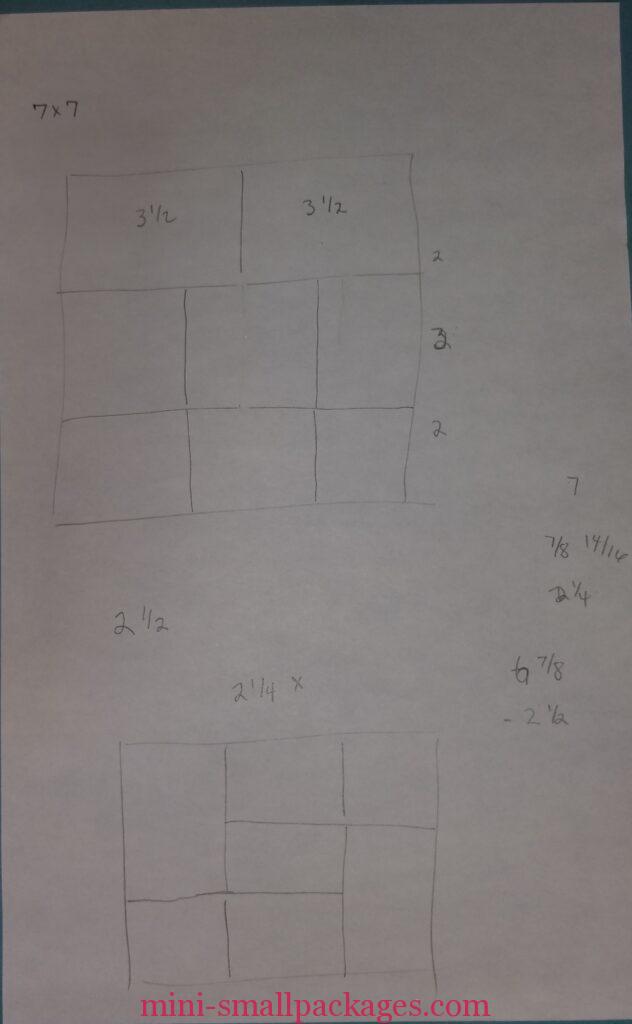
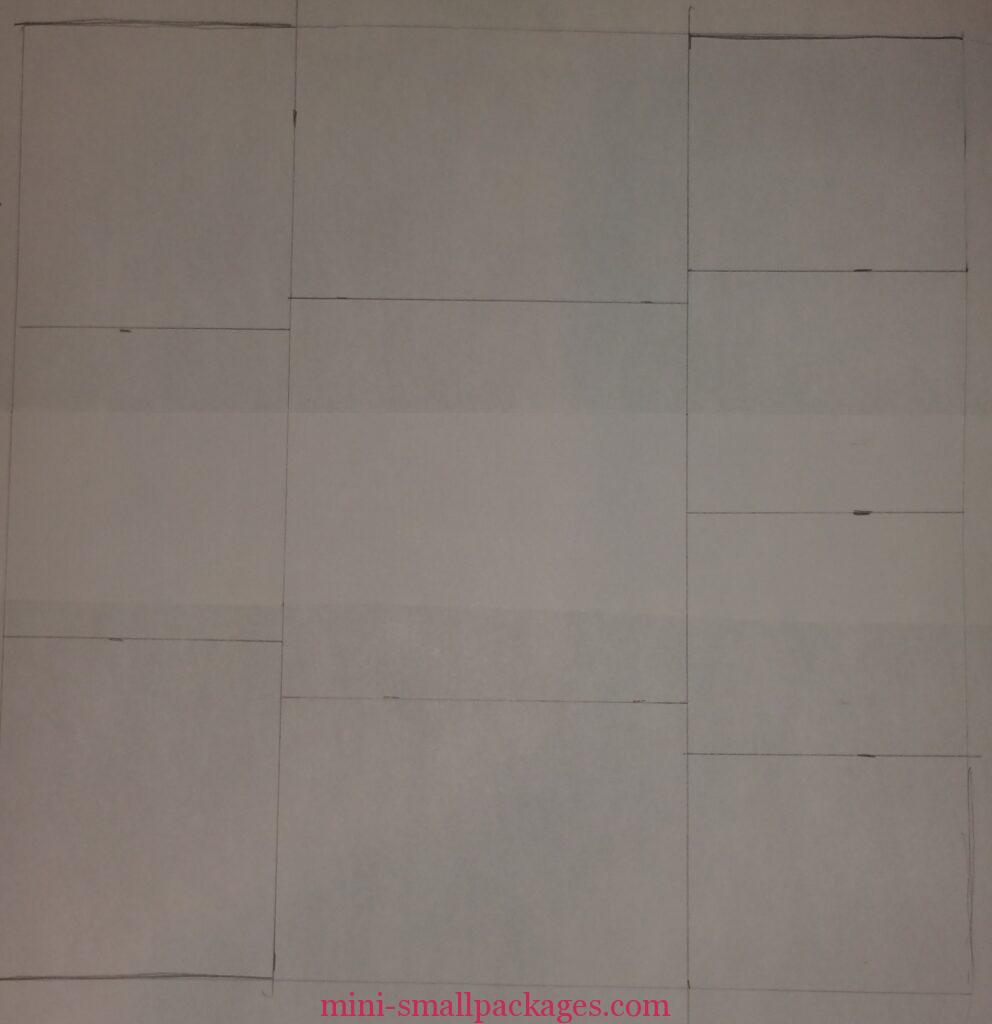
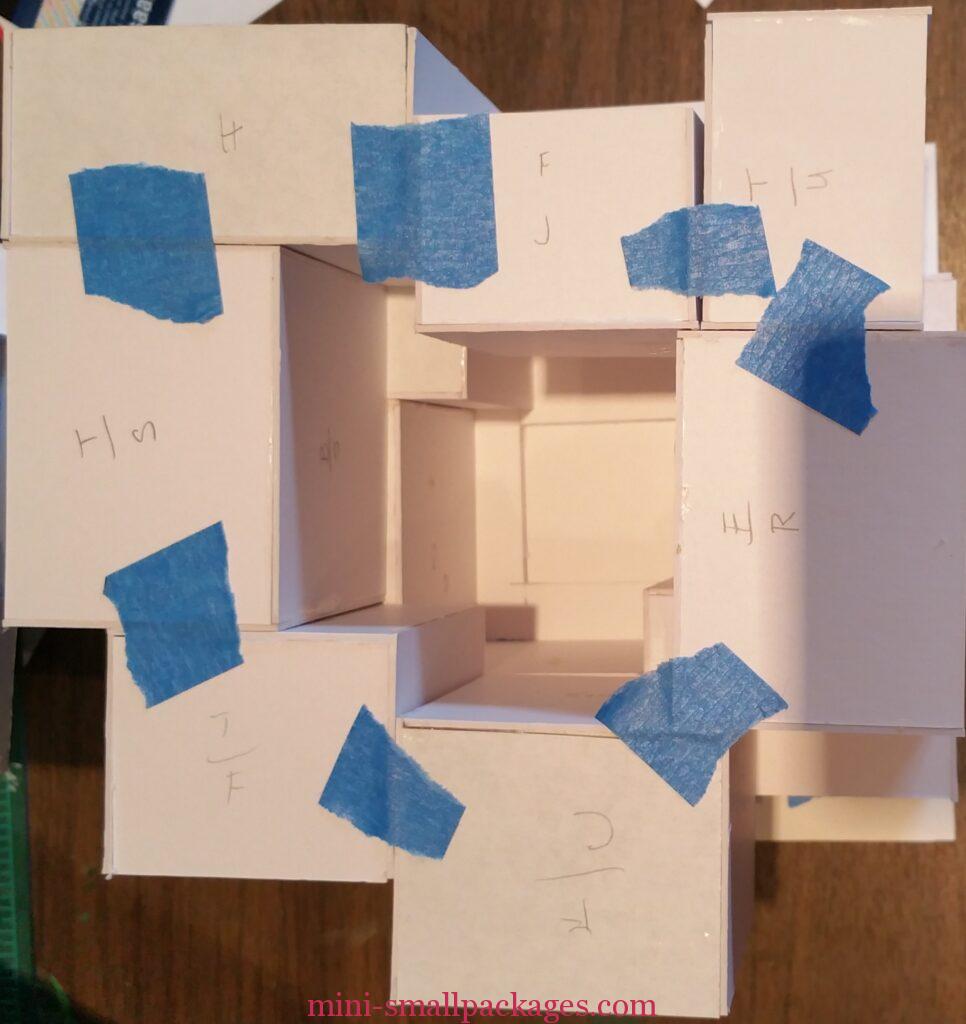
I knew from another miniaturist who had done these type of projects before that it was important to have good notes on the way it was laid out. It wasn’t enough to just determine the arrangement – but good drawings or pictures of the arrangement would be needed later when re-assembling after covering with the papers.
So here are some of those

I also had a cheat-sheet on the layout per each side, not pictured but it really helped when I was deciding on the papers to use.
But photos were the best as the labels were in the back of the boxes
Once I got all the boxes exterior covered, picking papers was a major challenge. I used scrapbook papers from a pack I had bought. This pack provided a variety of different colors and patterns but was very cohesive overall. This pack is called a slab and about an inch thick and is the 12×12 inch size. They also were double sided which gave even more variety. I used almost all from the same pack, but added in a few others that I had.
I tried to coordinate the colors from box to box both side to side of each layer but also from layer to layer. Maybe I was overboard with my coordination efforts but that is just what I wanted to do.
First Level
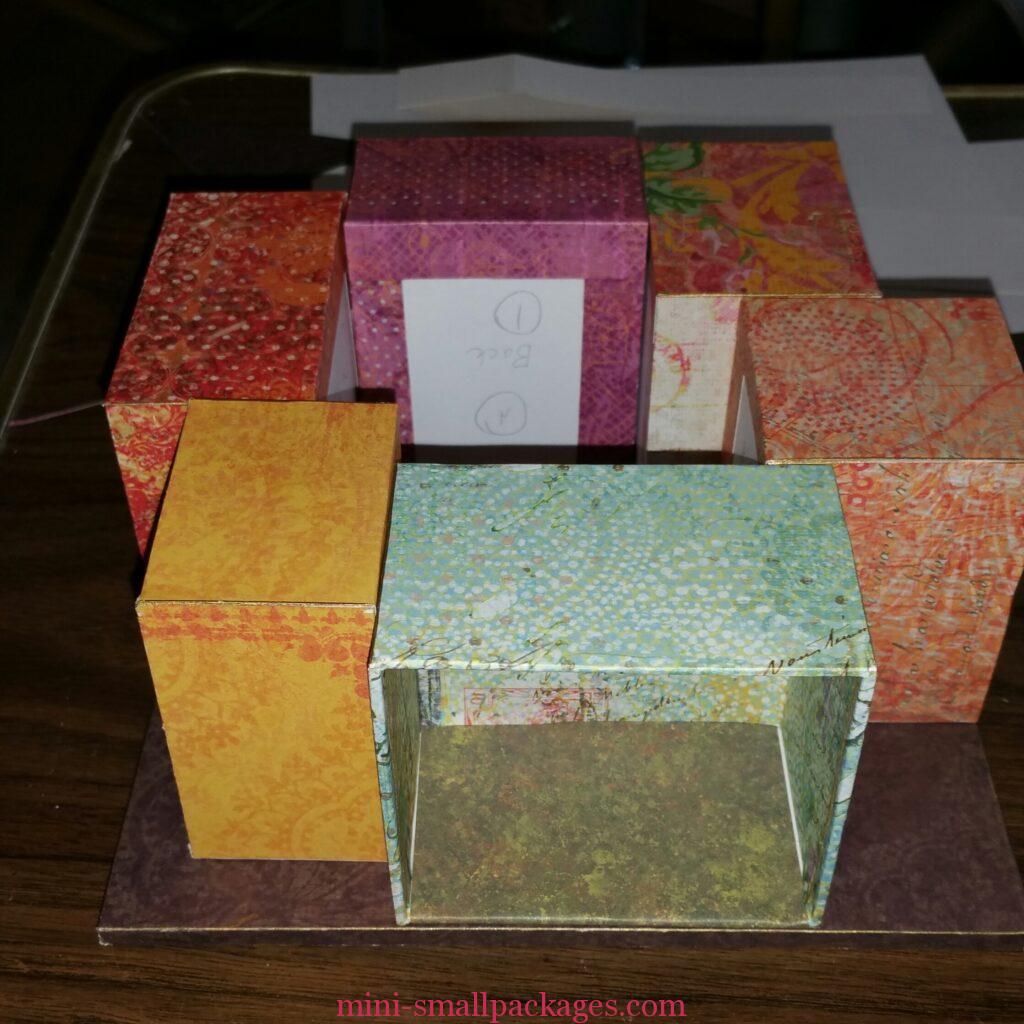
The first level is done – the base is covered using one single sheet of scrapbook paper. The center of the base had to be open (not pictured) to allow for the round holder that is for the football ends. I considered using a variety of papers around this base, but decided to keep it simple instead.
Gold Edging
To cover flaws and add an accent, all the interior papers are getting a gold edging using a gold paint pen and the exteriors some as well. Not sure it can be seen in the photos or even it will matter when I am done. For sure though it does cover the edges that don’t meet so there isn’t a white gap.
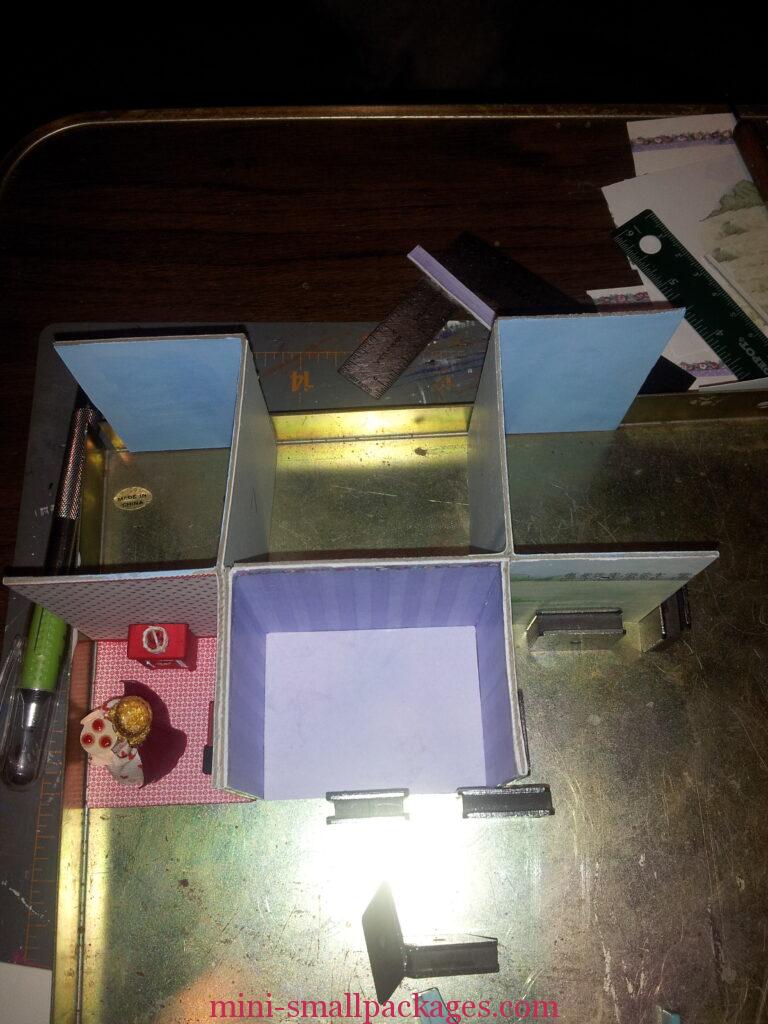
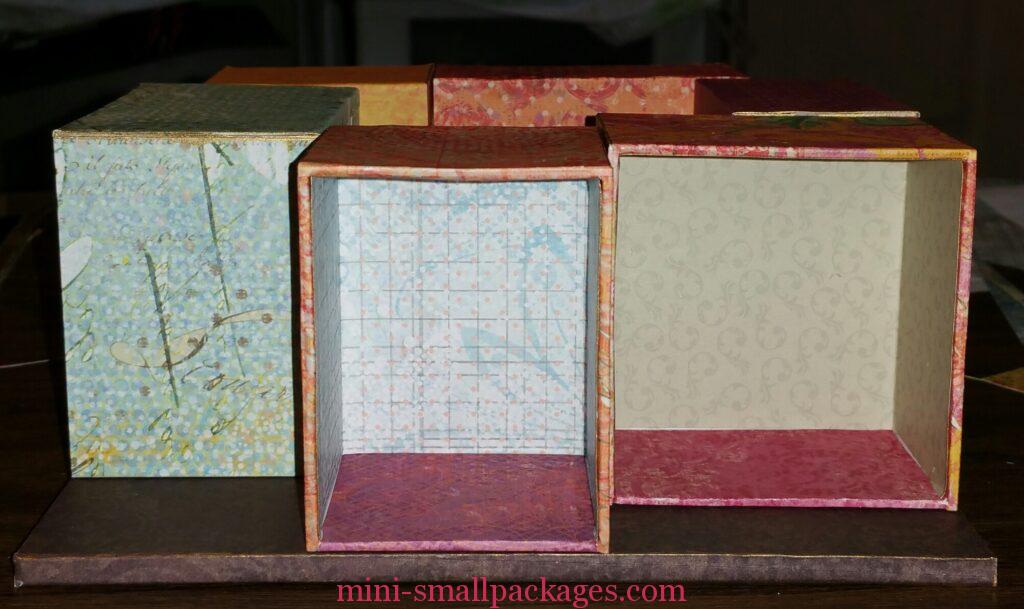
Here’s the second floor all papered and added to the first level. This is when the photos of the arrangement was very helpful – for lining up what I had planned. No amount of marking on the boxes would work as the papers cover them up.
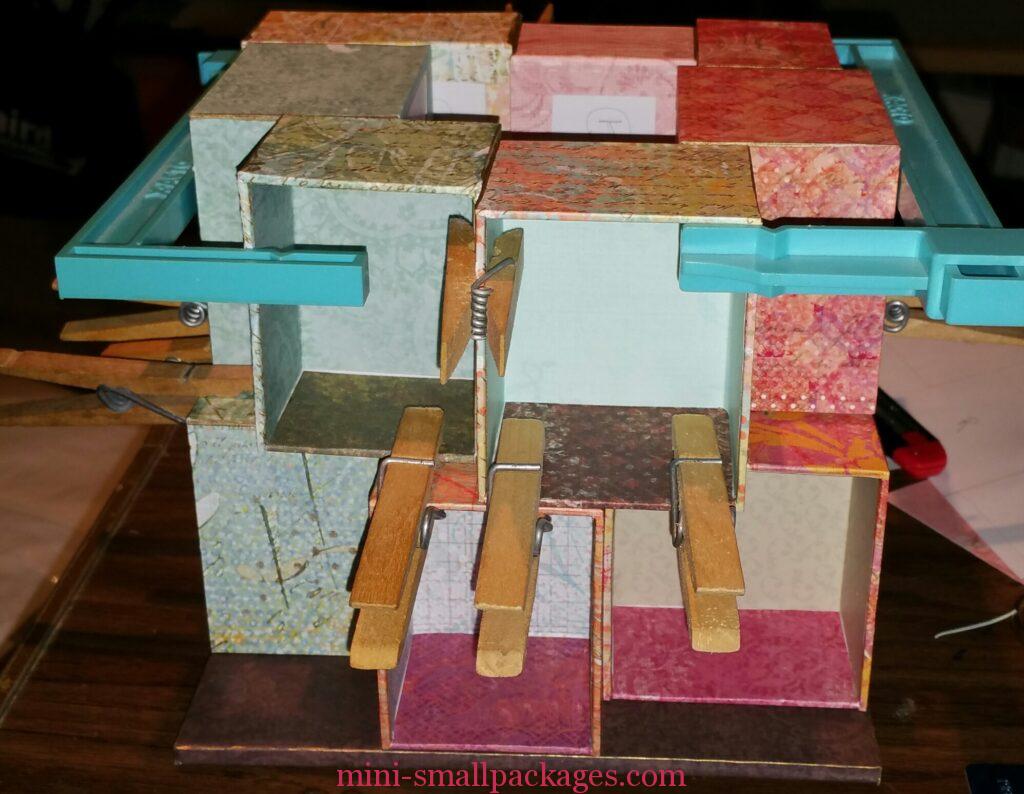
The interior papers are coordinated with the boxes to the sides.
The clamps and clothespins were needed at this level and not so much on the first one. The boxes are meant to be square but each one isn’t necessarily.
So there I am right now.
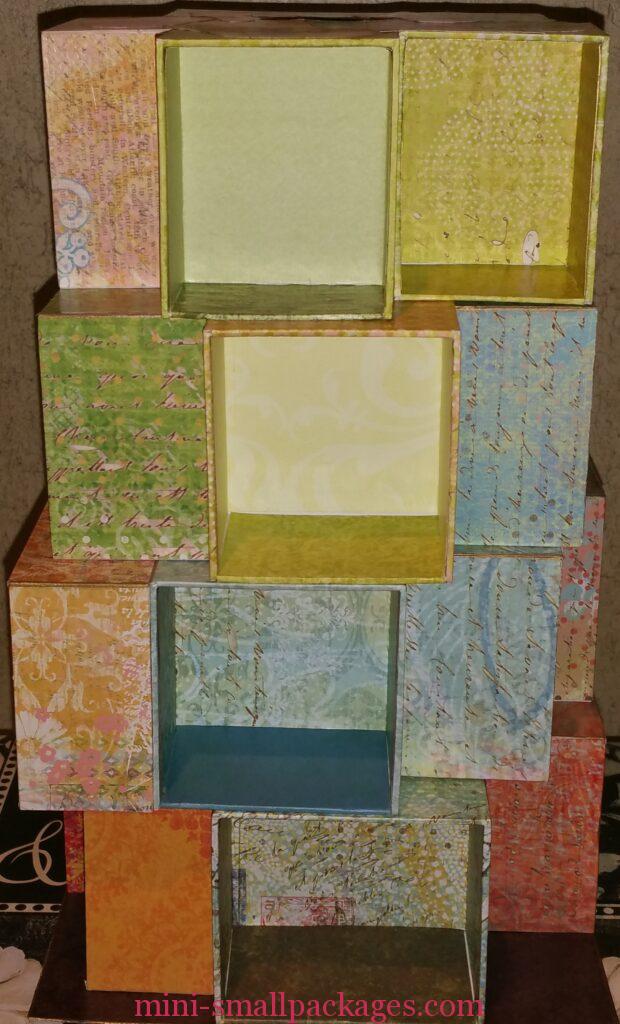
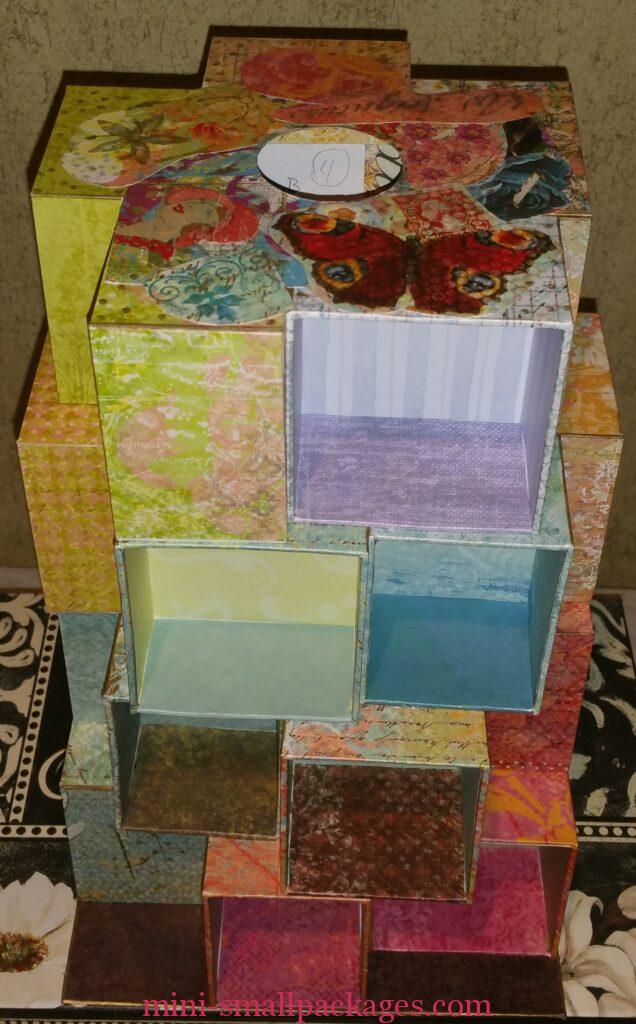
Finished stack
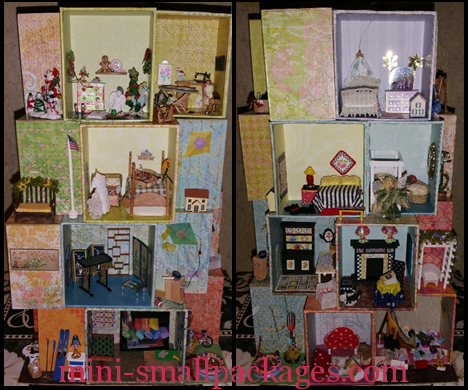
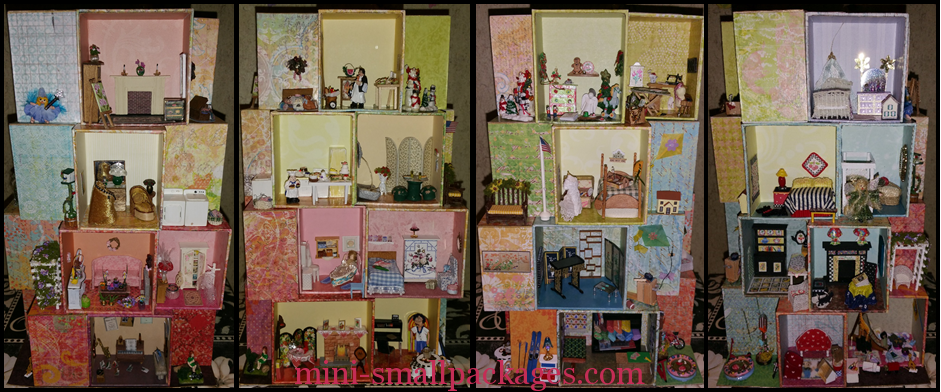
Here is the finished stack from a couple of sides

So here are some notes I took from assembly
- Be flexible with color. I did plan at the beginning trying to coordinate from side to side and layer to layer. But once I was in the actual making I did make changes. This was especially true with the interiors. I did all the choices on the fly, so I did find I liked it better if I was comparing not just side to side as I started with doing the first layer but also from layer to layer.
- Cover the backs completely. There were several times I had to adjust the position of box to box as the back wasn’t fully covered.
- Problem 1- forgot that I was going to need to fit the round football end holder in between the top layer of boxes. Fortunately I was able to fix this quickly before the glue dried. But then I also had to add something to the top to cover the open area in between the boxes.
- Problem 2 – major issue. I forgot to include the layers of paper in my measurements in deciding what height my boxes would be. Once I had completed the top layer and placed it in the case, I realized it was too tall. To resolve this, I worked on the foam core board that was my base. I removed all but one layer of scrapbook paper on the foam core board base. This actually was fairly easy due to the project being all boxes so I was able to turn it over and work on the base no issue. But secondly the foam core separated very easy from the paper of the foam core board. Even if that didn’t work, I had a back up plan to remove the paper covered foam core board completely. I could have added either mat board or just paper as a thin base.
I also was asked – what glue did I use for this? I used tacky glue. The key is to use a smoother. I used an old credit card to smooth out the paper. I think using the scrapbook paper also made a difference. Some papers were thicker than others so the glue couldn’t bleed thru. To apply the exterior papers I covered one side at a time. Sides, then the top leaving the bottom blank. To apply the interior papers, again I covered one area at time. Floor first, then the roof, then the sides and back all in one piece. The top was covered in pieces of paper after I made a hole for the holder. The pieces were cut from the scrapbook papers that I used in the overall.
I just found two swaps that I had planned to go in here. Don’t you hate not being able to find something. It took several times before I did.
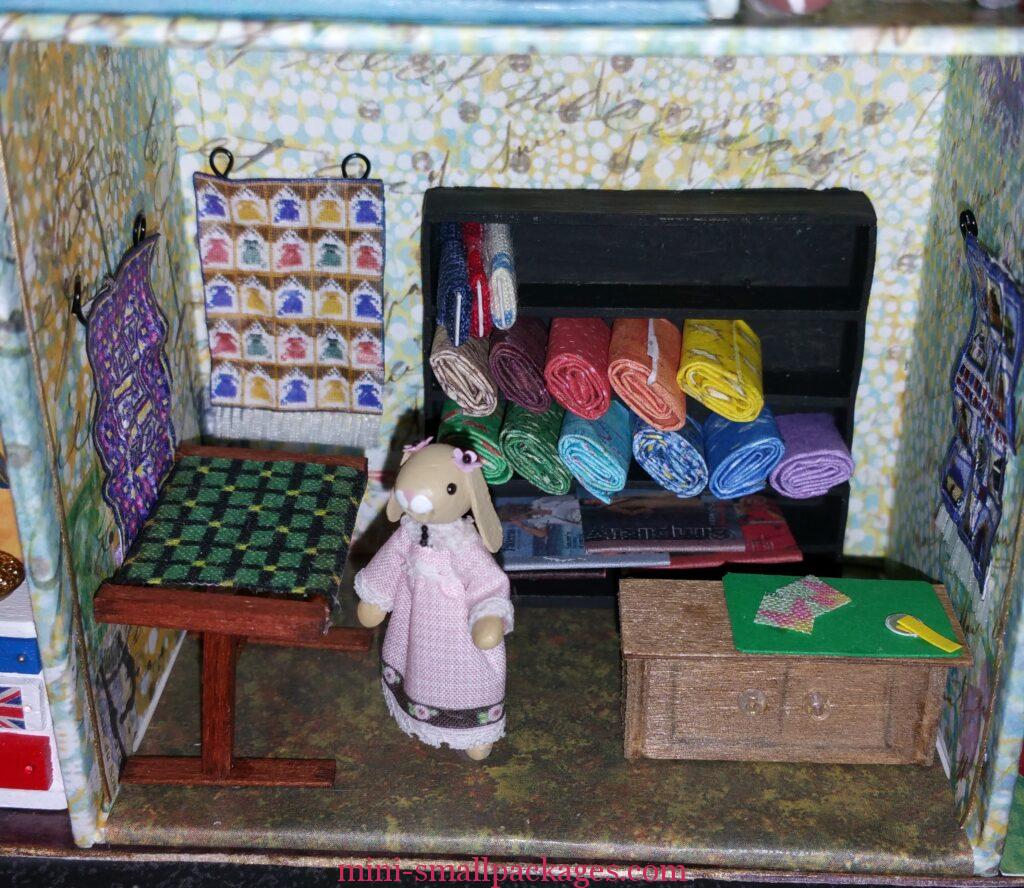
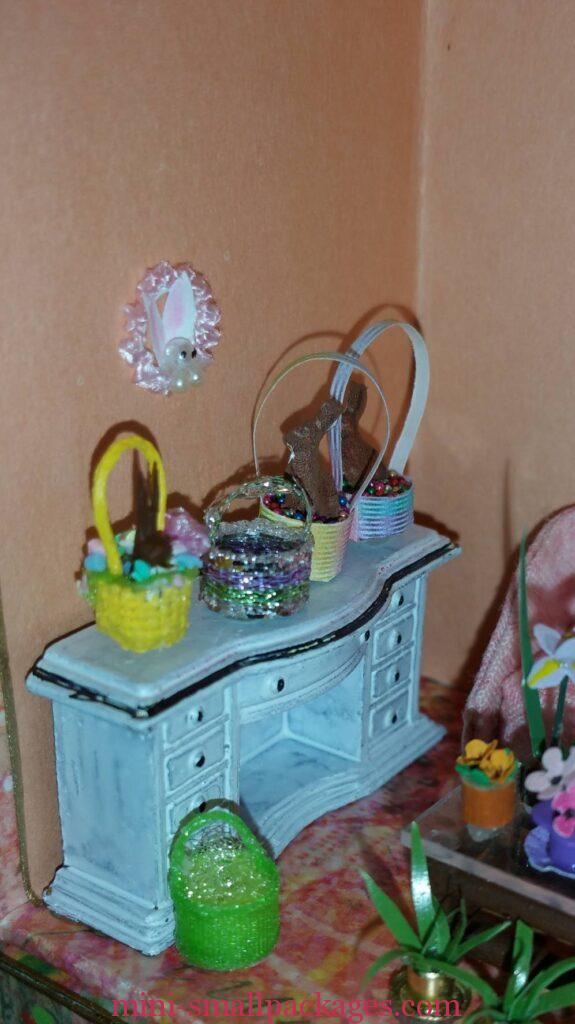
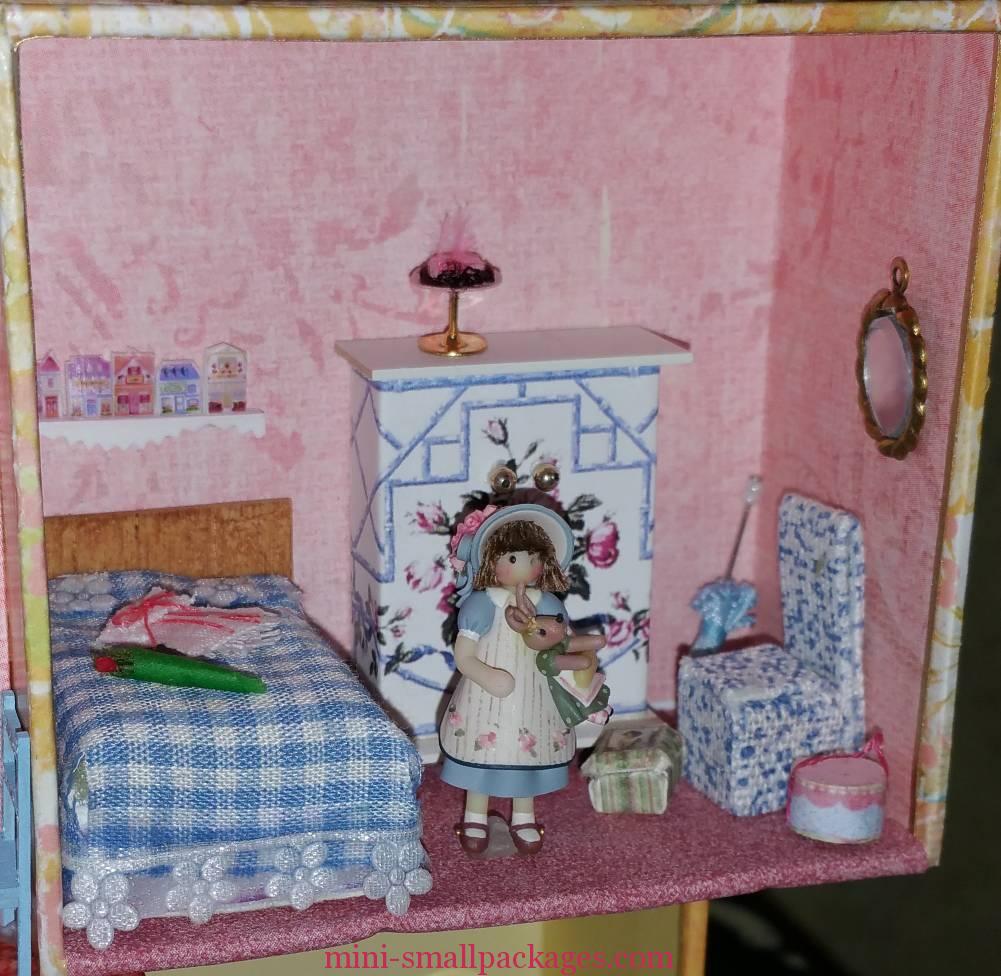
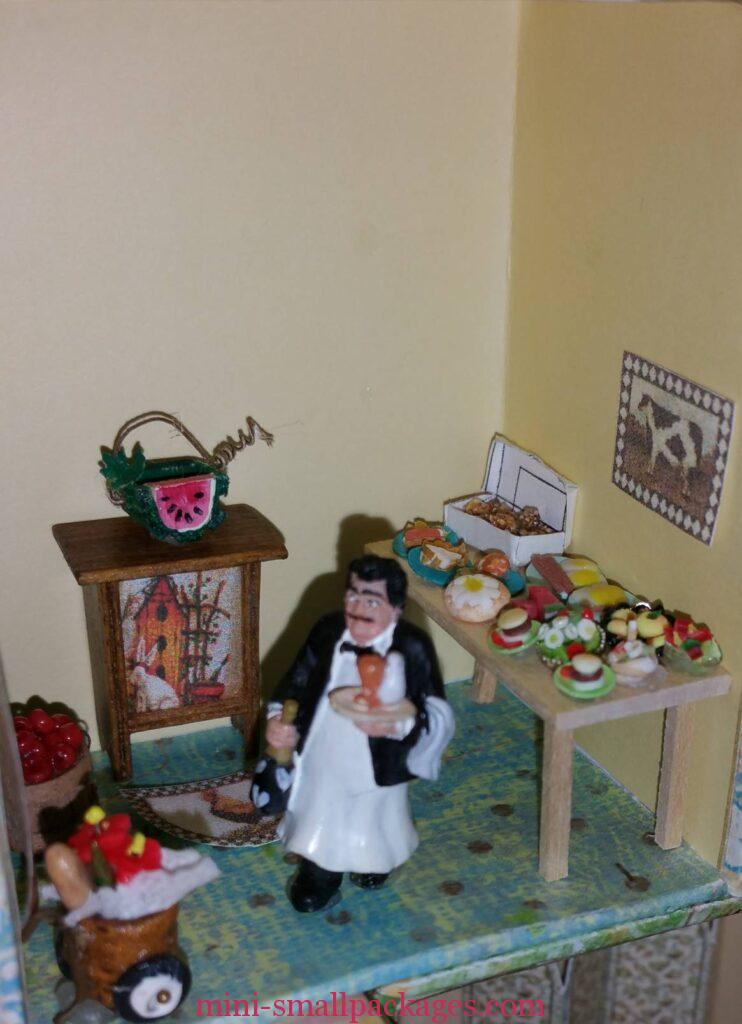
Here is my first addition to the mall. This is the proprietor William Jack.
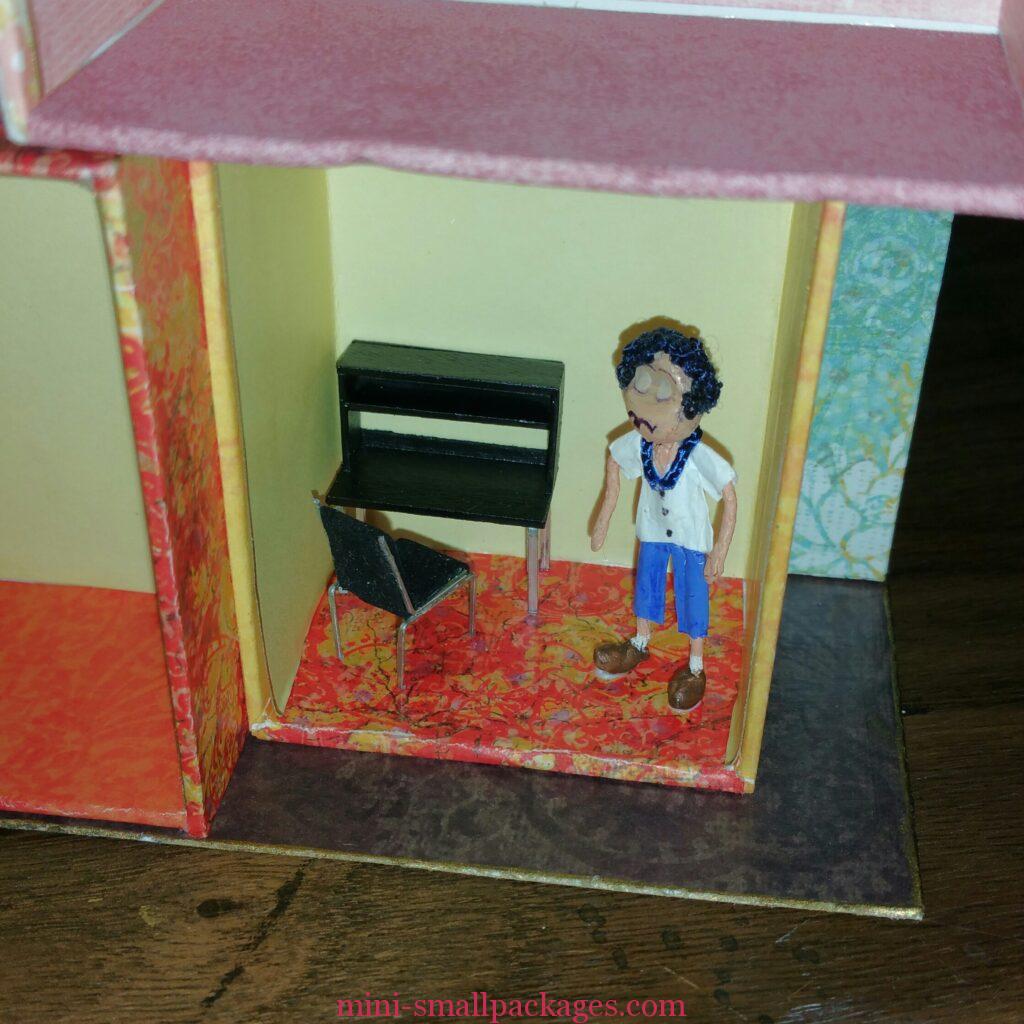
I was absolutely thrilled to get both of these last year. The desk and chair is made by Susan Edmiston and the guy is by Jackie Williams.
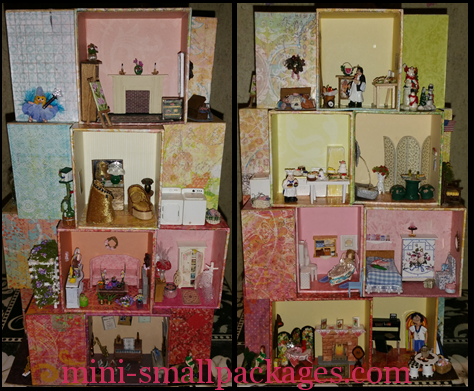
Grand Opening – Stacked Boxes
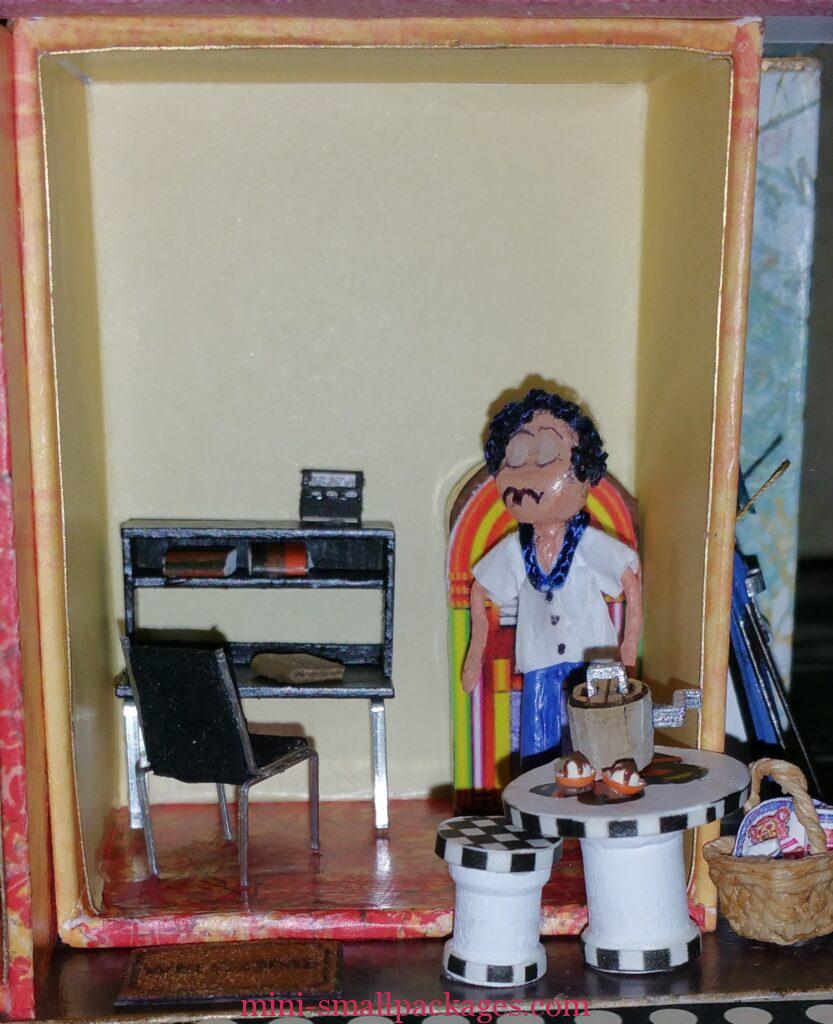
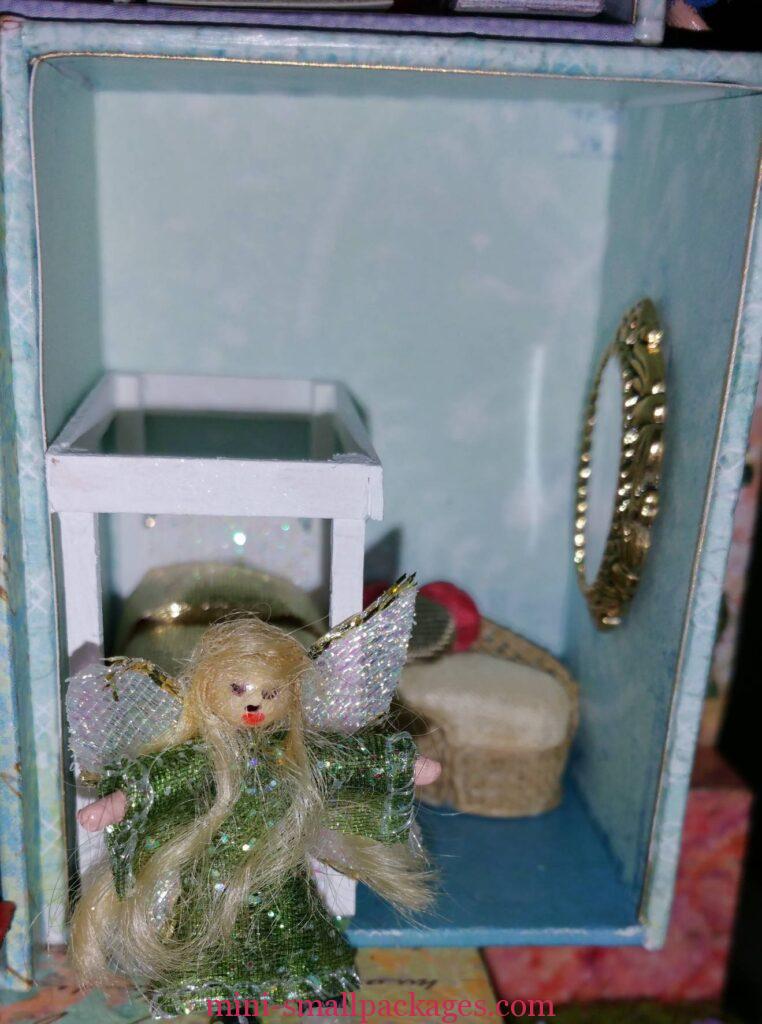
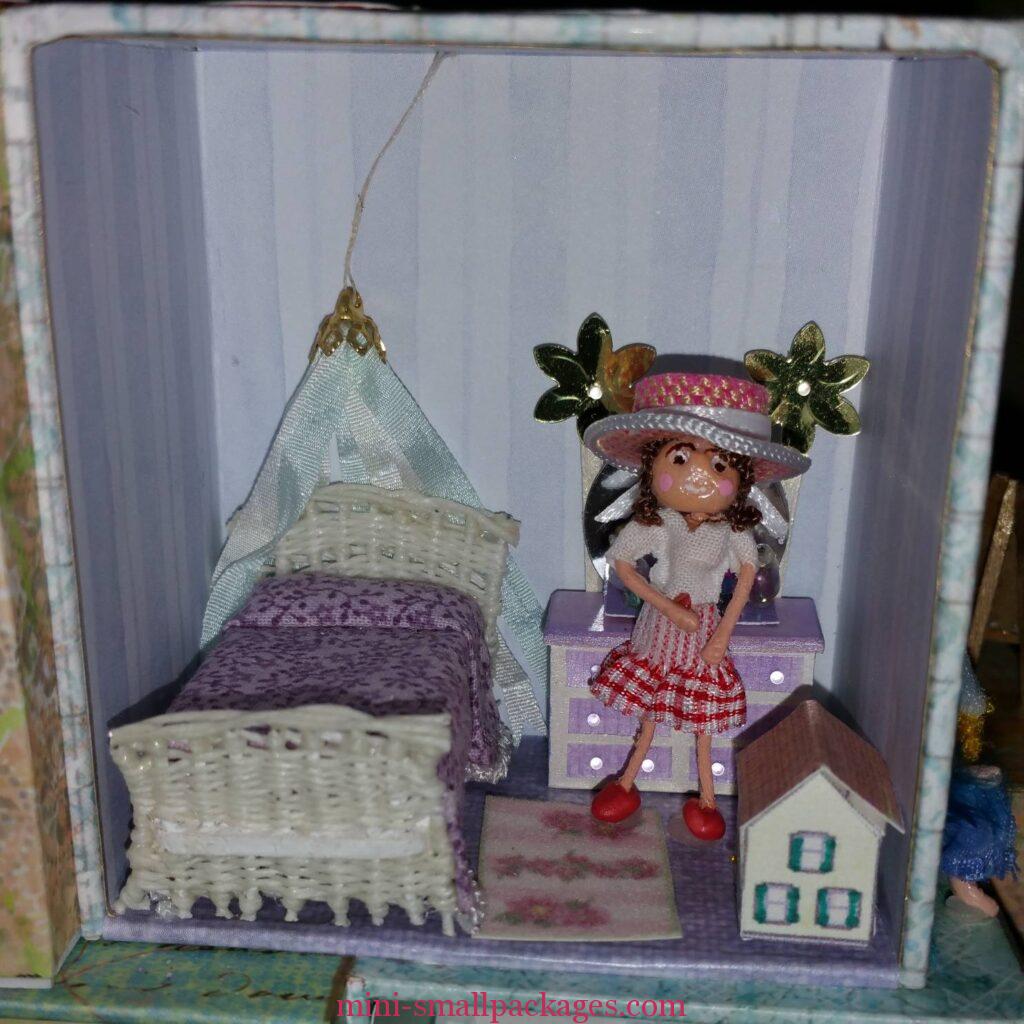
It’s Done!! No Vacancies in the Mall. William, the Swaps Mall proprietor, is pleased as punch that all rooms/stalls in the mall are filled for Grand Opening. He doesn’t take good pics – always closed his eyes no matter how many pics I took.
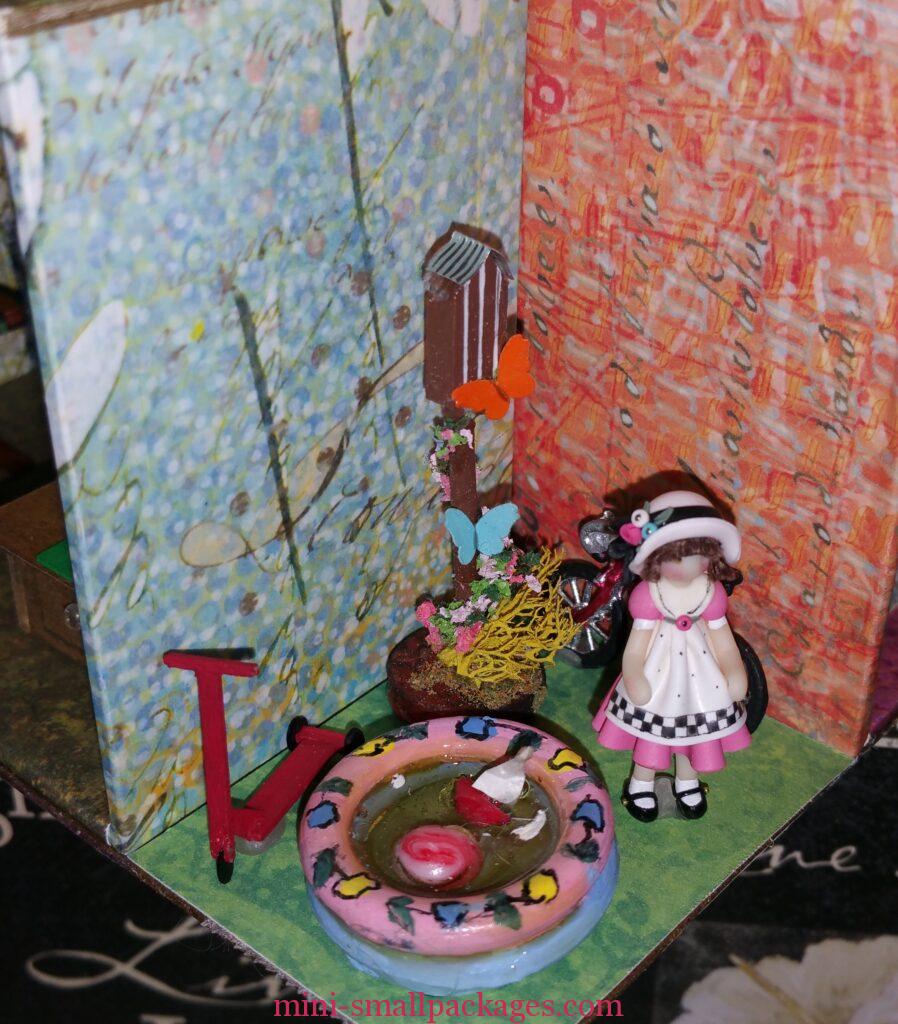
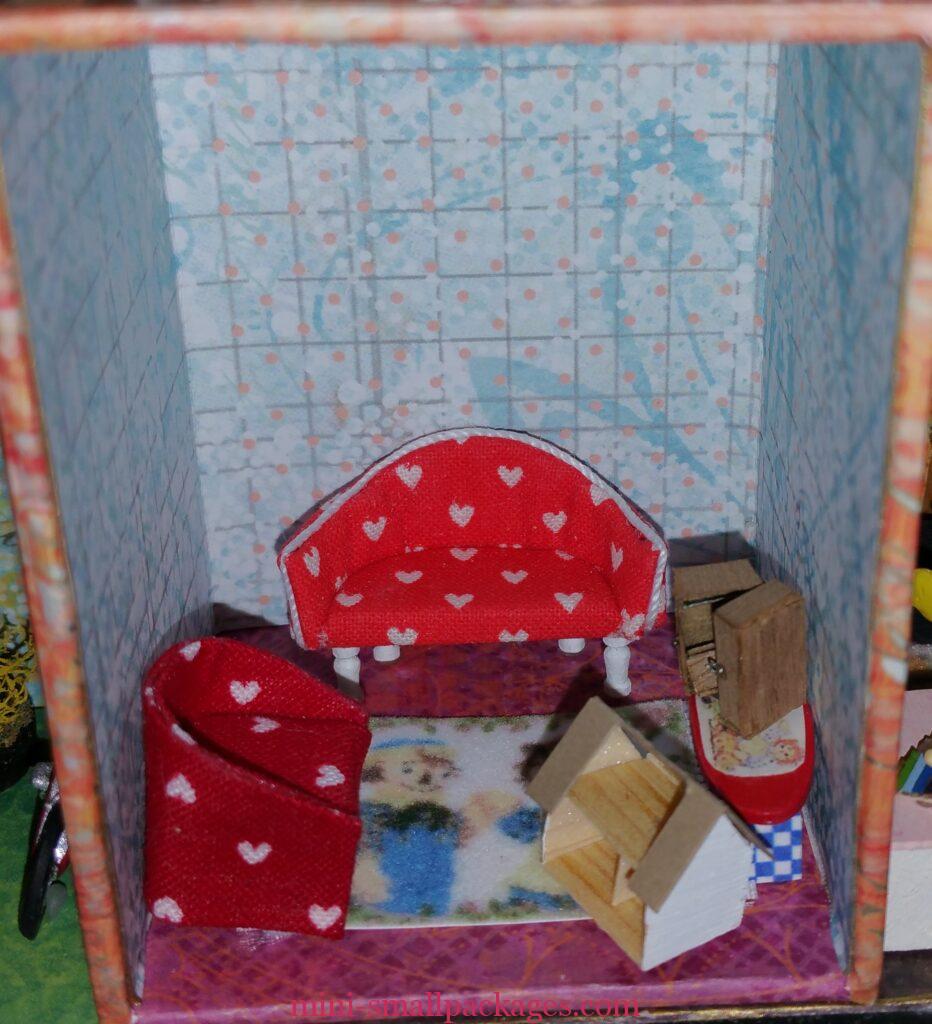
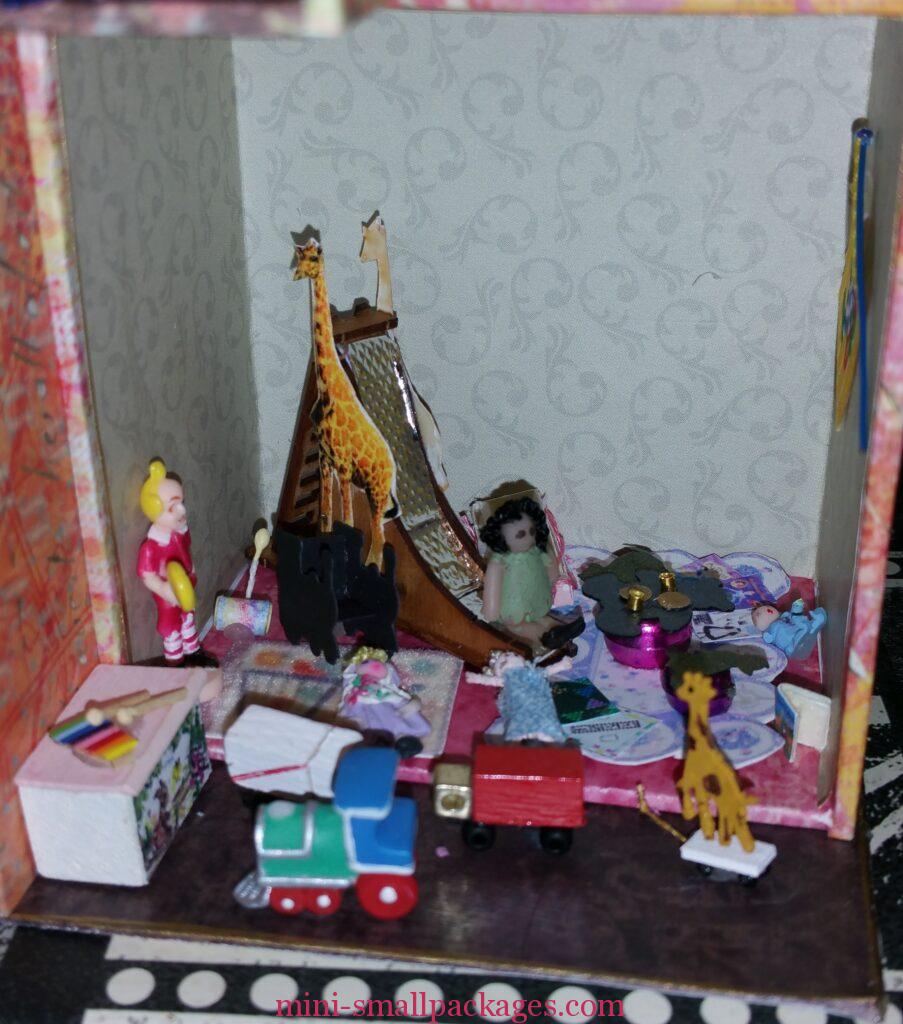
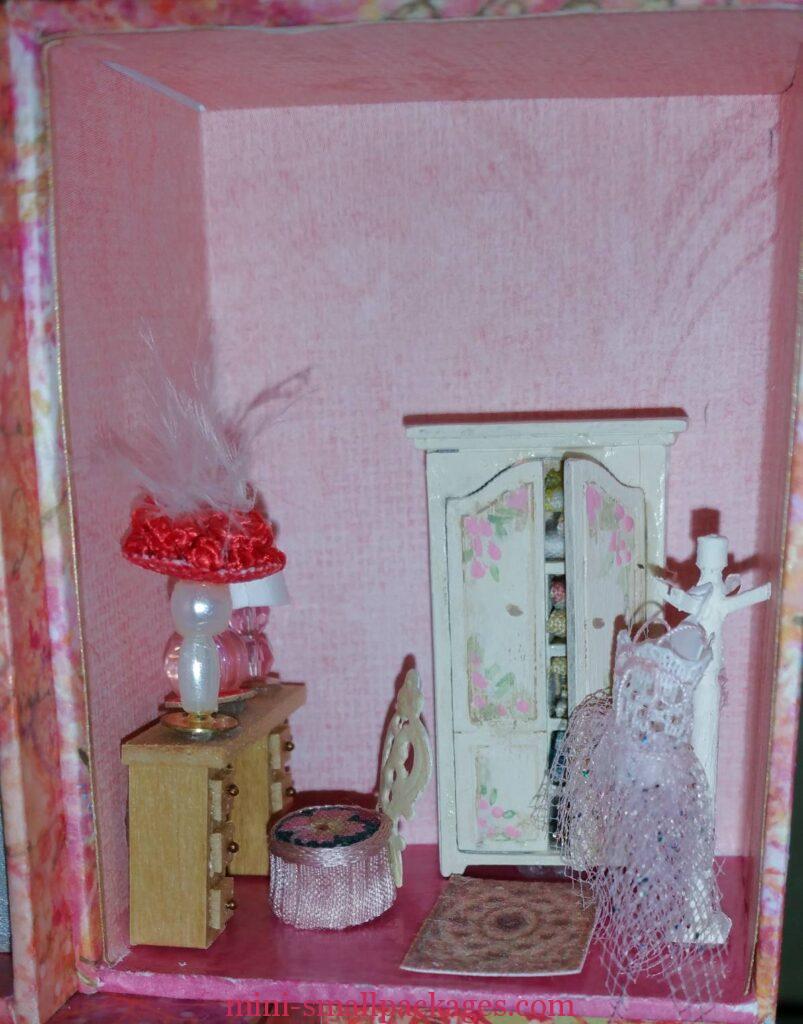
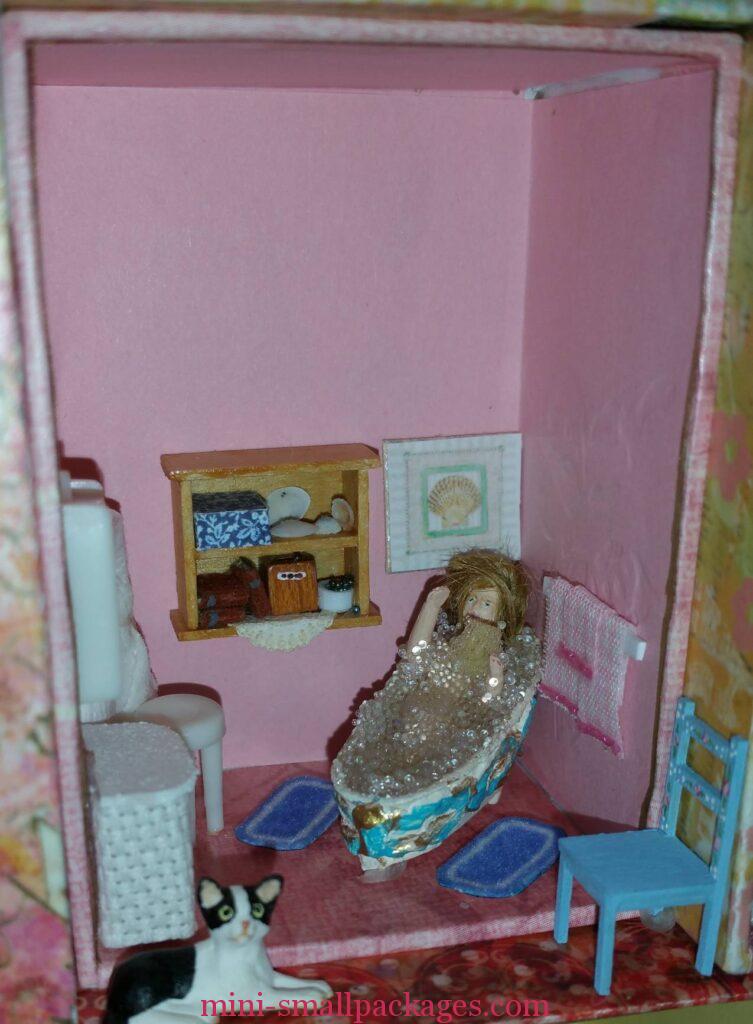
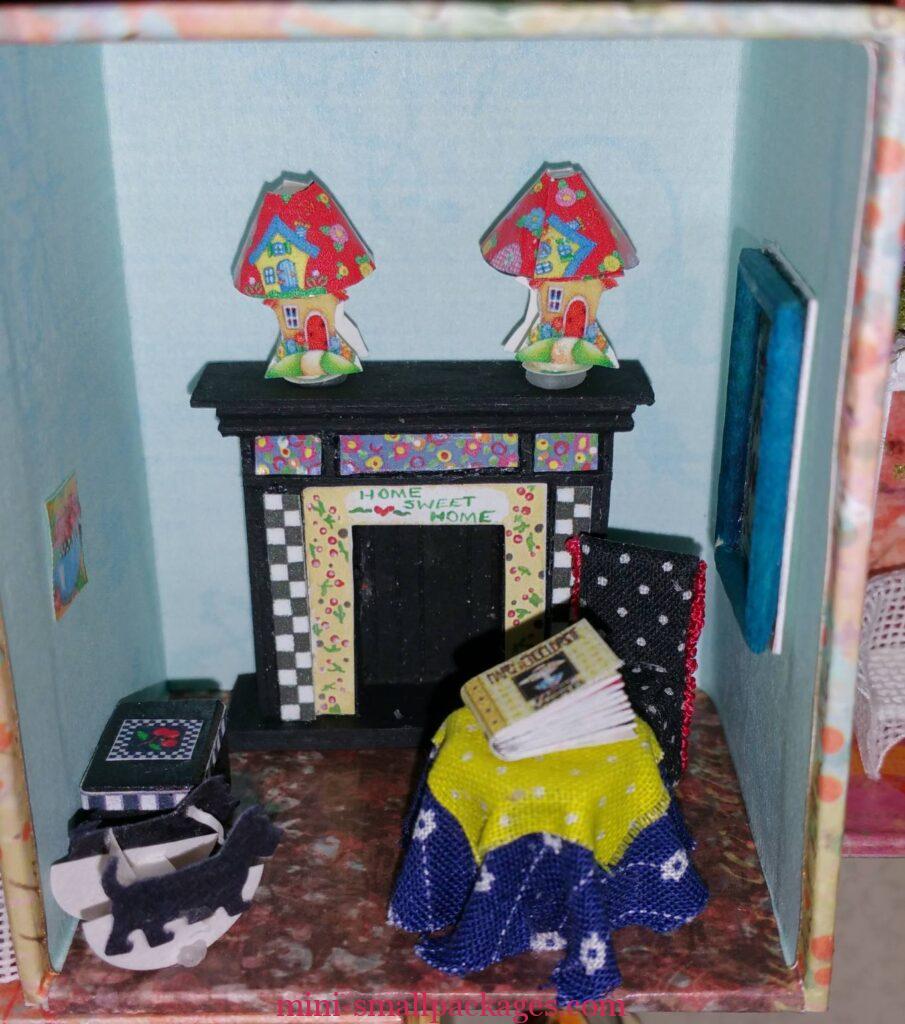
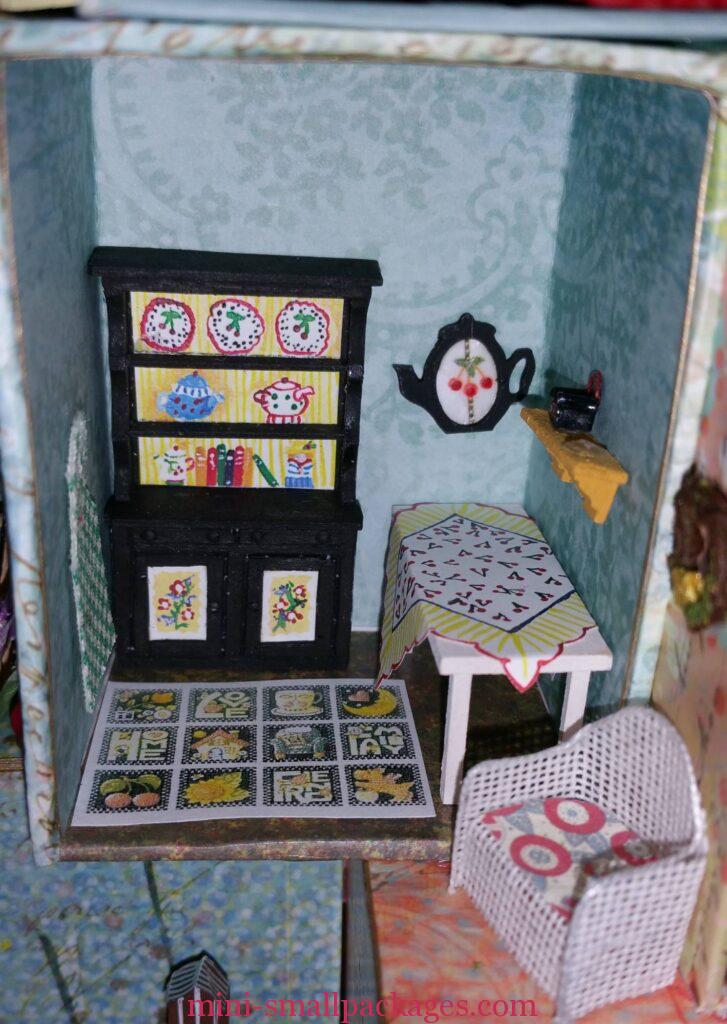
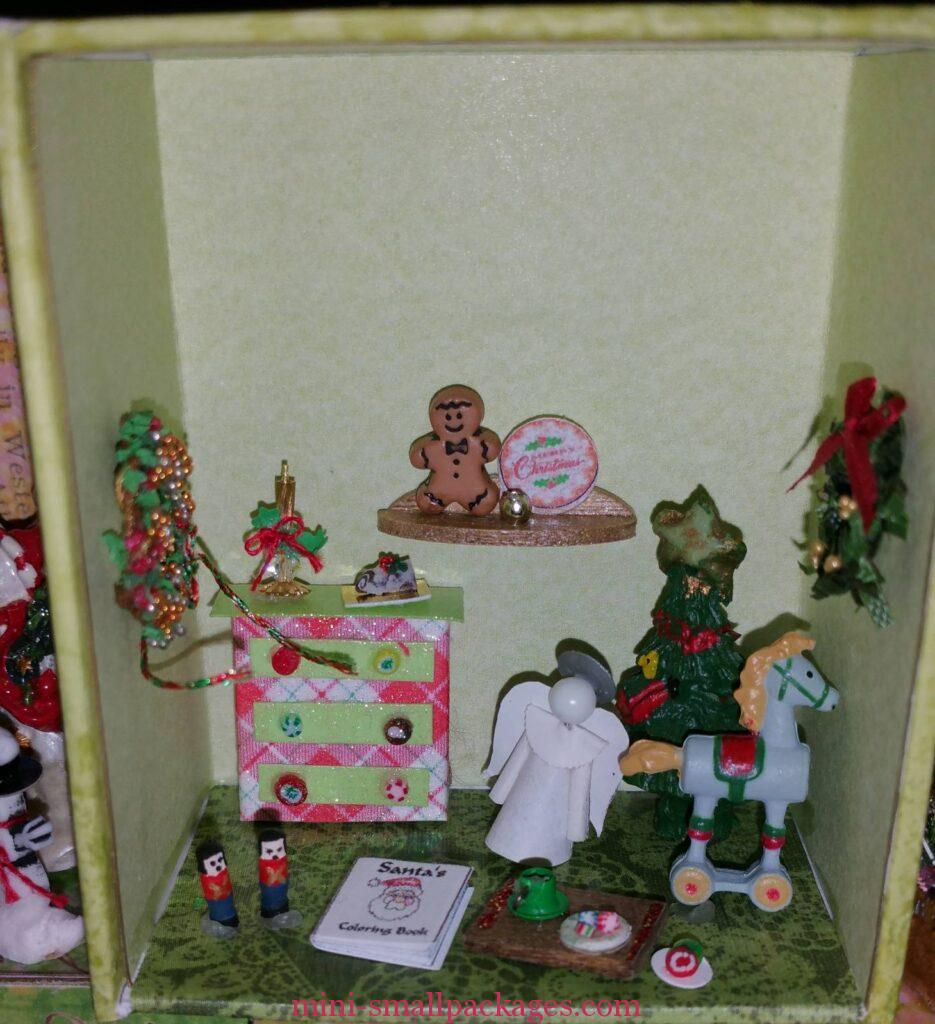
Although technically it will never be done, based on my intentions for this project that it is a temporary home for my treasured, I did finish furnishing it for now. It took longer to decide what goes where and tacking them in place than installing the interior papers. This surprised me as I thought it took me so long doing those papers. Overall, the easiest part was applying Modge Podge to the floors, however I think it would have been beneficial to have added it to the interior walls too. But that is an easy enough fix should I decide to take time to do it. Here are the ‘finished’ sides.
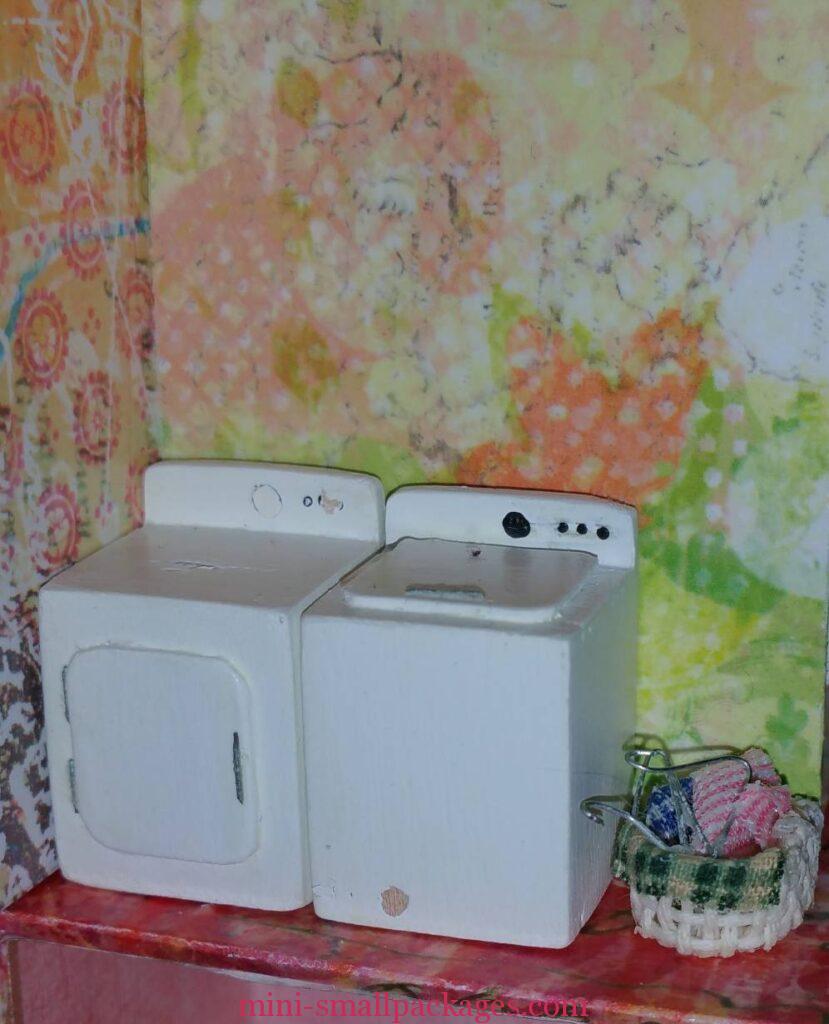
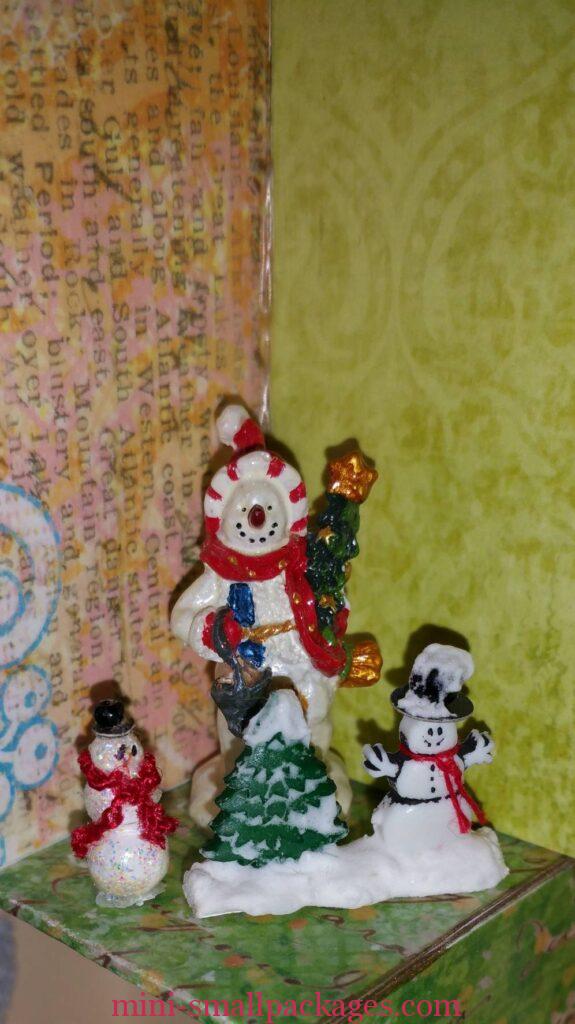
These swaps represent over 10 years of swapping. I still have a several boxes more of swaps that aren’t displayed. I am thinking in two directions with this. One – make the projects the swaps were swapped for to begin with – like a couple of nautical/sea/beach themed swaps, a cat room and a pet shop (which could be combined) and others. Two – make a printer tray type stacked boxes – one sided instead of like this. Either way, I am inspired to get these treasures out of my swap boxes and out on display somewhere and preferably in the project they were meant for.


For someone who is looking at this and thinking, I don’t need this many boxes – this works smaller. It could be done with fewer boxes or just one side. There are so many possibilities. Don’t want to make the boxes? There are products out there in the craft stores. Some are sold as stationary boxes. Jewelry boxes. Any box shape can work, just add interior floors and walls the appropriate height.
If new to swapping, then check out my page about how to do it. I really enjoyed swapping and as you can see built up a considerable amount. For a while I was swapping every month. I did get the point where I realized I was doing nothing but swapping so my advice there is to be selective in what swaps you sign up for. Consider doing them every other month so that between can be applied to the project they are supposed to go in. I will swap again, when the right swap theme comes along or I get some projects done that the swaps can be used in.
Happy Miniaturing!
Preble