ME Challenge Swap – how I made some dressers
There are just some things that I find irresistible. ME things is on that list. So when Pam Junk sent out a challenge to make a ME house and do a swap (in early 2017), I couldn’t stop myself. Swaps are one of those activities I have done many times in the past, so have quite a collection. I had to make a mall just to get them out on display. So I really didn’t need a new set. But I was going to have to make something to put them in or I could ruin my chance to sign up for future swaps in this group. I did have this one ME idea that I had seen and wanted to do, so decided one more swap and I would make that idea for the house (more later about that)
For the swap I had to make 25 dressers with mirror.
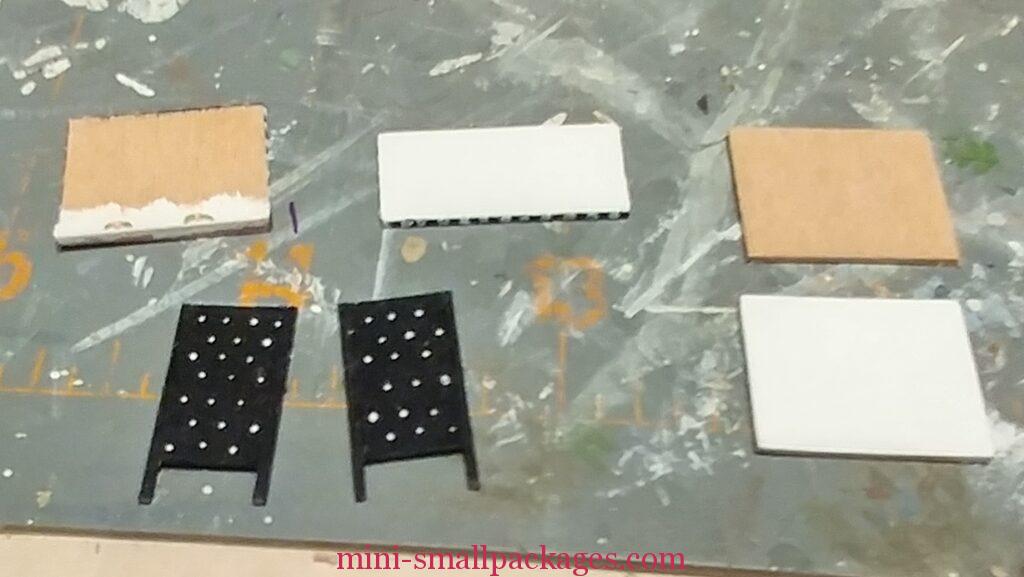
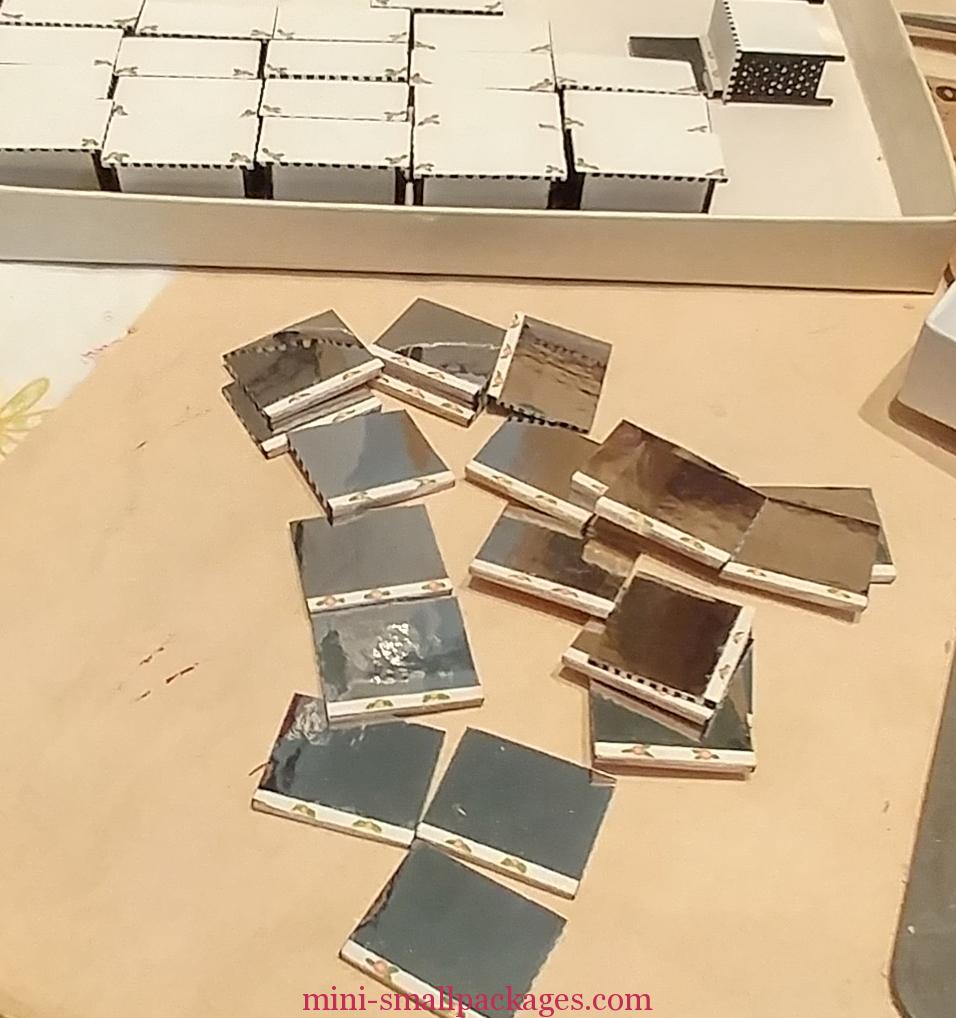
This pic shows after I had completed some steps. It shows all the pieces except the drawer fronts.
- I cut out of wood all the pieces except the drawer fronts as I wasn’t sure it was going to be two, three or four.
- Trimmed wood feathers with scissors.
- Sanded all the wood pieces except the legs with very fine grit sanding cloth. I’ve this piece for years and really love it. I think it is the type used on belt sanders.
- Glue legs to sides using a metal jig (shown below).
- Glue wood trim to the mirror back. (upper left corner in the pic above)
- Paint sides with black. I used a black paint pen. And oh my gosh, I couldn’t believe how well that paint pen worked. Now it was only the black that worked and not the white pen I had. I did not sand between the two coats of the black.
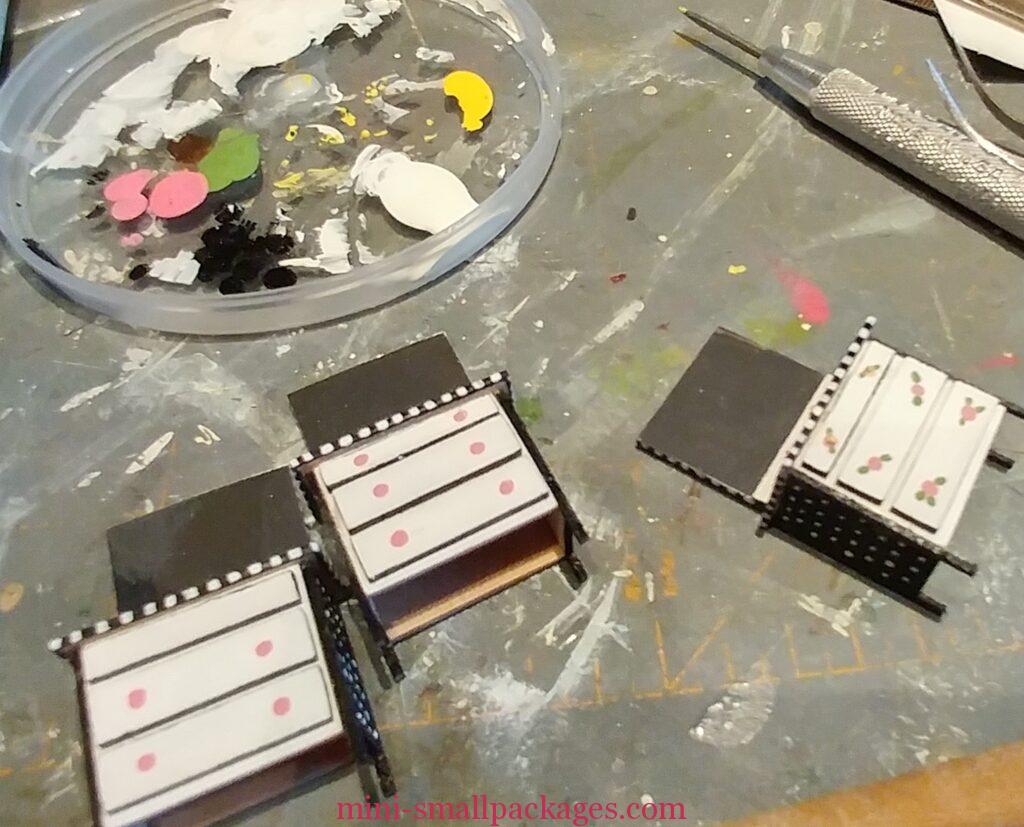
- Then I painted the other pieces – top (middle top) and chest front (lower right) white using a brush since the paint pen I had didn’t work. I sanded between coats. Then added black squares around the edge. Had to use a tiny paint brush (10/0 or 20/0 liner brush) for the black.
- The mirror back was painted white around the edges and on the trim. Then repeated the black square process around the edges. In the above pic, I had already started adding the flowers to the mirror trim.
- After painting the white one coat, I sanded and did another coat and sanded again. This gave a nice smooth painted finish.
- Back to the polka dots on the sides. To do that I used a metal tip dipped in a white paint puddle and then touch the tip. If I messed some of them up, I painted over with the black paint pen and did the white dots over.
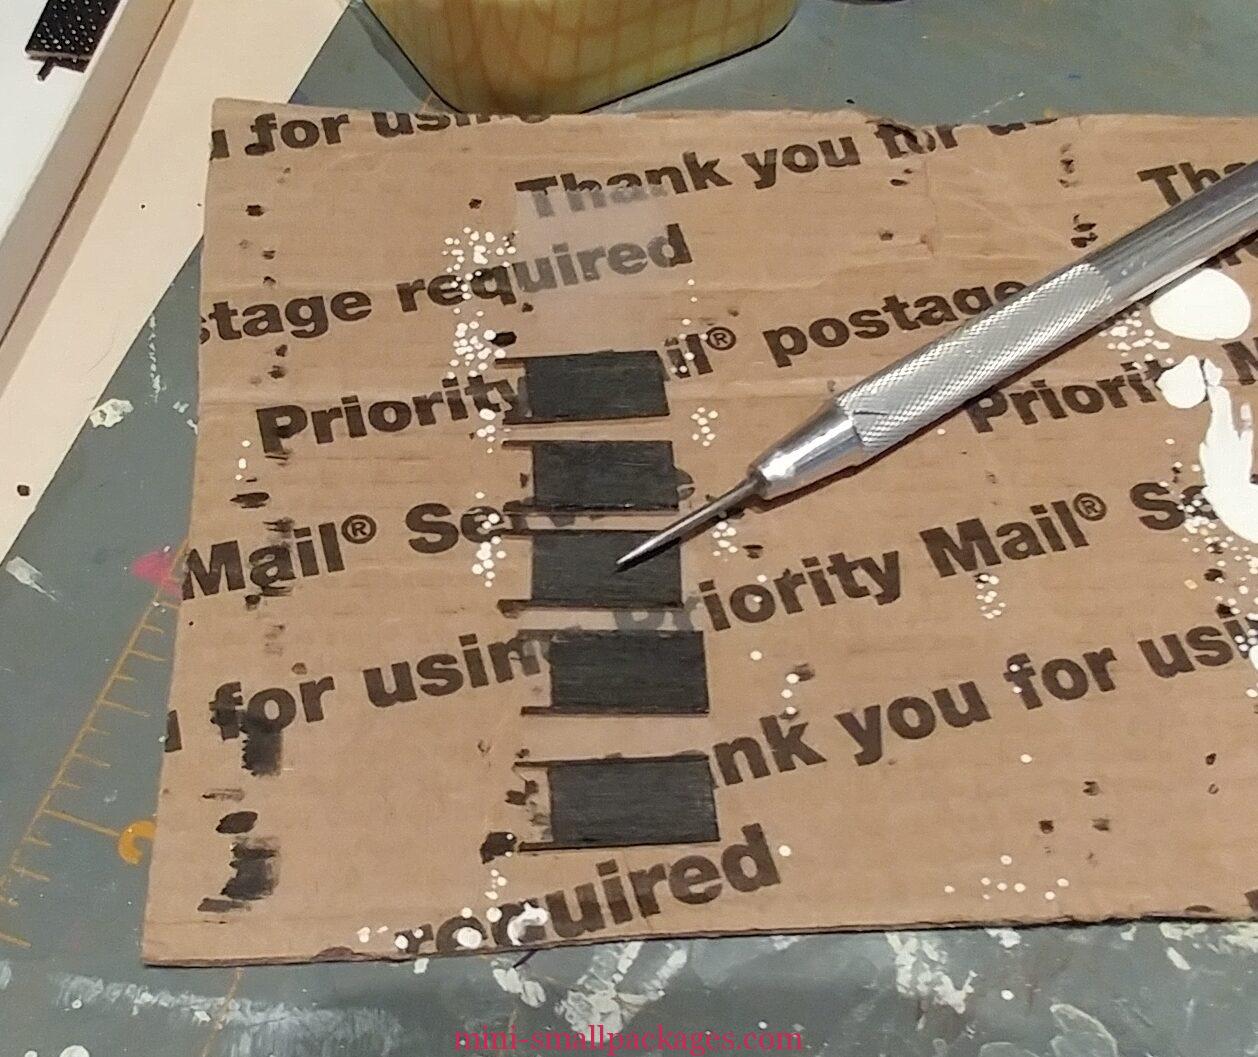
Whenever I could, I used an assembly line type process – do one step for everything and then move to next step. The exception was when things needed to dry, I might have two processes going at once. This also helps with boredom of the making multiples.
- For the sides, I used double sided temporary tape and adhered a bunch of them to the cardboard. The pic above was after I had already been painting the dots.
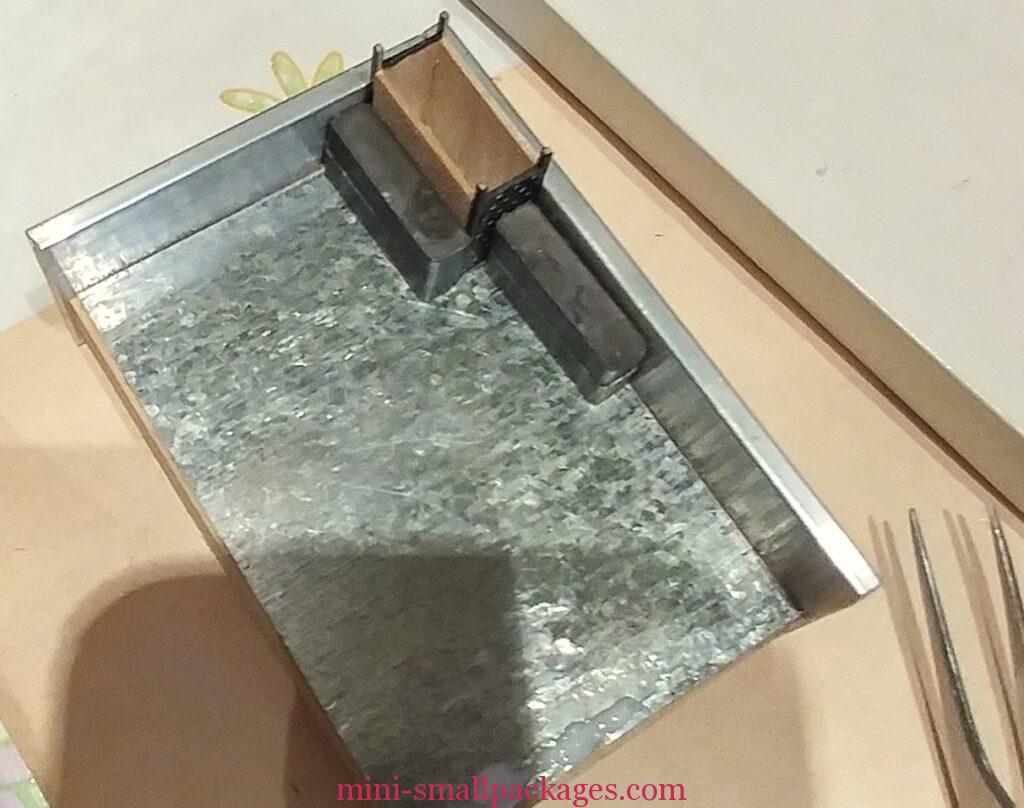
This is the small metal magnetic gluing jig I got from smallerthanlife.com The chest assembly needed to dry so I would paint the dots in between.
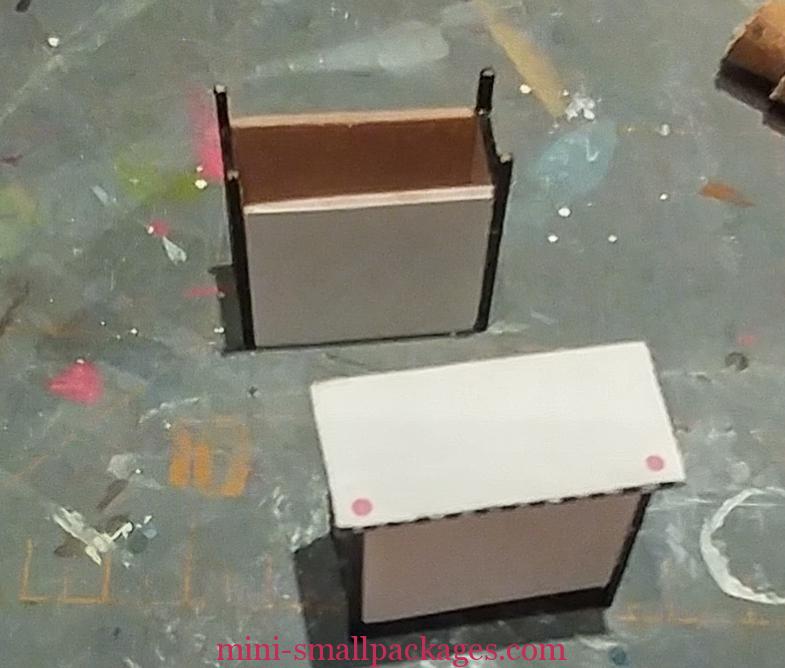
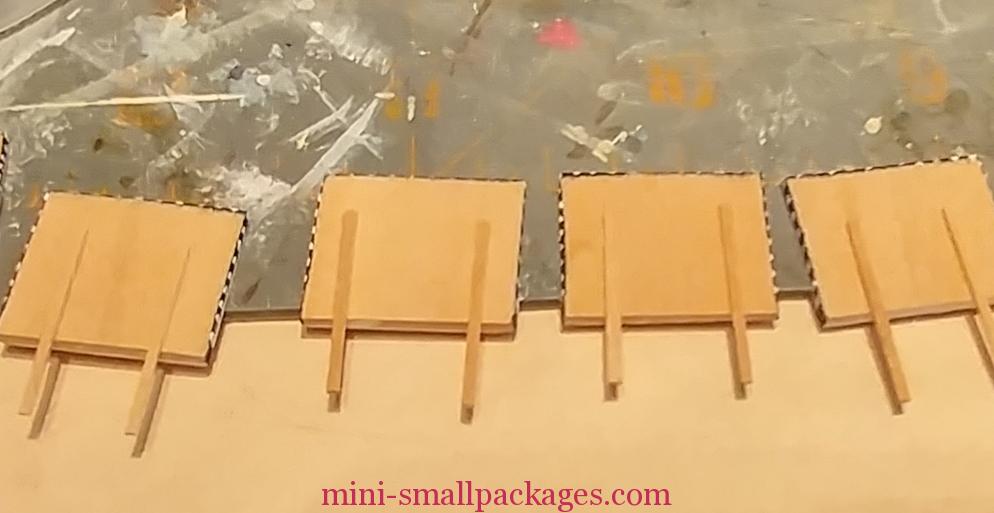
This pic shows having added the top to the chest and started painting the flowers.
- All the tops glued to the chest base.
- Mirror paper glued in place. I glued the paper on and then after it dried I would trim to the edge with scissors.
- Added the back supports. I didn’t measure placement of these as they wouldn’t show. But they needed to extend down at least a third or half of the supports.
- The drawer fronts have been cut and then painted white on the front and black on the edges. I repeated the same processes with sanding and the paint pen for the black.
- I was running out of time, so I didn’t do the squares on the sides of the drawer fronts. But I kind of like it without.
- Then I added pink dots. Then green leaves, then yellow dots on the pink. When the yellow dots were wet, I added the no-hole beads in the paint and used the paint as glue.
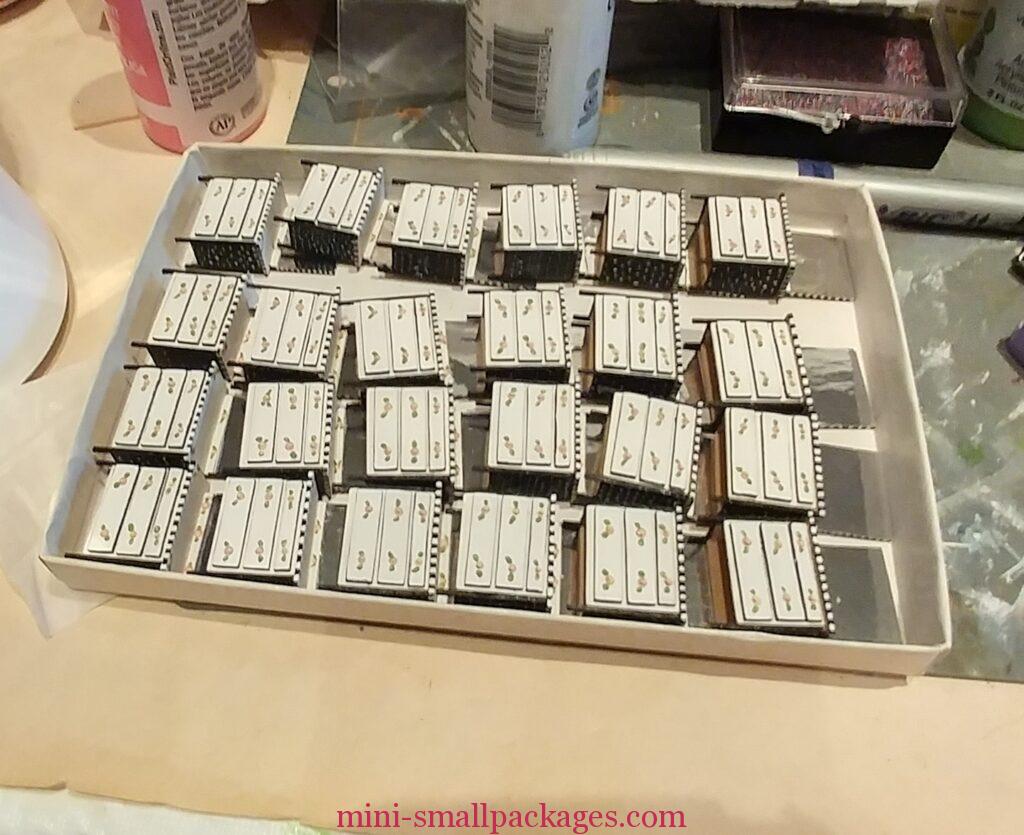
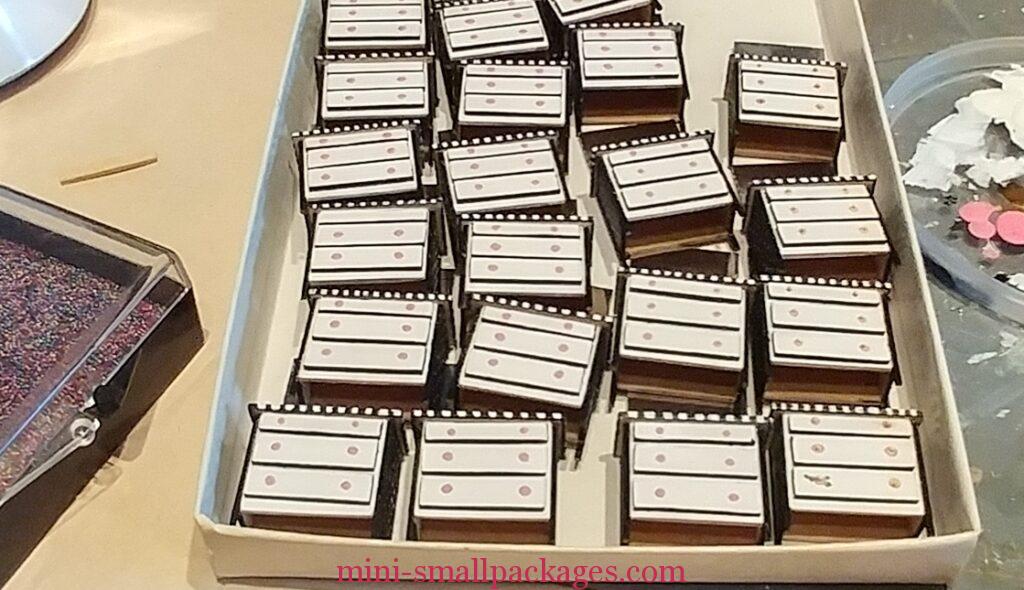
Here is all the dressers for my swap finished just need to be packaged to go to the swap coordinator.
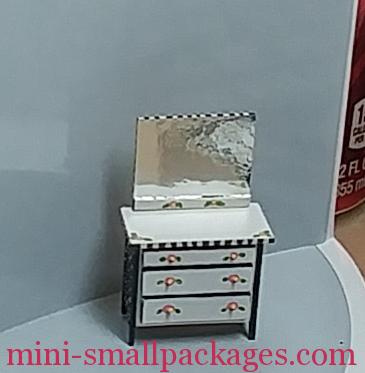
Finally here is the finished product. Thanks to my hubby for helping me to finish them. Also for once I did work on the swaps little by little and started on them earlier than I used to do.
Happy miniaturing!
Preble