Attic, Tower Room, Roof, Portico
Next up – 3rd floor (attic)
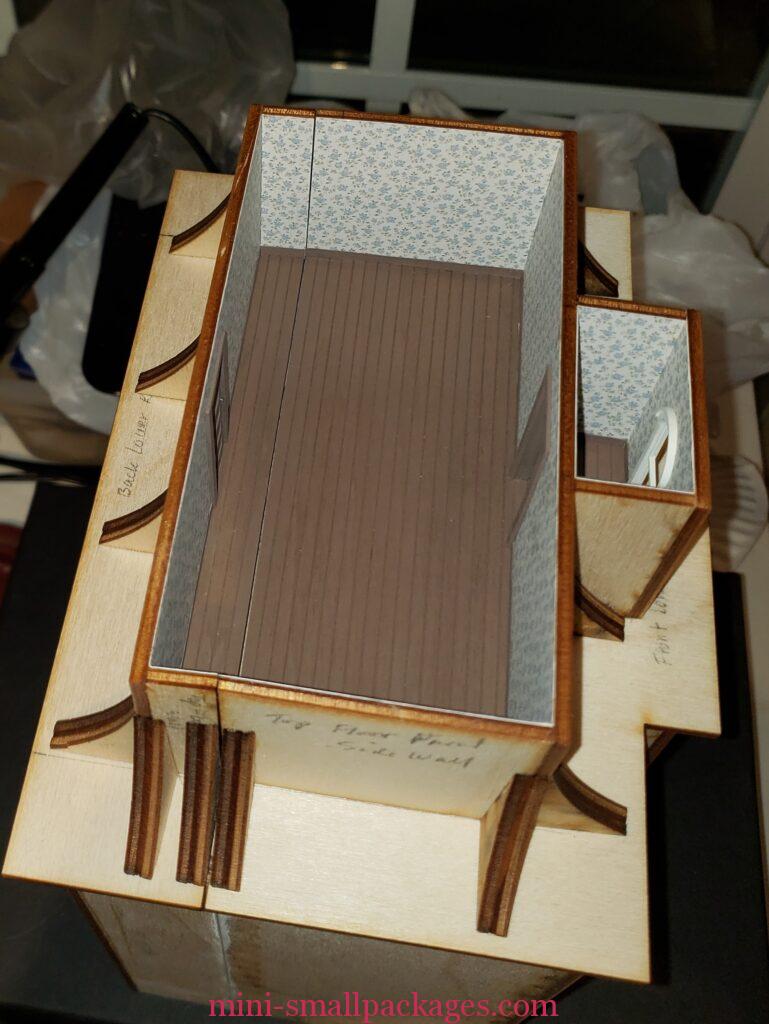
I’m wallpapering as I go and this tiny room in the tower is critical it be done as once the roof goes on, it will be very difficult to get in here. So this room needs it all, wallpaper, trim, flooring and the window. I even considered furnishing it. But I don’t know for sure what goes in it yet.

This pic below just shows one of my clamping methods: exacto clamps. These are fine until I needed something wider than the larger ones go. Then I resorted to things like books, rubber bands and sand bags. All of which work for certain times but not always are best.

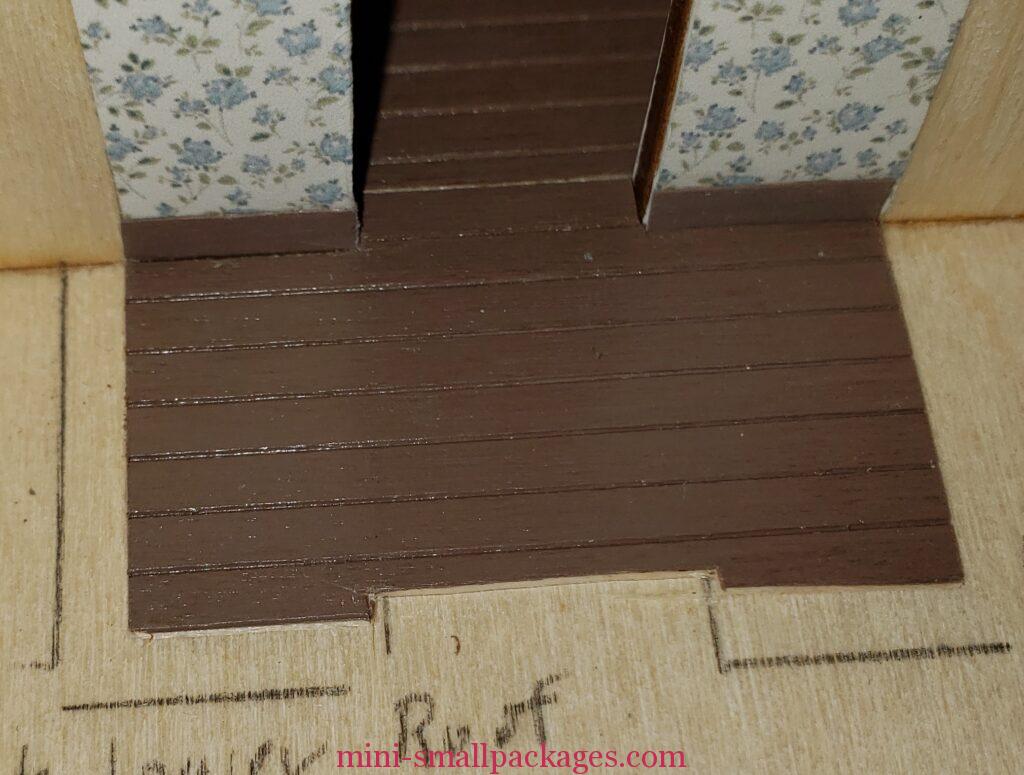
Back to the tower room, I have a gap at the floor.


Apparently the cut on the outer edge is uneven, but I think I can fix it. Thankfully I have been test fitting the walls.

Yep, the cut out for the window frame fixes it.
Here’s the attic and tower room with all the trim in place.

Following instructions I added the angled supports outside the attic rooms


Lower two floors of the back all trimmed out. Not sure if I am ok with the off-white edge under the arch. Should I paint that brown to match the wood trim…?

Second floor trim added to the bathroom – same issue with the off-white wall in between. But in this case, the door will cover it….

Just checking my alignment with the front to back.
Here it is side by side with the attic level added.

Adding lights and the drop ceiling to the attic. These holes were cut with a craft knife that rotates – meaning it is designed to cut curved.
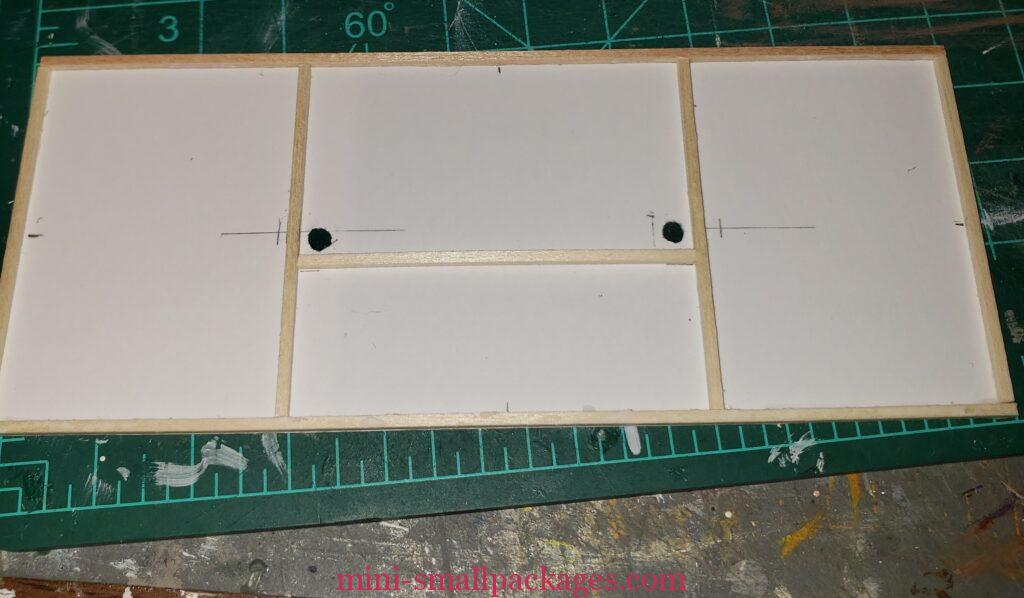
I added the drop ceiling to the back attic section, even with out lights, as well to be consistent.
This pic shows my second method for clamping – clothespins. These are some plastic ones I got at my local Dollar Tree. They have a soft rubber like tip. But I use a protector to avoid marking the ceiling. In this case, I am using a piece of an old credit card. If a clamp is really strong, it is very important to have something in between the clamp and the clamped items.

gently clamping the attic drop ceiling to the roof – there is a piece of old credit card to protect the ceiling
The roof peak was assembled, filler added and sanded. Then painted. The flat roof and roof peak were all added.
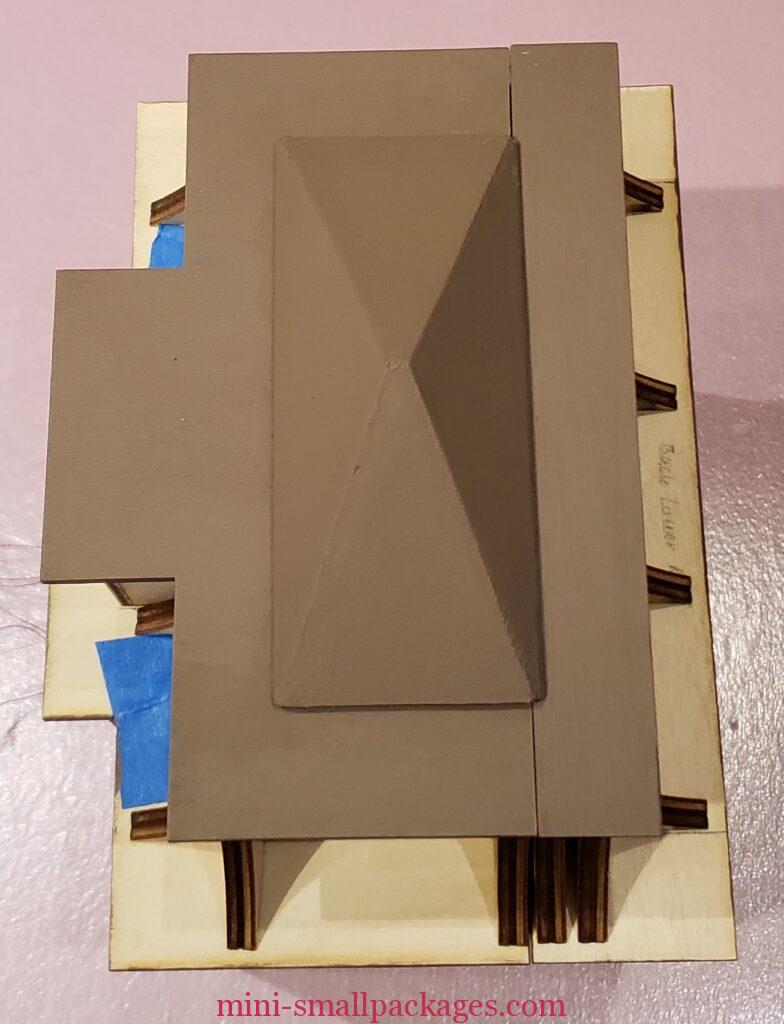

The front with the roof and peak. Finally!

Interior with more trim added. The first floor middle doorway will be added later.

Here can see the wires coming out from the top floor ceiling (attic) and rather than go in the corner, I left them somewhat loose to go under the curved roofing yet to be added against those curved supports.

The bay front for the first floor has the lower portico. It will be open windows and this portion needed the stucco (wood filler). But I wanted to be sure it was flush, so I was very careful with adding it. I applied blue tape to the area I didn’t want it to go. Still I had to do some sanding.

The house with the lower and upper portico assembly on it but not attached yet.

The upper portico is wallpapered inside and stuccoed outside. Keeping the stucco off the flooring and roofs was a real challenge. I used blue tape, but had to do some sanding and repainting anyway. I also found the extra pallet knives I purchased per the supply list helpful.

I have started on the basement. The lights had been just taped in place. I am really glad I didn’t try to start here and figure out the lights. Having the drop ceiling method already in, plus tested and working well, made it a breeze to do this one. The biggest issue was the light placement. It was important to have the layout of the rooms in mind for the bracing in the drop ceiling as well.

Notice the wires are a mess and not all taped under now. Those will all be hidden under the hill. But I am not sure how high or wide the hill needs to be.
The project was on hold until I had a cover.
Next up – a cover and basement
Happy miniaturing!
Preble