the inspiration and planning
A very typical scenario for me is to be inspired by others on what to work on. I have done this for years – before the internet clubs it was always a local mini club or a show.
On one of the lists I am on a while back a project was shared by one of my favorite miniature artists – Susie Newell. She makes fabulous Suessy like dolls. In the miniature world, far too often dolls can be so blah, but her’s are so fun and they fit right into her often whimsical structures. But I digress. The project she shared was Alice in Wonderland. As I looked at her pictures, as is often the case, I said I want to do that. And then, as often is the case as well, I said, not right now (if ever).
Fast forward to a time on LittleEnoughNews yahoo group (no longer around) where I was a co-owner. One of my self-chosen roles was to encourage fellow LENies to participate. I was running swaps, theme months, doing random drawings, etc. One of our swaps was Whimsy and as the topic grew and was expanded the Alice in Wonderland idea came up. So I issued a challenge – make a AW themed project.
The more I thought about this theme, the more it came to my mind. OK wait – duh. Well anyway…. I was reminded of a cake I saw. Cakes are really good project ideas. They make miniatures as well as we do, just theirs are edible. (I can’t do the cake thing, all that time and then it is destroyed as that is its original purpose – not me.) Here’s a link for the cake I liked (BTW, I love Cake wrecks. Every Sunday are the really well done cakes and the rest of the week are those “oh no they didn’t” or “what was that” sort of cakes. )
As I think about this project one of the decisions is what to put into the project. This is a book with so many aspects to choose from. Do I choose only one or several? Since the falling down the hole is one of the bigger ones it is what I am thinking about now.
The next day I woke up thinking about a comment by another co-owner that she would want to incorporate the images from the book somehow into the project. The answer goes along with a concept that I am working with another project – altered boxes. The hole could be the intersection of boxes and the images can be on the outside of the boxes. My Mother Goose project was sort of altered boxes.
I am not for sure why we are calling them altered. Mine aren’t altered unless you consider all my work altered as I build it and then have to do some sort of altering as I build it wrong somehow. Or change my mind about something. Altered boxes though to me are just boxes that are assembled and then covered with paper and more paper and/or embellishments. Layered. But everything works together. Maybe the papers are color coordinated or the whole theme is coordinated. Maybe altered because it is added to and not just the minis added.
As I was thinking about what to go into the project, I thought about the playing cards in the story. I am making mine in 1:48 scale and so small playing cards may be ideal. I don’t recall having any so I was thinking I need to go buy some. But it occurred to me that they might be hard to find. I really don’t want to spend any new money if I don’t have to on minis. Plus using the cards I wouldn’t use a whole deck so that is wasteful. Not to mention even if I found a deck would it be a style I like? My solution was that I could make my own via internet images and maybe even scanning some larger cards and reducing.
My next thought was about the container. For this one I thought of a plastic dome given to me very recently. This was a situation where a friend knew I made miniatures and was helping another friend clean out her house. My friend thought it might be something I could use and I said yes without even knowing if it would or not. I will have to modify the base, but I think it will work.
Next comes my sketches and notes. Rough stick figure type sketches. Maybe I measure now. I also need to decide if I am going to light it and what will be lit. Better to do that now. Believe me I far too often decide later and then have to undo or deal with the how do I hid it now problem.
So I am back to deciding what is going to go in this project besides the rabbit hole and tunnel. I decide I need to re-read the book to find out. This book is available on Google books as it is out of copyright. I started reading it on my phone and I am doing screenshots on the images for any I think I might want to use on the ends or backs of boxes.
I like to act on the inspiration. However miniature inspiration can leave me just as quickly as it can over take my thinking.
getting started
I admit it – I am a dreamer. I love designing things. Planning a mini project is a lot of fun to me. But I get it, many do not enjoy this so kits are a good thing.
However if you want to continue with me on my journey to my Alice in Wonderland project keep reading. Nothing wrong with getting a kit and kit bashing it – simply to modify it to fit your dream.
I was considering a dome that a friend had given me. The size of the dome is 7 x 8 inches approximately. I made some paper boxes to see if this was going to work for what I had in mind and for what I was willing to put into effort-wise with this project. Quite frankly, I love tons of details and love lots of figures but I knew I would get bogged down so I was trying to work around not doing all of that.
I tried the paper boxes and soon decided I needed something sturdier to work with. Since I was working on an another altered box type project (Swaps Mall) and those weren’t all glued in place, I used those to let me see. I soon figured out the 7×8 dome was more than I wanted to deal with.
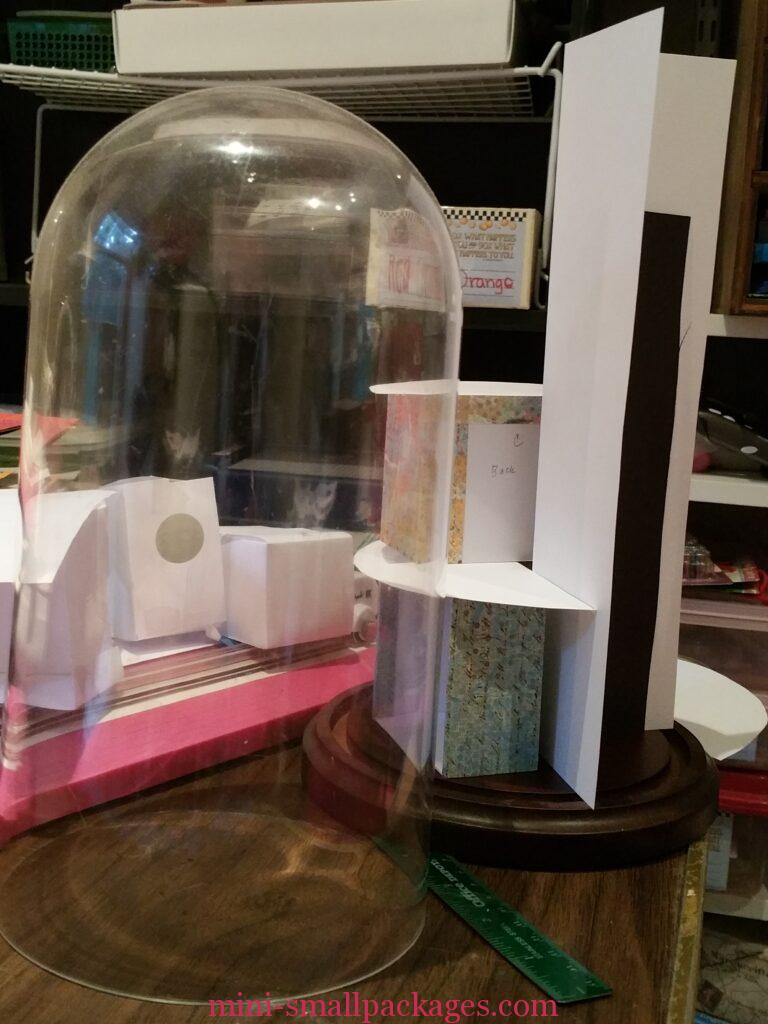
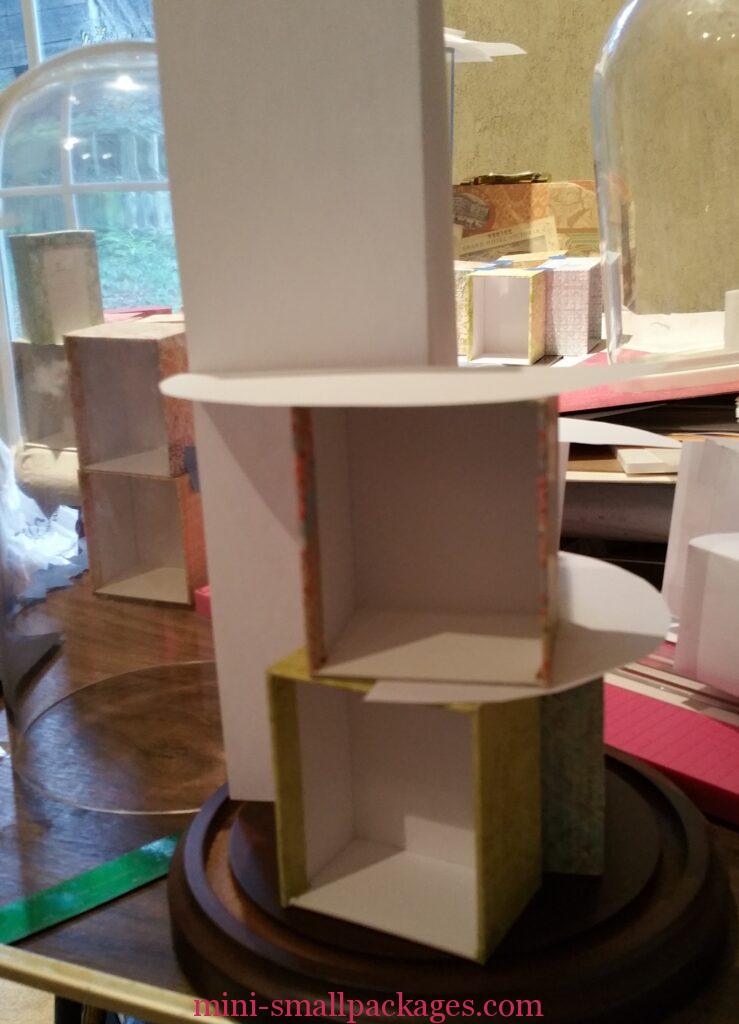
Here is the second choice dome – also plastic from a thrift store given to me. This one is apx 8 x 5 inches.
At this point in my designing, I am just getting a feel for size and spacing. Also determining if I want to use boxes or not. Boxes being squarish and I am putting into a round dome.
Time to cut
Next I source some foam core board and matt board for actual cutting. I save nearly all scraps so I start with those first. I have decided against the boxes. They chop up the space too much. Not sure if I will still be able to include the illustrations or not.
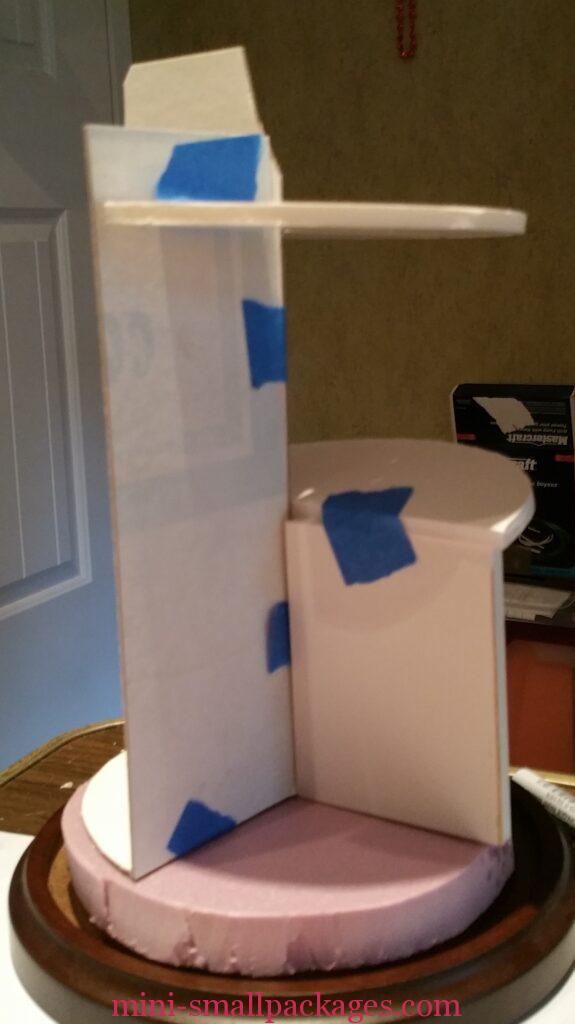
This one I have cut two half circles. Oh how I love blue tape. I really don’t remember what I did before that – guess it was pins or masking tape.
My plan is a long section on the back side – the matt board on the left that is the rabbit hole. I am going to add some curve to that with toilet paper roll cardboard but also have the room below so it will taper to that room.
The tall space you can see on the left was going to have the white rose tree, but have decided it doesn’t need two floors/layers.
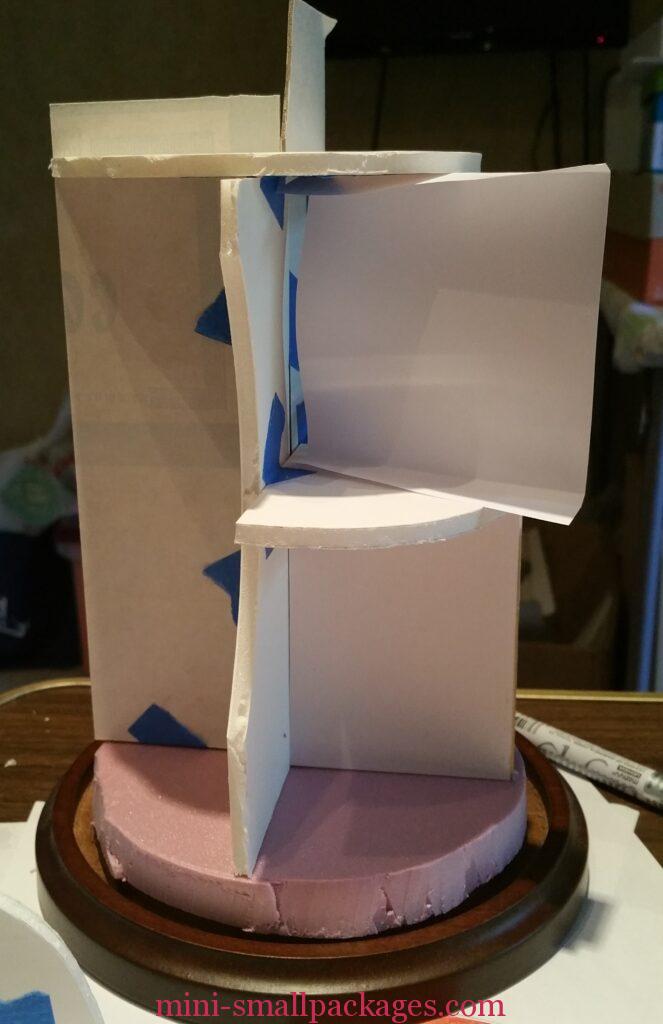
To the right in this pic on the second floor/layer can see some paper inserted as a wall. This is just me testing placement of a wall.
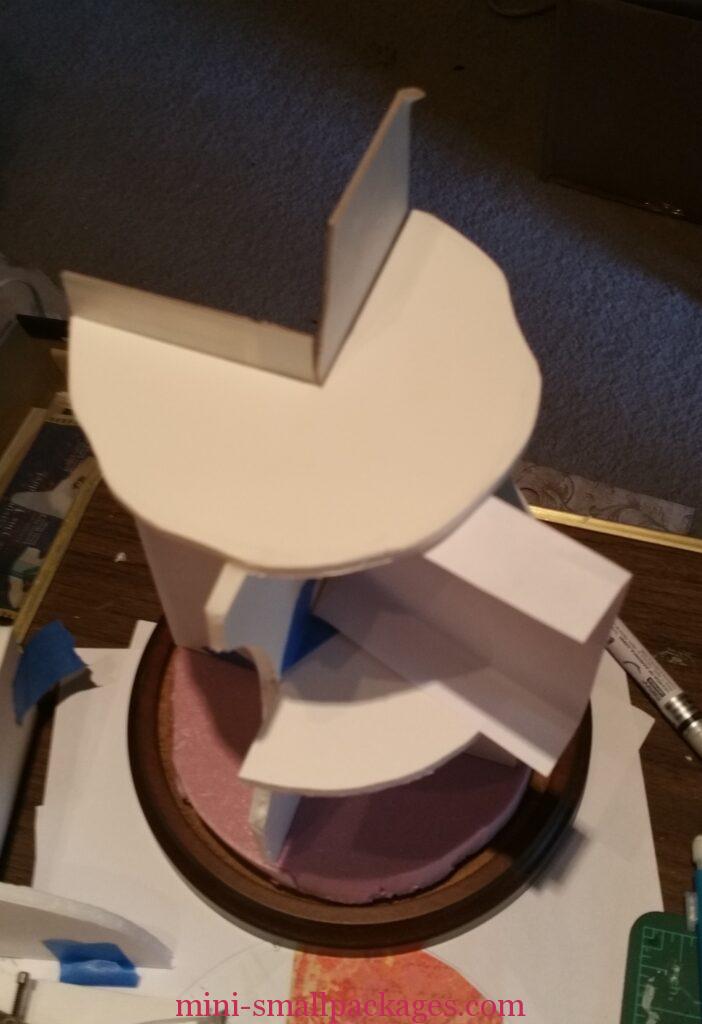
This is more a top down view. Can see that the top is now a 3/4 circle. It is actually slightly smaller than the 5 inches across. This will allow to see more below – less of a house look.
The matt board section is the rabbit hole. I will have to cover it so it is indeed a hole and not the 1/4 of a circle. This top section will just be landscaped mostly.
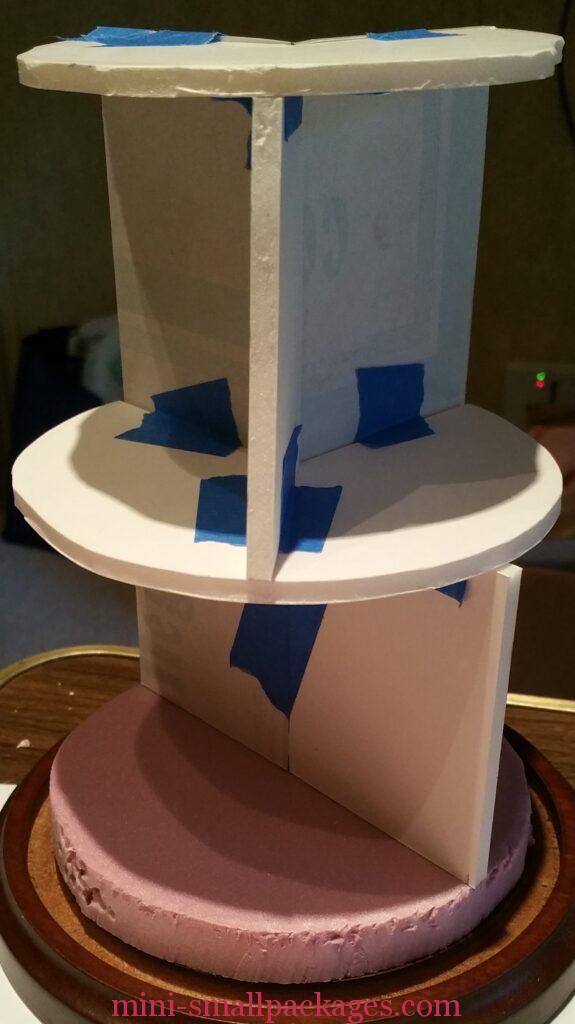
At this point I will be cutting another 3/4 circle and adding support walls that will also section. There will be three sections on the bottom. Half will be the white roses tree plus procession of cards. The rabbit hole room a quarter and white rabbit’s house will be the last quarter.
The middle section will also have three areas: the rabbit hole quarter, the tea table a third, and the court session a third. This means my walls will not overlap on the non-rabbit hole section from bottom to middle.
I am planning to make all the walls from foam core. I would use gator board if I had it but I don’t. I am not buying any as I figure I can deal with the warping that may occur as I normally have to do. I am trying to use up items in my stash rather than purchase anything.
I cut my foam core pieces the way I had planned to this point. I decided to use the two matt board pieces for the rabbit hole.
Next: Falling Down the Rabbit Hole
Happy miniaturing!
Preble
If you enjoy my website, please consider making a small donation via PayPal.me/minismallpackages. Thank you!