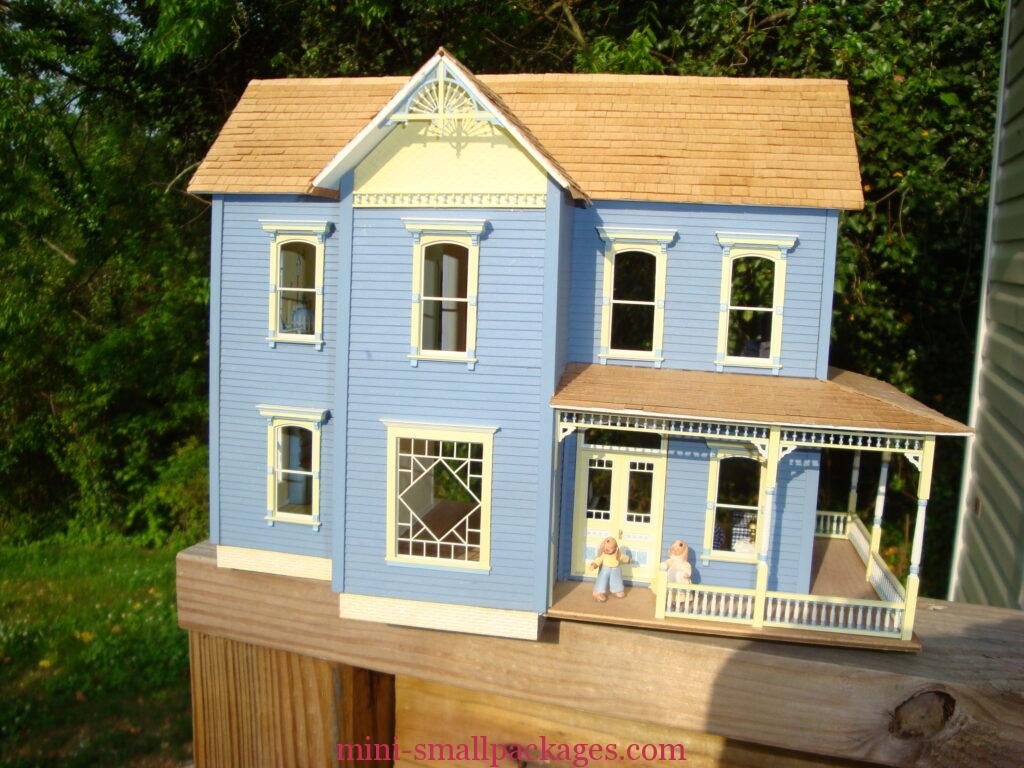
Many years ago when I was in a miniature club one of the members had this house. I spent a miniature meeting tracing around the pieces and planning to cut one for myself. The following year she passed away. Some of the other club members were asked to sell her items and they decided to gift me this house kit.
The kit was designed and sold by Bill Langford I believe. I call it the Worth House because my friend’s name that passed was Helen Worth. She had business cards made that had her motto on it: It’s Worth It. When I see this house I always think about her, visiting her house and seeing her miniatures.
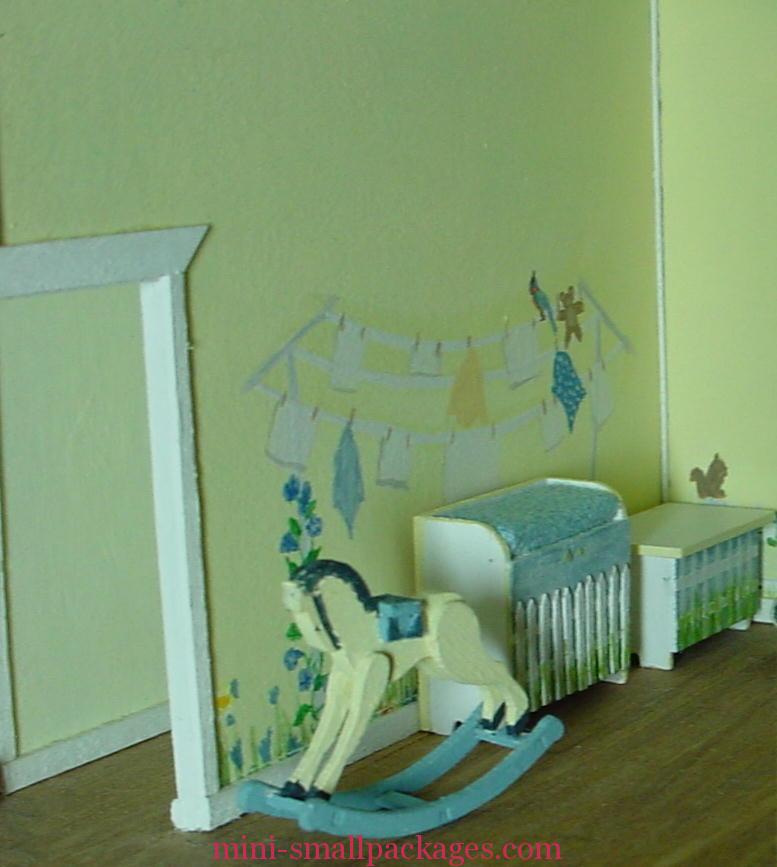
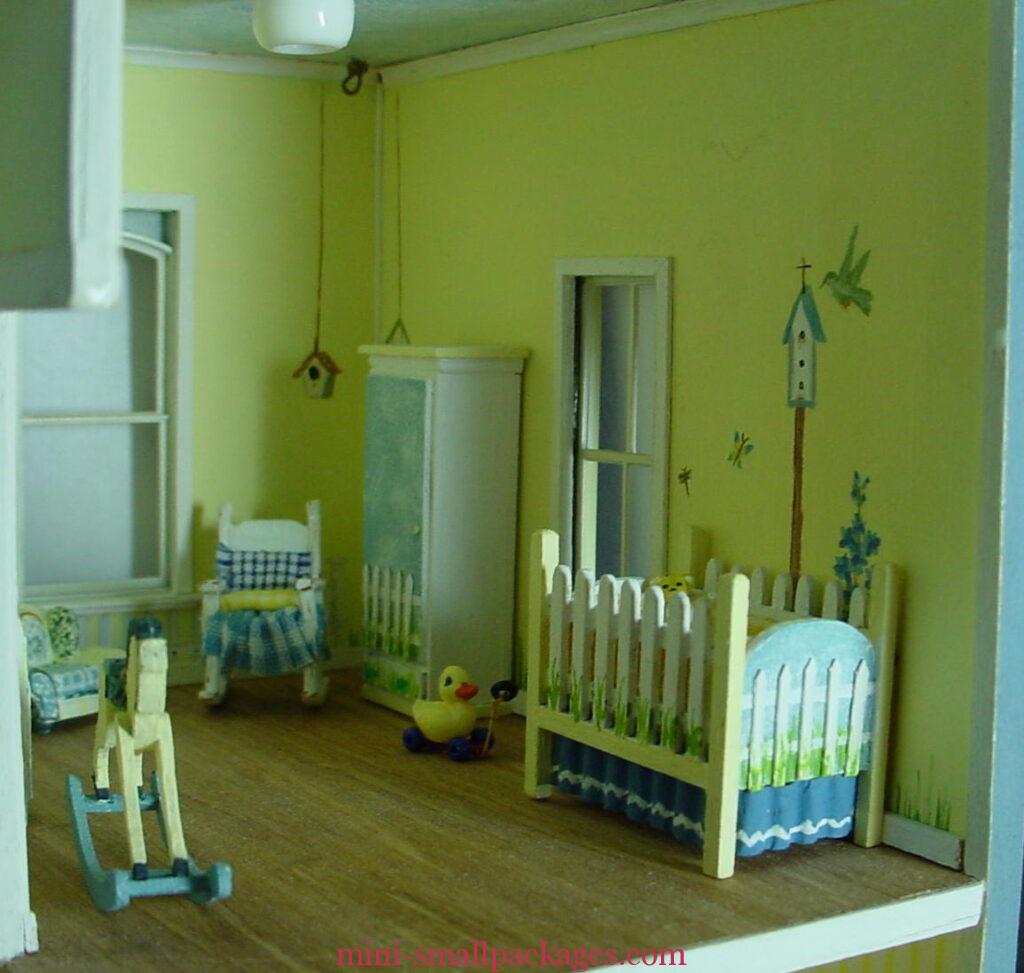
Another club member had some decorating magazines at our club meeting. I found this nursery room and decided I wanted to create it in miniature.
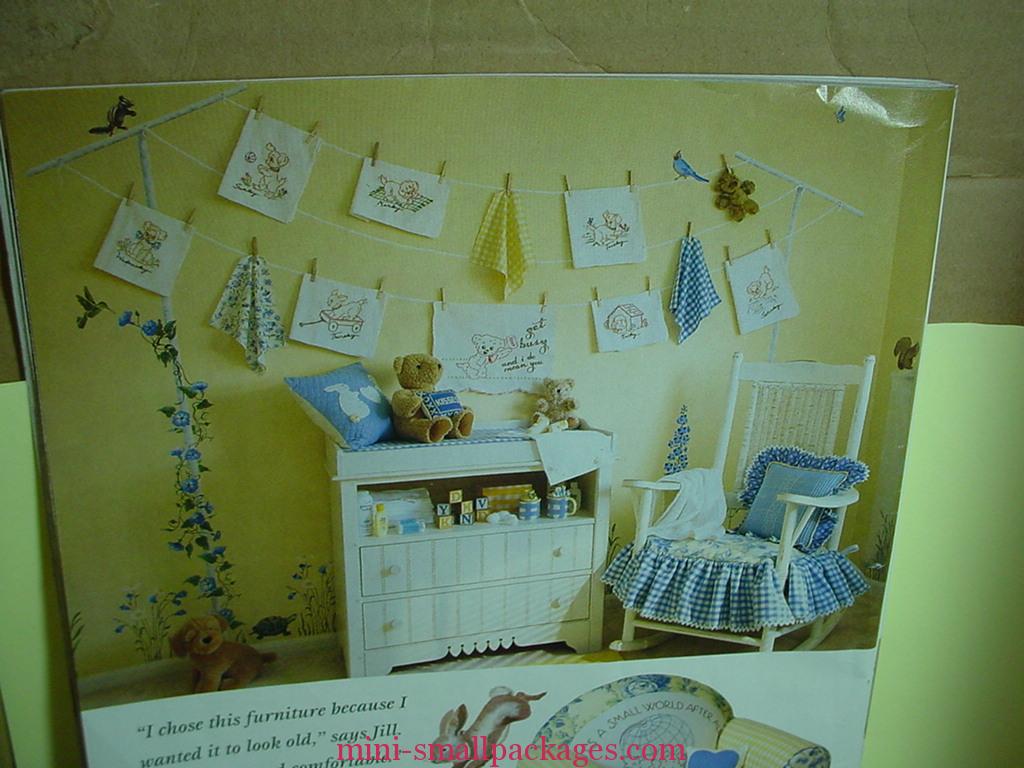

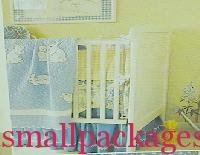
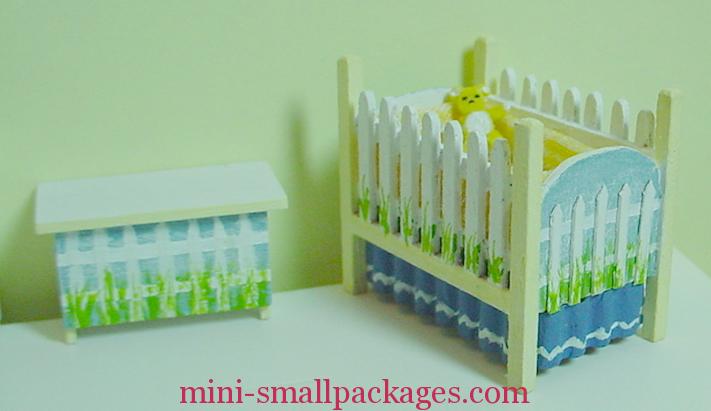
I used a Pam Junk kit to make my crib. The skirt is made using corrugated paper.
Before I assembled the house, I painted the walls of the nursery.
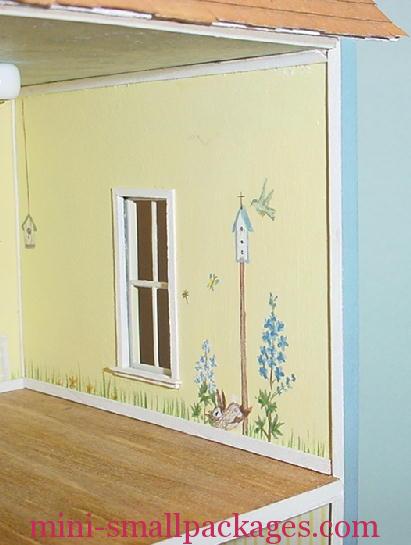
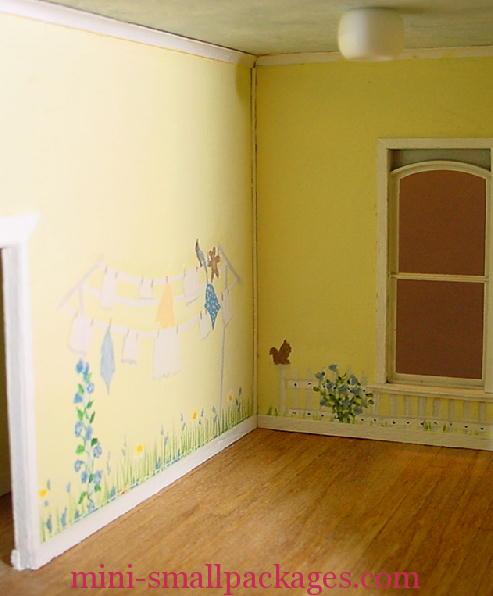
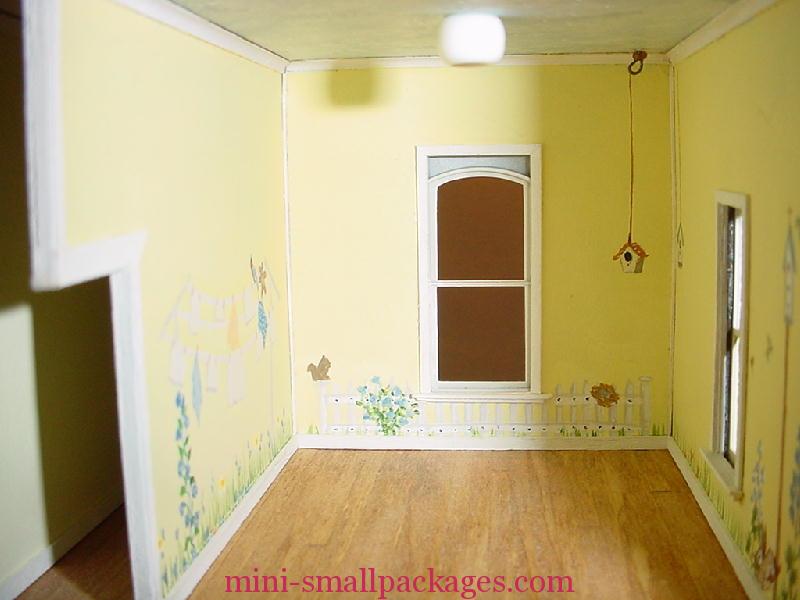
When I painted them, I didn’t think about base board being in front. I would have painted above that line if I had realized that.

Now for the rest of the house
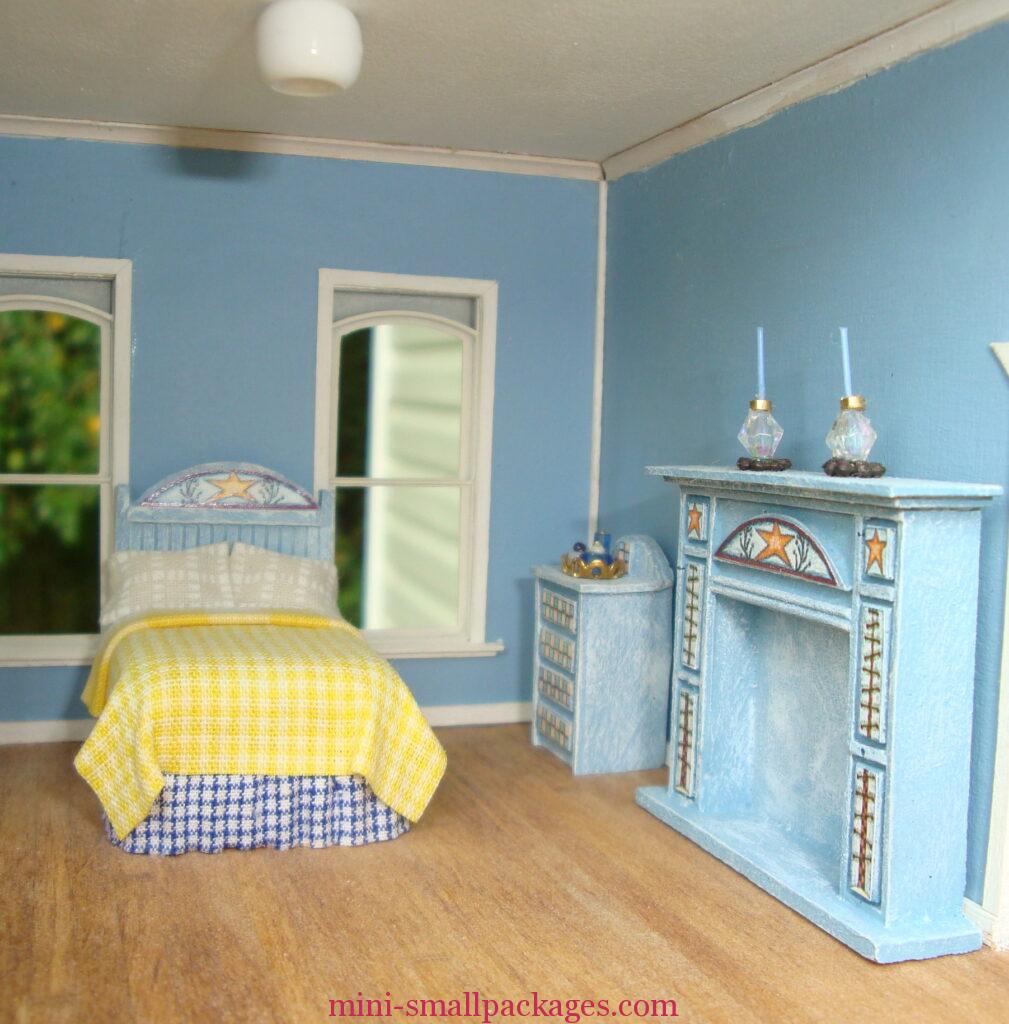
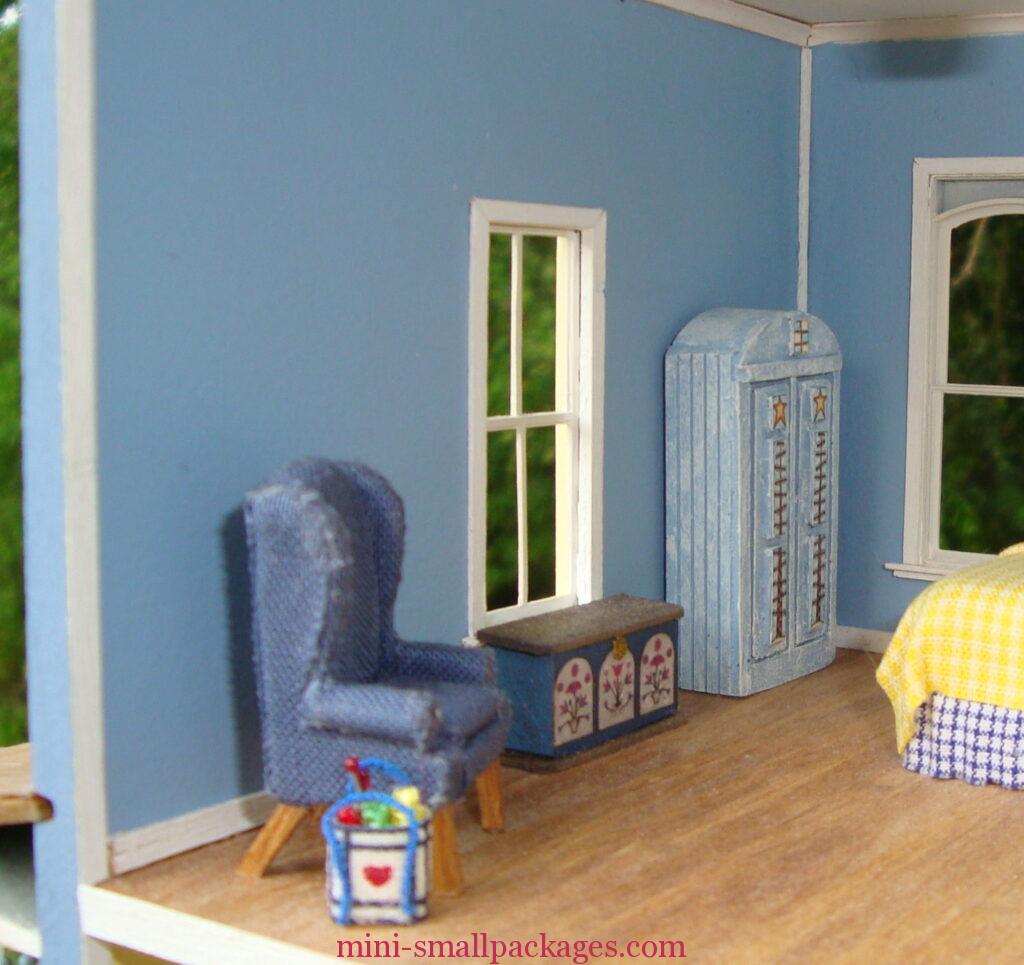
Master Bedroom
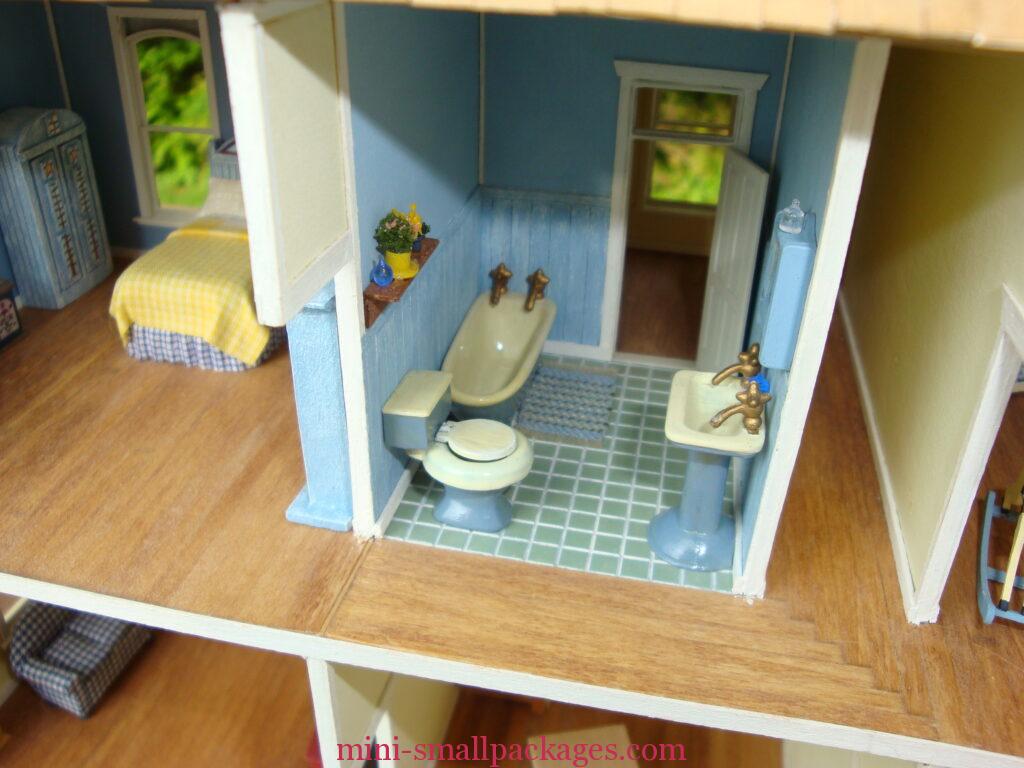
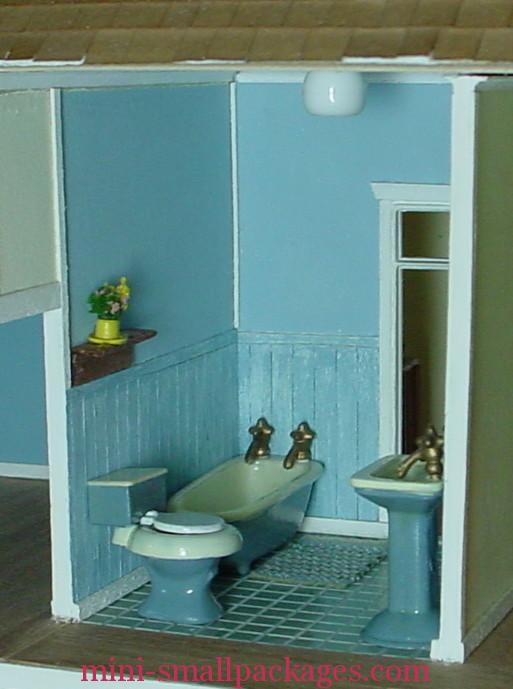
Bathroom
Bathroom is made using BPF. I painted it using oil paints because I wanted a shiny surface. It is good that I went with off white because this paint does change color. I think spray paint would be better.
Downstairs

Unlike the upstairs that is mostly finished, I am still playing around with the downstairs. These items were from swaps or from kits. I painted the clock that is BPF.
Base and Cover
When I first built this house, I bought a nice custom plexi-glass cover. I didn’t purchase a base. I don’t recall what I was thinking. It was too short so I used the cover for another project sometimes swapping what i covered with it especially in my open living area on the island. One day the cats knocked it off and fortunately the project was ok. However the cover was not. I kept using it for awhile until it got knocked off again.
More recently I purchased a couple of covers from the local hobby chain store during a half off sale. I discovered this house fit inside of one made of glass. Glass is heavy, but it is far less likely to scratch. The base with this cover included a mirror. I don’t want the mirror and it makes this even heavier.
The cut away (at the top) was where we had used a dremel to remove some extra that was making the glass cover not fit.


We pried up the mirror. Yes, it broke but it was intentional. I wasn’t trying to save it.

Then everything came apart. Turns out the base was easy to separate and I could have gotten the mirror and flat portion out without the effort of breaking the mirror.
Hill
I have always pictured this house on a gentle hill. The other cover would have had a bigger yard, but I put off landscaping, so might as well make this easier.
I cut two pieces of pink construction foam. The kind I had is 3/4 inch thick. I used pins to combine it.
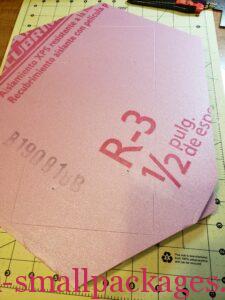
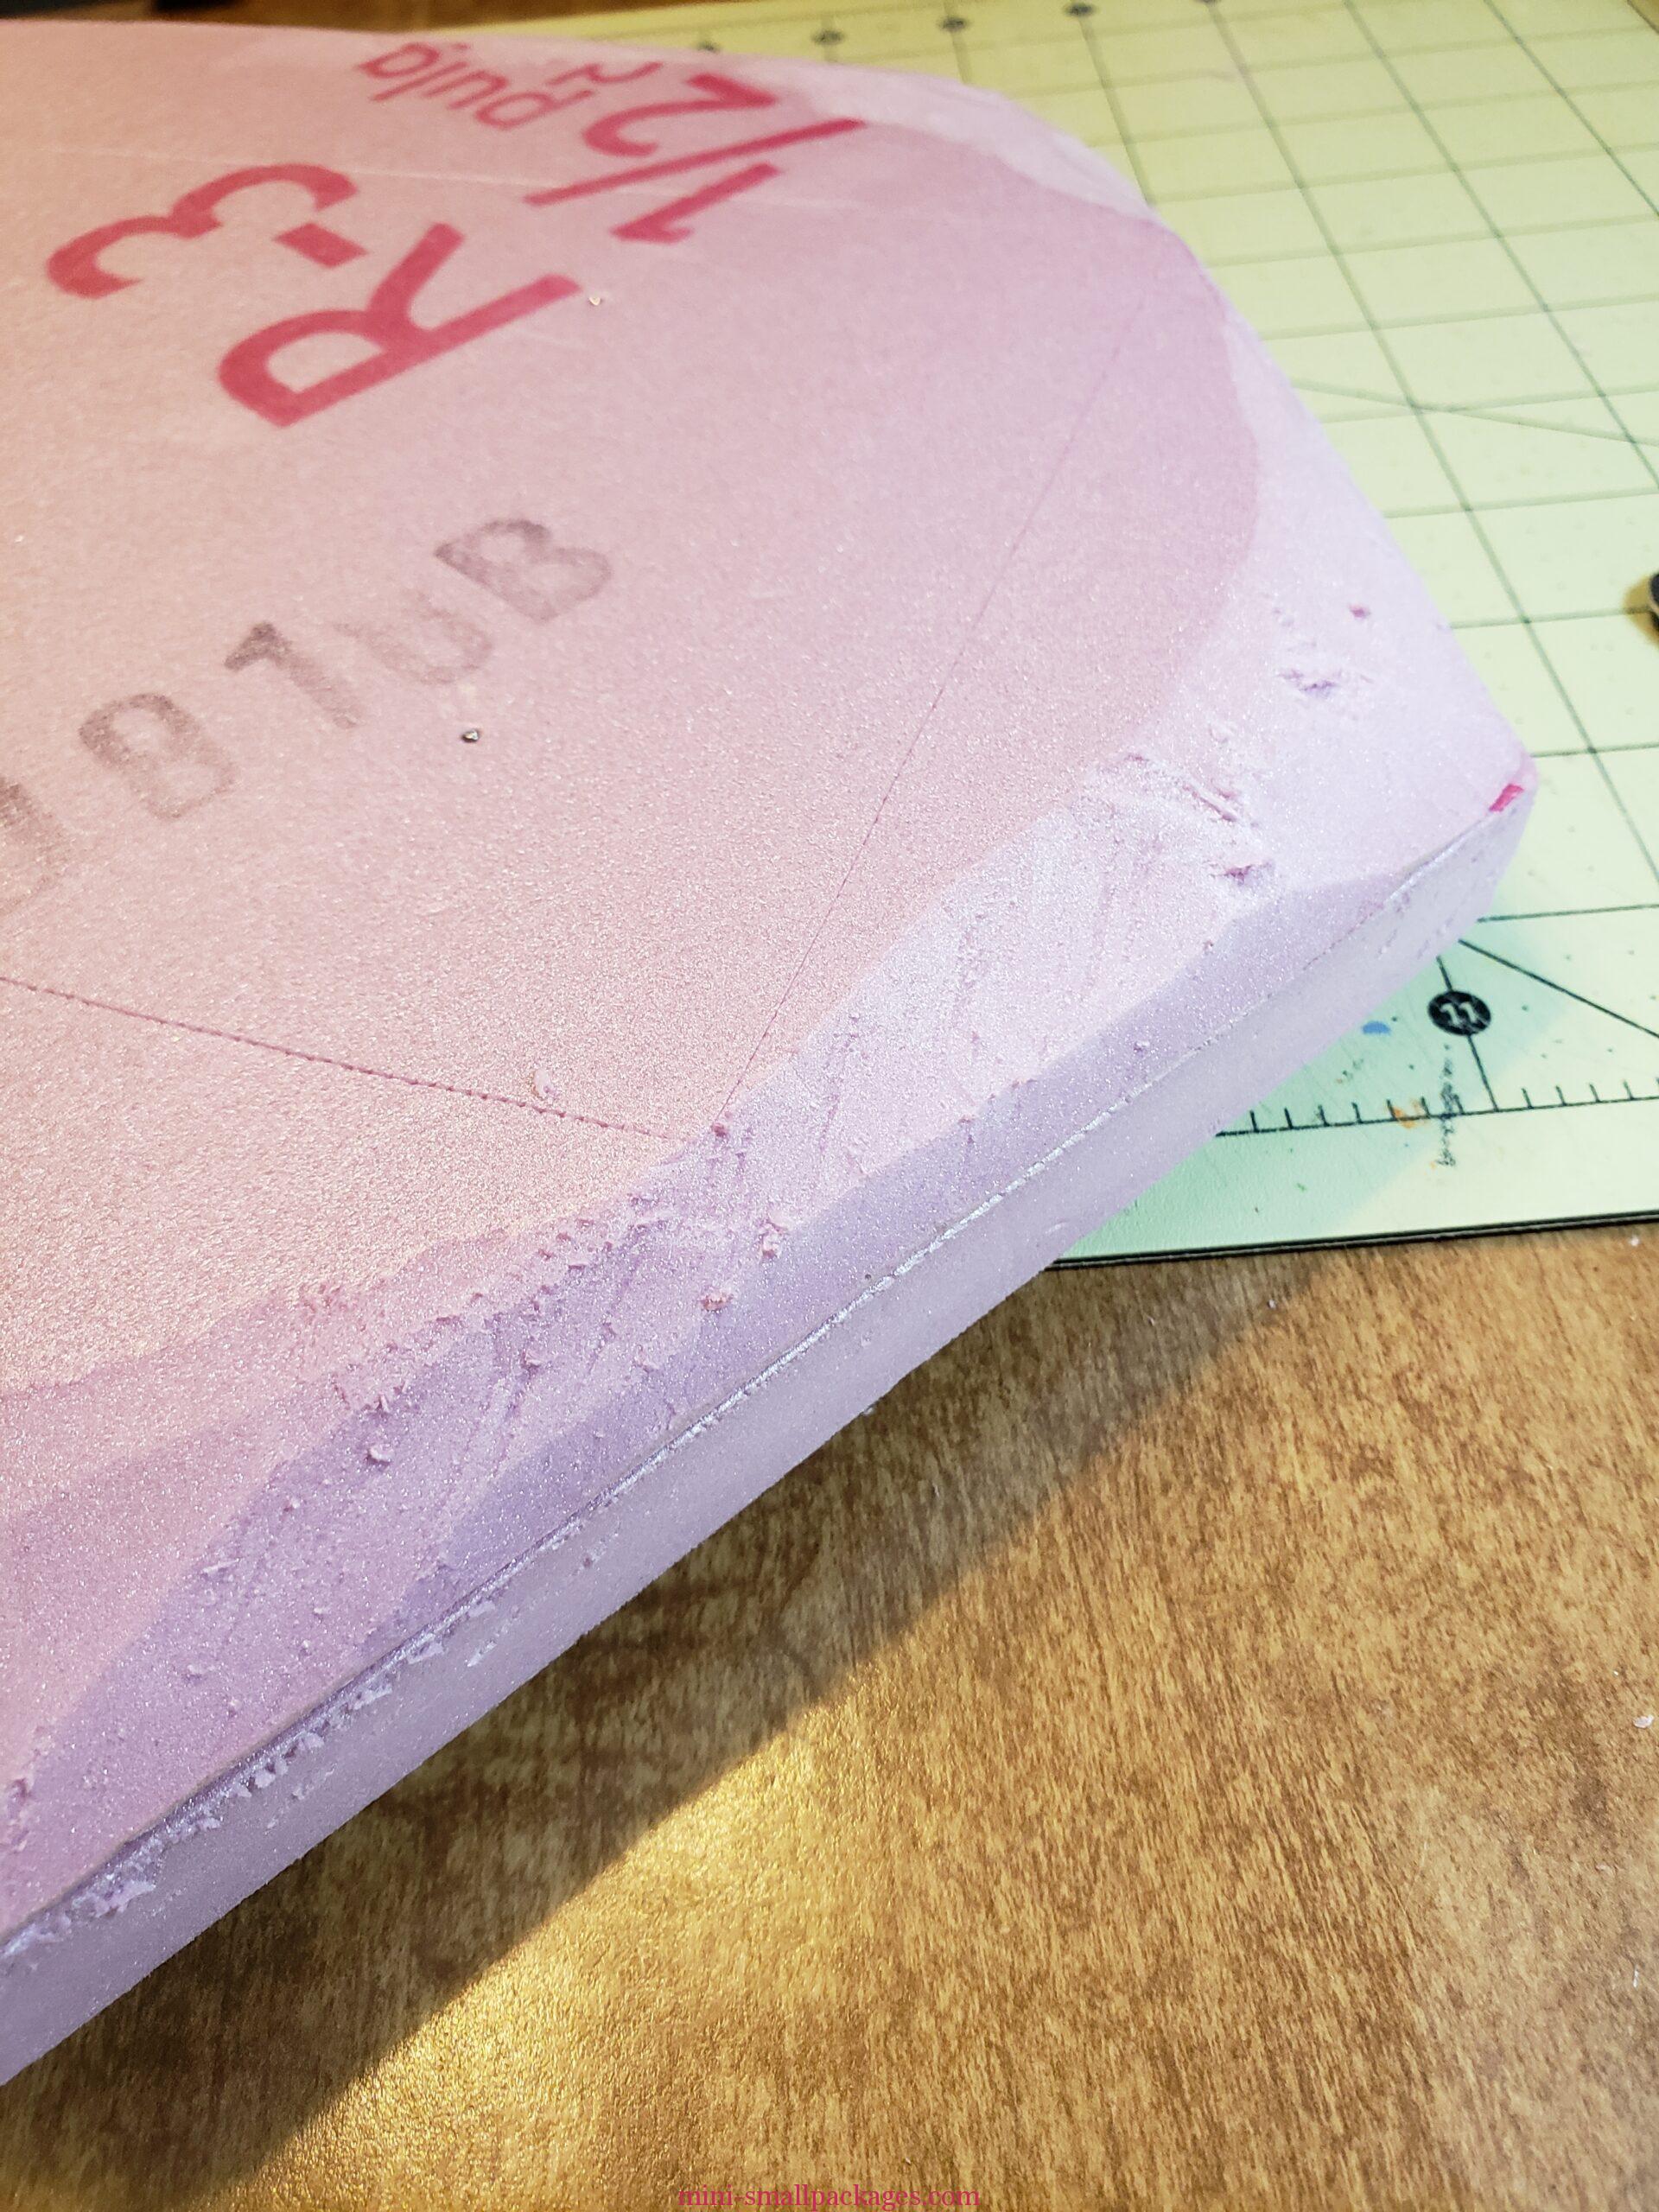
I have used a craft knife to shape the edges.
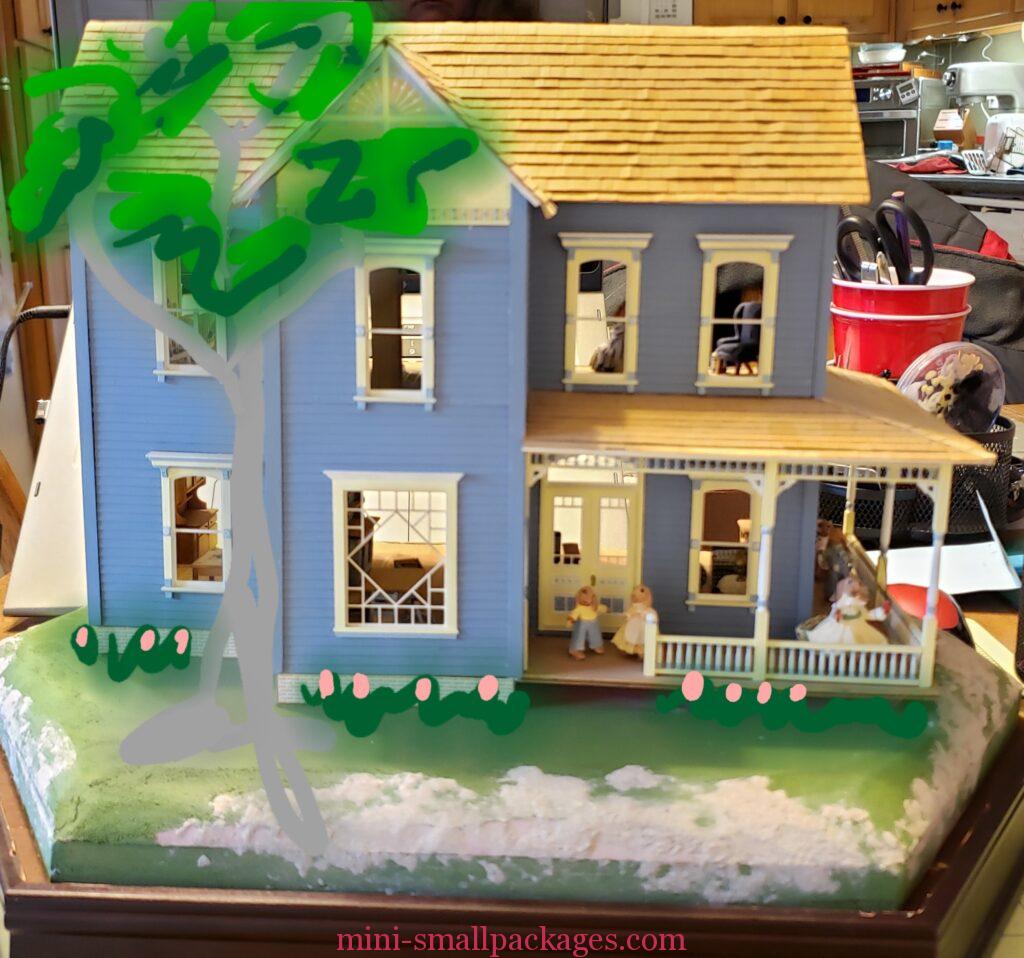
I’ve painted the base green. Then decided it needed some fill in. I used celluclay to do that. Then in a photo program (on my phone) I played around with landscaping ideas by drawing on a photo.
Stone work
I purchased some stencils from this etsy store https://www.etsy.com/shop/MiniMinutia
I used the wood filler and carefully added a section at a time to the edge of the foam base.
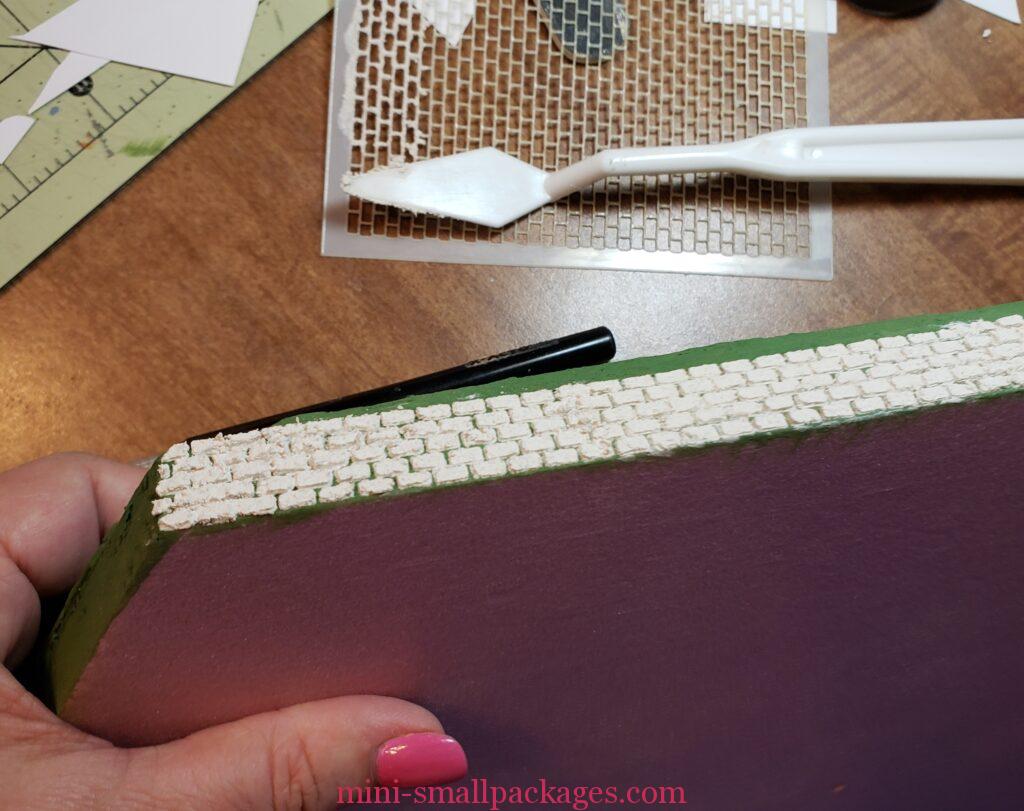
Because some spots were uneven, the filler would bleed under. It was important to clean up the lines after I removed the stencil. These bits would often fall off quite easily.
It was important to let the section be completely dry before adding to it. I would overlap at one end by only a couple of bricks to make sure I was lined up.
It was also important to clean up my stencil each time before the product dried too much. I didn’t want to tear the stencil.