My vision of the kitchen was very grand but the size of the area changed that vision drastically.
I had purchased several kits from various vendors.
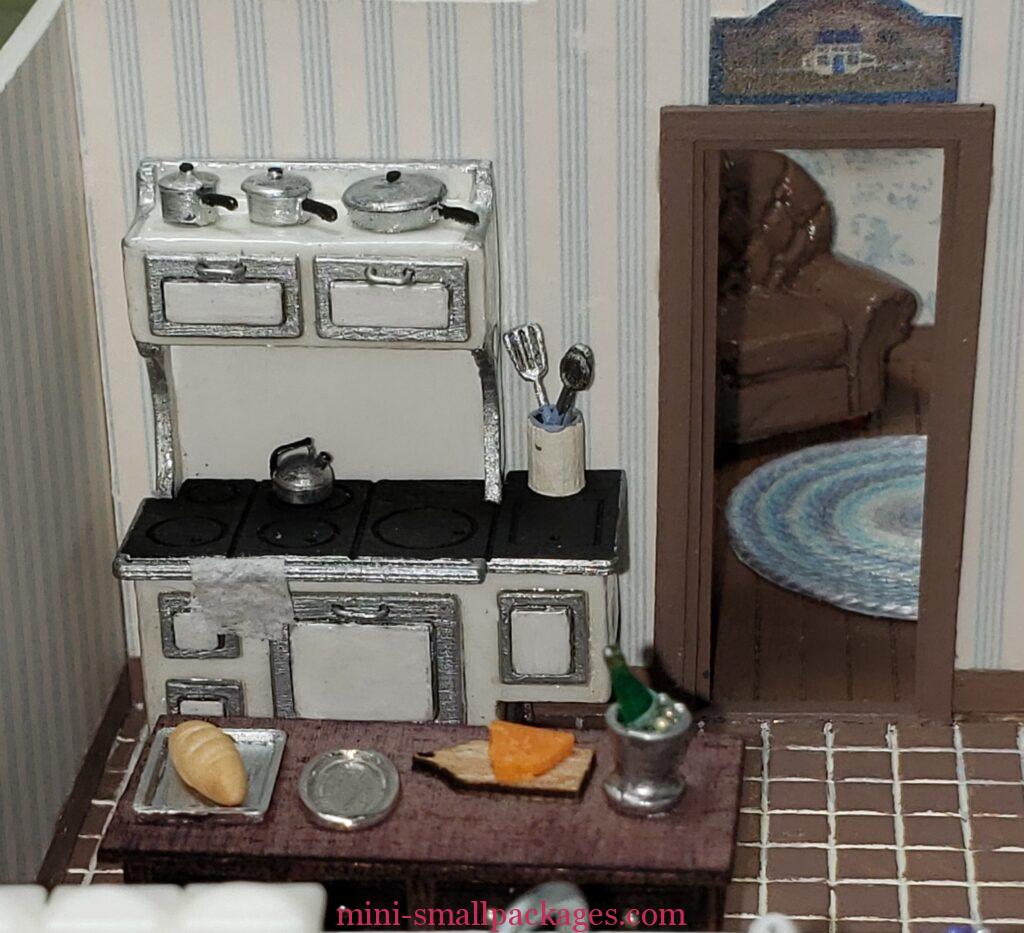
Stove
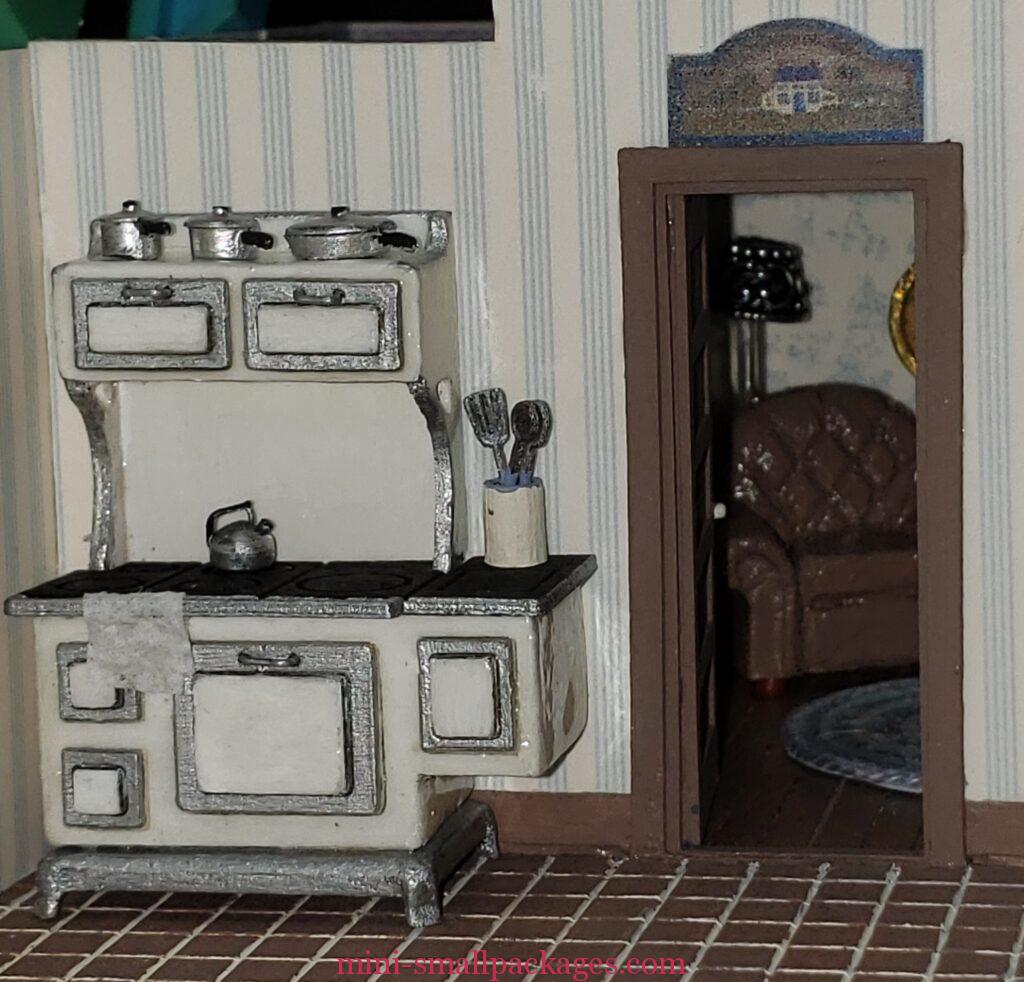
I used a Betterley kit – this one was the Valentine style, but there were several versions offered.
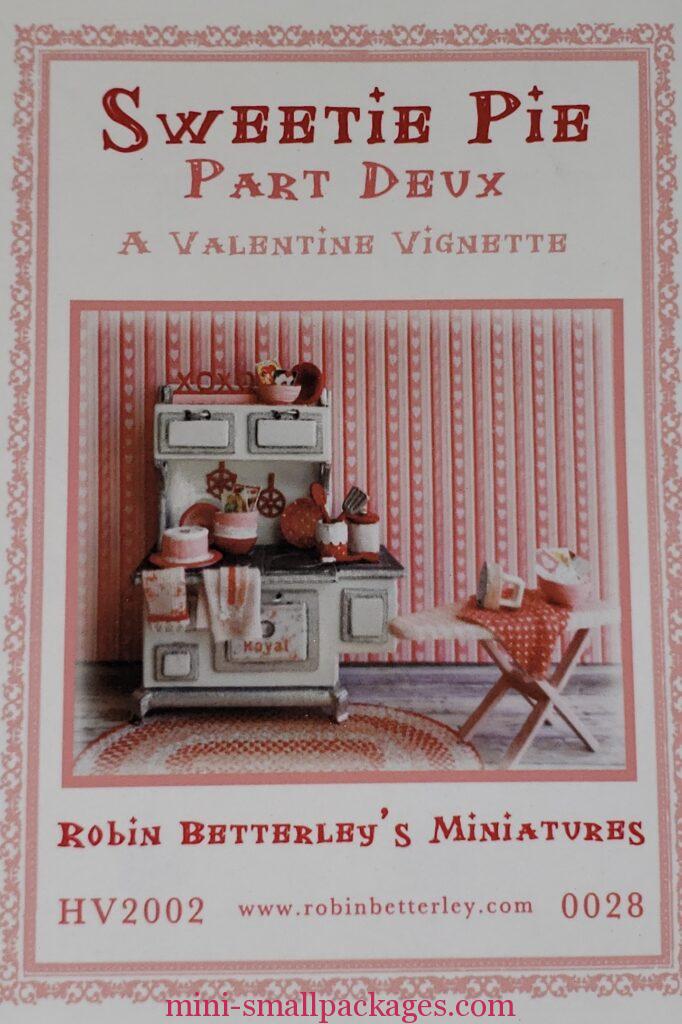
I painted the stove white but used Triple Thick Gloss to coat it and that changed the color slightly. I don’t care what the labels say, they all will yellow some. Maybe some less than others.
For the silver color I used a paint marker. It was good and bad. It didn’t seem to want to dry and it looked great at first, but then flattened later. Instead, for future I would use my Outdoor Acrylic by FolkArt. I am normally a Ceramcoat girl, but for the silver their product is really great. The pots and pans were done using it and it is great. But then a smooth finish looks great anyway.
The pots on top and teakettle were from a set by Debbie Young of Young at Heart. The crock with tools was from the Betterley kit. The towel is just paper towel glued around the wood rail.
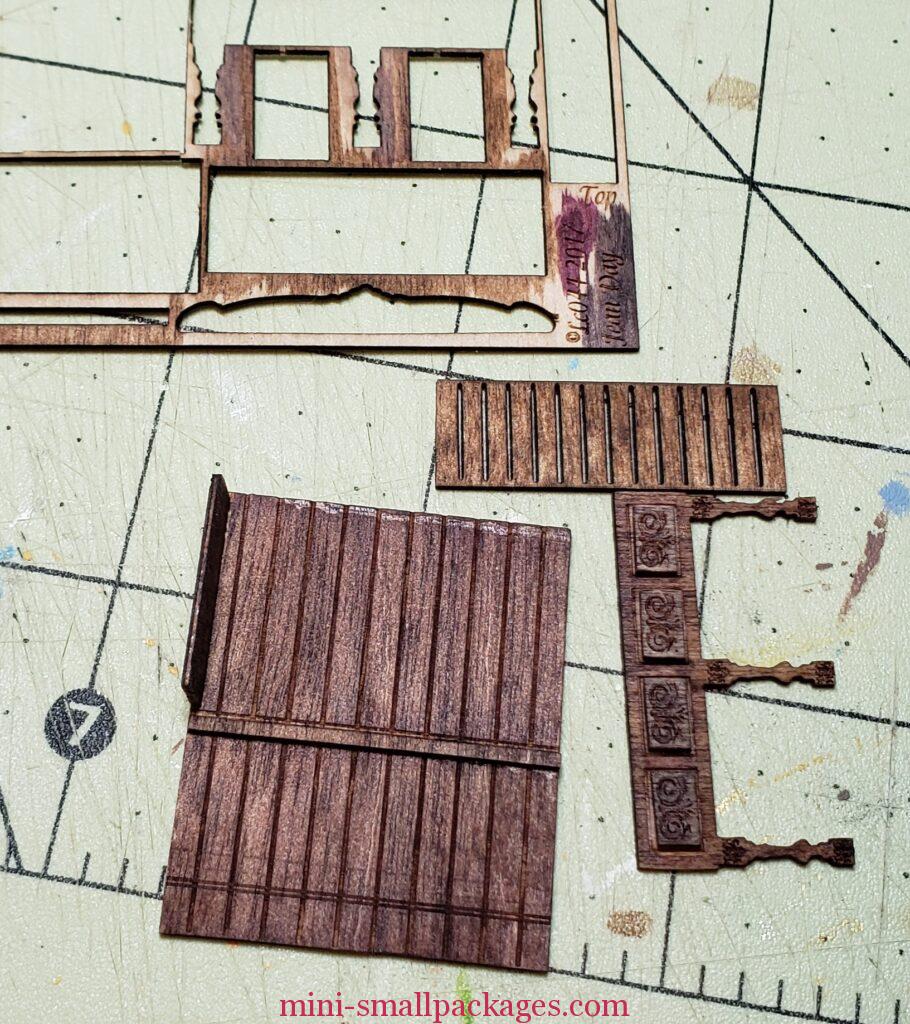
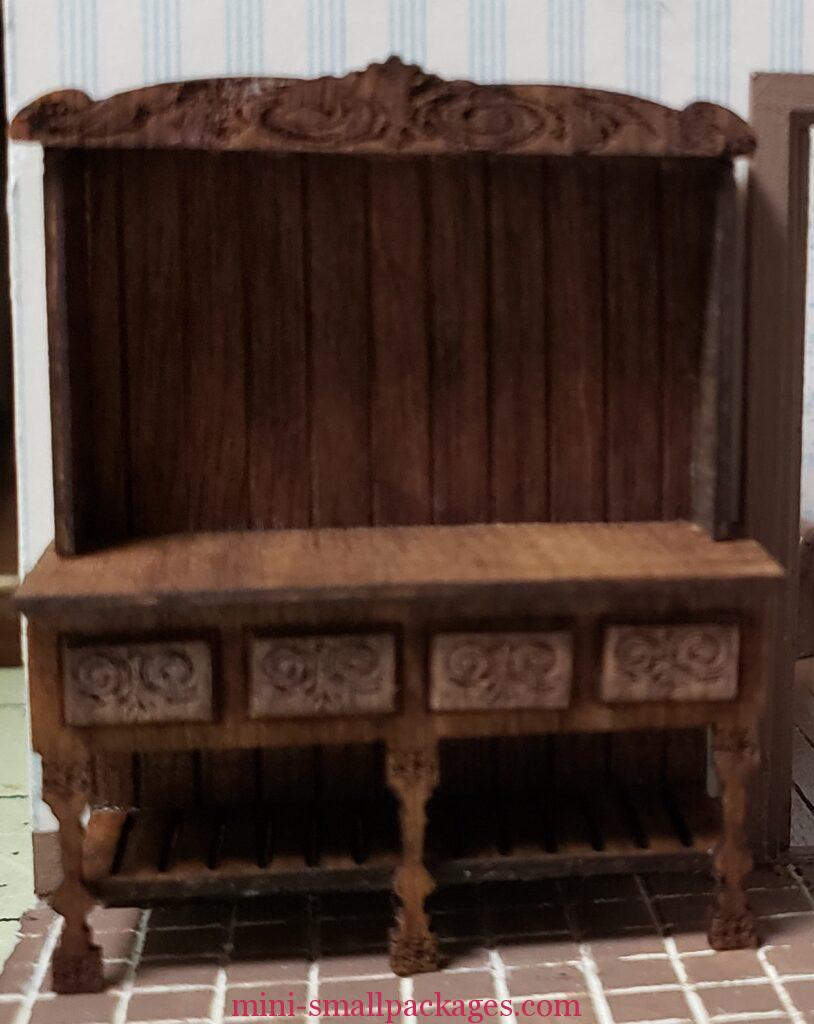
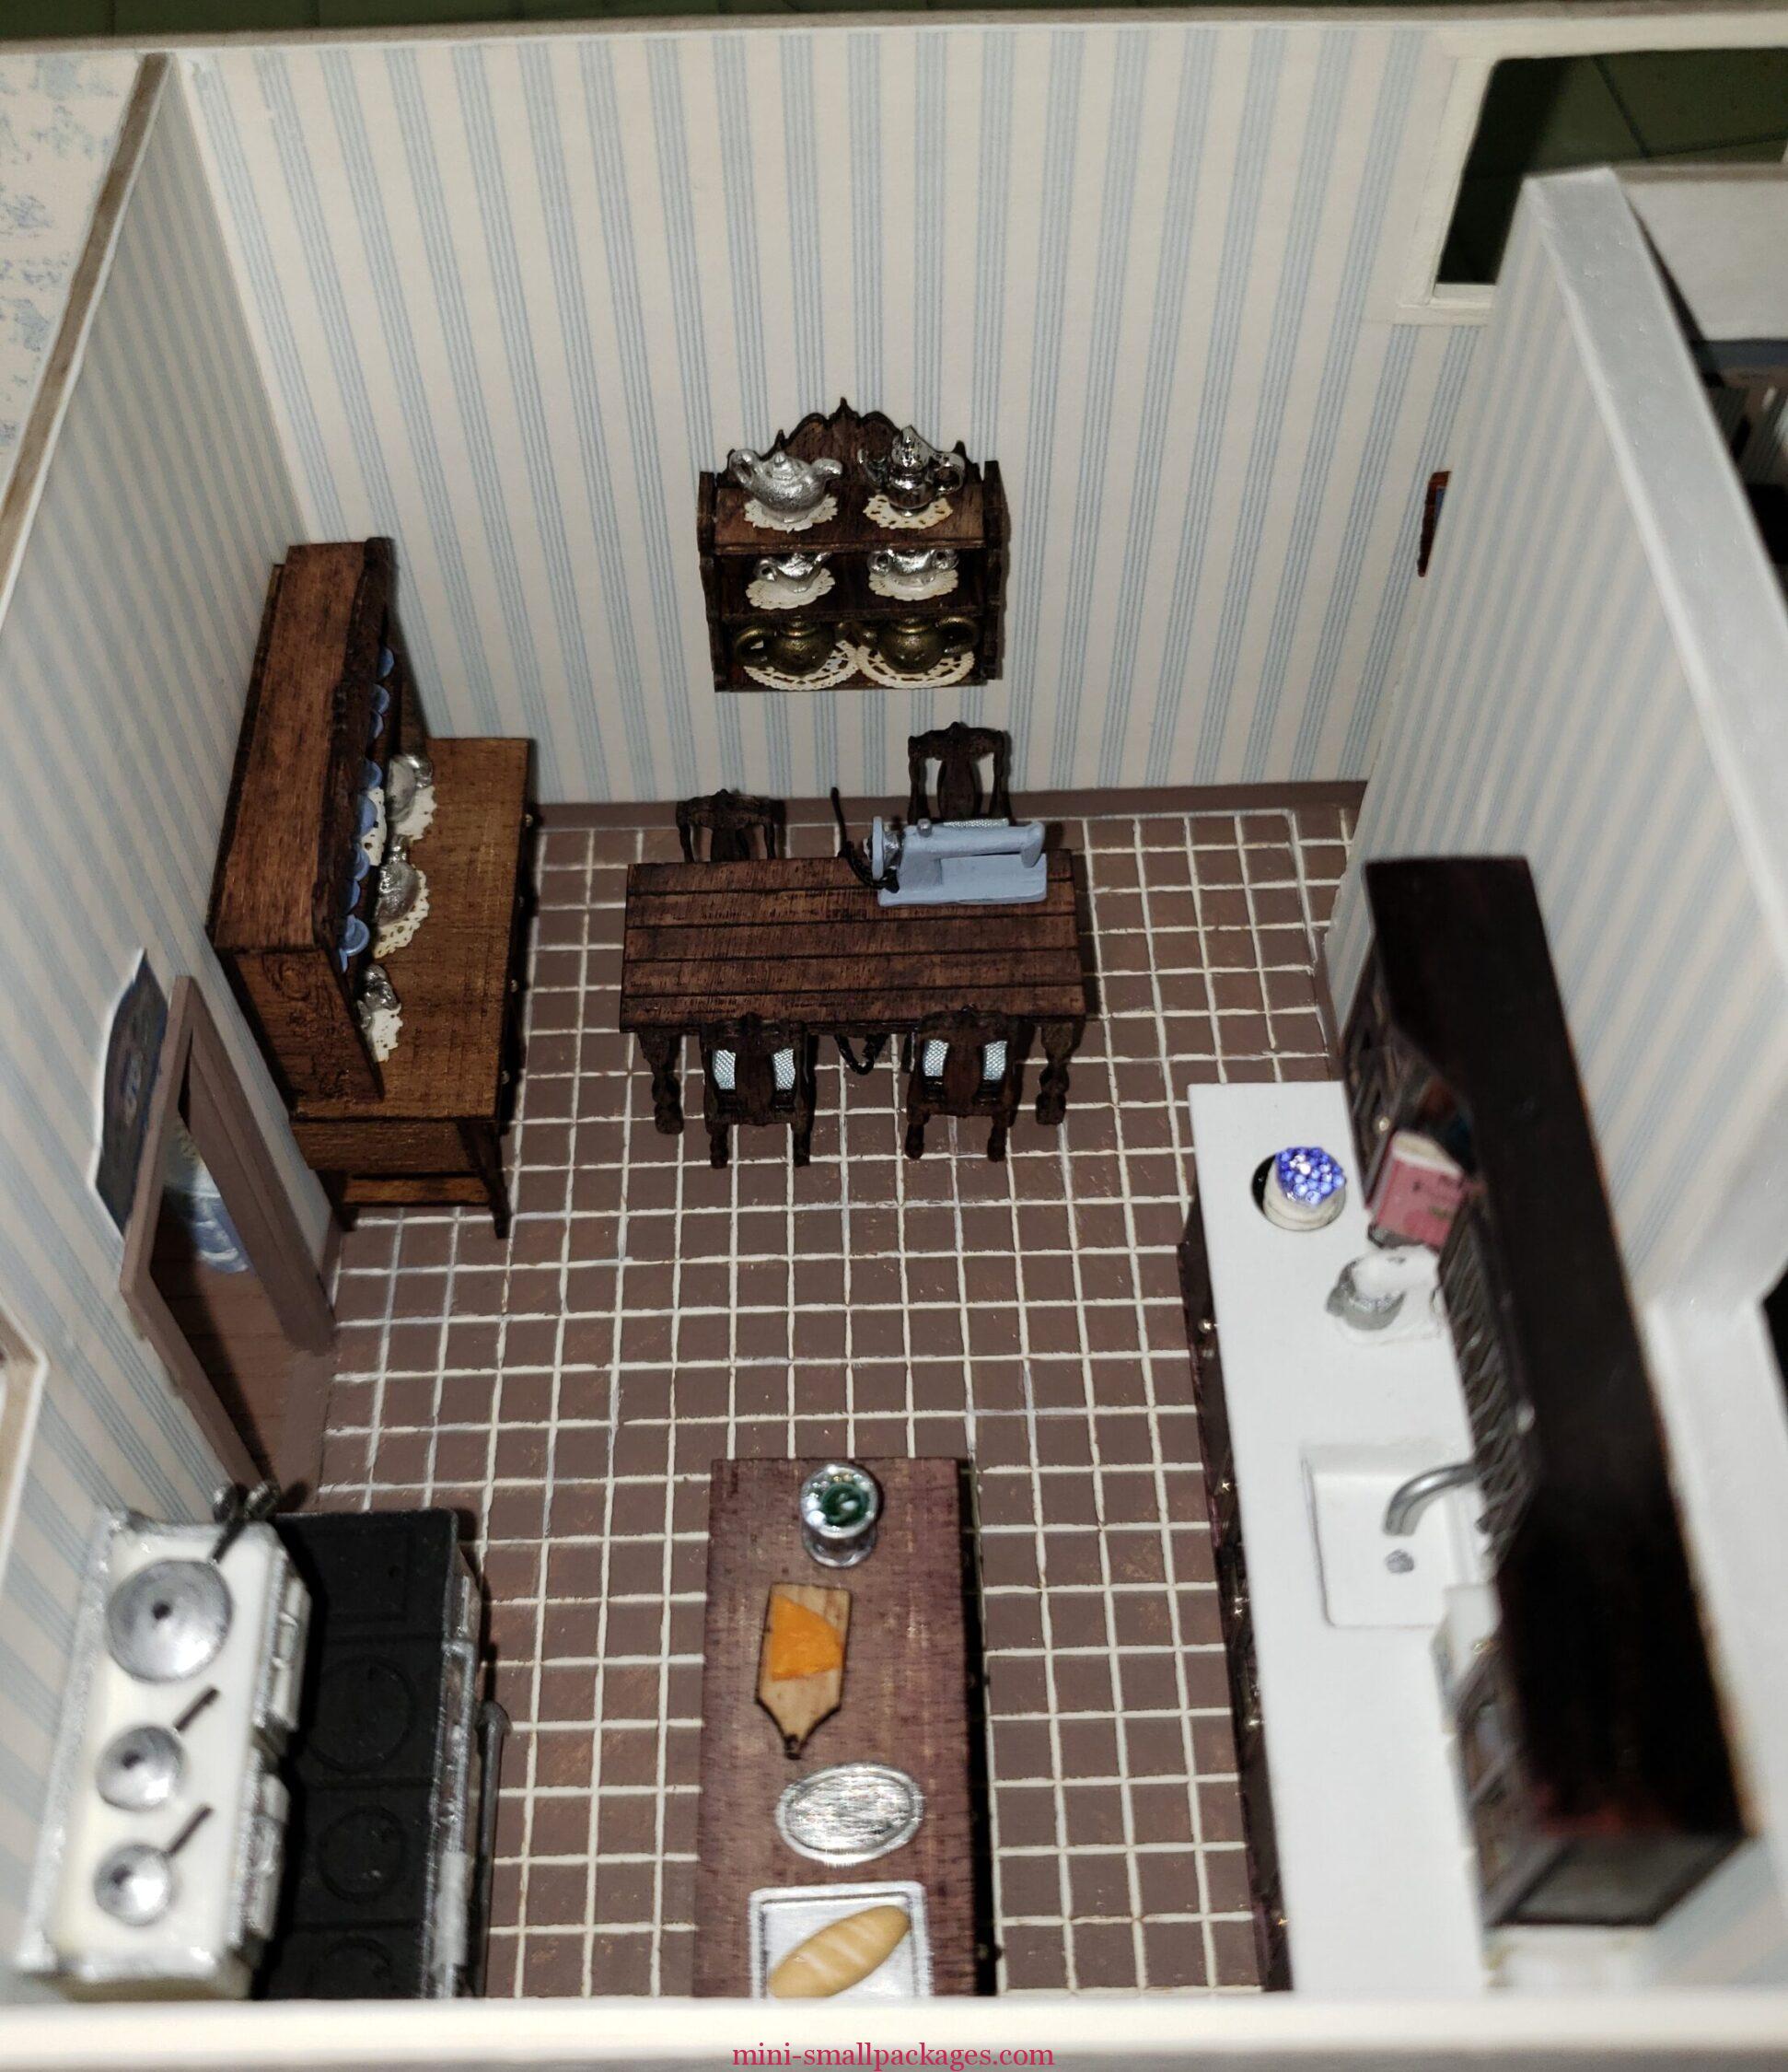
Cabinet, chairs, table
For the rest of the kitchen, I used French Country kits from Jean Day. The chairs and table, I started by just painting using the same color as the tile and other wood in the house. But I didn’t like it.
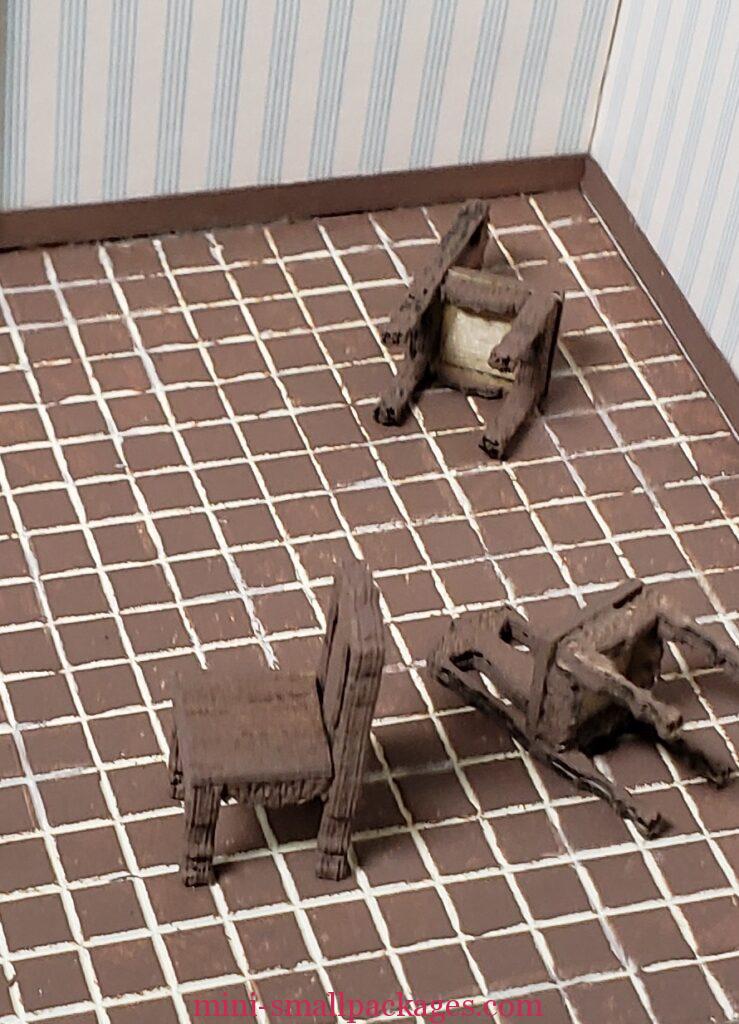
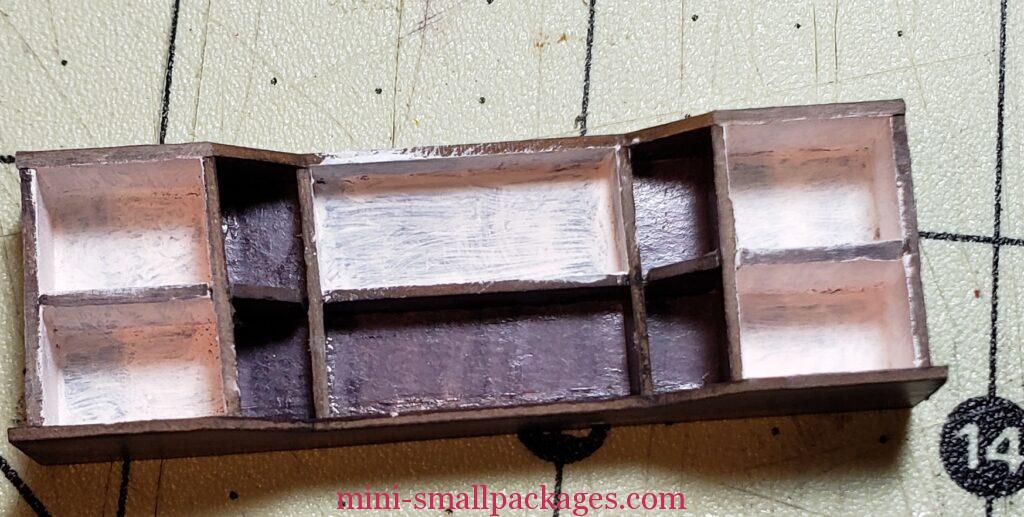
Rather than try to remove the paint, I ordered replacement kits for both. Meanwhile I had used an oak stain on the ‘Shop Cabinet’. Then I decided I needed other stain colors. I purchased a set of markers: Rejuvenate Wood Furniture and Floor Repair Markers. I used these markers to color all the wood and also the paper kit for the sink cabinet (more later).
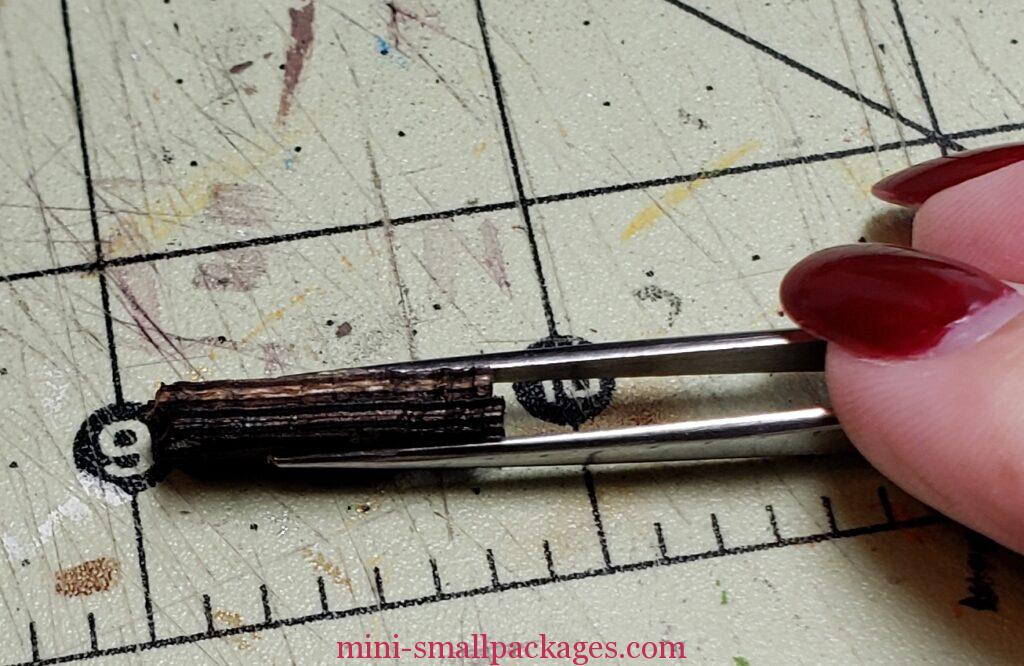
One of the issues I had with the wood laser kits is the blackness and roughness on the edges. After staining and gluing them together, I used my dremel tool to remove. Maybe this was overkill if it wasn’t to be seen. But I would know. I would see.
Using the dremel tool, was an excellent method to shape these chairs. It does take patience and careful holding (not with the tweezers but my fingers).
Another thing that bothered me was the variation of the plywood – lighter in the middle. Some colors of stain will hide this.

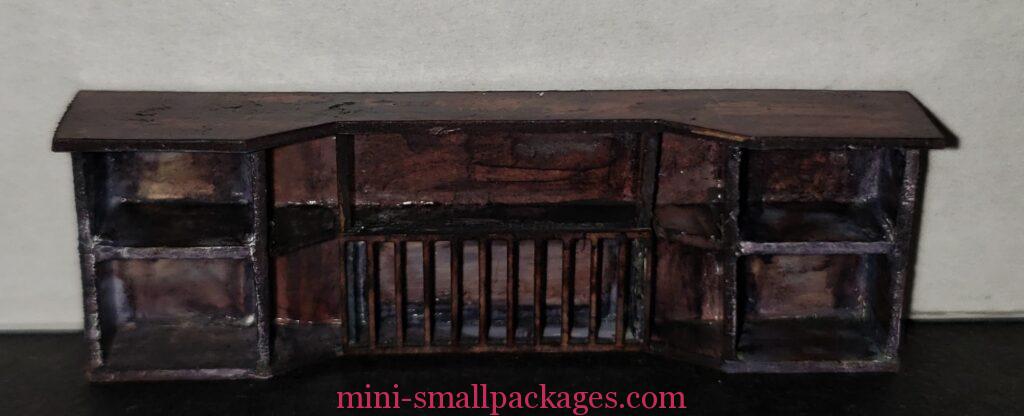
The fabulous laser details are lost in the dark color.
I did choose to not add the wood seats. I plan to add some cushions later.
(Less one be fooled by the organization in this website, I do work on these as I feel like it, as it just makes more sense to share this way.)
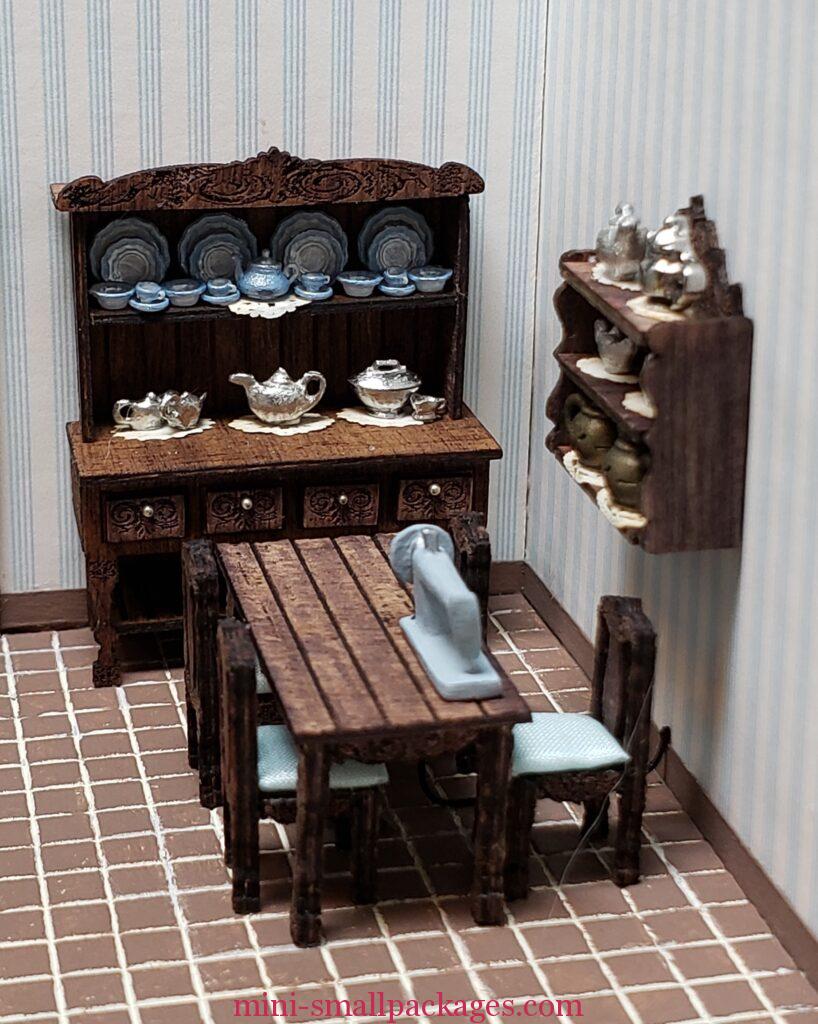
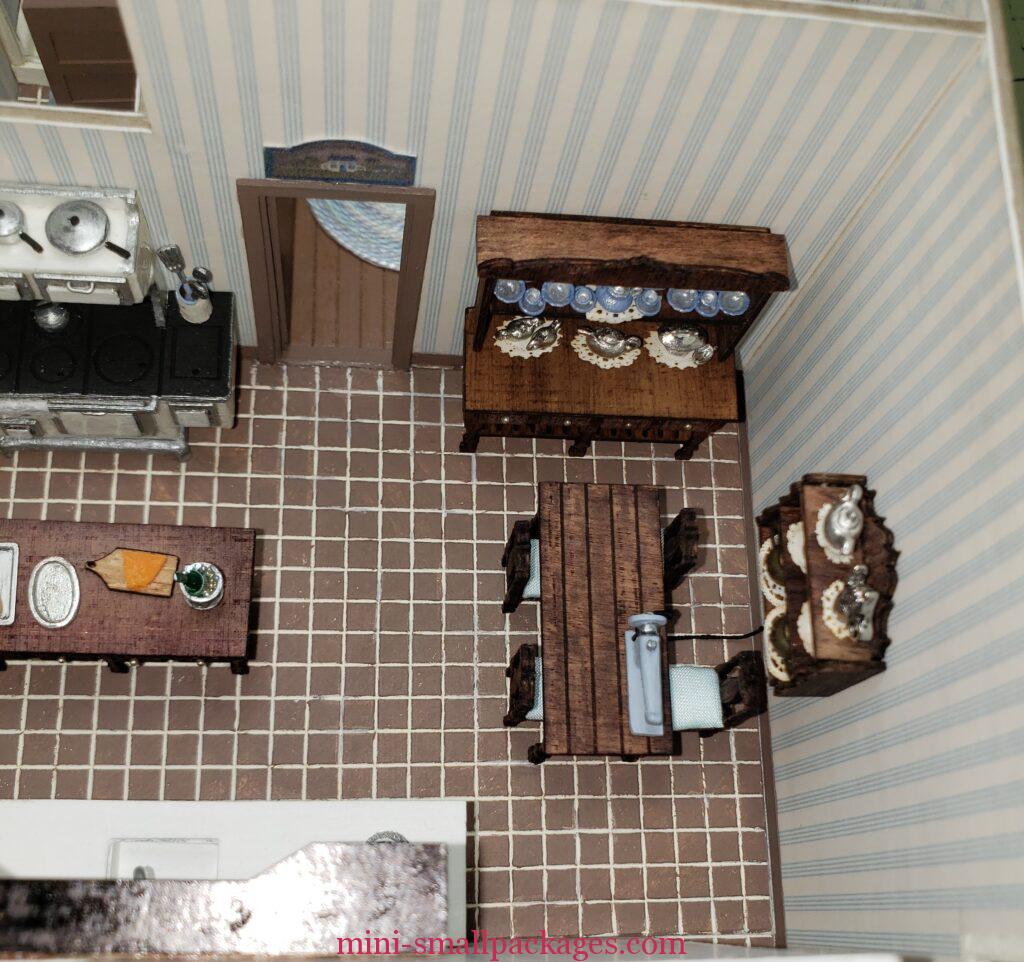
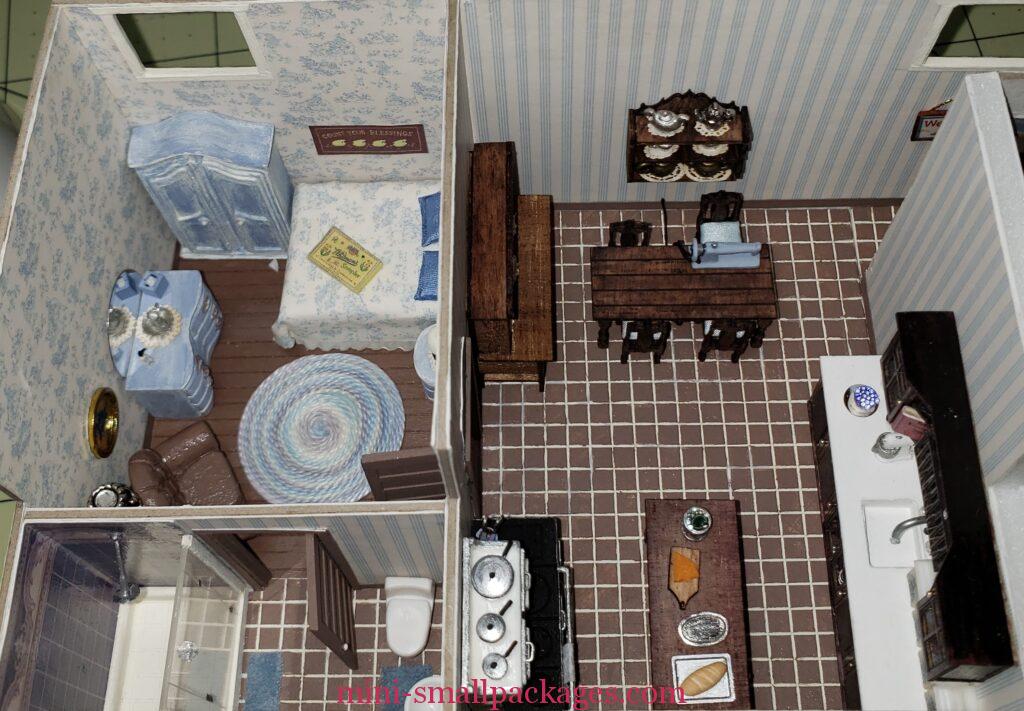
The blue dishes were from kits by Debbie Young as well. I love these and have bought several sets at different times. A number of dealers sell them. I am so happy to see them offered.
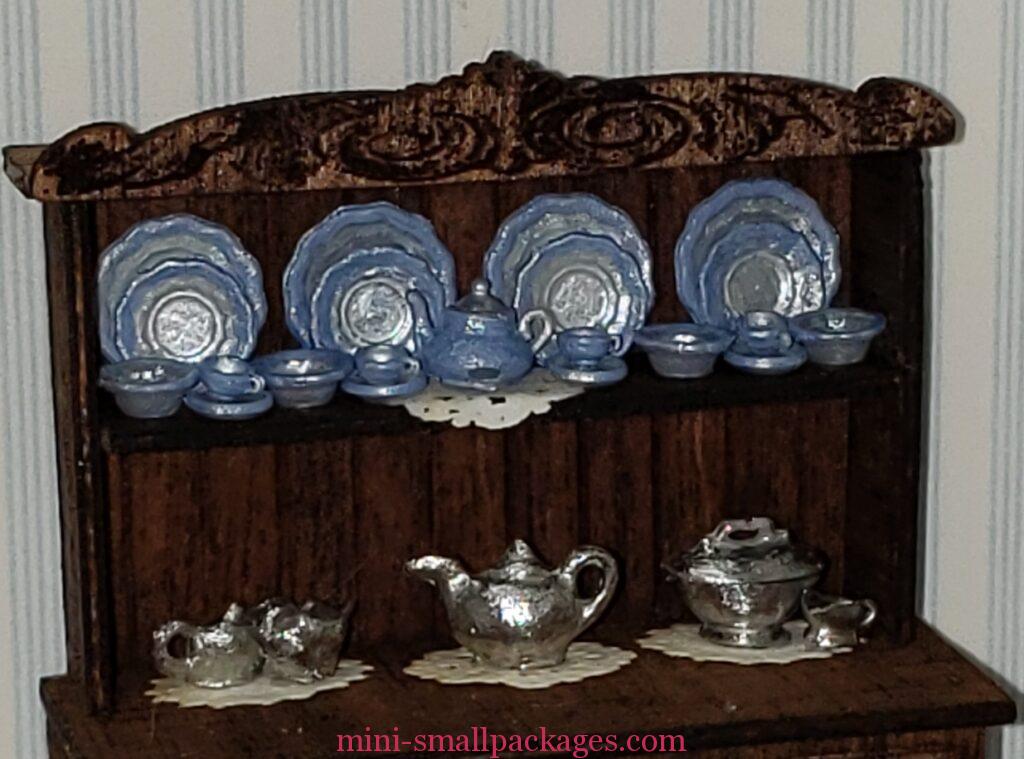
The ‘silver’ is actually pewter, I believe. But I just filed and shined to the best of my ability and and made it so.
The doilies are from Jean Dean.
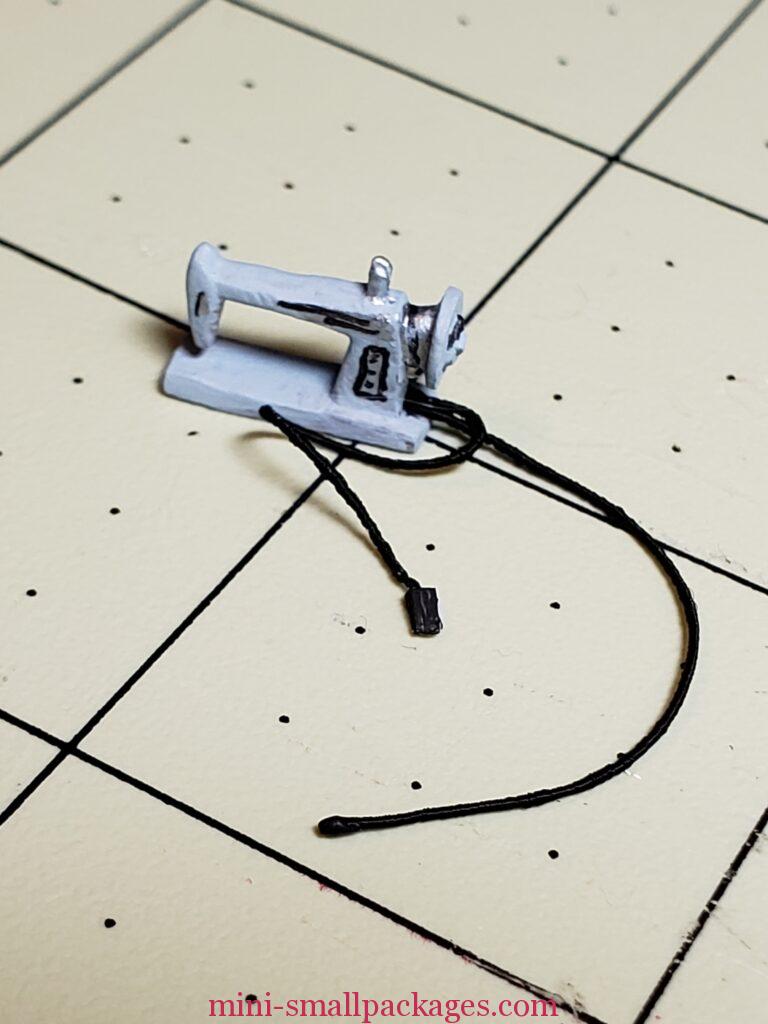
This sewing machine is a metal mini same as those pewter dishes. I sanded using files, my dremel, and then painted. The details added using 20/0 brushes. The wires are thread. The pedal is from cardboard.
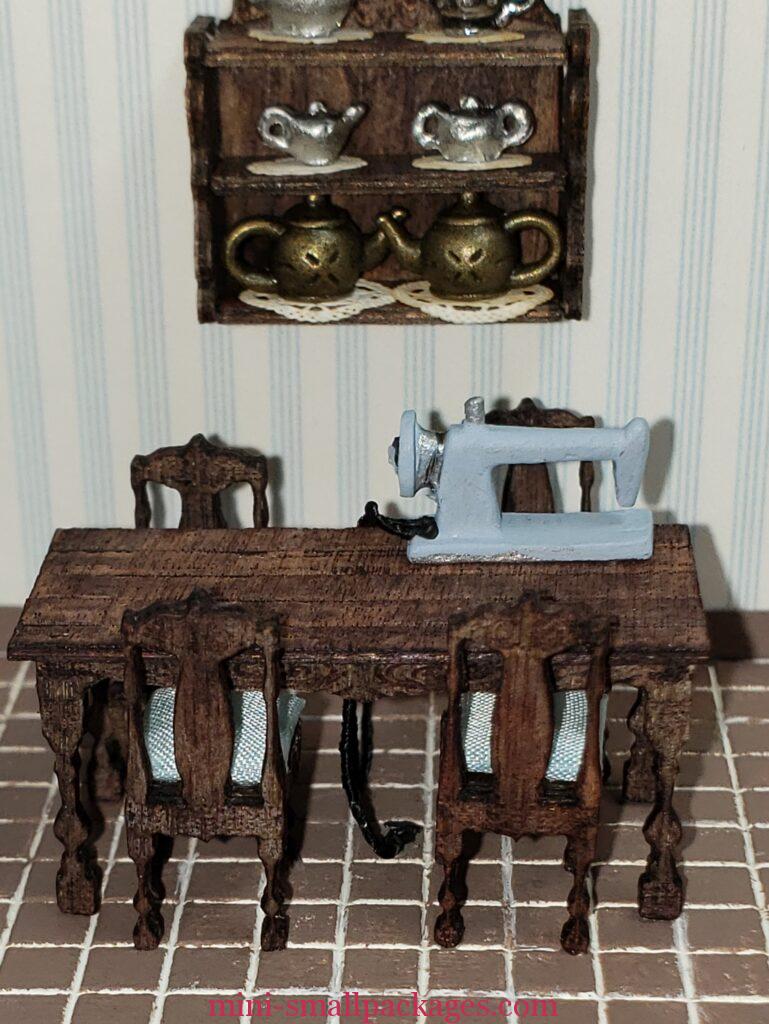
This shows the pedal in proper place under the table.
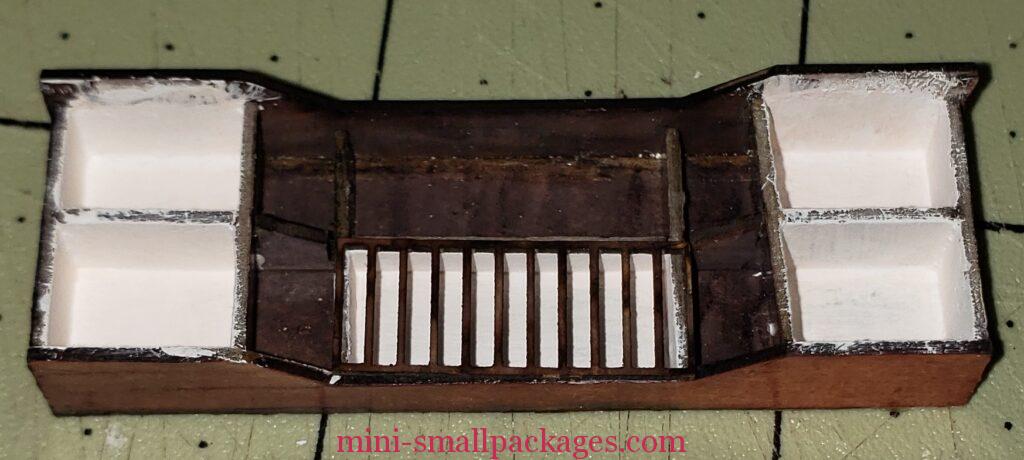
That shelf over the table hold the teapots the housekeeper collects. The shelf is by Jean Day as well.
Notice the sewing machine is plugged in to the wall.
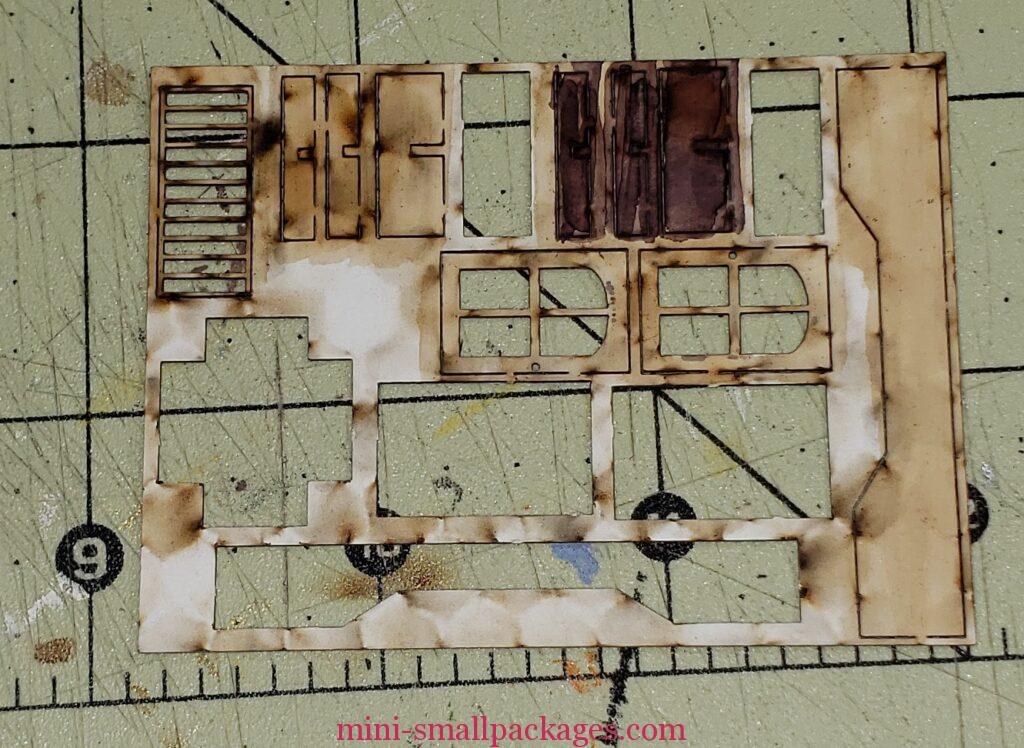
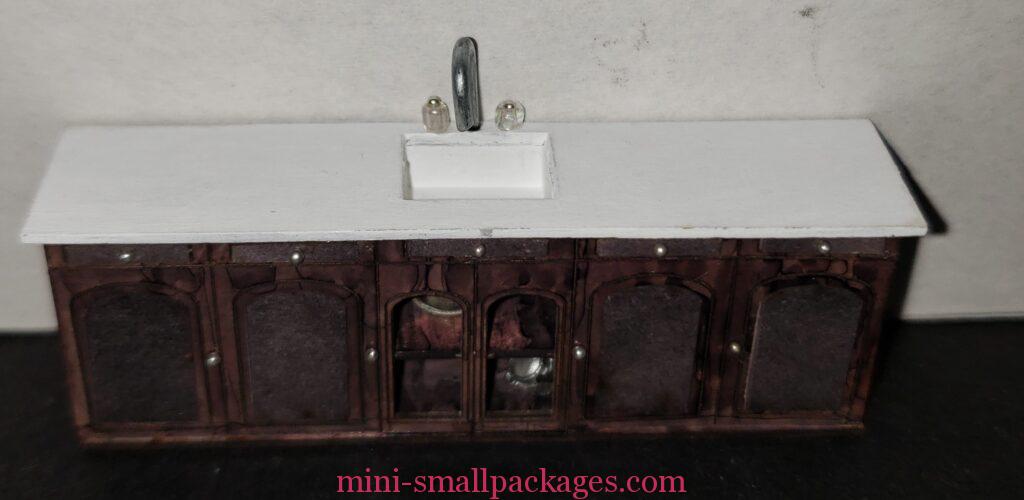
Sink and cabinets
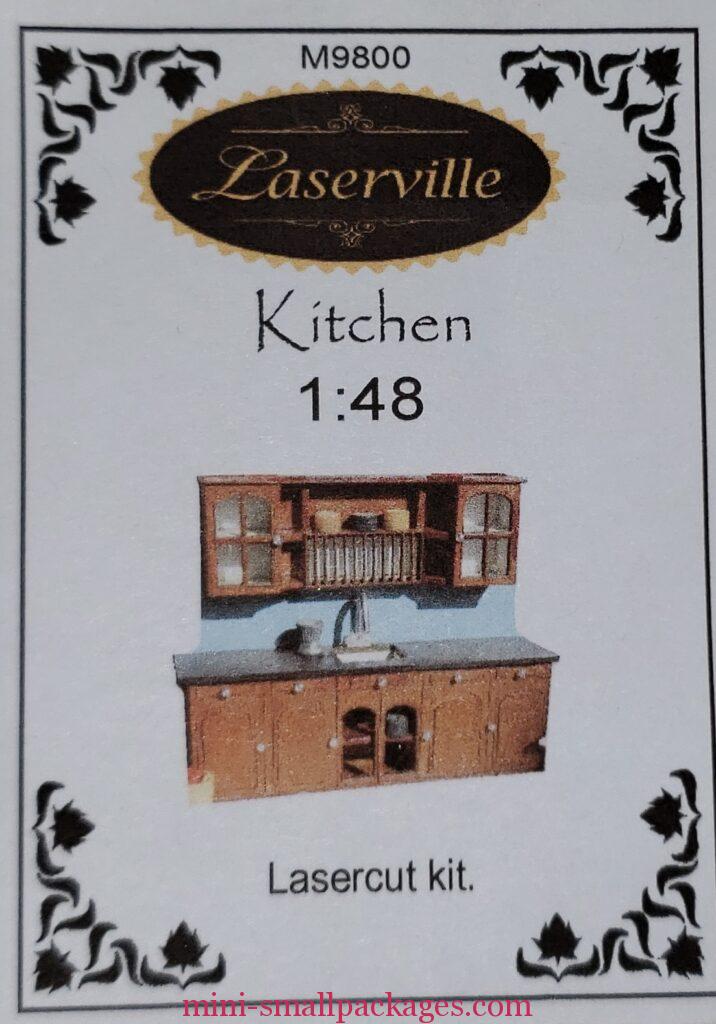
For the sink and cabinets, I purchased a kit from this vendor via etsy.
I had a lot of problems with this kit. Despite them, I do really love this kit. Some of them were due to using the markers I used on this paper/card kit. I believe they are alcohol based. The card didn’t like the markers and stain might have been a similar problem. I would definitely recommend paint instead. I will probably order another to try it with the paint instead.
Another problem I had was that the diagram of the pieces and instructions didn’t help with how to assemble certain portions. I had to test fit and even then I made several mistakes in the assembly. It could be my misunderstanding.
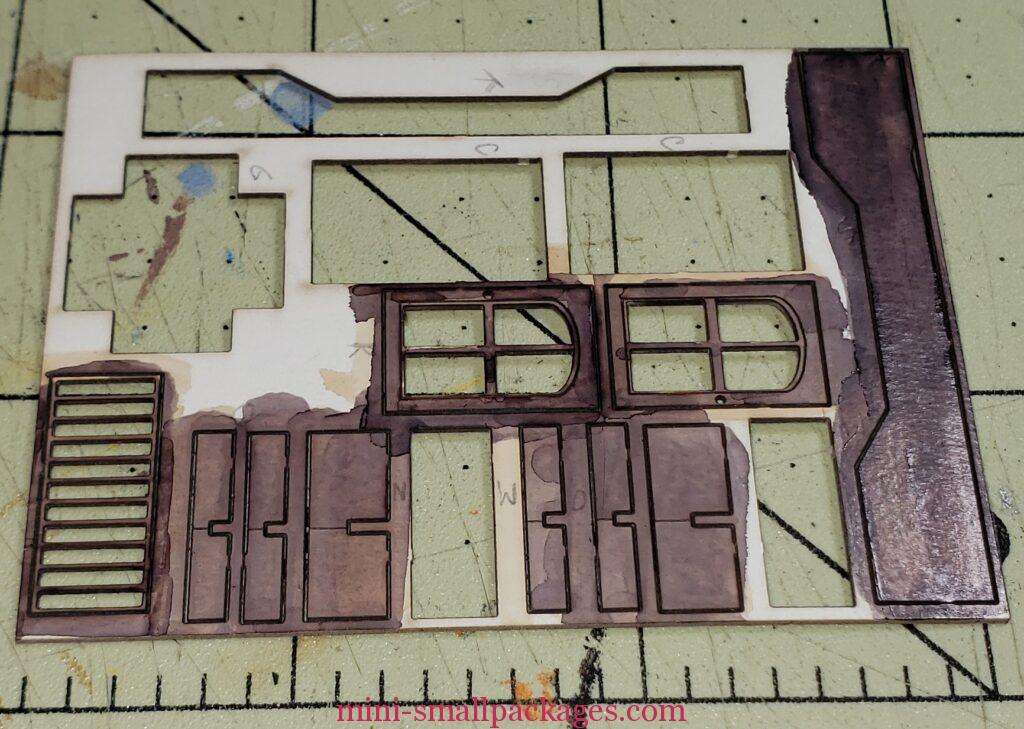
The card had laser burn so that had to be covered if it weren’t to show. That is true of any laser kit.
Further there were a couple of the top cabinet pieces that didn’t fit properly.

The doors and drawer fronts were made from a different type of card, so the markers colored them differently. Another reason to use paint instead.
I tried to add the white over the brown marker but it kept bleeding thru. But then I realized I had put these top cabinet backwards so I had to flip it around. So then I decided to not make them white. The markers didn’t do well layering so I did the best I could.
I did touch up some of these white spots and add the doors once I have added in the dishes. But still the door cross bars didn’t line up. I don’t know what the deal was. Hence my saying there was something wrong with my top cabinet.
This shows the difference in a couple of colors of the different types of card (inset for doors) and using the markers.
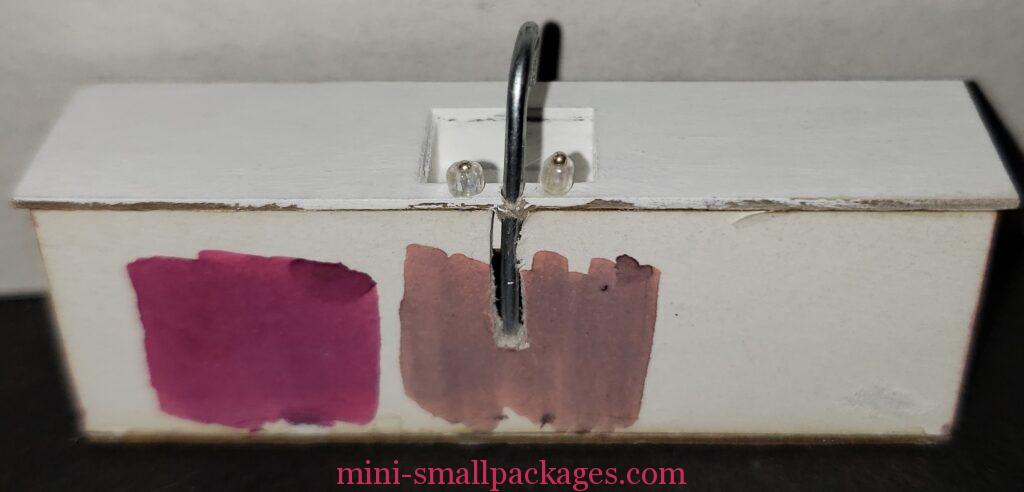
This last one is the back – showing both some color tests with some of the markers and also that I had to cut out a opening for the faucet wire since the hole didn’t line up with having anything sticking down. Certainly, I could have cut the wire to the only the depth of the counter top, but that would be too easy. Yet also it would give very little support with glue. Maybe ok.
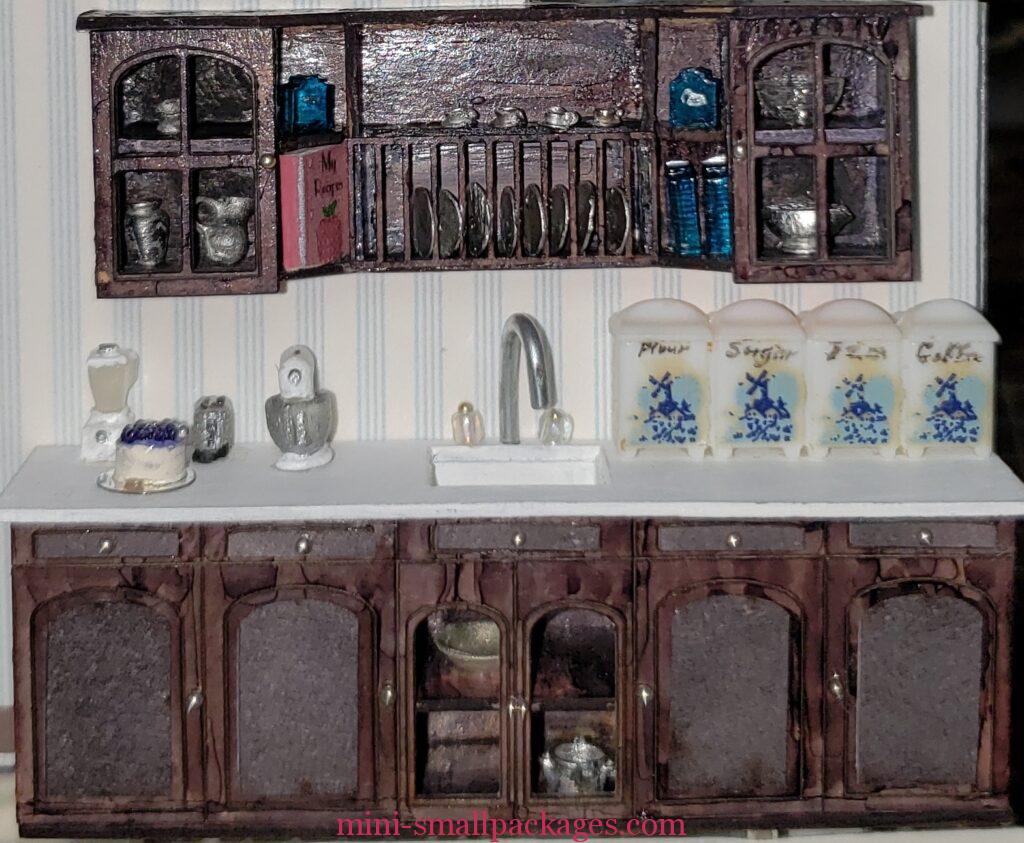
The silver colored items are metal minis. The blue items are laser cut bottles from the Quarter Source. The book was a swap. The three appliances on the counter are by Mini Etchers. The blueberries cheesecake was a swap I made for a convention. The Flour etc is a treasured item as it came from a mini friend. She allowed us to pick through her items before she passed away. I will forever remember her generosity and her stories.
Island
I debated on whether I had room for an island, but I finally decided that I did. This is a lovely piece and part of the French Country collection by Jean Day.
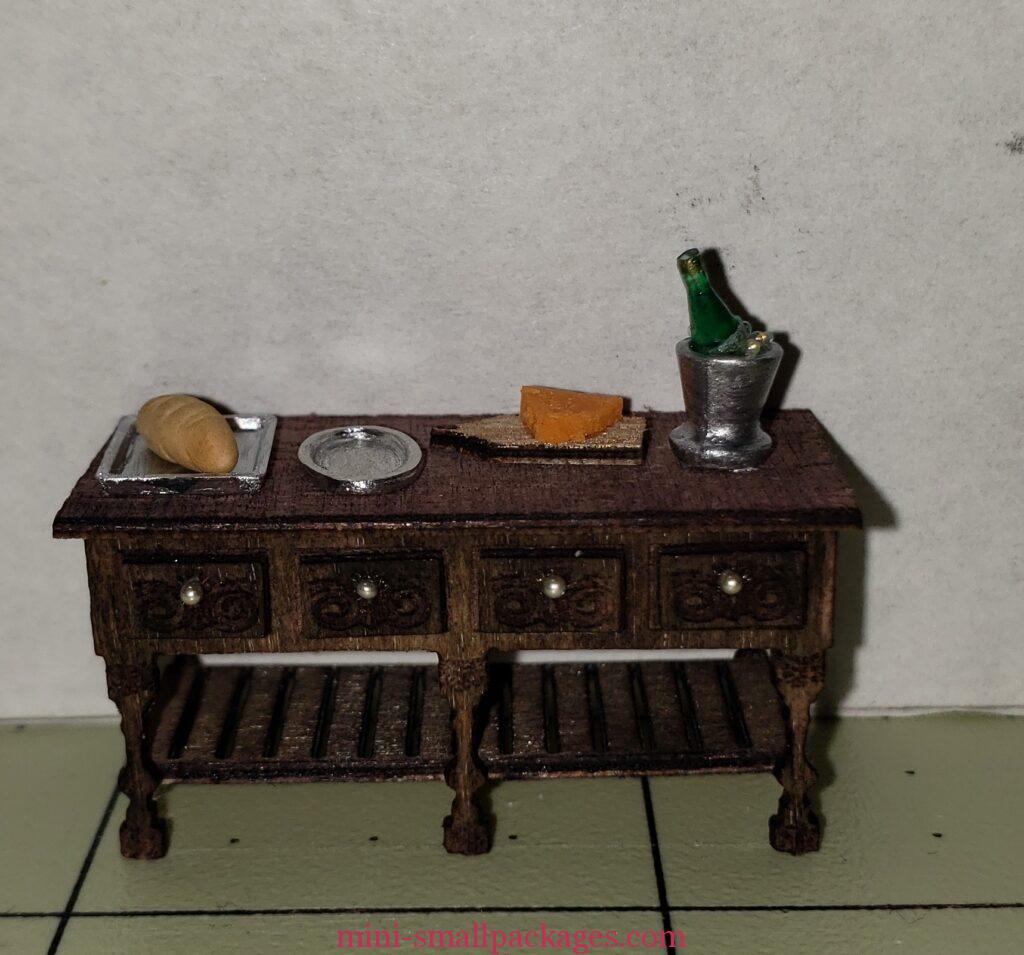
The bread pan is from the bakeware of the Debbie Young kits.
The oval platter is a metal mini.
The cheese is by Charrita Teague. Purchased during an online show.
The cutting board is part of this kit.
The ice bucket with champagne was a swap.
Here is a top view as the back wall was being clamped and before all was glued in place

Time to work on the garage and laundry room
Happy miniaturing!
Preble