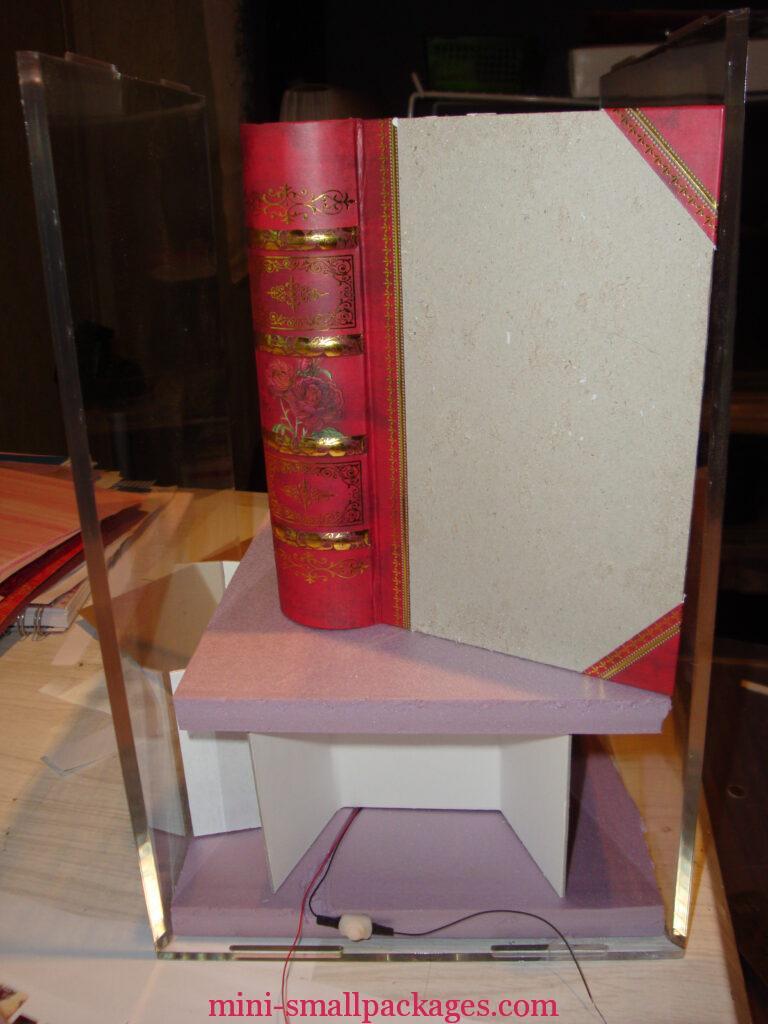
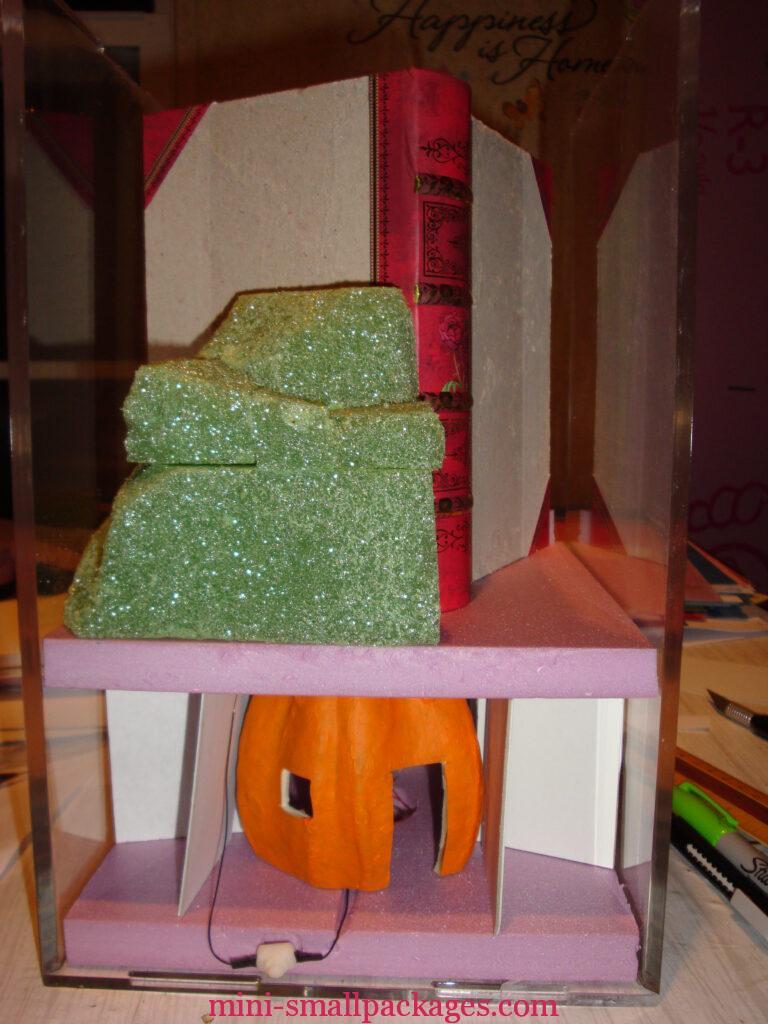
The Mother Goose project required a lot of planning that I didn’t put in place up front. I like doing things as I go. I did try to plan ahead and not just glue everything I had made so far in place. I tried to think of what I still had to do that would be affected if I glued this down now.
Beginnings of this project specifically
- Mother Goose = book – check, decided it would be smaller
- Multiple rhymes = many rooms or sections – check – I make these as I go
- Lighting? yes
- Which rhymes – well I made a list of ones I was familiar with, then browsed the internet for more ideas and also I saw what others were sharing
- Cover? yes, yes, yes – with the plan of the rooms/sections I figured the football case I had heard about would be good. First time using it.


Electrical layout
When planning electrical, need to know what type of lighting will be used; what will be the energy source; if battery, where will it go plus how to access it later to change it; where will lights be; and will there be a switch and where will it go. I am using 3v chip LED, 3v battery and holder, with a push button switch and I will use the round inset of the case for the battery. Oh and I want the switch accessible with the cover on. This is a lesson learned from previous projects. Where the lights will be – yet to determine them all.
Another factor to consider is the number of lights relative to the power source. I figured I could put all I needed onto one battery but if I had to have to switches and batteries – that was doable no issue.
When I built the shoe-house I did choose to light it. I knew I could add lead wires to reach. Which is what I had to do. I also lit the pumpkin inside. Although I learned that if I leave the lights on then the battery drain is enough to not light the inside of it very well. There is a lesson – turn off the switch.
I debated lighting the book sections. The bottom row might could have used it but why do one row and not the other. I concluded the bottom level all needed lights and best lighting position was to the outside. I did some tests with the lights once the sections were assembled to see if two was needed for each section. I was fine with one for each section (plus the extra inside the pumpkin).
All my lighting products came from a company called Evans Designs. I did have to order some lights as I didn’t have enough of the chip lights on hand.
At one point I assembled the wiring – which includes both levels. It would have been nice to have had a connector so I could take that back apart. This was because I hadn’t landscaped the upper level yet. When I did, I put paper over the entire bottom section to try to avoid the foam going inside the bottom sections. Another lesson – Use connectors. And yes, Evans sells connectors.
Building
One of the lessons I learned for this type of combined project that will come in handy with another planned project is the rooms. I came up with the walls but didn’t actually make the rooms until I needed to assemble it. That made it harder to get things to line up and did require that I trim up some pieces. However this is the nature of doing your own thing.
Short of making several mock ups and figuring out every step before assembling, the way a kit maker has to do, I just do it this way. I am not going to have everything all made and everything ready to put together so I know the dimensions of everything in order to do all that pre-planning. I guess that is indeed why I dive in and just get started on my ideas.
I do some planning. Sometimes I do more planning than before, other times less planning. I do vary my attitude about how much planning. Which can result in my over thinking some aspect. That ends up then with me realizing I have spent way too much time figuring something out instead of doing something simple that I know will work just as well.
I did have a layout of what rhyme goes where. Actually several of these from a quick sketch to then the finally layout where I determined the extra walls I had to add and how big each room was going to be.
One thing I didn’t plan for initially with the pink foam levels was the wood edging I added to finish these off. But that worked out as I had to line up the rooms and they didn’t end up too big. I did have to trim the pink foam to match up to the rooms once they were all combined. I had built onto a layer of matt board I would have had that too big and had to trim to fit my cover.
Happy miniaturing!
Preble
If you enjoy my website, please consider making a small donation via PayPal.me/minismallpackages. Thank you!