First, let me say that landscaping materials come in many forms and one of the best sources is from the model railroading industry. I use many from that category.
Second, for this project, I used mostly foam products. So let’s look in more detail.
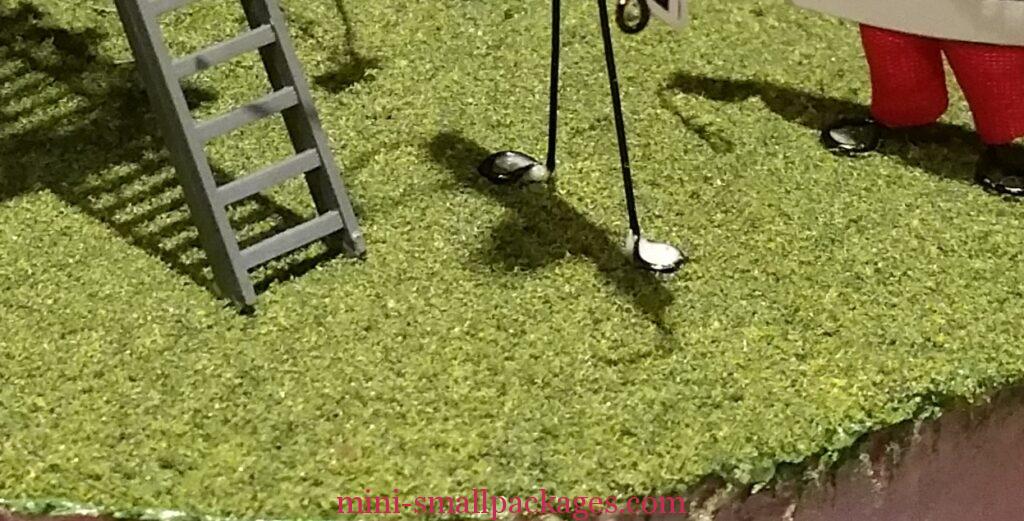
The roses red area is basically grass or a lawn look. To accomplish this I used a finely ground foam product.
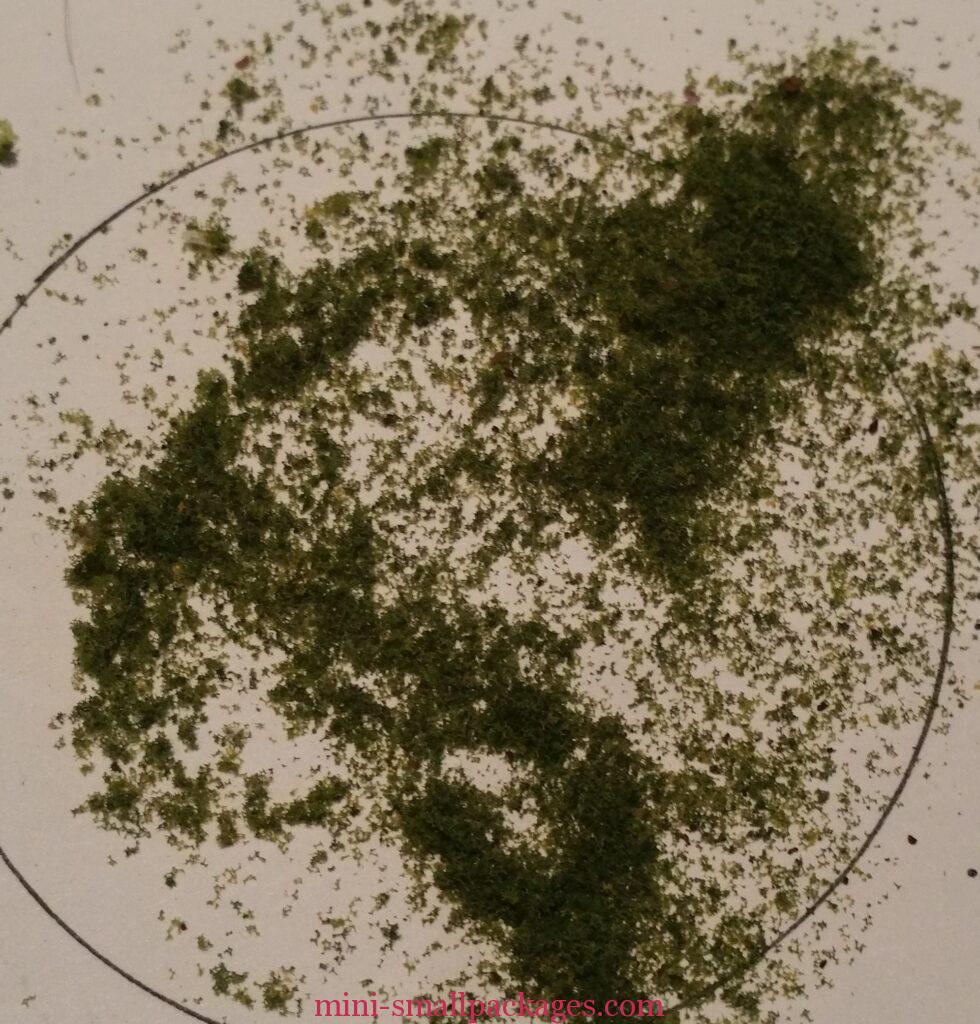
In this picture it sort of looks like green sand, but if you look really closely to the sides it may have holes in it.
To make the lawn – I first painted the base with green. I use a green that is close to the foam product I will use. If I want it to be lush then the paint will be green, but if I wanted a more sparse look, then I would have gone with brown for dirt instead.
I know that some people will use the paint as a means to adhere their landscape foam, but I don’t because I have too much fall off. Instead I will spread a layer of tacky glue. I just squeeze a bunch on and then I use something to spread it around like an older paint brush. Ideally if doing a larger area – always leave a wet edge (uncovered) so can avoid lines in the material.
After spreading the glue I sprinkle on the foam. I do this most often over a paper plate. But a piece of paper or other item like newsprint would be fine. I don’t recommend plastic as this does have static properties.
To assist with spreading I also use a tool known as a bead scoop. This has been a great tool for working with landscape materials. I like that it has a small tip and it helps to sprinkle a tiny amount from the end or larger from the side. I also use the scoop as that keeps the zip bag zipper portion cleaner as opposed to pouring out of the bag.
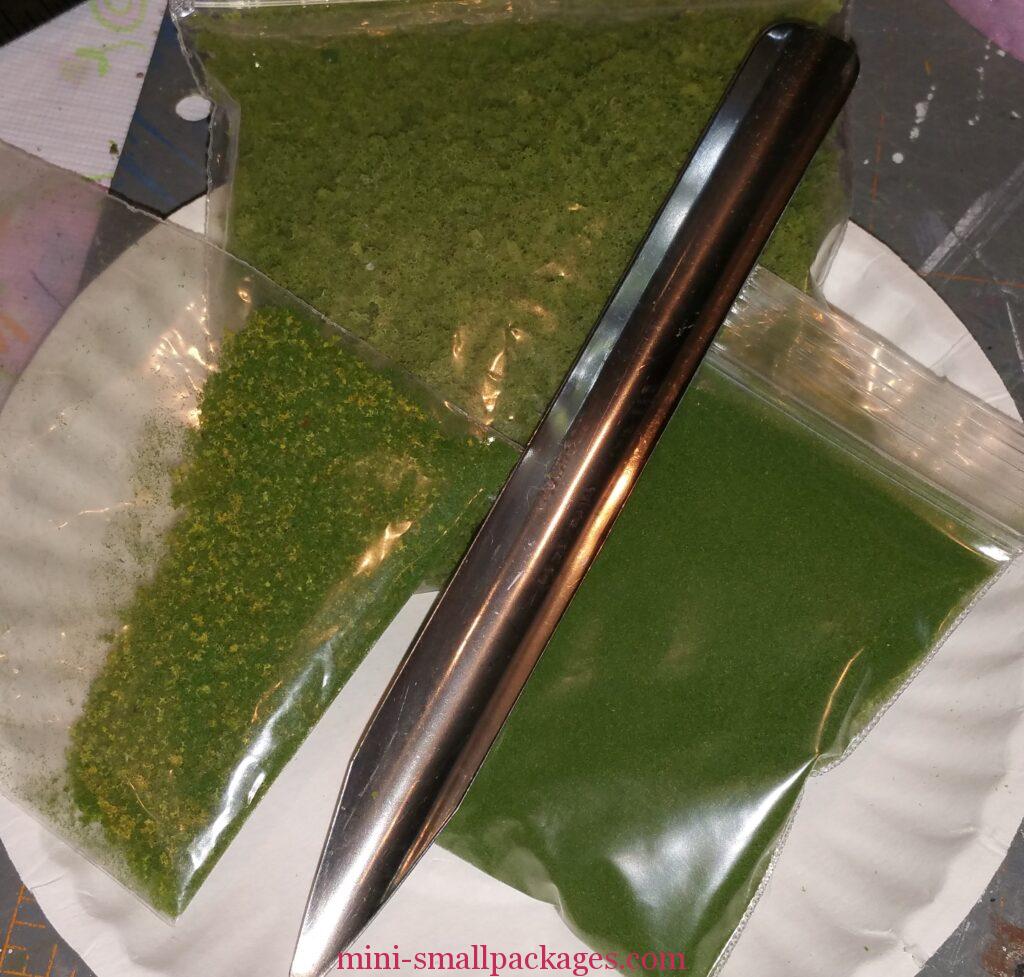
This pic shows both the bead scoop and some variety of the foam. The bag to the left is a mix of yellow and green. This produced a nice wild grassy look for this scene:
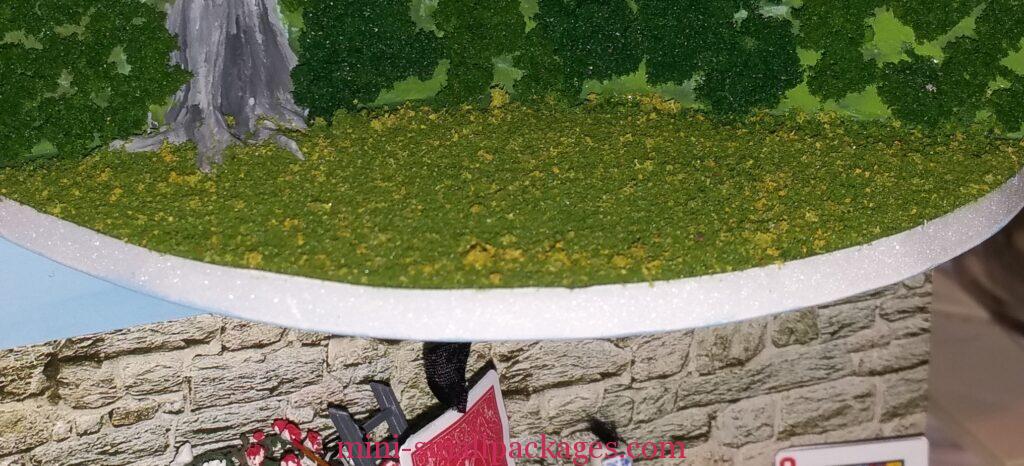
I am super happy with how the grass turned out. The background not so much -more on that later.
I’ve used this in 1/48 scale and it just depends on the project. This is great for a weedy like area or for hanging from a vine.
One time I did the process and then after it was dry gave it a manicure with scissors. That helped get rid of bits that seemed out of scale and neatened it up as well.
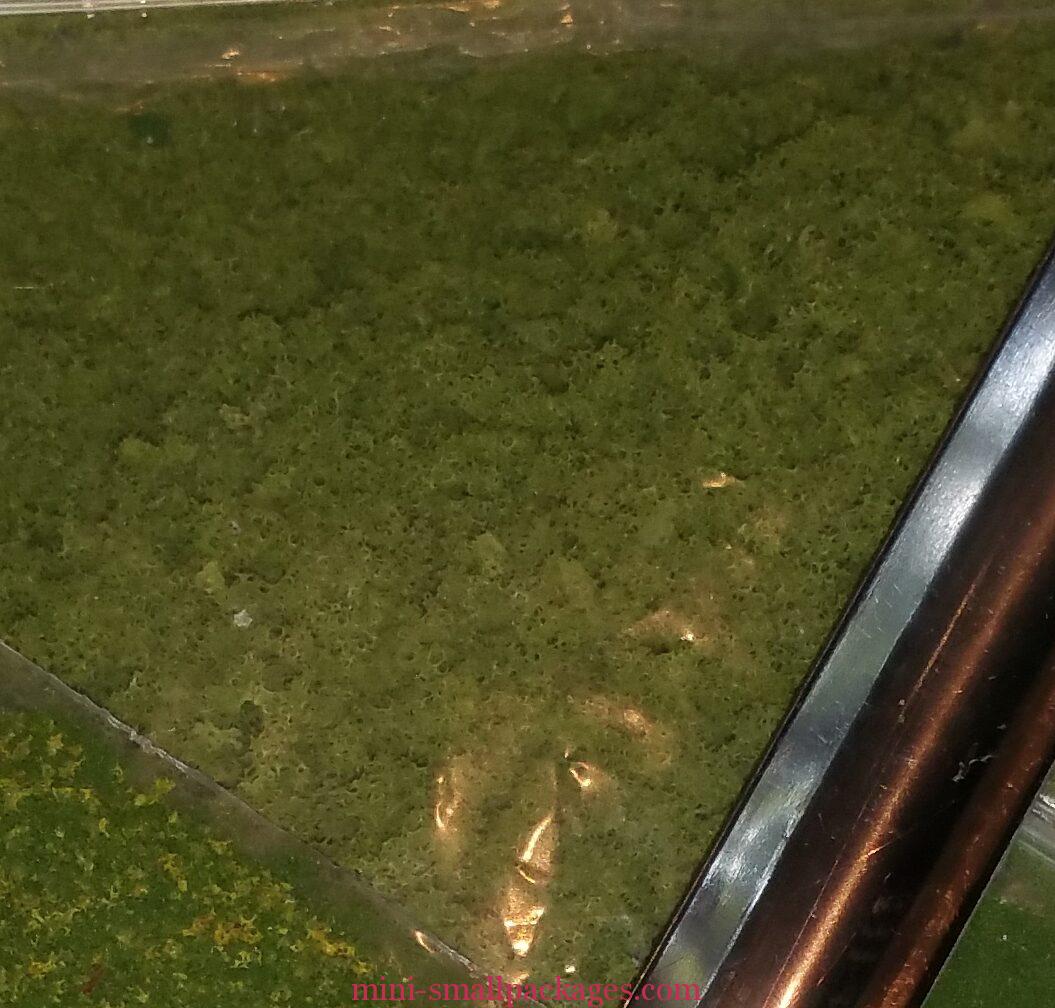
The third bag is very fine foam and it makes a nice lawn.
When I purchase these products, I like to transfer from a non- zip bag to a zip bag so I can easily close it. I have tried tape and that attracts the product and then the tape stop working. Also the tape may be difficult to open the bag later.
When I spread the material on, I like to do so fairly thick and then press into the glue. If the glue was thin, then this just makes sure the material makes contact with the glue. Then I let it sit for a bit. Can let it sit overnight, but I am typically too impatient for that and just get 10-30 minutes.
The next step is to shake off the excess onto the plate. It is important that the plate have been under the area that was being covered so that if any falls over the edge there is a place it can be caught. No point in wasting the extra. I will tap and shake until the stuff stops falling. I rarely blow at this point but I may later if it has settled somewhere I don’t want it.
Sometimes I will use a finger or other tool to brush and remove more loose product. I have even used a drinking straw to blow strategically.
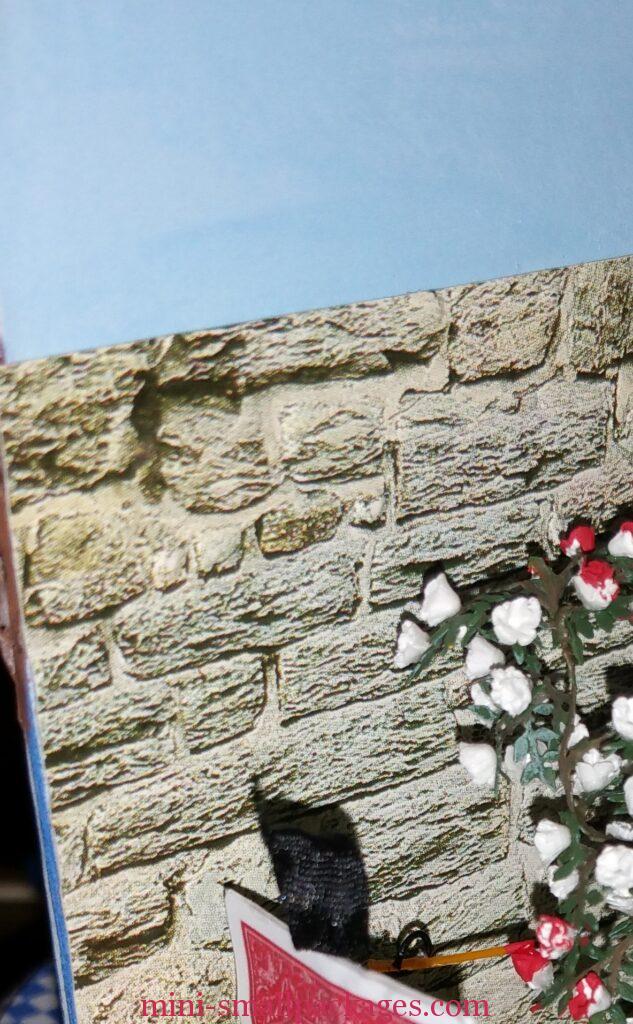
The stone work in the rose red section is a from a paper sheet of stone. This was large scale stone and probably intended for 1:12 scale, but I decided to use what I have and stones do come in many sizes. This product appears to be a photo of a stone wall but then it was also pressed so that the rocks are 3d. Although the 3d effect is not obvious in the pics.
For using this product, I cut it to fit, then glued it to the wall. It was glued to the wall before I painted the green as mentioned above. But I did paint first the blue sky.
In addition to grass I added landscaping to the walls of other sections.
In the rabbit house area – I hand-painted some happy little trees and bushes to go behind the plastic fence. The fence is from my stash and is a Grandtline product. This was black and I didn’t paint it at all.
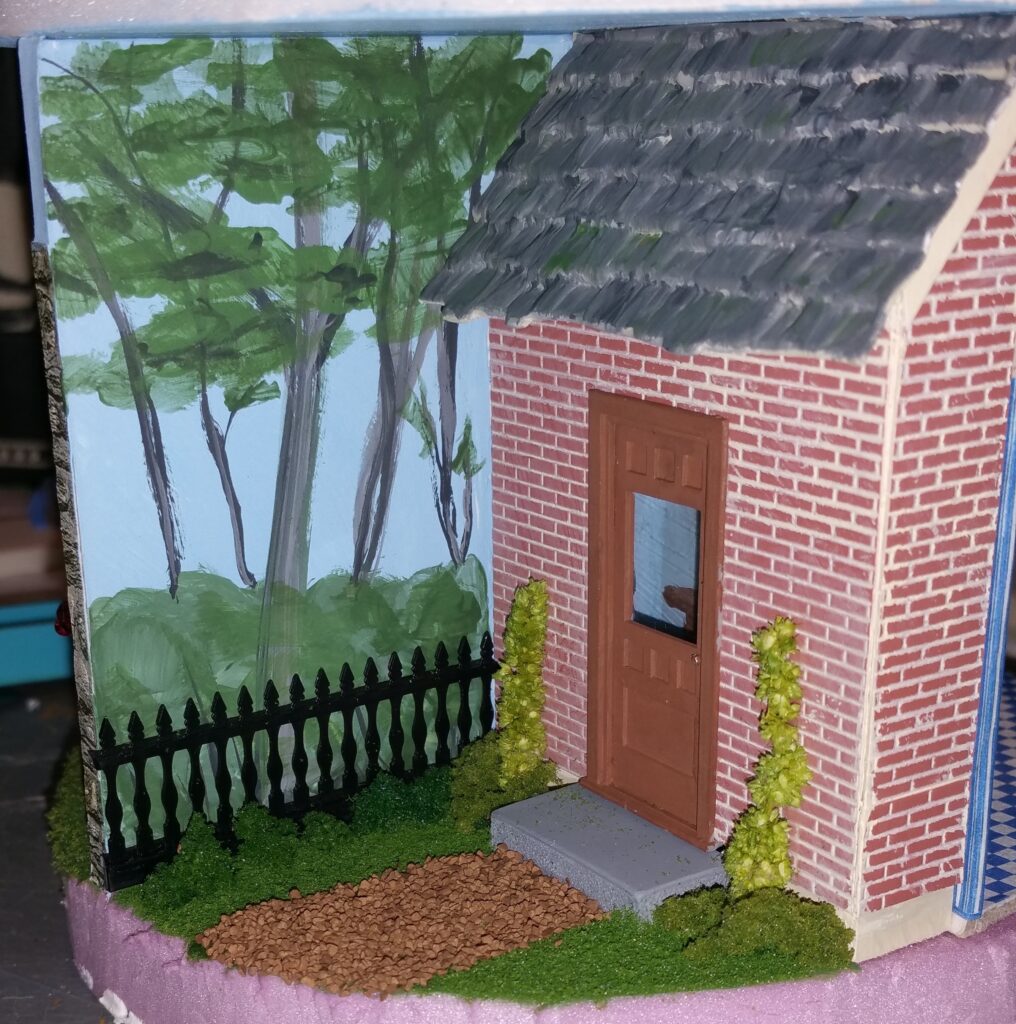
The painting is really easy. Thin lines of darker grey paint using a liner type brush. Shaky hands are an advantage here. Also if the paint tends to skip and therefore not make a long thin line, then use Extender to roll the brush in before picking up paint. Then go back with a second lighter color of grey to give depth. I then used two shades of green at the top and bottom. I figured I could try this and if I didn’t like it I would paint over it. The green is done with a angled brush and sometimes just dabbing the color on.
In front of the fence I added some chunks of foam for shrubs.
The bushes beside the door are a dried floral item. I hope they wont fade.
The pathway is a brown ballast product. The ballast product comes in different colors and different sizes. I apply it same as I do with the green foam for grass. Paint base, apply glue, sprinkle, press, then shake off excess in paper plate.
Depending on thickness of glue as to how deep the product may be applied. If I don’t press into the glue and the layer of glue is thicker, then more likely to see gaps and the shiny dried glue.
The green taller shrub in the corner is a dried floral item. It was longer and I cut it shorter.
In another section I wanted a more defined tree in the scene – but not the whole thickness.
I used light weight spackle to make the trunk.
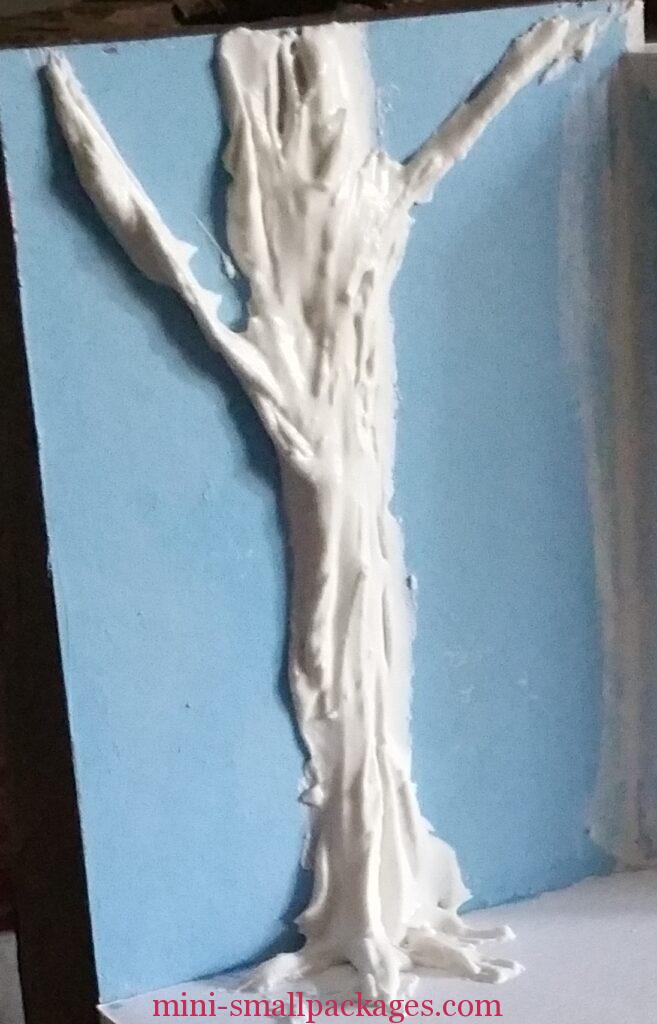
I loved the look this gave. I will definitely use this technique again.
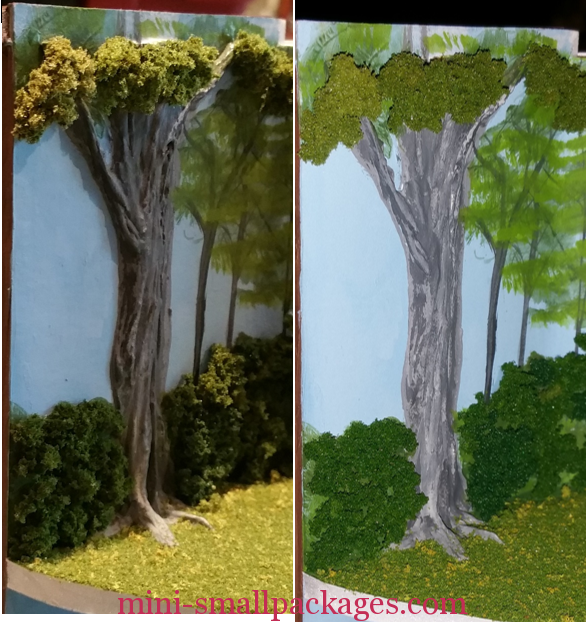
Here are two pics combined to show how the tree looks with paint – several greys and dry brushing.
Notice how the light changes from the left to the right pic. Well the left is without flash and the right is with. I love the shrubs in the without flash but not so much with the flash.
The shrubs are a combination of painted wall and then glued on landscape foam.
Once I add the top foam layer – above the tree – I will add more green to the tree that is to the bottom of the foam layer.
Other materials I use to landscape with besides the foam and dried floral items is paper and brass. The roses in the garden were made with the brass for the leaves and paper for the roses. I shared more about the roses on this page. Paper being punched shapes and brass being etched. Both of which I purchased. Although I have a few paper punches that I use for various flowers. When it comes to punches – I like to use the whole thing and parts. The parts of a punched item have a variety to them as well. Using a portion of a punch – either one that has several parts or cutting up a punch is a good way to get shapes might not find otherwise. Or a way to use shapes that are too big as far as scale.
Next Alice in Wonderland is Finished
Happy miniaturing!
Preble