Up, Up and Away
In 2019 NAME held their second OLHP- Online House Party. The theme was Around the World in 8 Days. The centerpieces were Hot Air Balloons.
Each registered person had a chance to win a finished centerpiece. They sold them as kits and there were some available in the Auction. I won one of the auctions, so mine was finished by Debbie Colombo. But I wanted to cover it.
Base
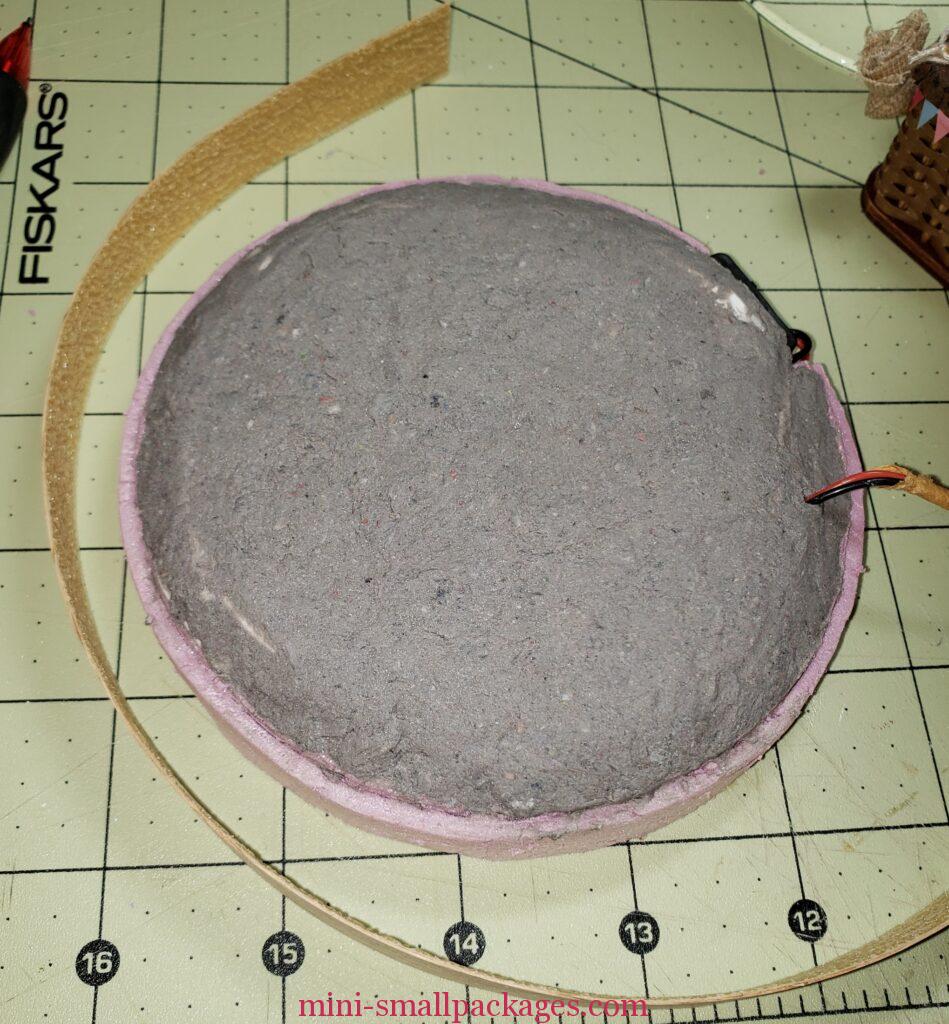
To start I had a used dome that my mother gave me. She is a thrift store shopper and she has found me several of these. But it didn’t have a base. So I made one using pink 1/2 inch thick builders foam.
To cut it out, I drew around the base of the dome with a pencil. Later I realize I should have added an extra 1/8 inch or so. Also could have used my compass at this point. Then I used my craft knife to cut it out. I like to use one of those snapblade knives as they can be extended to cut thicker stuff like this foam.
When I cut out a round shape, I like to use a up down motion, more than a slicing/drawing motion. For this thickness, I will go around several times before I cut through. I don’t want to cut through to start because the foam is more likely to tear/break. I can get a smoother cut by making several repeat cuts.
I will sometimes cut the area away from the larger piece first. However when I do this, I do not worry about cutting next to my final cut.
Next I gently but firmly pressed against the cut base with the dome to give me a line where I would want to cut as an inside. Later I will realize this was unnecessary. Instead I could just cut 1/16th inch inside the outer cut. To help with this cut, I used a compass to measure and mark. I have one that you can put a blade in, but for this task the blade wasn’t needed since it won’t cut deep enough.
This time when I cut with my craft knife along the circle, I tried to only go about 1/8th inch into the foam.
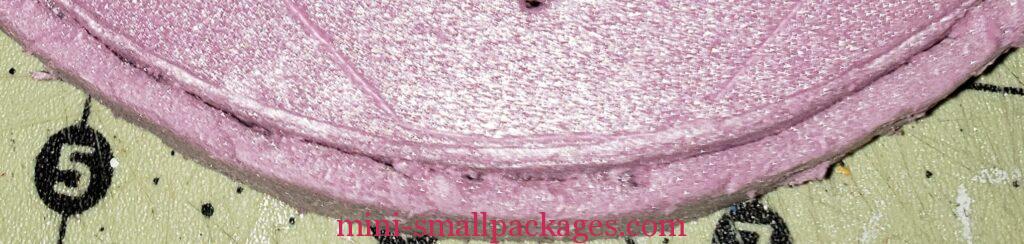
Next I cut from the side of the base about 1/8th down to cut away an inset/edge.
Hill- elevation
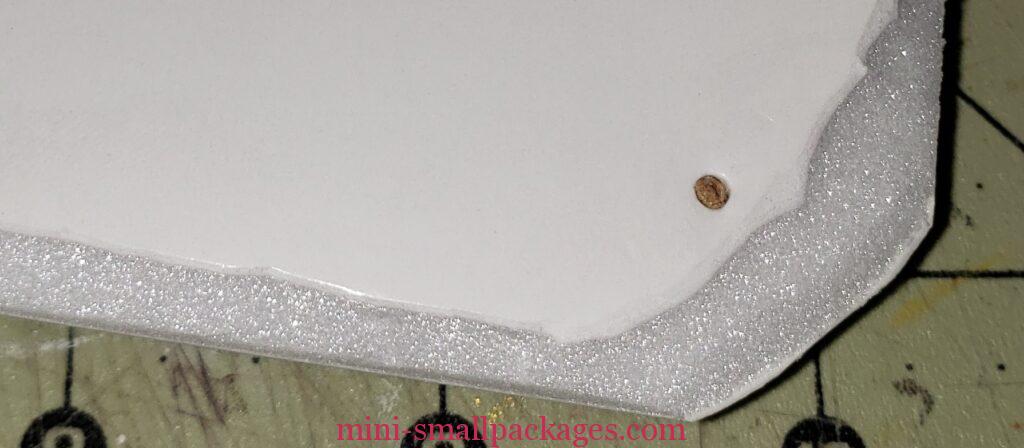
I wanted to elevate the balloon to fill the dome. I tested various thicknesses of foam and foamcore board. I settled on one layer of foamcore board added to the pink foam. I had some scrap pieces and so I only needed to cut away at the corners. This will be covered by Celluclay shortly.
Battery holder placement
My next consideration was the battery. This piece already had light and battery pack. I wanted to be able to turn the light on from outside the dome. In prior projects, I haven’t always considered this aspect to be important, so I am trying to learn from those decisions.
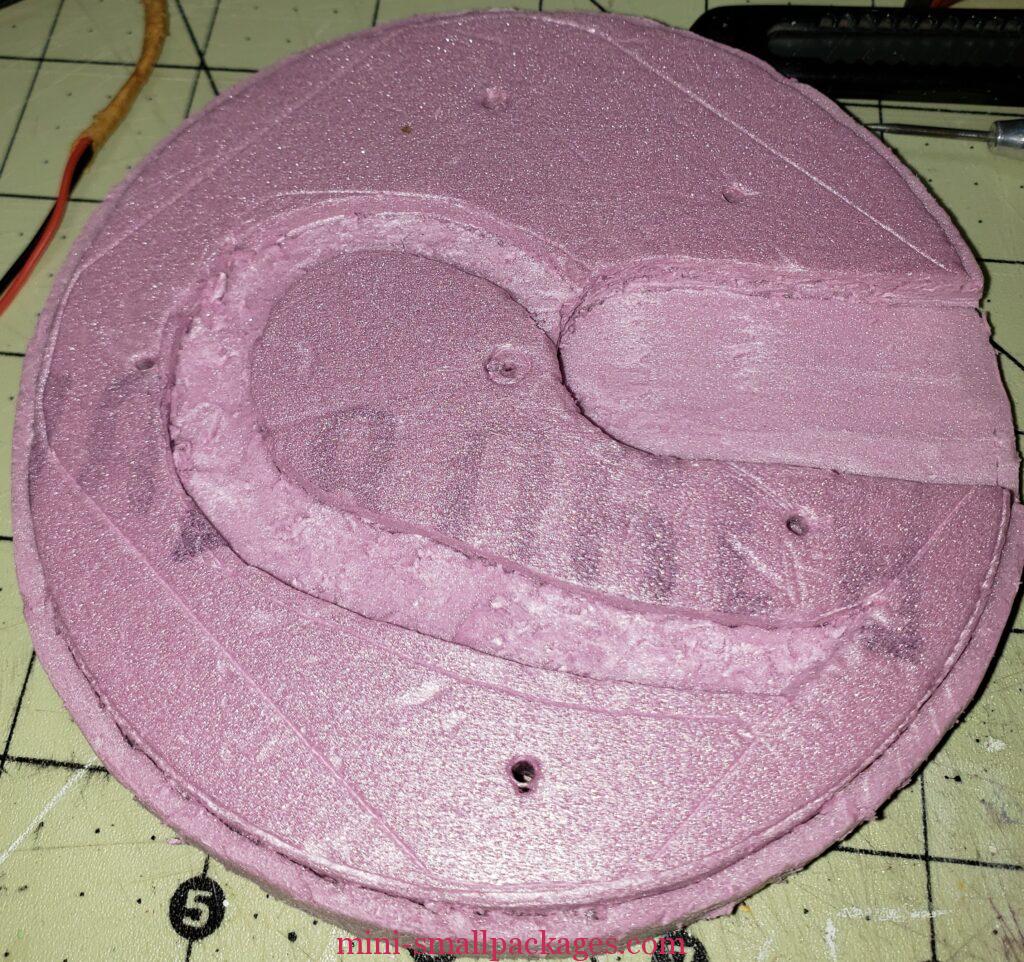
I laid the battery pack on the foam in the position I wanted, then drew around it and the wires. Then I cut along the lines with my craft knife about 1/8th to 1/4th inch down. Then I used a pointed and curved sculpting tool I have to cut away the foam in the channel for the wires. For the battery pack area, I used my break off type craft knife with the blade fully extended and turned flat to cut away the foam.
The next thing I want to do is secure the foamcore to the pink foam base.
I do this using toothpicks. I use a sharp pointed (ice pick like) tool to poke a hole in the foam core. I insert the toothpick to mark the pink foam. Then use the tool to make the hole in the pink foam. I do this because to force the toothpick through the pink foam will cause the foam to break and a bigger hole may happen.
I use some cutters to trim the toothpicks, but I could have used my craft knife instead.
This is how the wires and battery are positioned that will be sandwiched between the pink foam and foamcore board.

The channel for my wires may seem big, but I knew that I would need some room for the wires to move. To change the battery, I will need to be able to slide this battery pack out. This battery pack screws together.
The two layers together look like this
Hill – shaping
To further enhance the hill, I added Celluclay. In hindsight, I should have done this separate from the pink foam and before I did the toothpicks. This could be done on plastic wrap or other surface.
The Celluclay is a wet application and caused the foam core board to warp. I tried to keep the water down to as little as possible but in order to mix, it must have some water. I like to add the Celluclay to a small cup and add a little water. I stir with my hand over the mouth so the finer particles don’t go airborne as much. I keep adding small amounts of water. But if can just squish wet against dry it may be enough without adding more water. Ultimately I want it moist with no dry pockets.
I use my finger to smooth it out and push it around. I tried to just add a thin layer or fill in gaps. I like Celluclay for a dirt/ground base because it is uneven but not overly so, unless I make it that way. It is also super lightweight. It will dry to much lighter grey.
It dried and the foamcore separated from the pink foam, but even the pink foam warped some.
Hill – making it green
I then painted the base all but the sides a medium foliage green.
After the green paint dried, I then glued the pink foam and now green foamcore all together. Since it had come apart, I also had to put the wiring back in place. So again, I wish I had not inserted the toothpicks yet. Or I could have glued it together before applying the Celluclay. But even this could have still warped even more.
To attempt to glue and remove the warping, I used clamps on the two pieces of the base. I had to set in a box to keep it from tilting. The balloon was attached by the wire so it just rested on top while clamped.
The next step was to add the landscaping which I forgot to take pictures of. I used two types – a loose and fine foam for the ‘grass’ and a darker medium foam for the ‘shrub’. I just glue randomly to my taste for the latter.
Once the landscaping was dry, I glued the basket on to the base.
Base Trim – wood veneer
To cover the pink foam sides and help the glass dome to stay in place, I like to use wood veneer. I have a package from my local hardware store in Red Oak, but I can stain other colors or paint it.
I like using this product because it is easy to cut and I can apply it to the pink foam using heat. For a previous project, I have used an iron like for clothes. But it is so much bigger than needed. I have resorted to using a curling iron instead.
I highly recommend cutting the wood veneer first. I did this wrapping around base with dome not just the base. Because I was going to do a cut out for the battery which has a switch on it, I choose to have the seam an inch or more away from that cut out.
I then marked and cut my cut out for the battery switch. I also sanded the corners although not necessary. I could have just cut two pieces: one for the battery width and other for the rest of the base. The battery piece would then be trimmed to fit below the battery. This style would have two seams.
Now I am ready to apply the wood veneer to the pink foam base. I have my curling iron on the highest setting. This one doesn’t get that hot so I had to go over and over a small spot until it was sticking. I just continued this process until I was to the end. The battery/wiring should be removed during this to avoid heating the wires. But since the wires are attached, they just need moved to one side or the other and be extra careful.
The heat will activate the glue on the back of the veneer and it sticks nicely to the foam. If the foam dents, then the heat is too hot. Do not apply as long or change settings on the iron.
My mistake was getting this wood veneer too tight to the foam. I had forgotten that I had to allow some room for the dome since my base was a tad smaller than I needed. I ended up with an overlap and rather than try and think why that might be, I just trimmed it. When I put my dome on later, I realized what I had done. Facepalm. Since my dome was going to the inside of the wood veneer, I should have used the dome to decide the size rather than the foam.
My next step should have been cleaning up the excess glue but instead I stained and I glued the basket in place. It was ok that I did, but more logical to do the glue next.
To remove the excess glue on the veneer I used the curling iron again. This time just rotating the base against the iron versus the iron against the base as before.
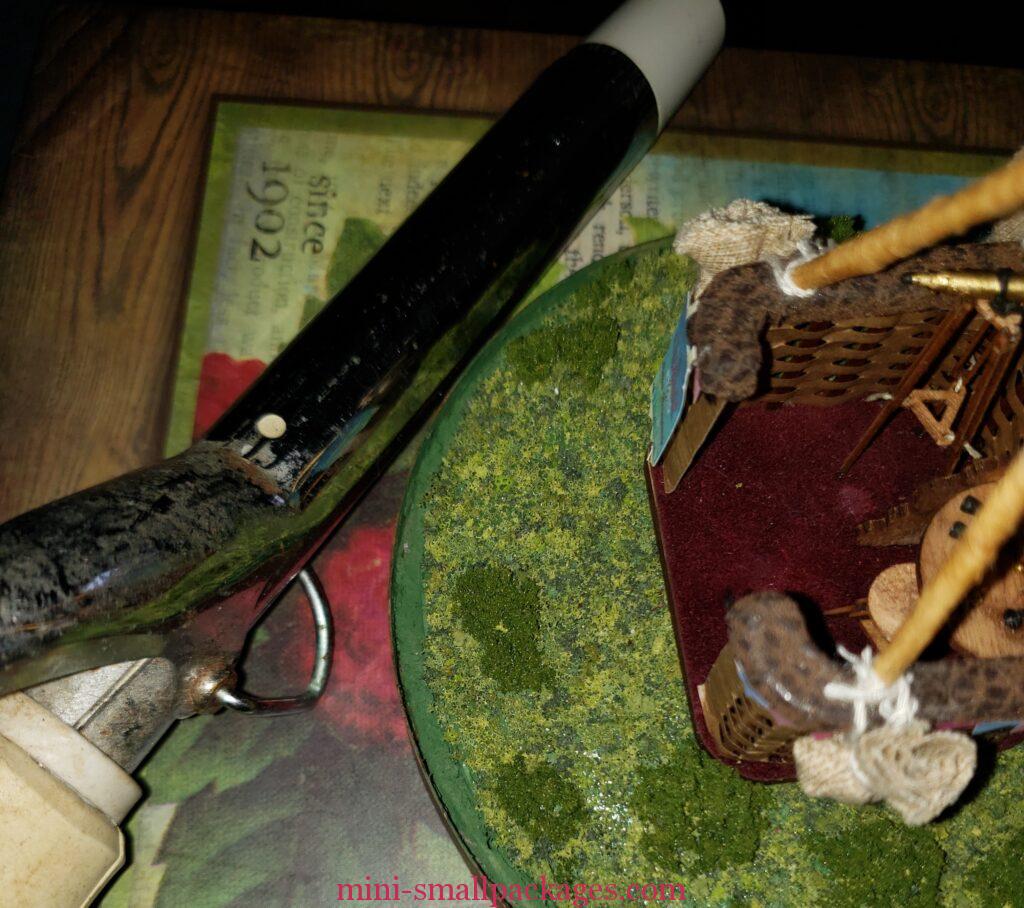
In this pic, I am demonstrating ‘how I did it’, but not ‘when I did it’ as couple more steps below have happened.
Removing the excess glue required I heat a section then use my craft knife to scrape the inside of the veneer that was above the pink foam. It was a bit awkward since I had glued the basket in place. In other projects made previously, I have trimmed the excess above the pink foam away. But for this I wanted that edge for the dome.
The dome did not fit at all with the glue in place. It was really tight even with the glue gone.
I let it sit for a bit and then it occurred to me to check some other domes I had without a base. Thankfully, one of the other domes was slightly smaller. If I had not another dome, I might have replaced the wood veneer.
The next steps were to paint the base green between the veneer and the grass. Then to stain the wood veneer my selected color.
I stained, then painted, then removed the glue and so had to paint again. So glue, then paint, then stain would have been better.
Base – Staining the wood veneer
As mentioned above the wood veneer could be painted or stained, or natural even. I wanted the stain to be close to the color of the basket. I cut a piece of veneer and applied stain/color from all my pens and markers. Then I glued (using the curling iron) the wood to a piece of card and applied the stain/color to the card as well.
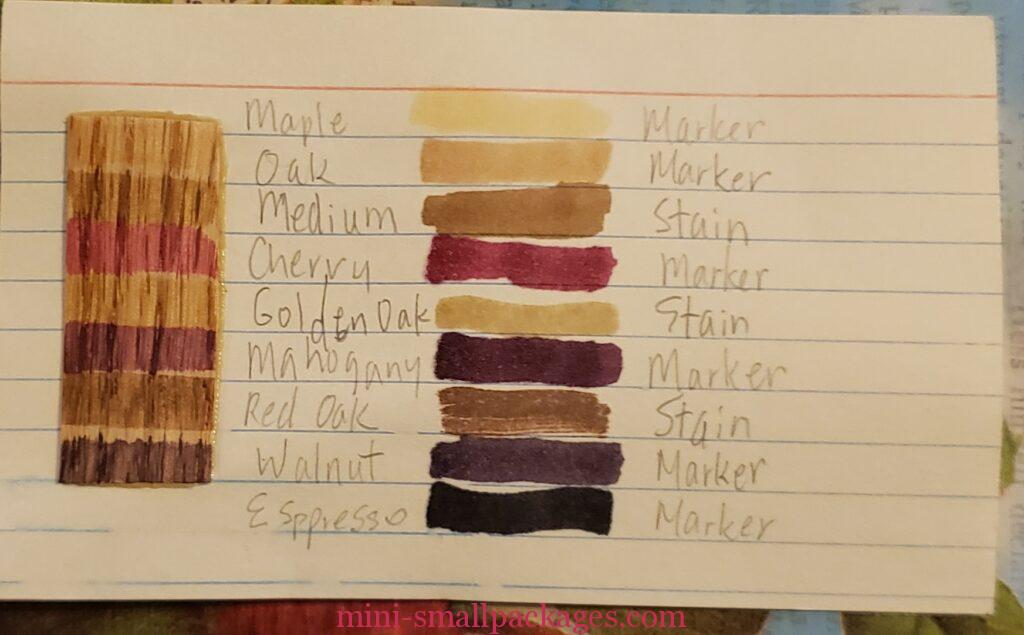
I will add more wood for new ones and for that last dark color.
I think I should add ‘Red Oak’ at the top of the wood piece, since veneer comes in other woods.
I choose the Walnut marker as it was the closest to the basket.
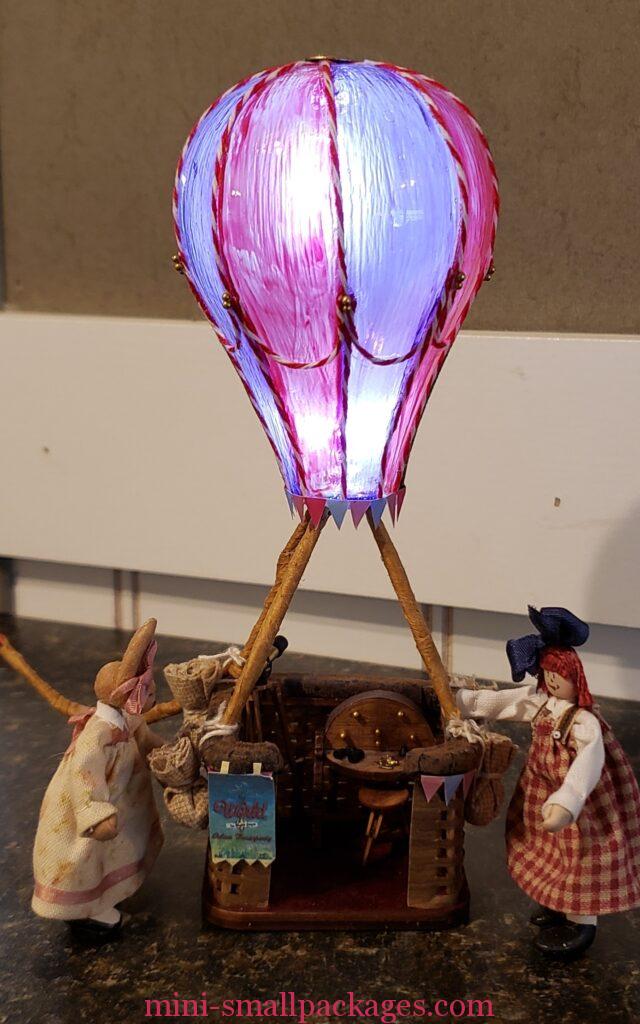
Here are some finished pictures of this project.
The balloon and basket kit was assembled by Debbie Colombo. I just added dome and made a base to keep it covered.
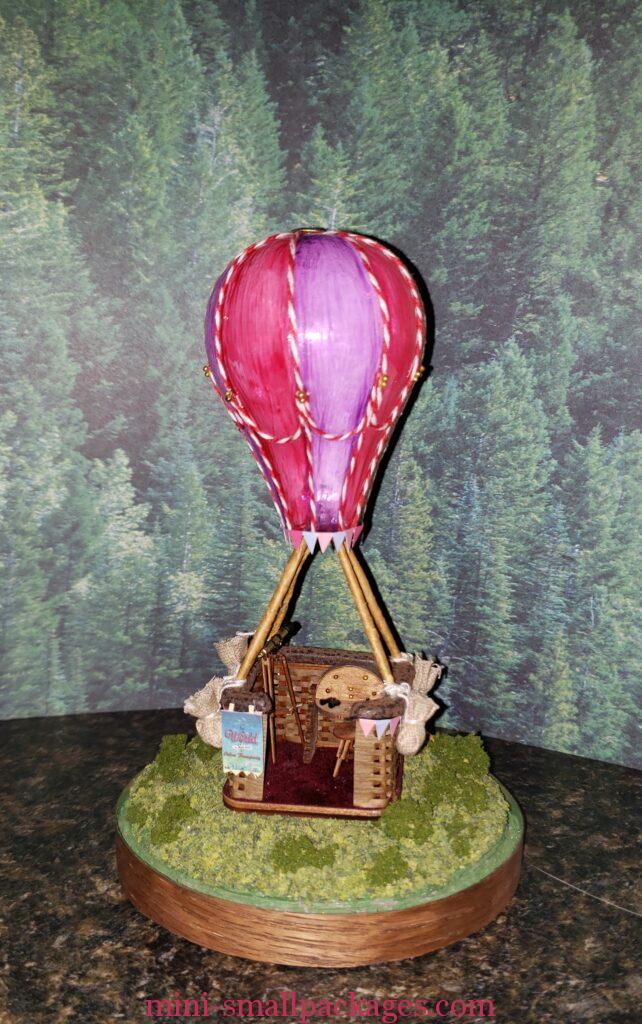
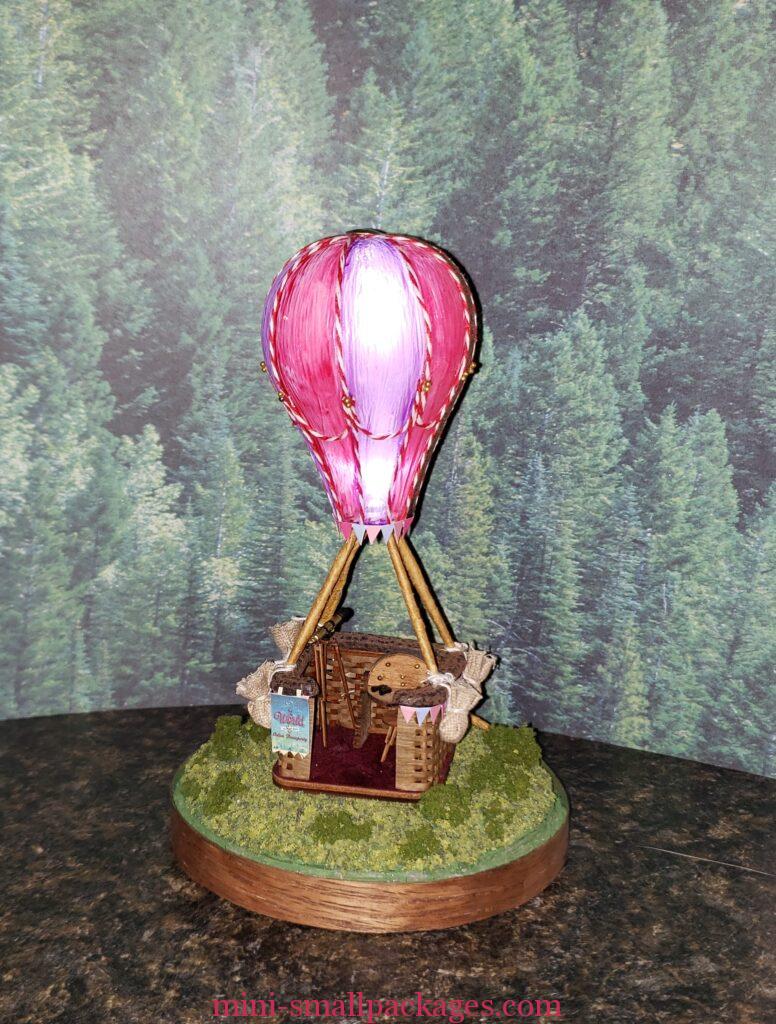
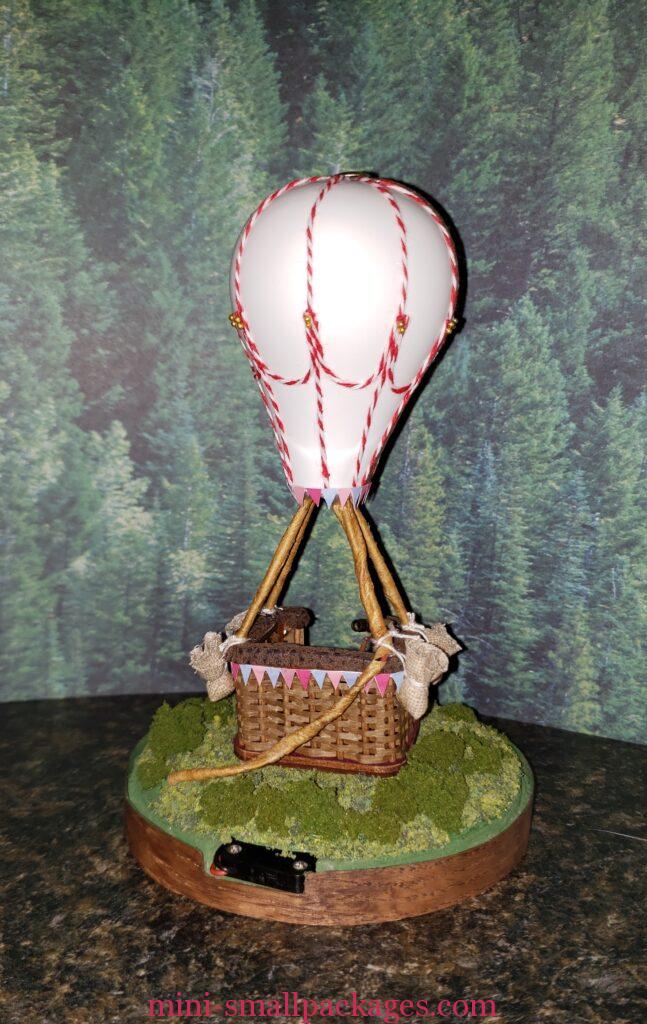
Happy miniaturing!
Preble
If you enjoy my website, please consider making a small donation via PayPal.me/minismallpackages. Thank you!