My Altoid Tin Challenge Miniature and how I made it
Altoid Tin Challenge
January 2014, I issued a challenge to the LittleEnoughNews yahoo group (no longer exists) to make a miniature using an Altoids tin or similar tin. The challenge produced some wonderful project including a Wizard of OZ, ME theme, Boggy bottom, something with cupcakes, and several more that I can’t think to name right now. All of which are posted to the group.
My Challenge project
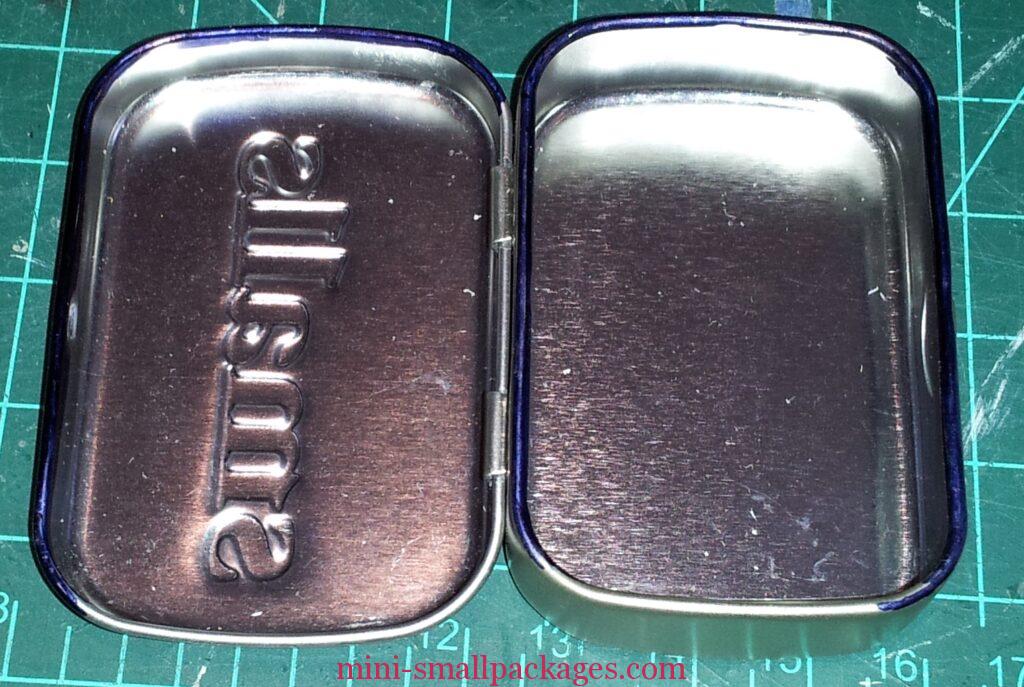
When the challenge was going on I pulled out a tin I had on hand. I even pulled a few items to go in it, but just wasn’t able to make it then. In March, I took the time and it went together fairly quickly. I had already determined the arrangement of my tin on its end open like a book. I even found a plastic box for a cover that I would use. These steps certainly helped speed the project to completion.
Base and Floor
I measured the box and cut a piece of foam core board for the bottom. I then cut a groove in it to rest the lid portion of the tin. Next I cut a second piece of foam core board and this one I started marking it so could fit into the depth of the tin lid and bottom. Here are the results of the cutting of these two pieces, Base and Floor
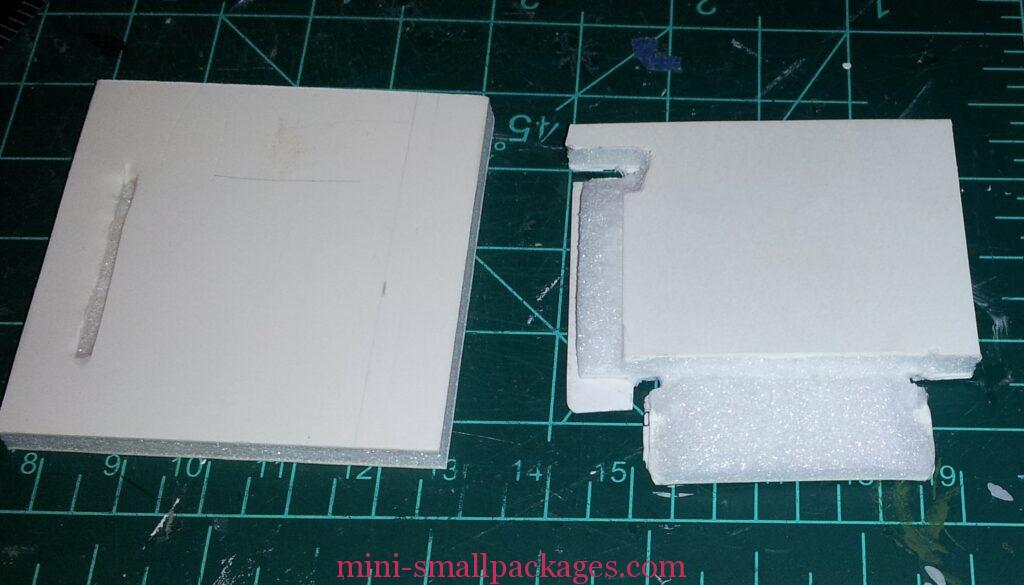
The piece on the right is the underside of the floor. One can see the notches and areas cut away to fit the tin exactly.
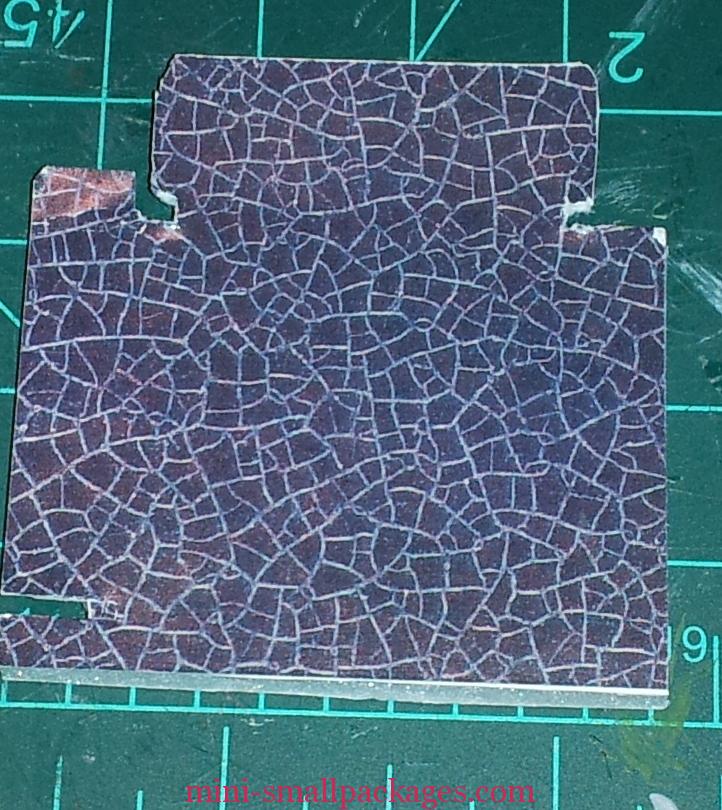
Here is the floor with the flooring added. The flooring was a sample card obtained from a home improvement store to show a crackle finish. Here is the under side of the floor in the tin itself
Wallpaper
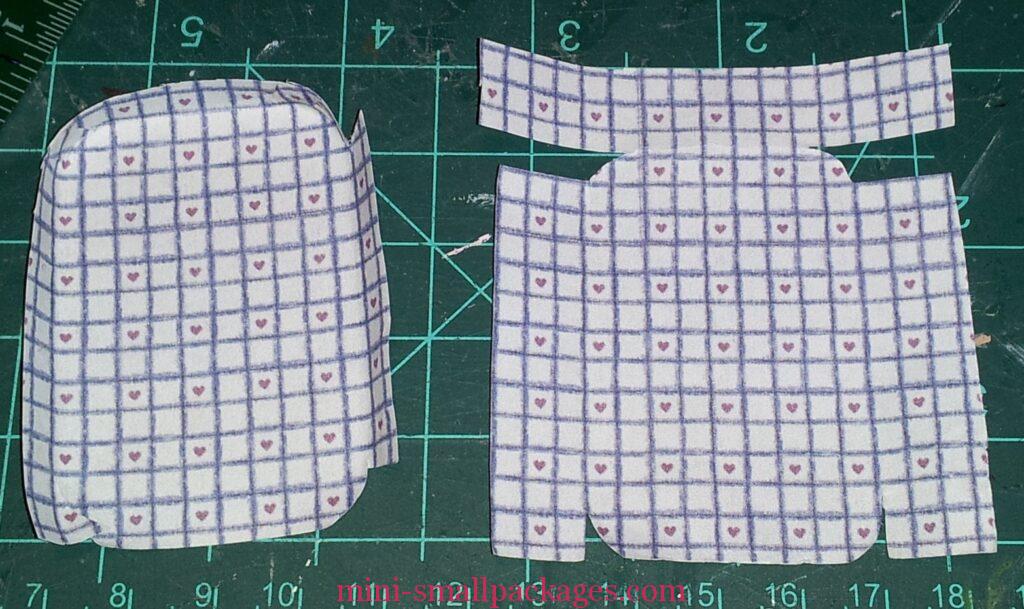
Once I was satisfied with the floor and base, I moved on to the wallpaper. I have a book that I use to store wallpaper (a three-ring binder with plastic sleeves). Wallpaper for smaller scales is so much easier to store. But this book does have pieces of wallpaper that could be used for one-inch (1:12 scale). I have one sleeve dedicated to raggedy theme or coordinating styles/colors. I did find some to use so that helped speed the project up as well. To fit the wallpaper into the tin, I cut a piece of plain paper the shape of the tin lid (used the lid as a template). Then I pressed this paper template into the lid and cut away anything that was bent. Once I had that, then I used another scrap of plain paper to determine the width the wallpaper needed to be for this tin. Cut a strip wider than the tin lid template and then pressed it inside. Repeat for other direction. Then I could cut the wallpaper the approximate width and height needed. In order to avoid pressing the wallpaper into the tin and bending it unnecessarily, I placed the lid template on the wallpaper and made some cuts to the edge of the template. Then I inserted in the lid and pressed into shape. I learned that I didn’t need so many cuts – see this pic shows the lid wallpaper and the box wallpaper after being trimmed. Note how the one on the right has wings at the top and bottom, that was really what was needed.
When folded into the tin the wings go behind the sides or towards the bottom. Once the wallpaper was ready – I decided to do something about the shiny edges of the tin for the room side. I didn’t want to paint as was concerned it would flake off before I got the project finished, although that might not have been the case. Instead I used a permanent marker in a dark blue. (I got this set of markers for a totally different craft project, but they are proving themselves of greater value more and more.)
I test fit everything – tin, floor, base, wallpaper all at the same time. Once I was satisfied this was all I needed to do, I added glue to the interior corners of the tin and added the wallpaper.
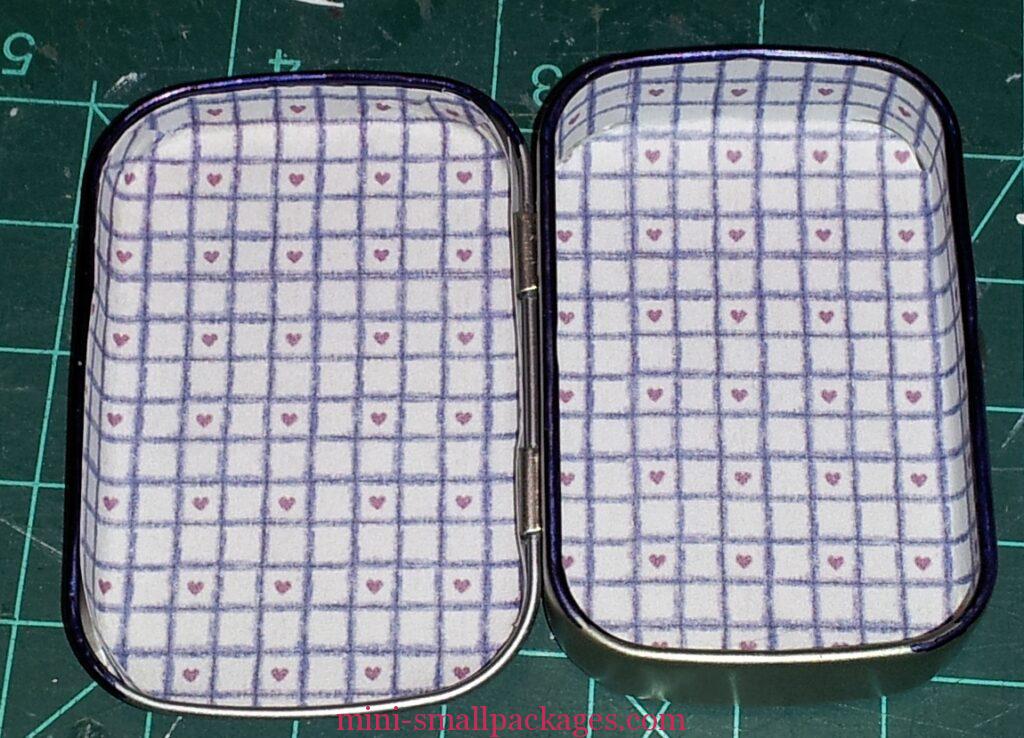
I did trim the paper so it was just below the edge of the tin.
Then I set the floor in place, checking it. Ok, good, the next step was to glue the floor in place. After I was satisfied with the floor and tin together against the base, then is when I glued to the base.
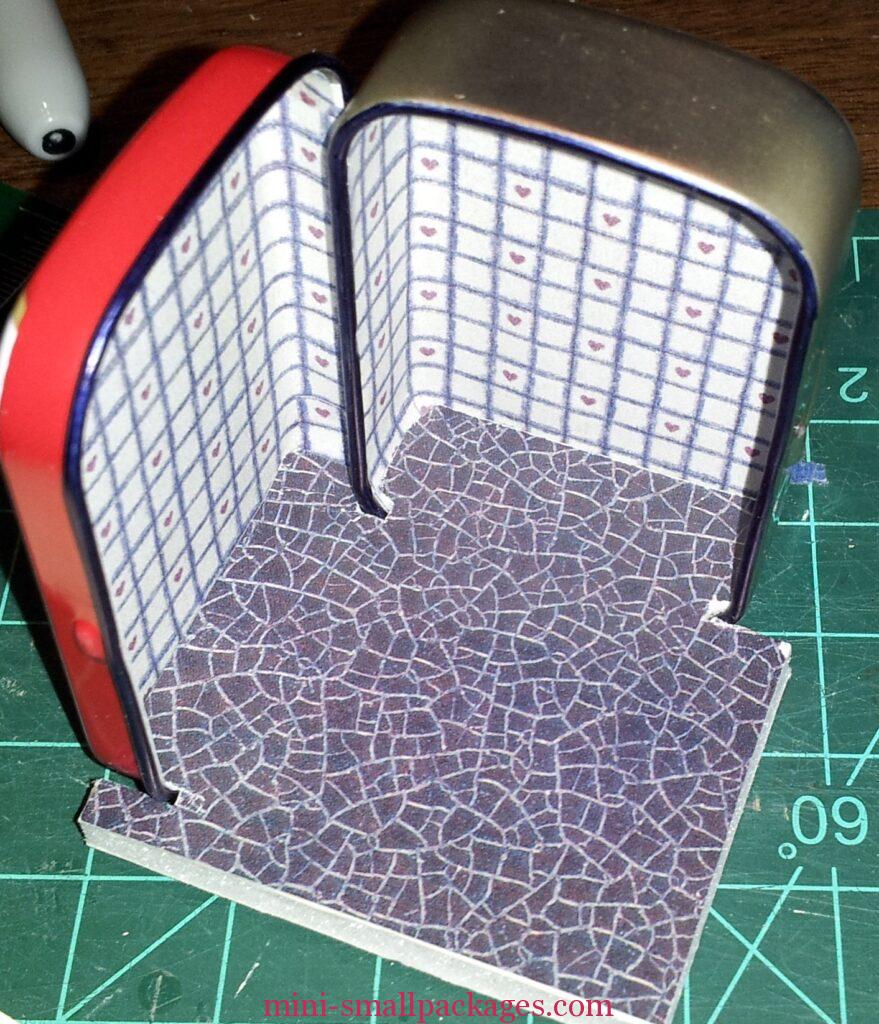
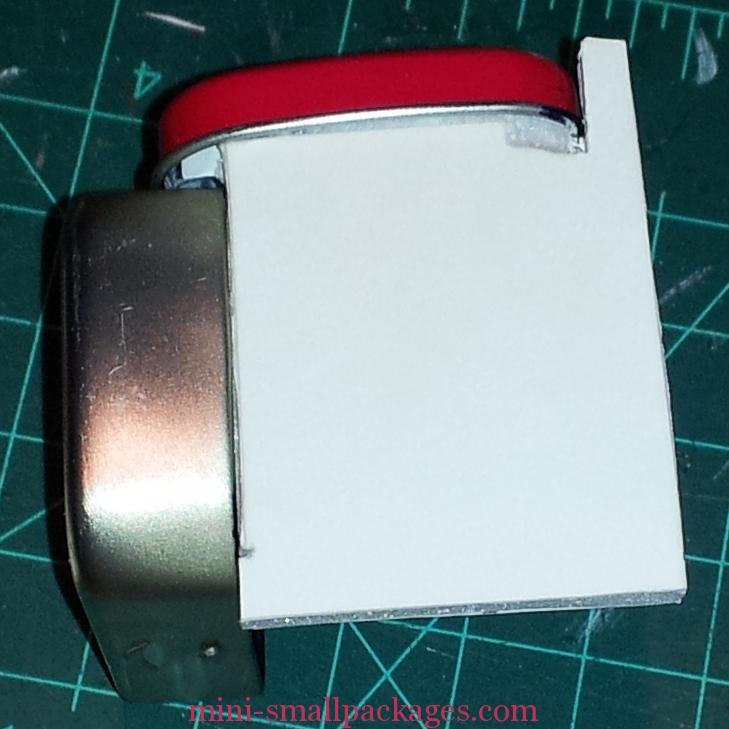
As I looked at the project from all sides I realized I was premature of gluing the base to the floor. I decided that I needed to add some of the flooring to the outer portion of the tin since it showed. I pieced this together best I could – would have been so much easier to have that in place before I glued it all together. I also added a piece back to the side of the tin where I had lopped it off. This piece of foam core board was cut with a curve to fit up next to the box of the tin.
This pic shows how that foam core board had to be added to fit up against the box section on the left and a small gap still on the right side. Also shows how I pieced the flooring in the back and outside of the tin. Looks like I need to fix a spot.
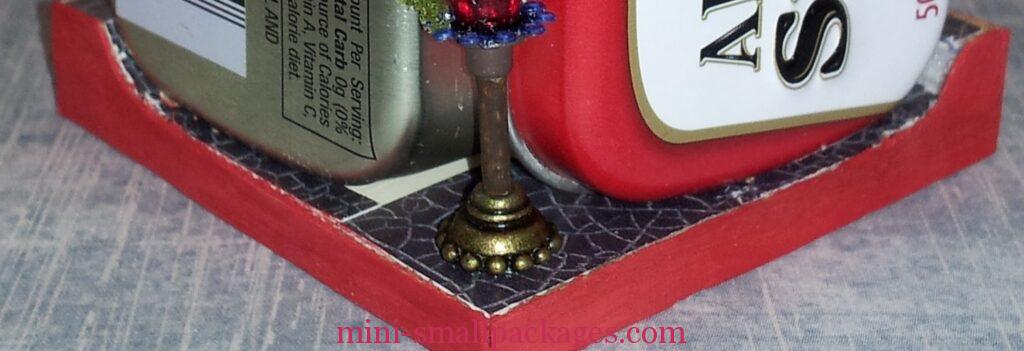
Wood trim around the base
Lastly I pulled out some wood veneer on a roll that I had been itching to use for some time. This comes pre-glued on the back. It works by ironing it to whatever is being edged. Since this glue requires heat I made sure to test a sample of foam-core board first. My test was very successful so I went ahead and cut my pieces.
Wait actually I cut my pieces, painted them, trimmed them and then realized I should test. After the test and then after successfully applying the pieces using my iron I would say that it would have been better to apply the wood first – aligning to one edge. Then trim against the other edge. Rotate to another side and repeat.
The test that I did was really clean when I trimmed the wood and glue away, but having already pre-painted and pre-cut my pieces I was stuck with dealing with the glue that squeezed out. It isn’t the cleanest I would like even with going afterwards with my craft knife. I also ended up repainting as my color was uneven. If however I had been able to sand against the flooring edge then the glue excess wouldn’t have been a problem.
But I do love – love this product, how easy it was to use and the look I achieved even with my excess glue.
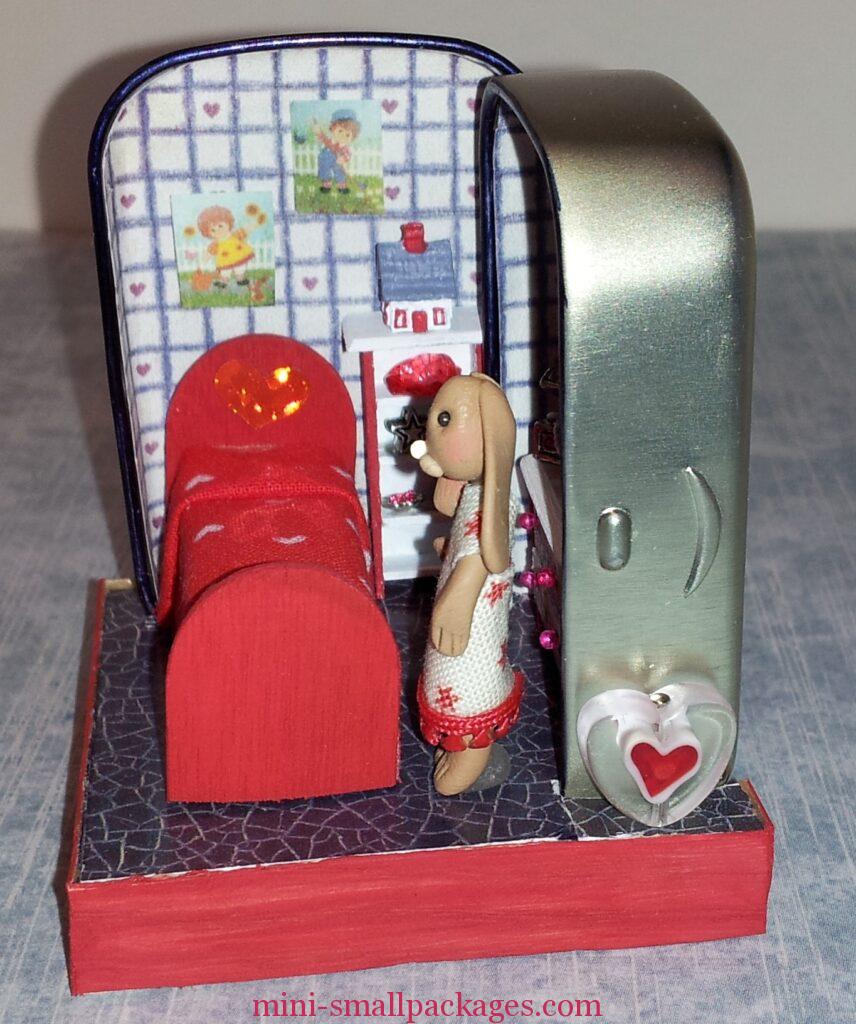
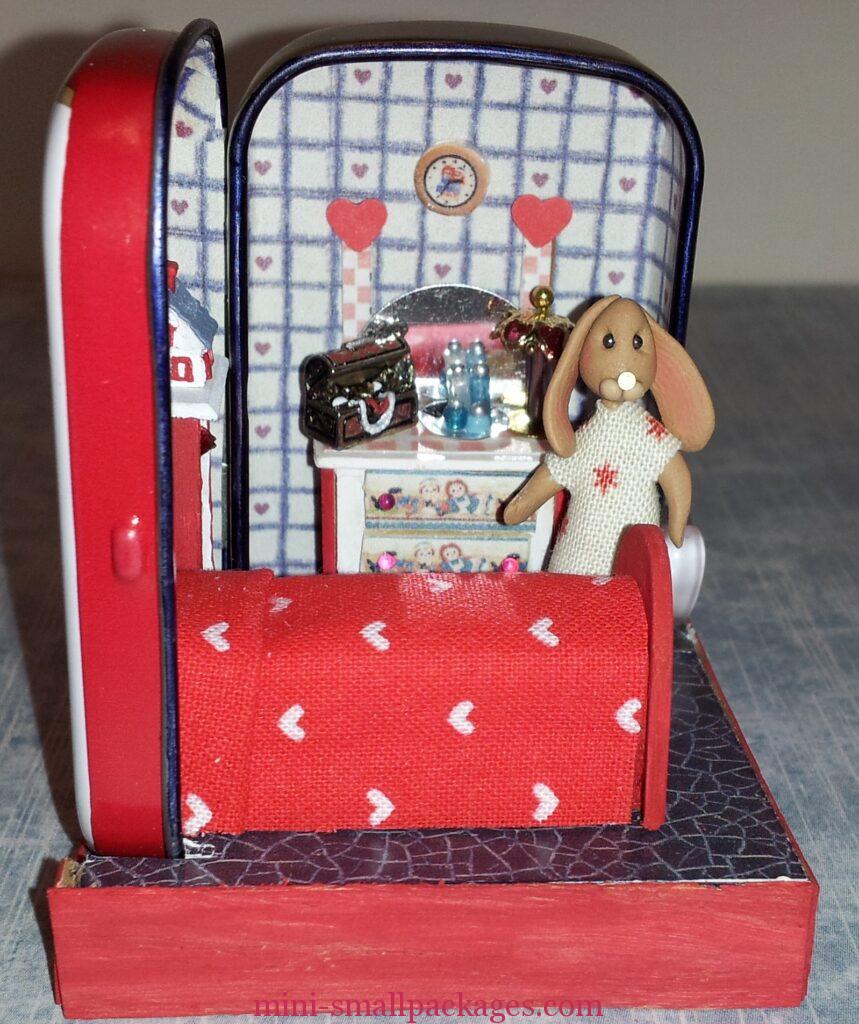
So here is the finished piece with all the swaps added
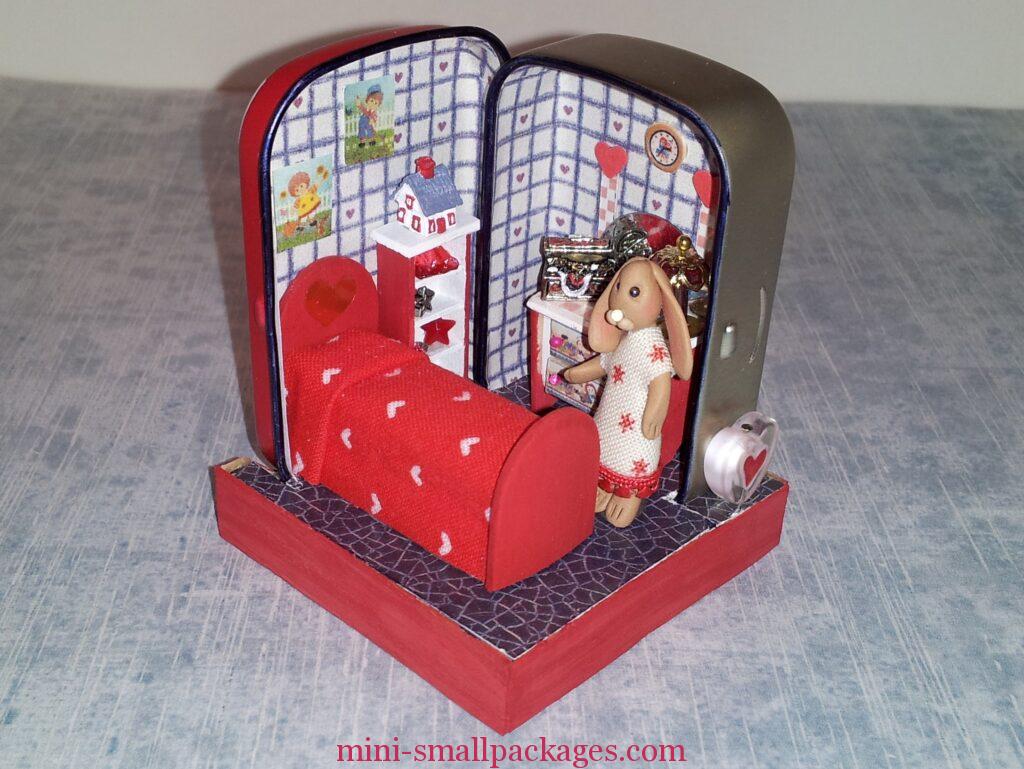
The bed was made by Tamara (Rusty) Zuleger.
In the shelf just under the house is even a piece of ‘glass art‘ I made using plastic that I posted about here.

It really is a dish but not so obvious here in the shelf. Below is a star shaped bead.

Happy miniaturing!
Preble
If you enjoy my website, please consider making a small donation via PayPal.me/minismallpackages. Thank you!