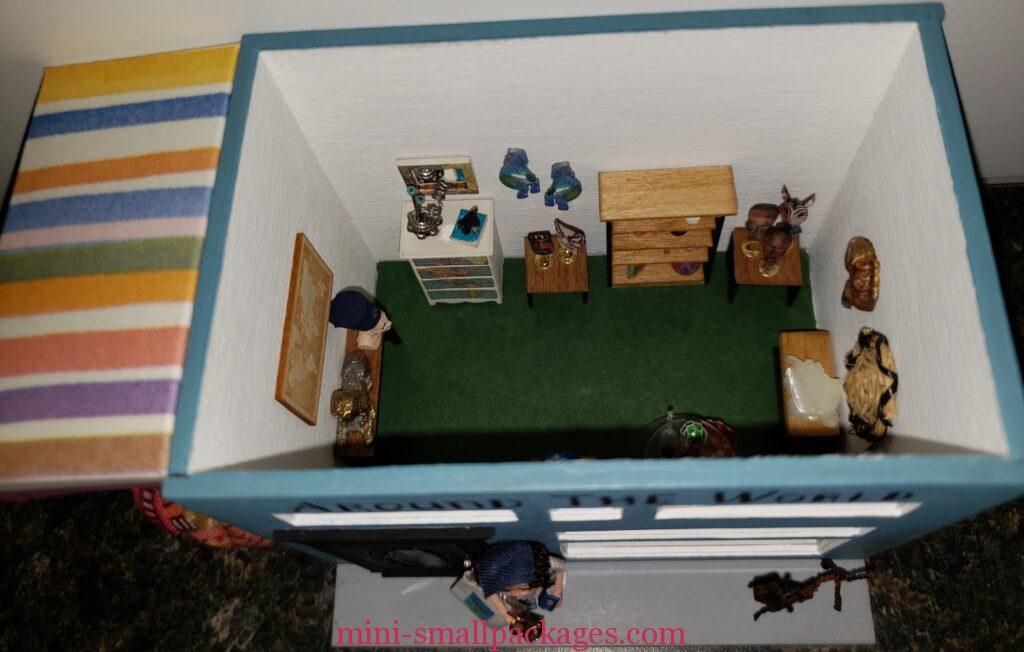
Around the World in 8 Days was the theme of the NAME Online House Party OLHP in May of 2019. I won a set of OLHP swaps in all three scales. I wanted a way to display the 1:48 scale ones.
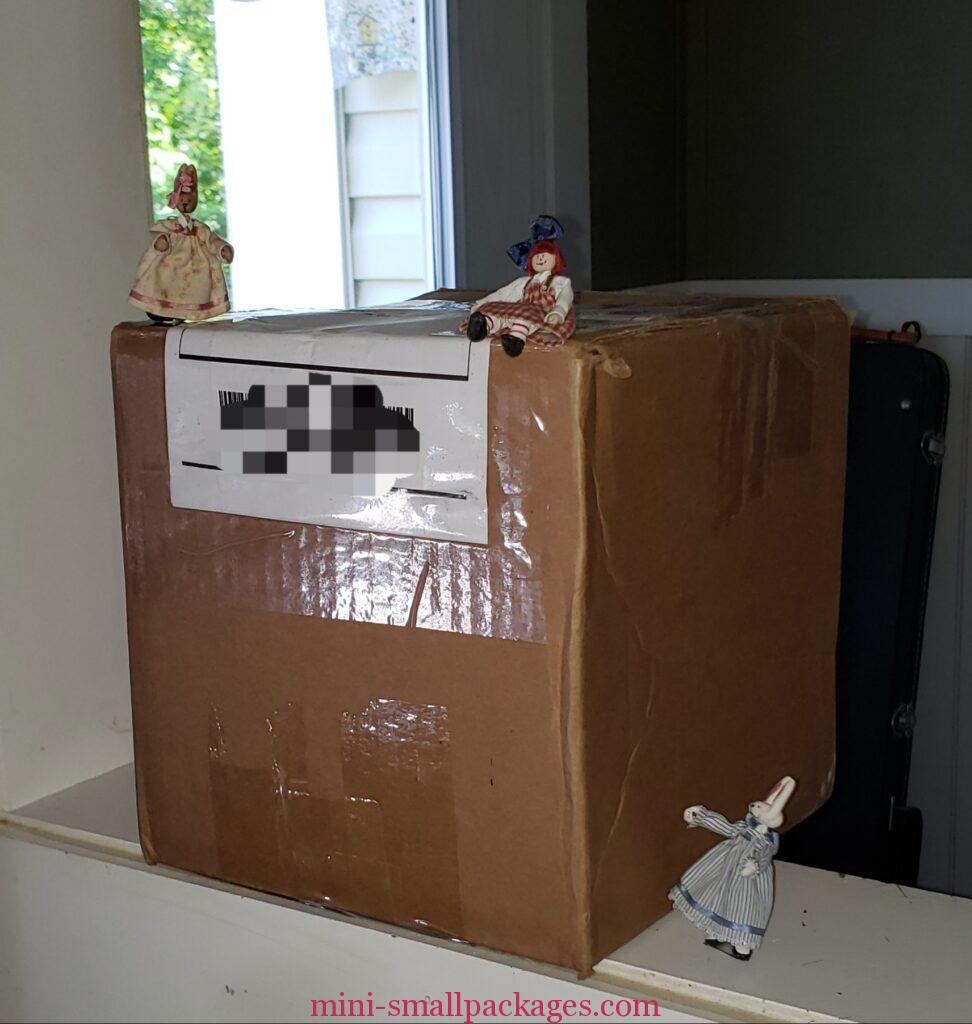
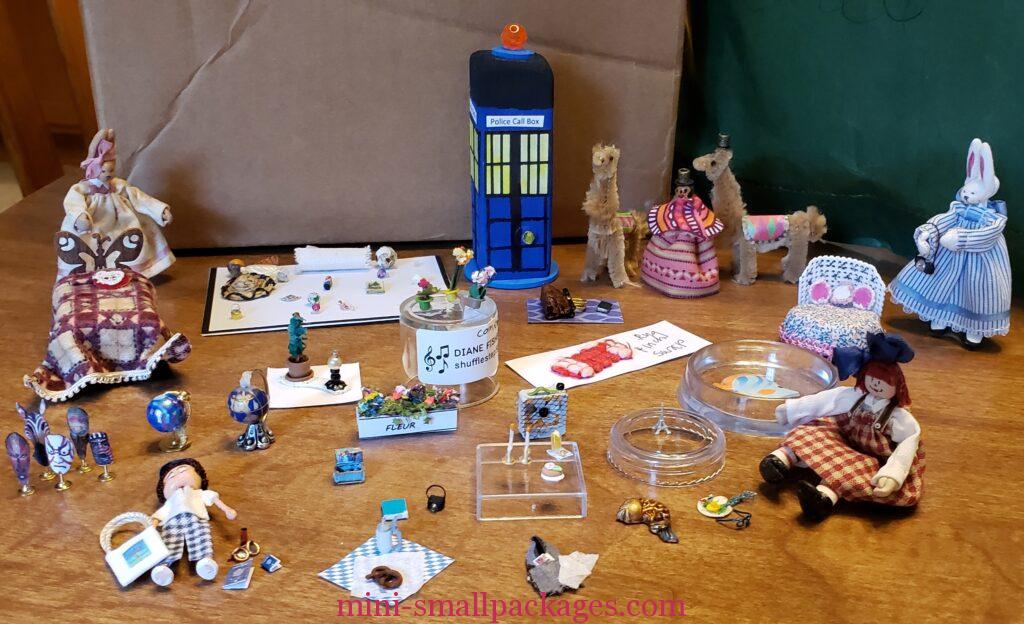
After looking at the swaps and thinking more about the shop, I decided to showcase them as a shop and museum. Thanks Brandi for the idea.
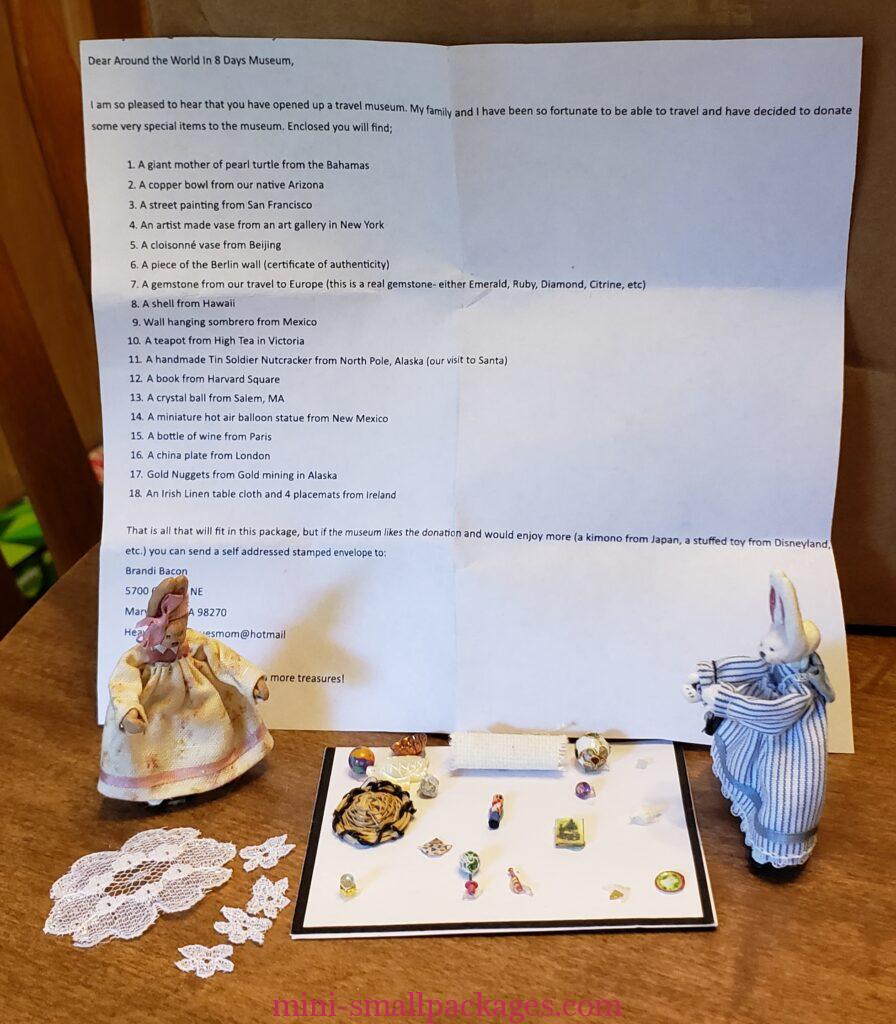
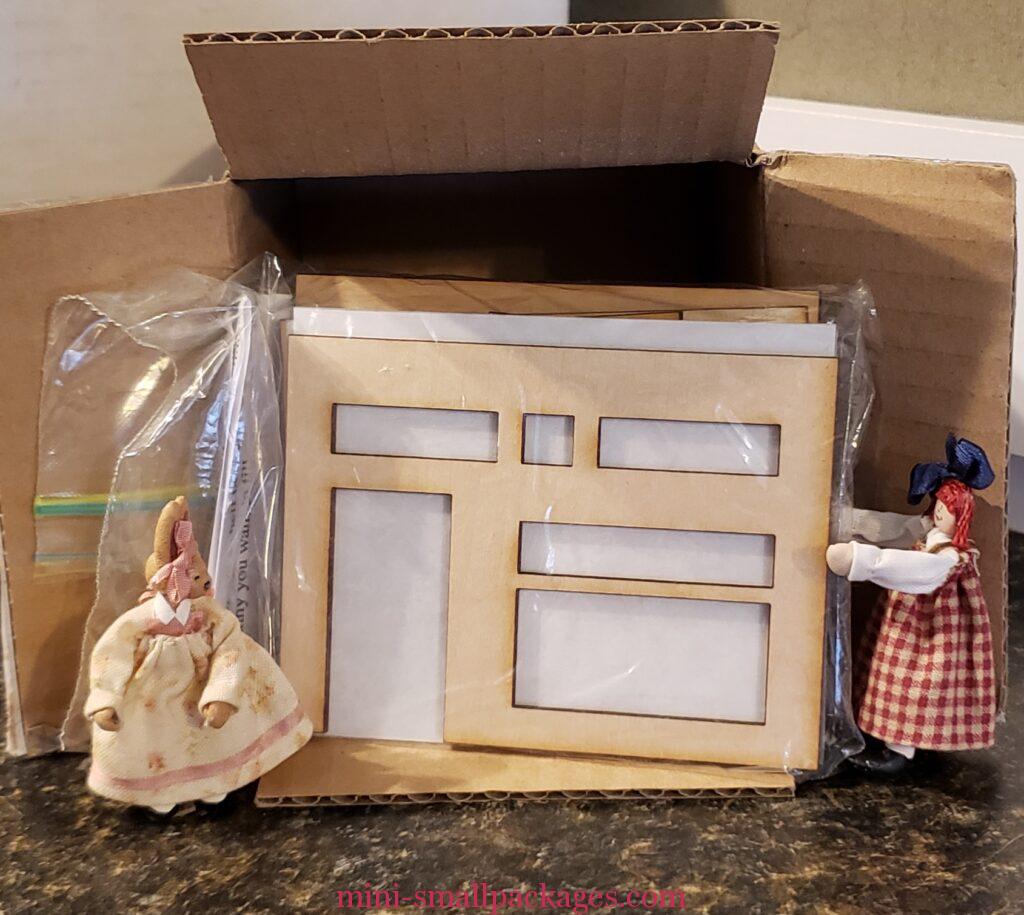
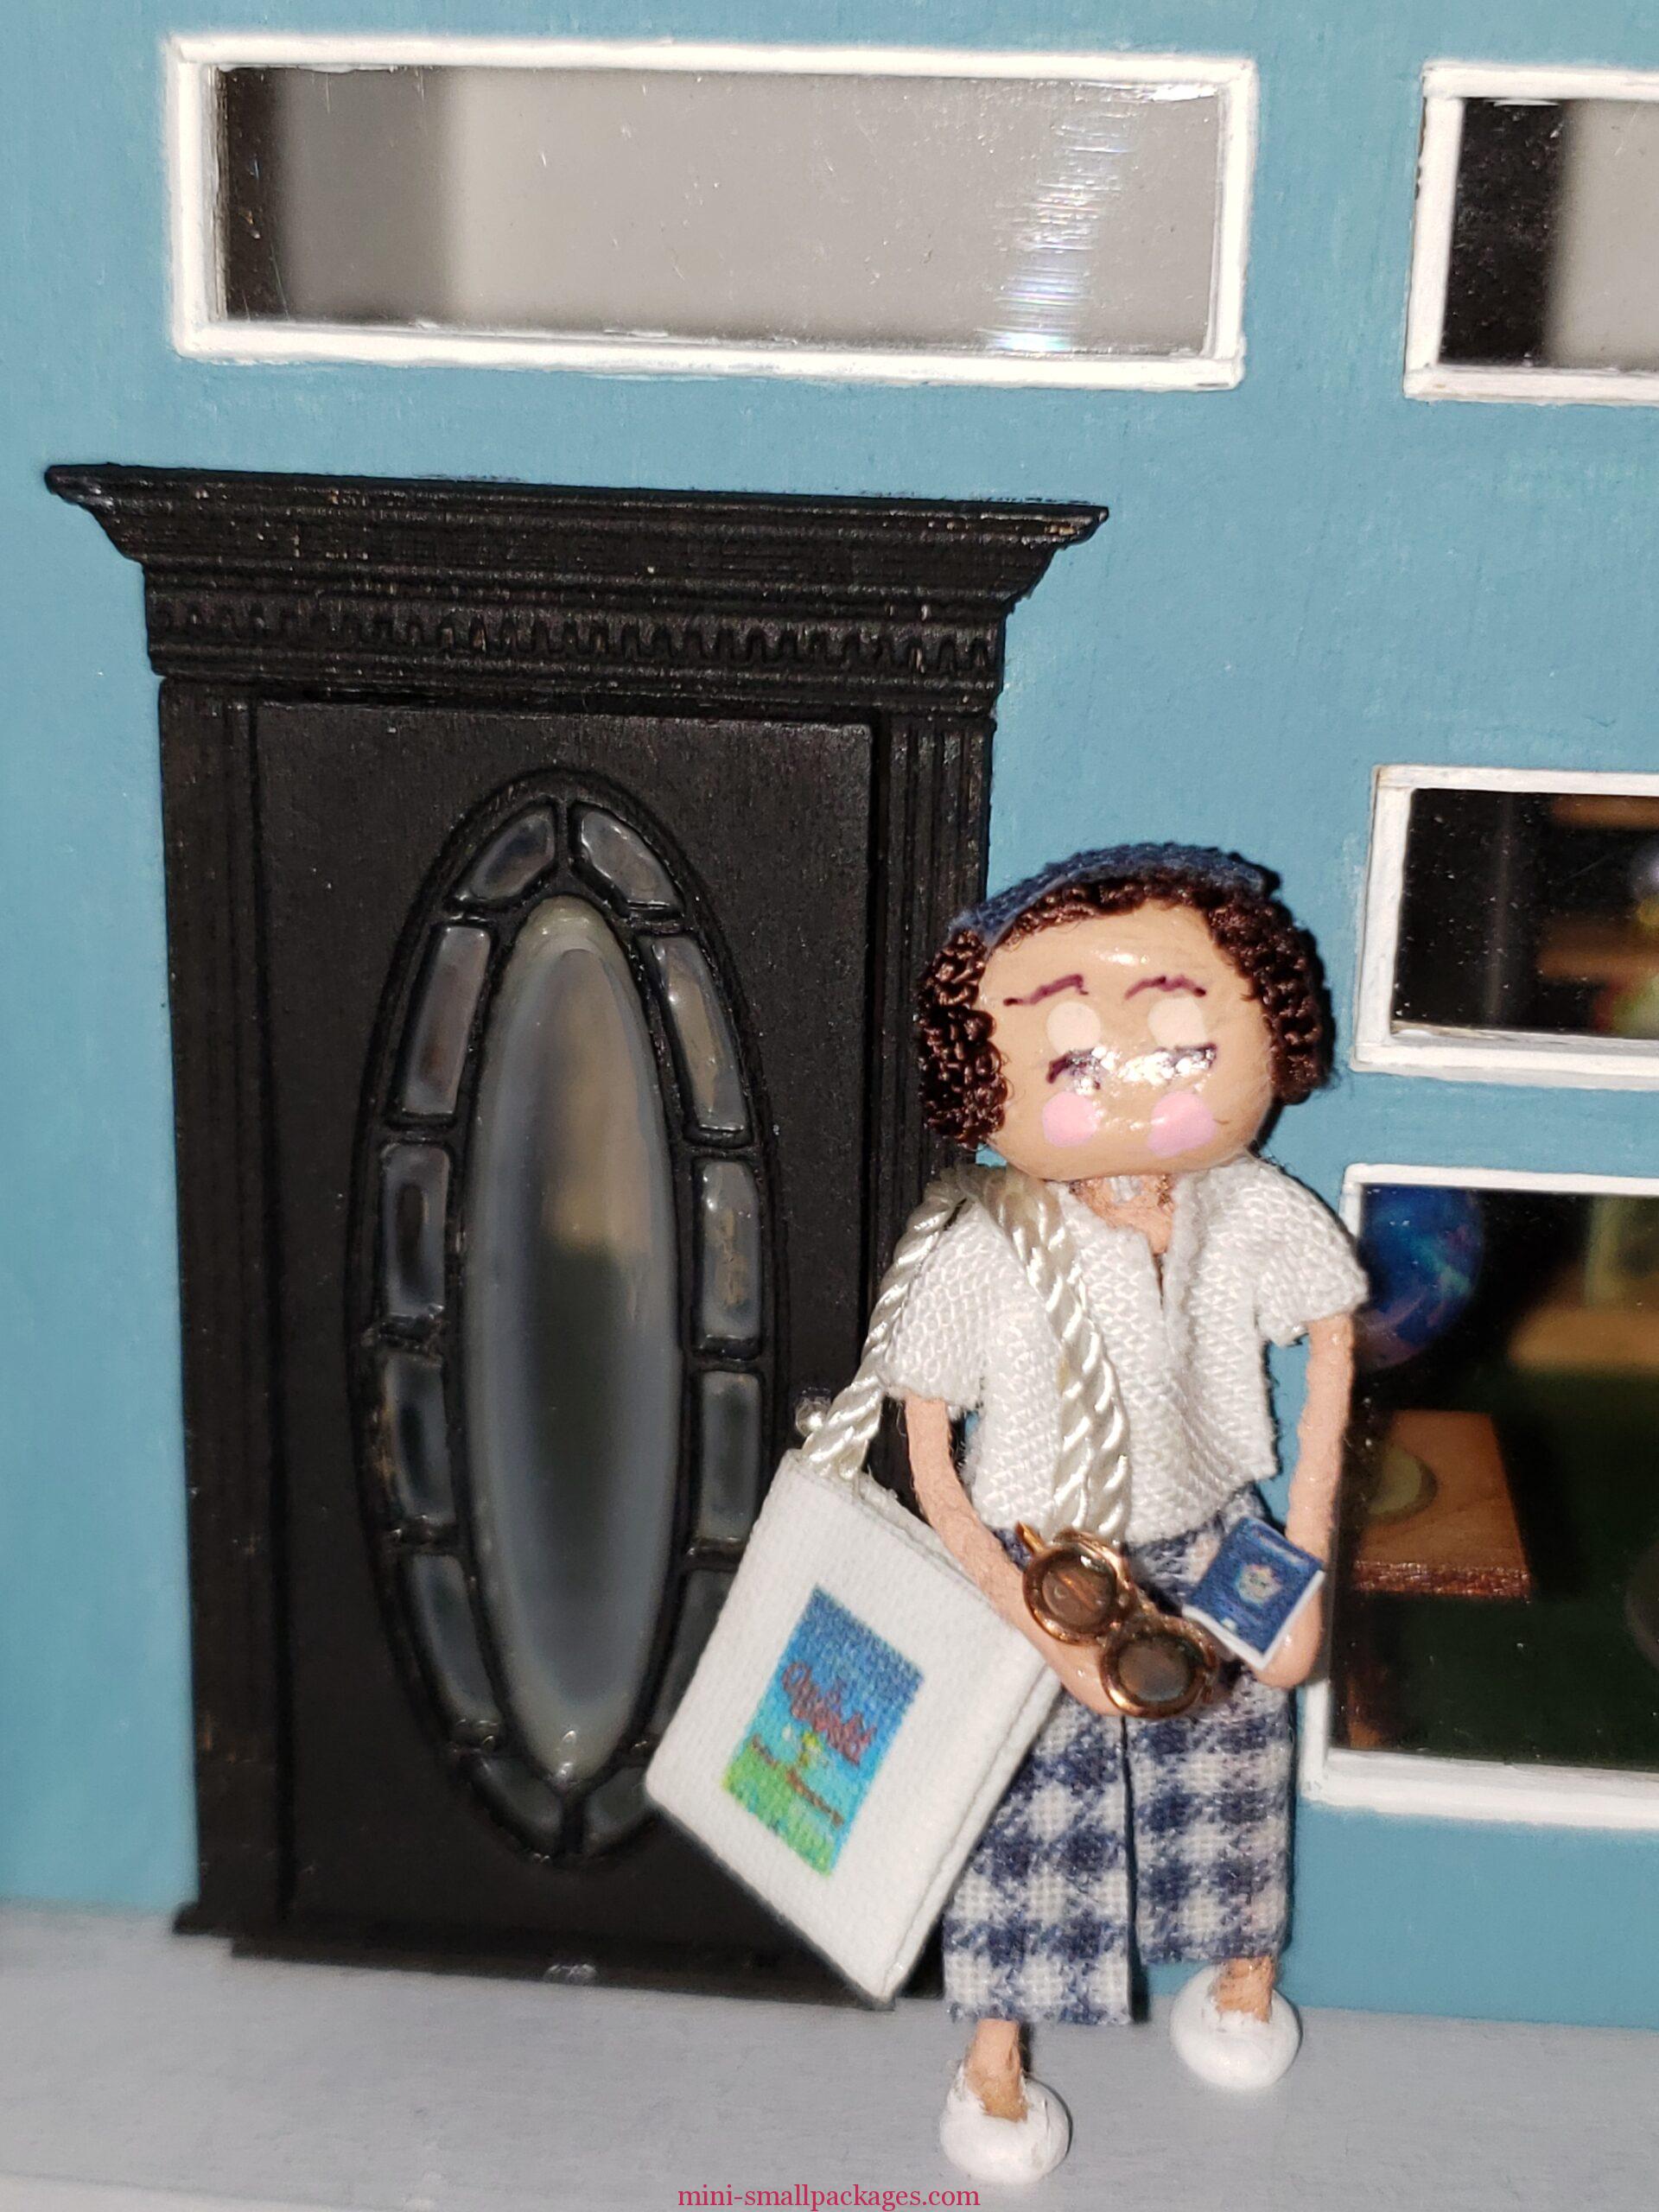
One of the items I purchased in the salesroom was a ‘Putabout’ shop kit from Cindy McDaniel. That’s MiniBunny and her friend Ann.


How I made this project
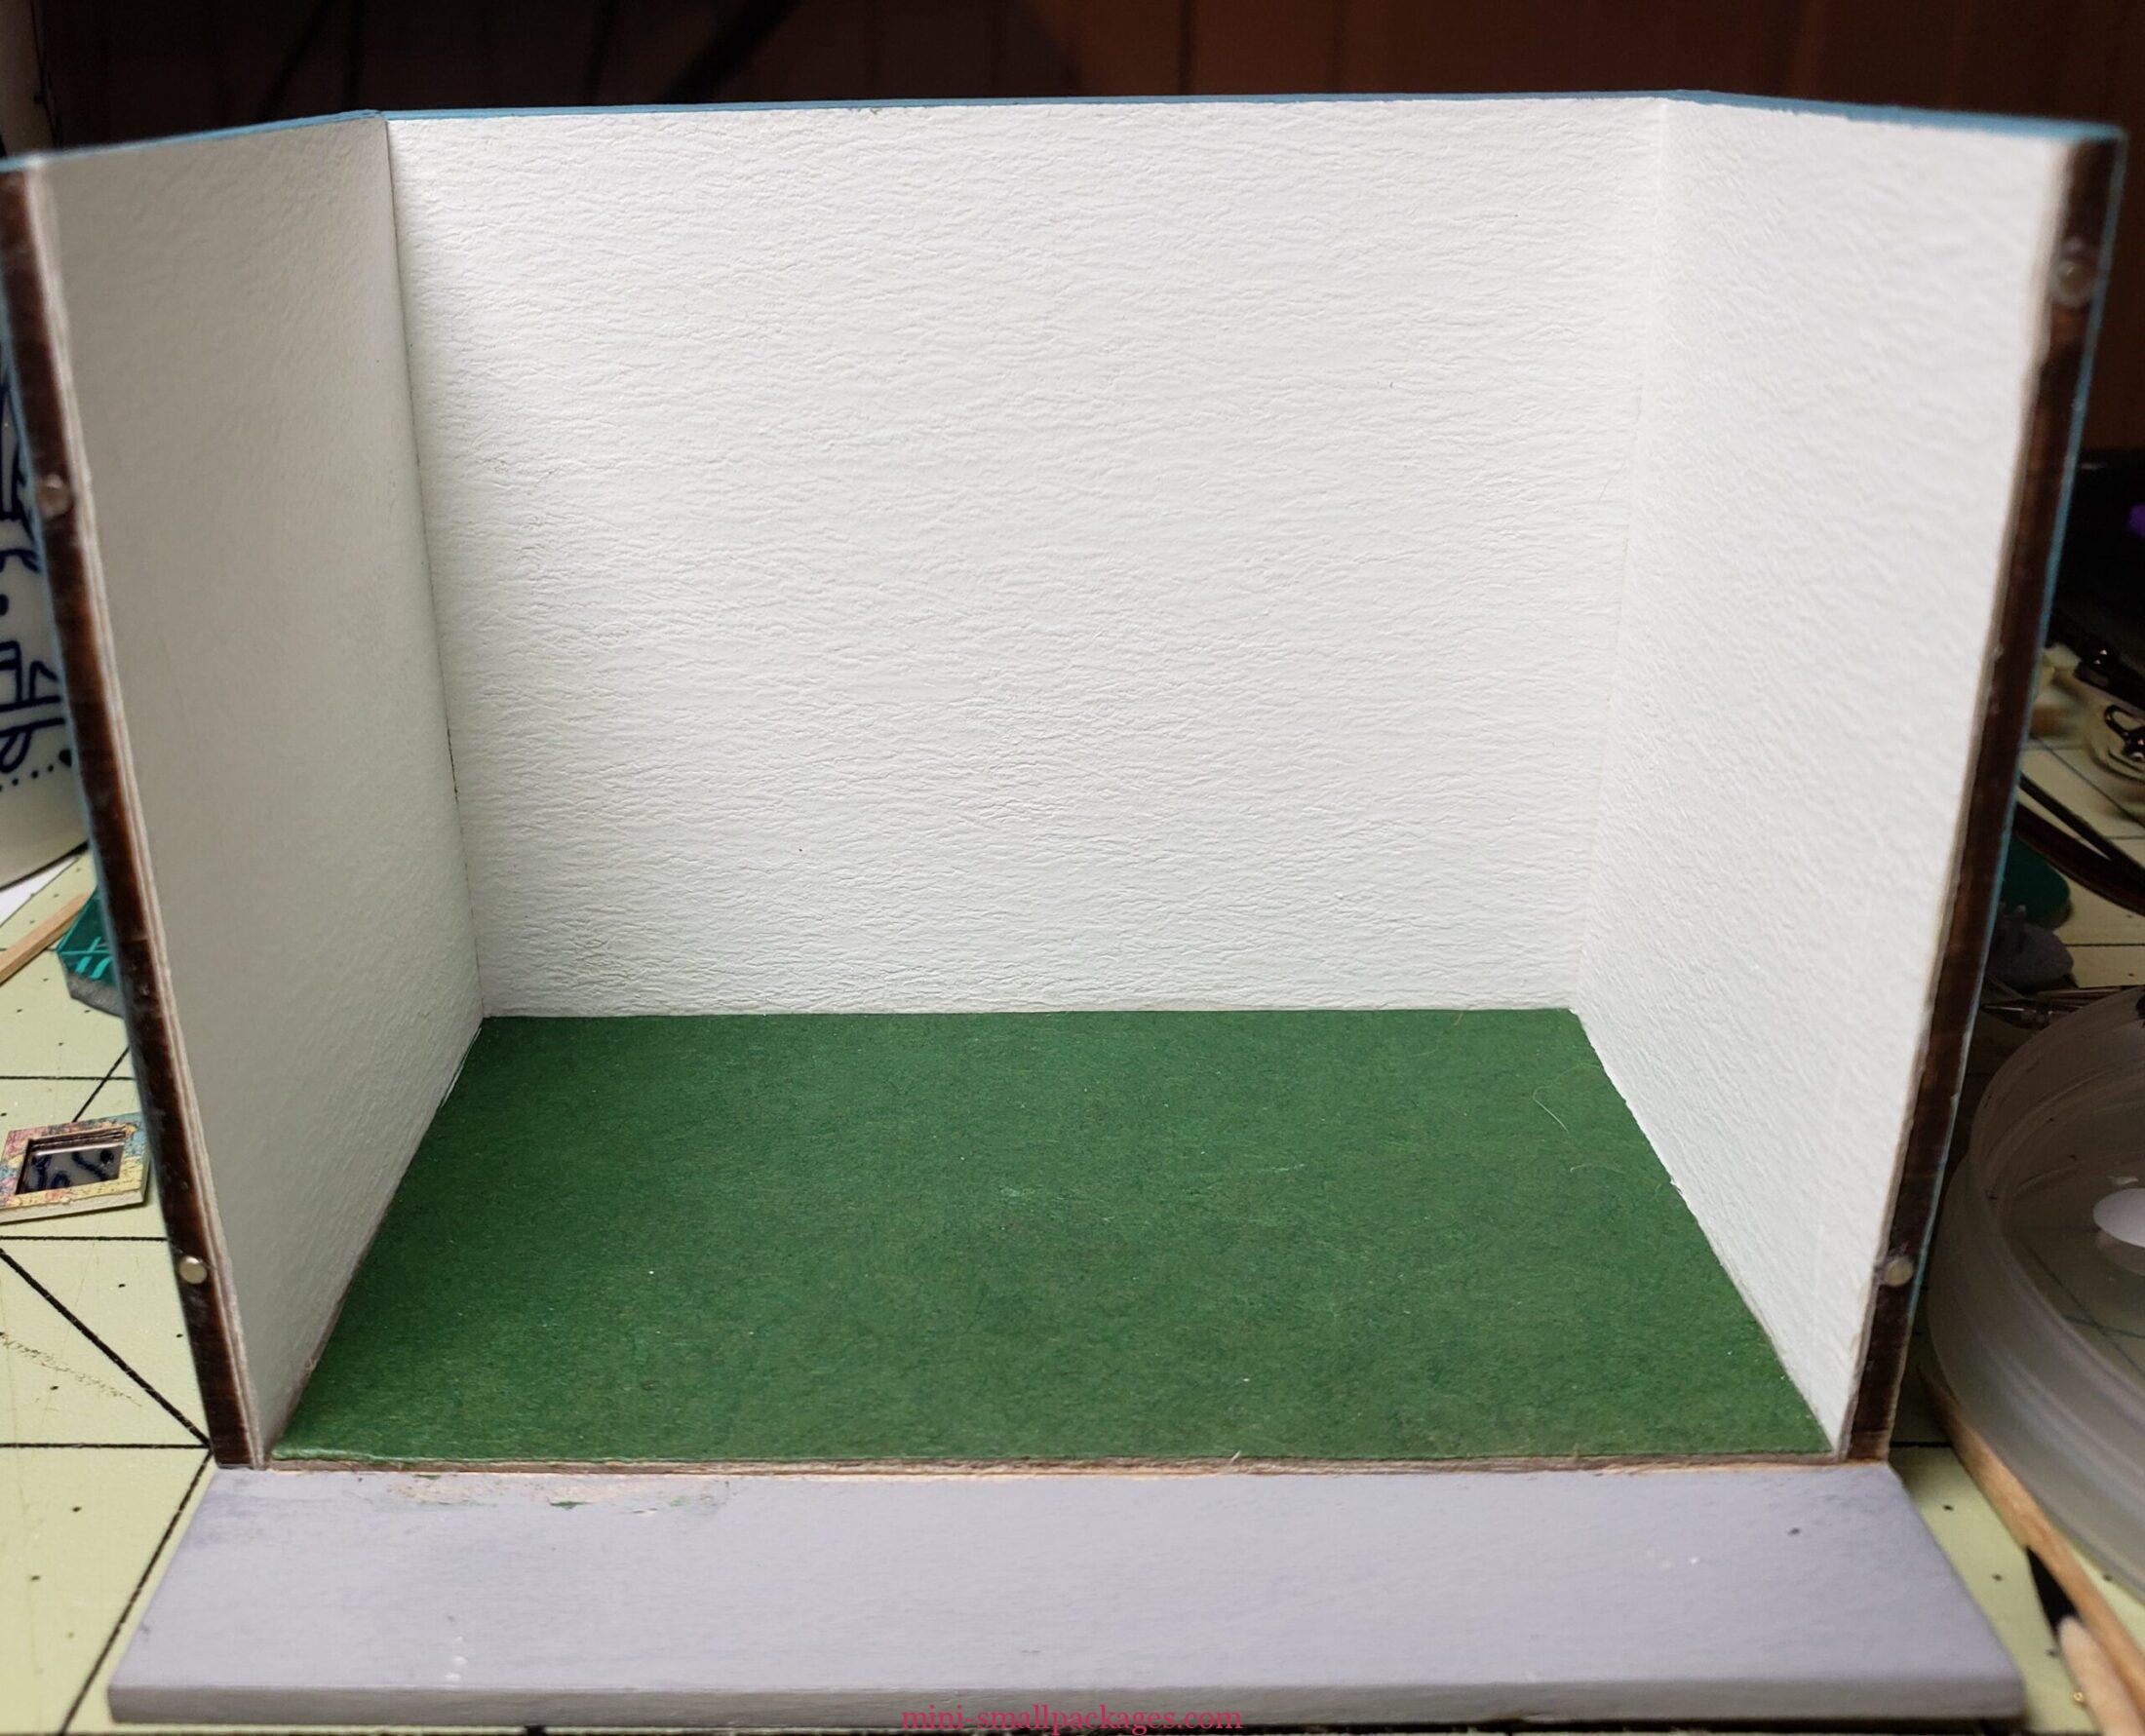
For wallpaper inside, I used packaging from a white pillow style box (top right of pic below) that some Committee gifts came in. I cut it apart and I had to make those curves fit together. It was the texture that I liked.
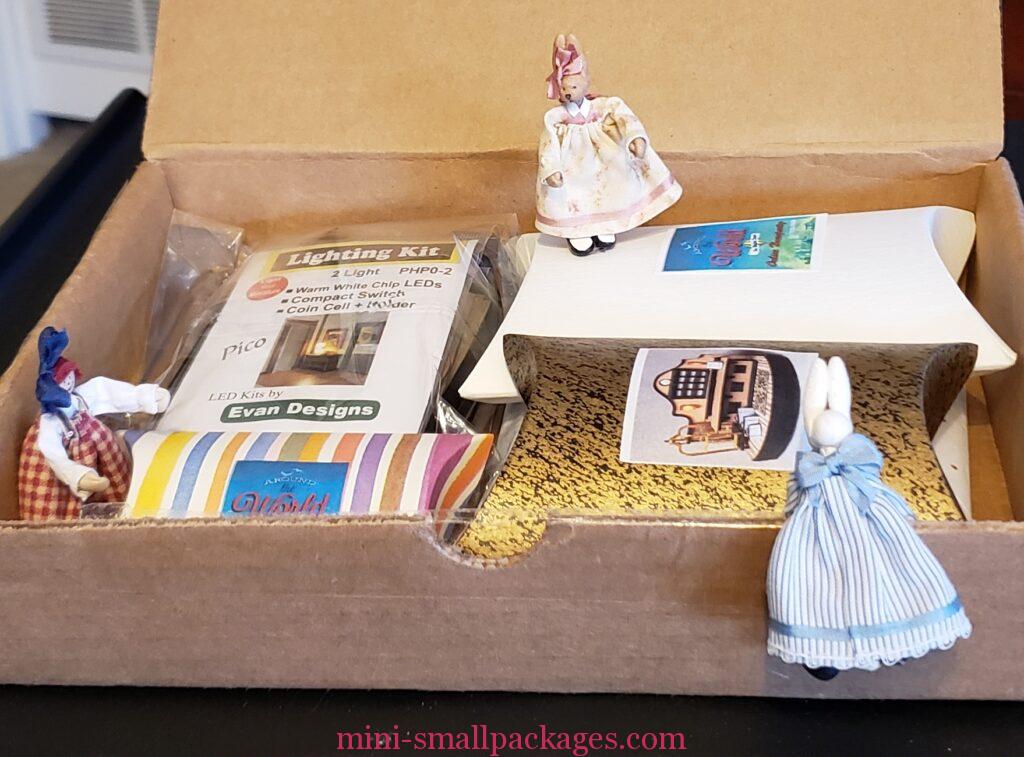
The pastel striped one I will use later. The gold one was used in my TNP.
For the floor, I used the green paper bag the swaps came in. I choose to glue that to a piece of card before gluing into the shop.
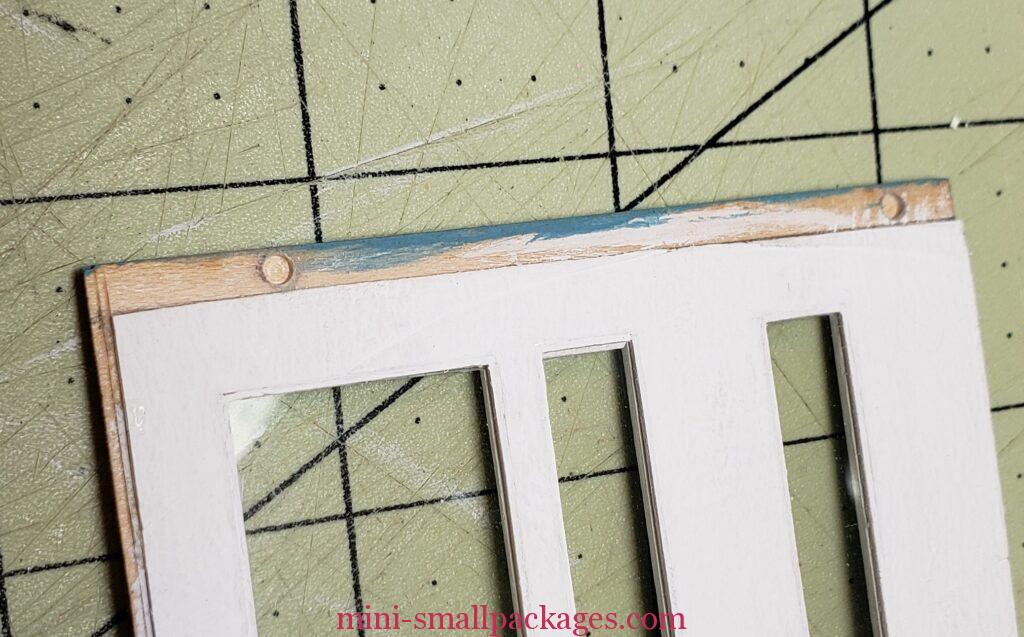
The front I painted white. I added thin wood strips by MidWest Scale Lumber as trim to the inside of all the windows. The trim was painted white before gluing in place.
I did all this fun work right after the OLHP, but then it was back to real work (I took vacation to enjoy the OLHP) and I decided to go back to working on the Petite Chateau.
In 2020, I felt the calling to work on this ATW shop again. It was a zoom meeting of fellow miniaturists. It was a way to make up for the mini events that were cancelled due to Stay At Home orders of 2020.
I started back by cutting the plastic for the windows and began adding same trim to the outside of each window.
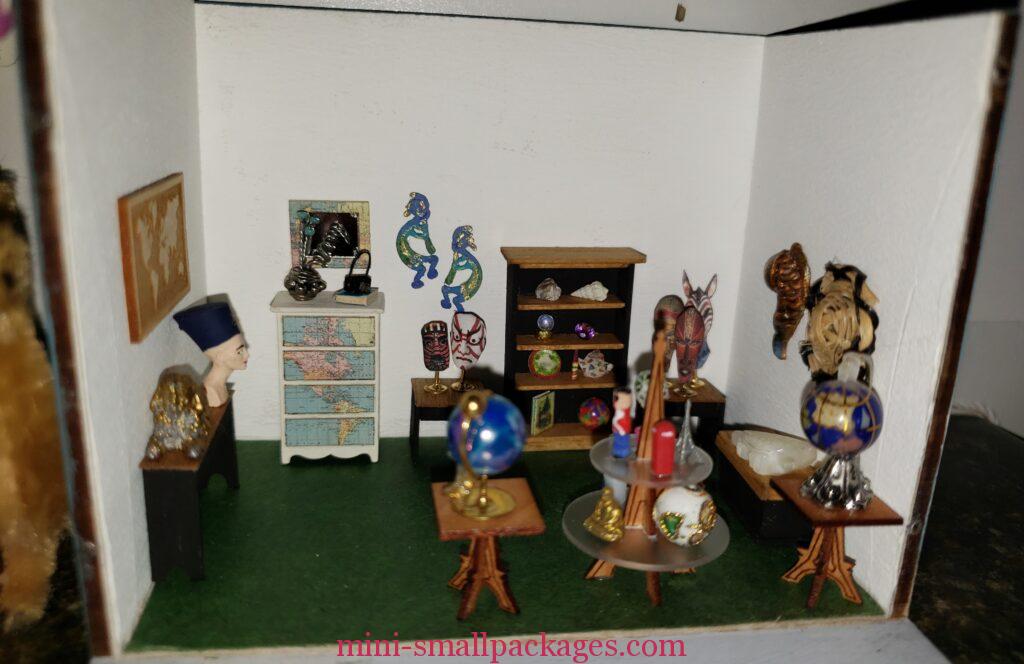
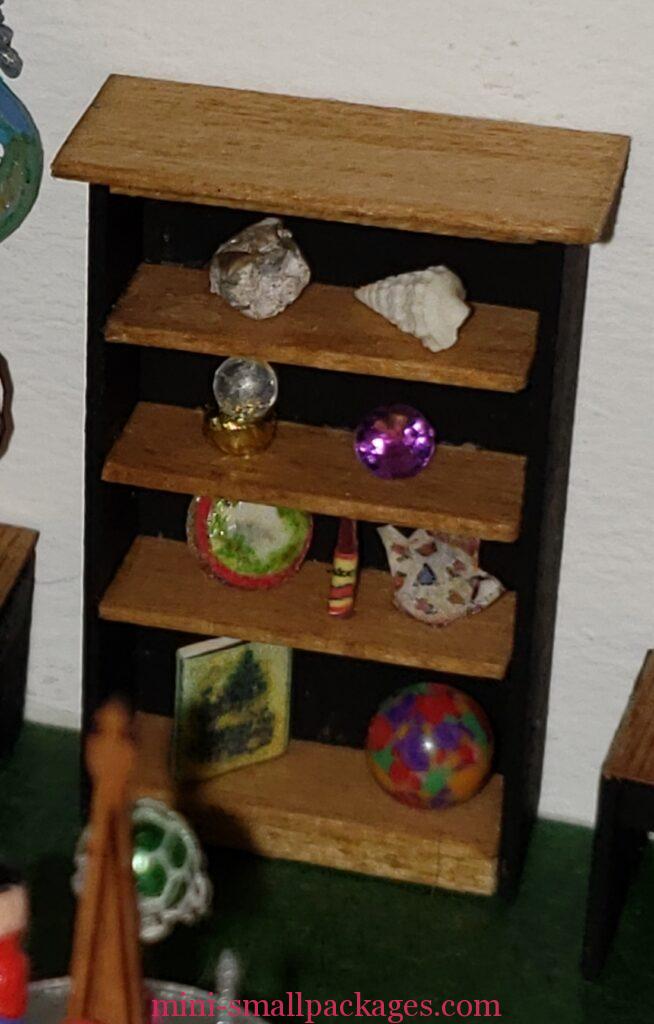
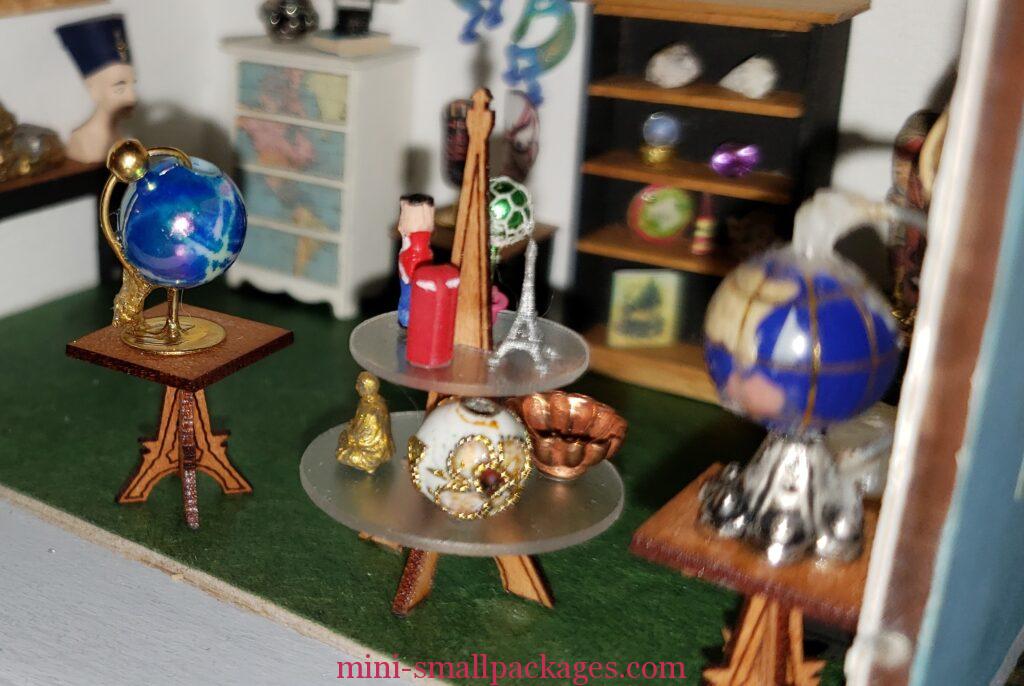
Furniture
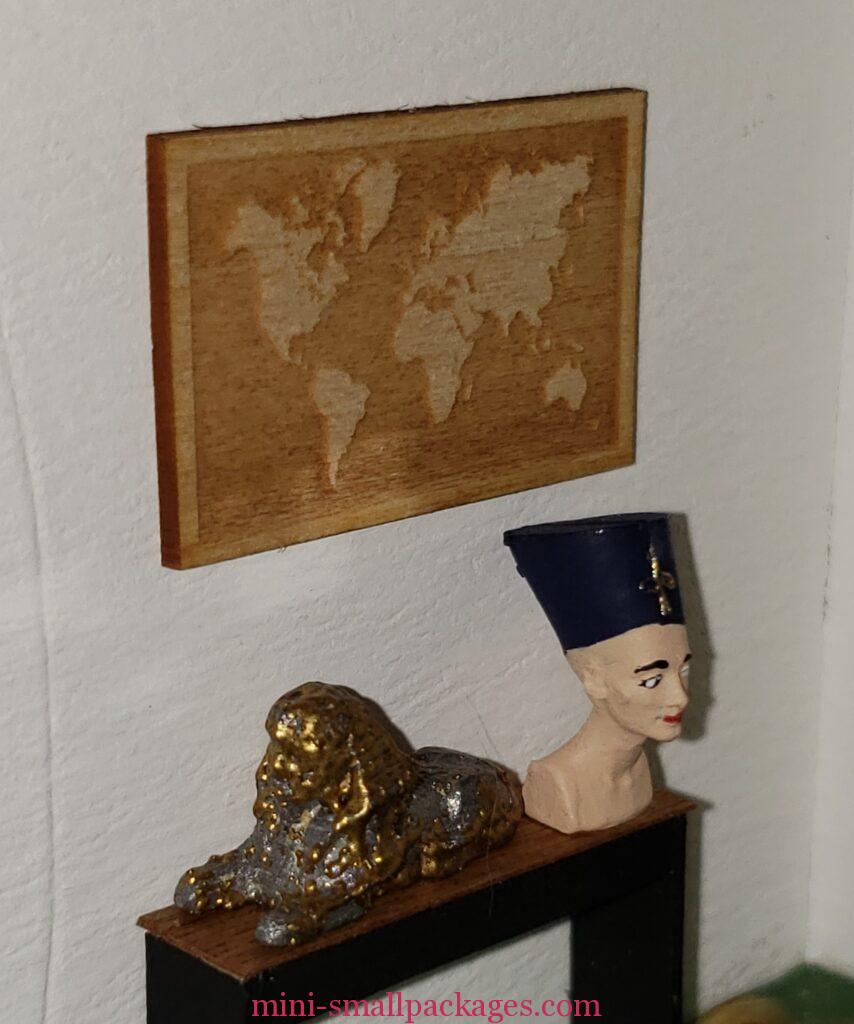
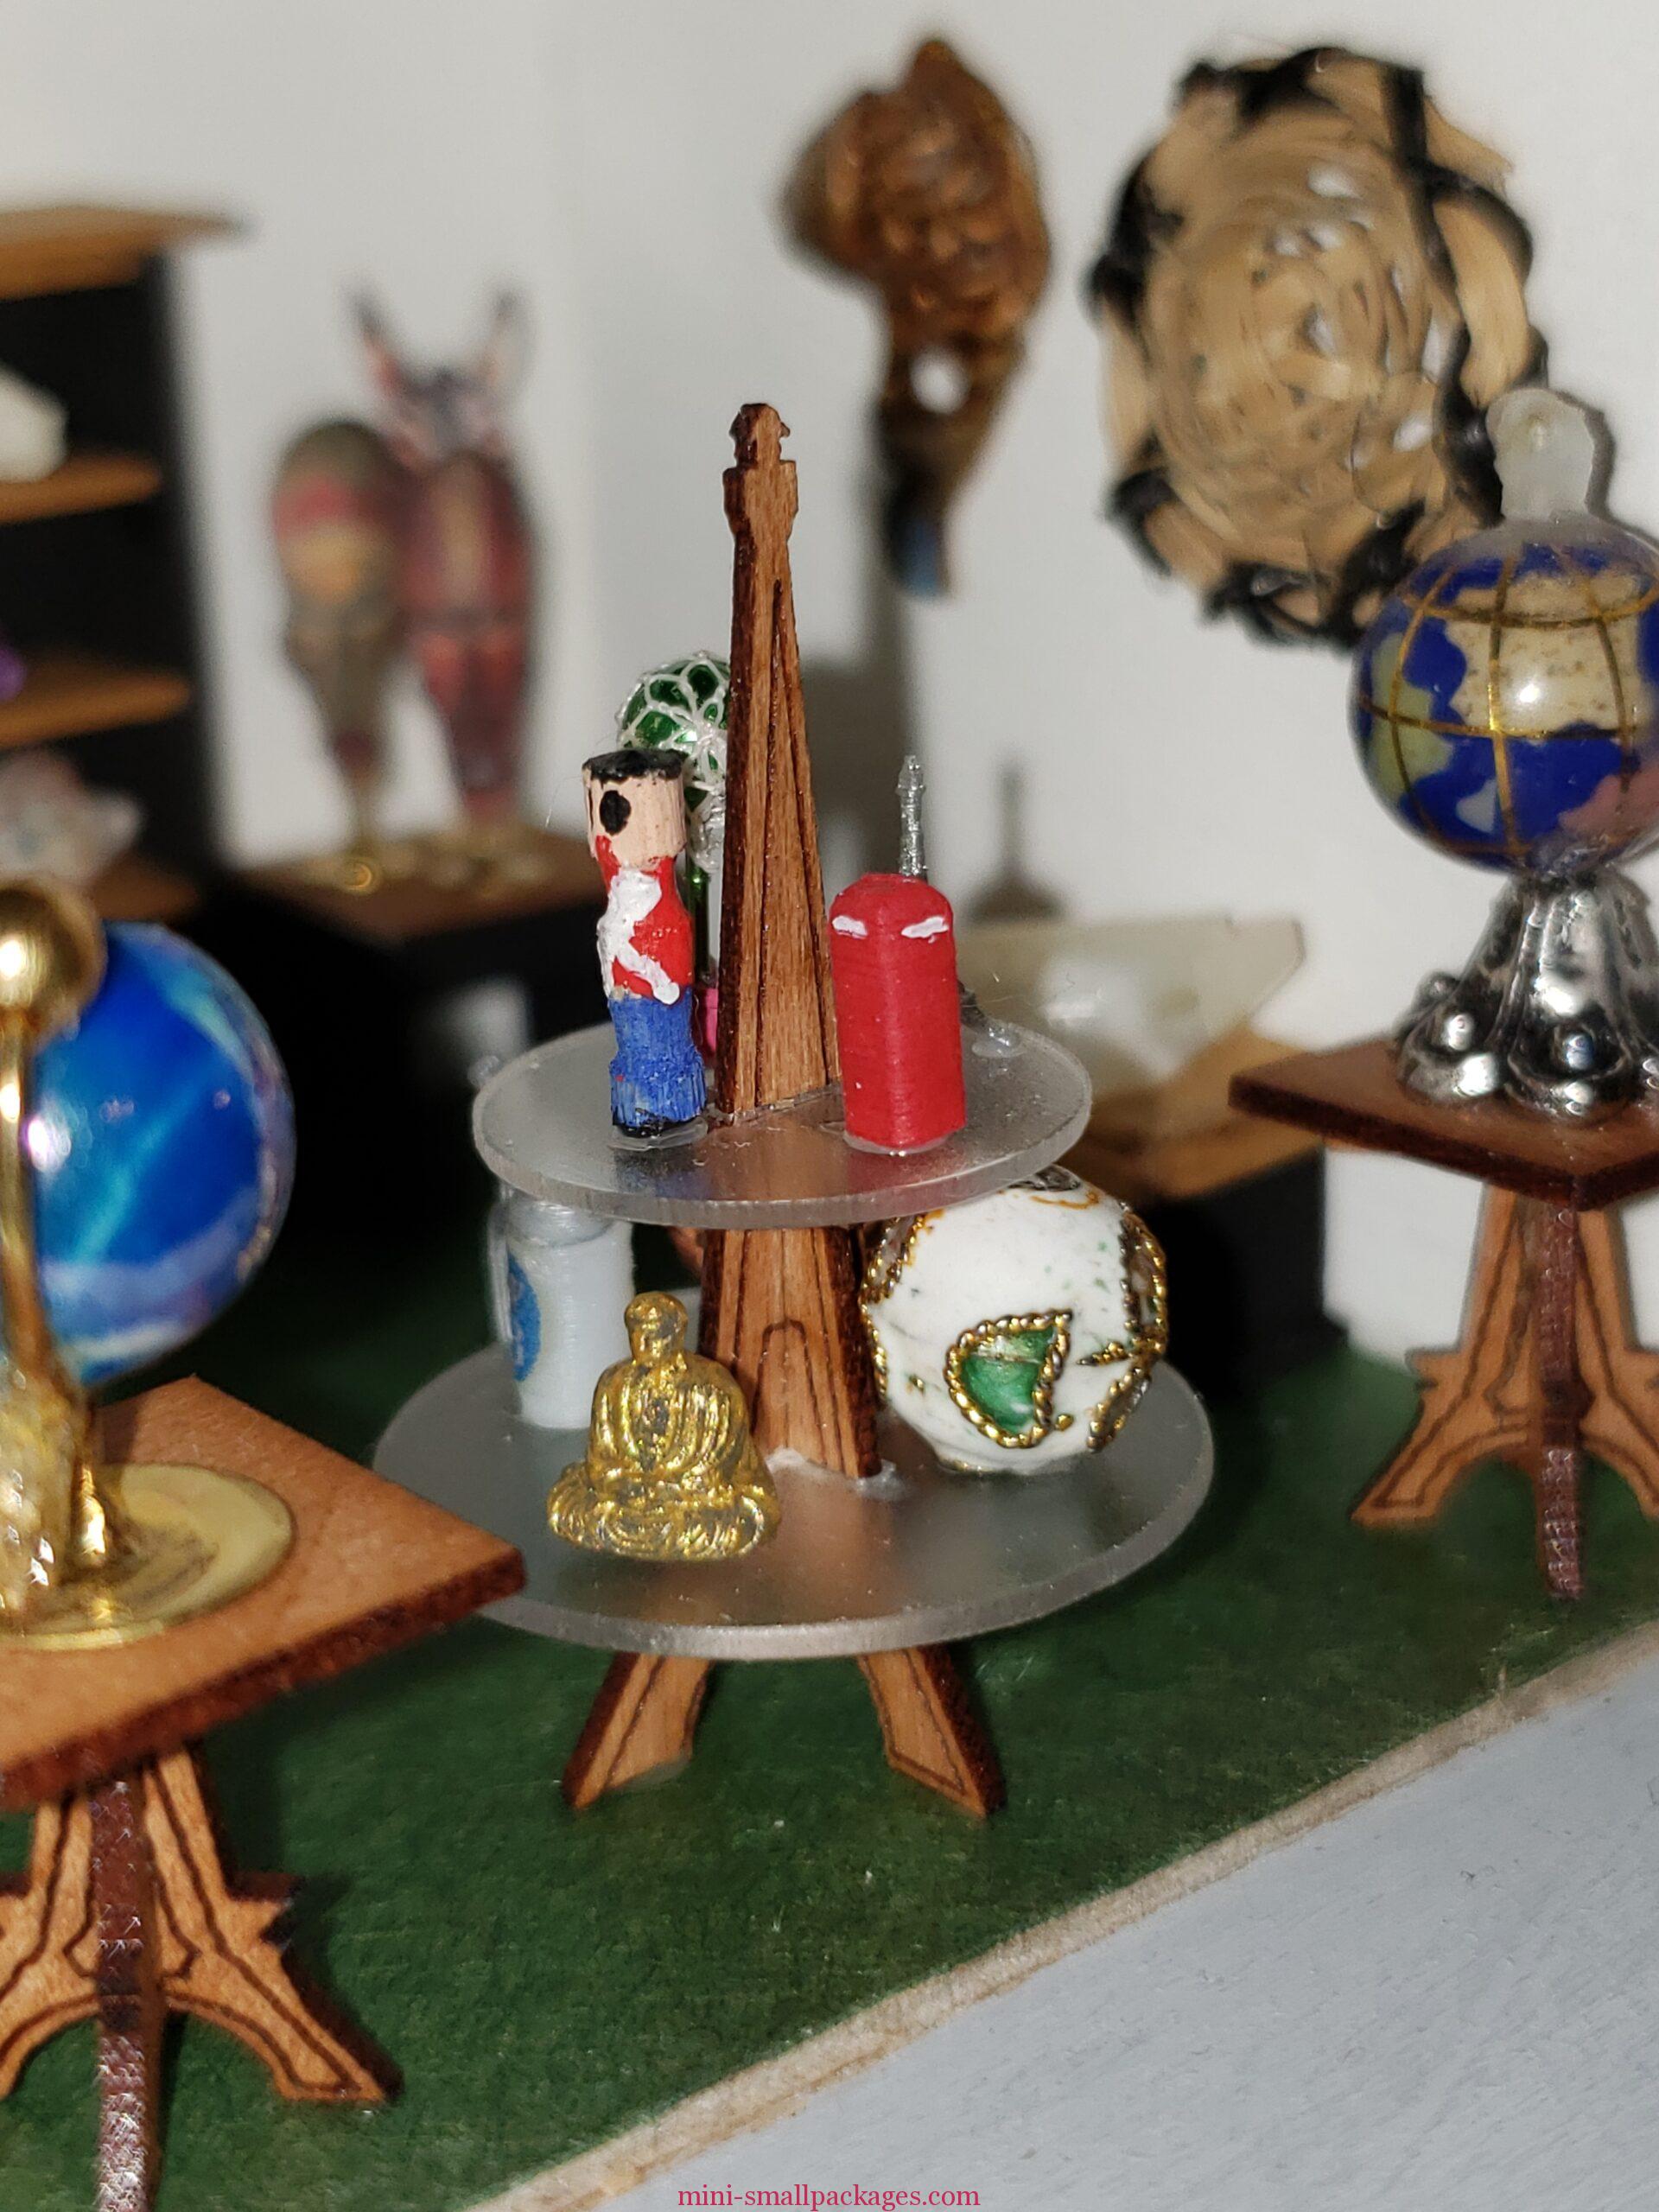
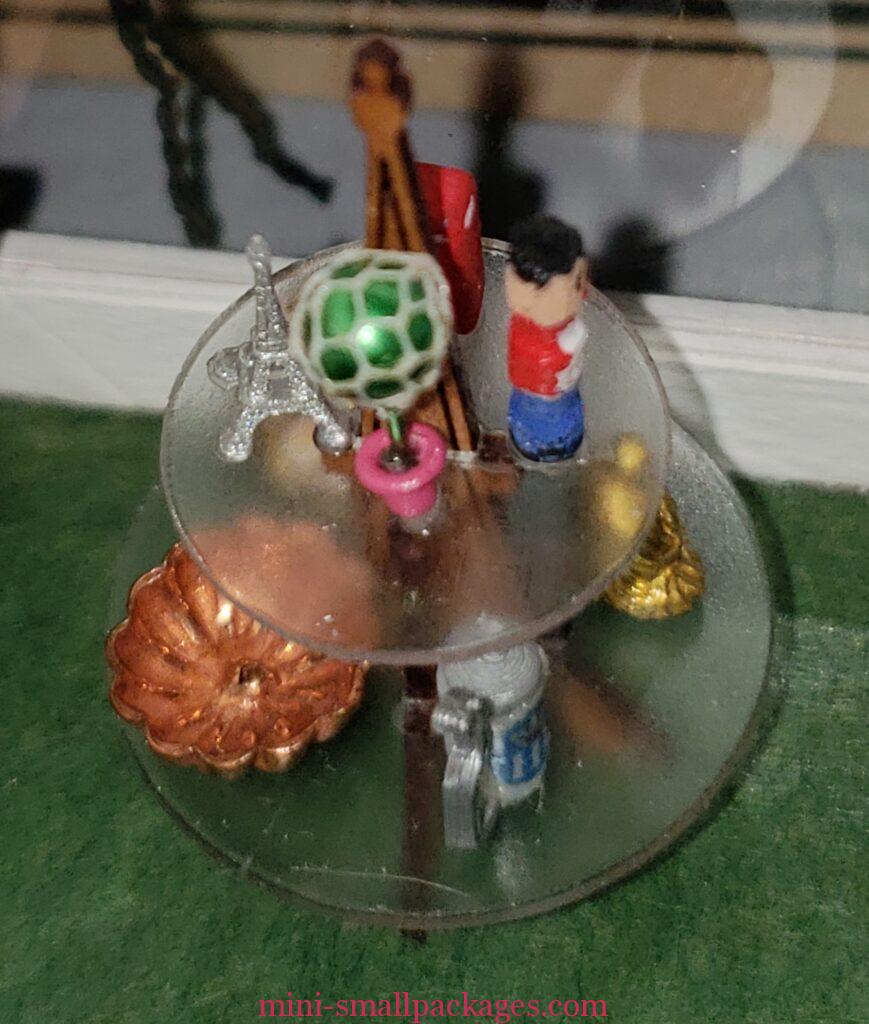
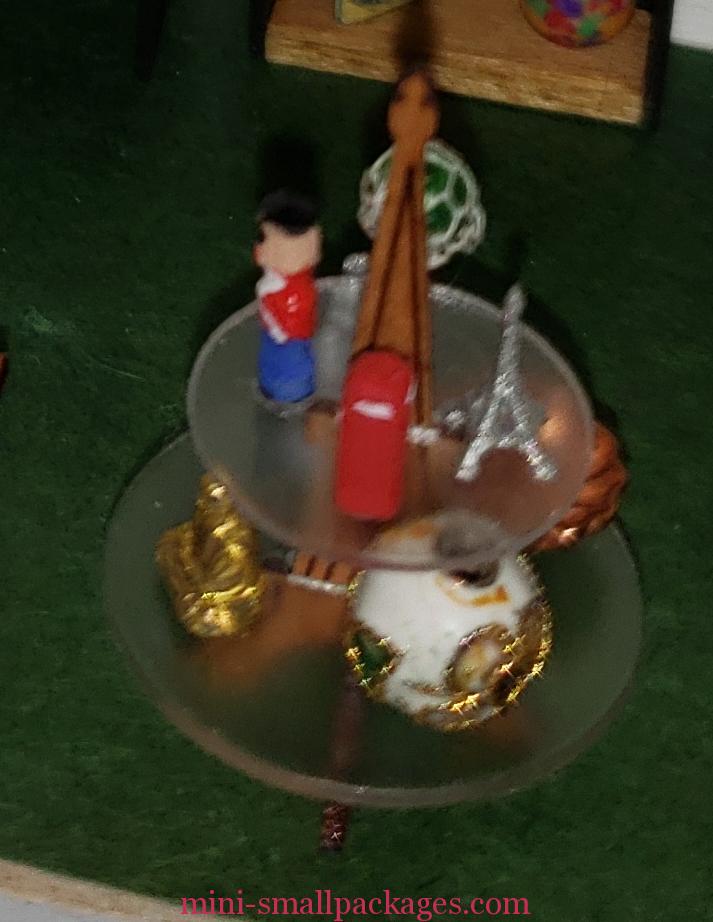
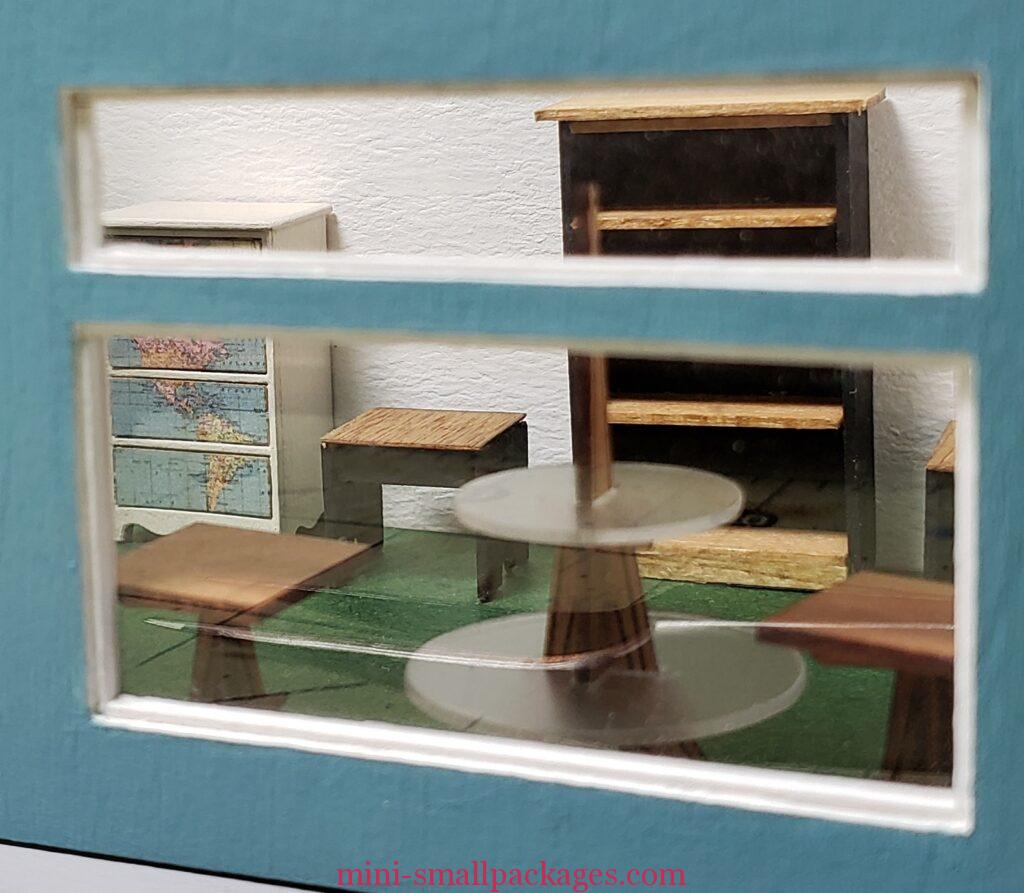
To display the many items I received as swaps, I needed tables and shelves. I had purchased some kits at the OLHP: Eiffel tower tables from BJ Minis and also a map dresser and map mirror from Debbie Young. The black and wood ones are by ANI. I got them as part of an auction group.
Since I had decided that my shop might be a museum, I wanted it to be a little fancy. My vision of this was to paint the kits black with stained pieces.
It was fun to work on these as I was in a zoom meeting as well as on my own.
Door – the kit came with a door, but I decided to use a fancy door instead. I painted it black. Then to fill in the windows I tried to use DecoArt Triple Thick liquid for the smaller ones. I tried doing this by laying it on a plastic bag, but I didn’t glue or tape it down in some fashion so it soon began to slip. Also the Triple thick wants to level, so it wanted to run under rather than try to fill the opening. I let that dry and then used my craft knife to carefully remove it. It does peel away well, but I had to touch up the black paint. The Triple Thick is a good option for when adding ‘glass’ to a flat surface. It worked fine when I used it in my OLHP suitcase souvenir.
Next I went back to my trusty favorite simple white glue – the thin kind. This technique is done by applying with a toothpick to the interior window frame and drawing it together to form a film.

This worked really well for the smaller ones. However for the larger center window opening it did not. My solution was to cut a piece of plastic bag so I could tape it to the door. Then I used the thin white glue to form a film across the window. I left that to dry, then removed the plastic. This peeled away easily.
There is some cloudiness to the windows due to how thick the glue ended up, but I decided I was satisfied with it. It isn’t much on the smaller ones but the larger one it did. I think I could have controlled that better.
One other issue I had was with the door frame. The bar along the bottom broke and I had to cut a new one.
Magnets
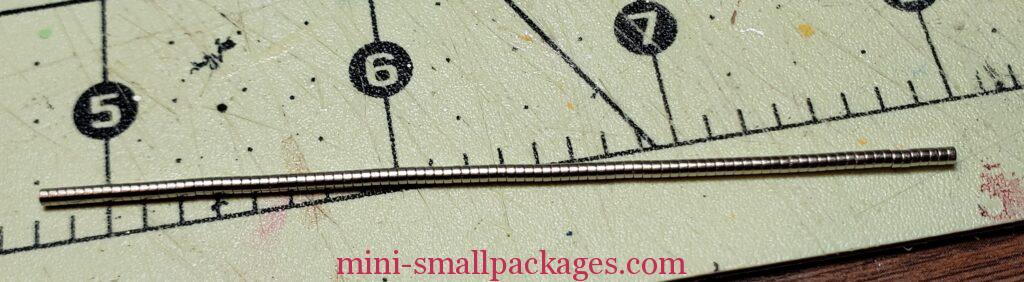
I had read an article about using magnets to connect wiring. I decided for this shop I wanted to try to use magnets to hold the shop front in place. So I ordered some tiny magnets. It was only after they arrived that I realized how tiny they were at 1/16 x 1/32 of inch. These were perfect for this project, at least for what I wanted.
Here’s 100 of them
To use them, I used my dremel to drill a hole to fit the magnet. I drilled down to make them flush. I had to do this on both the edges of the building
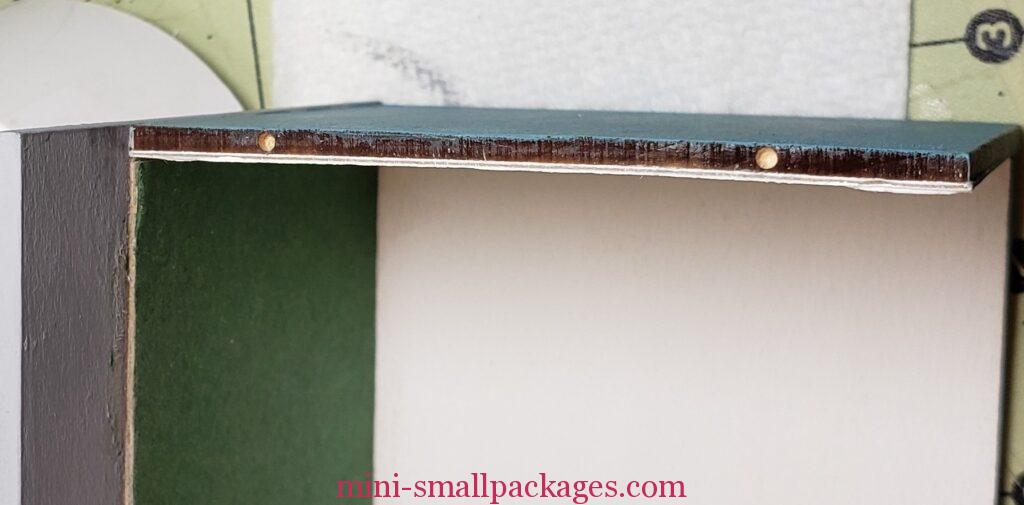
and also on the back of the front.
Both pics are sideways
Aligning these holes was important.
I did have to fiddle with it because I hadn’t drilled some holes as deep as I needed. This resulted in the magnet not being flush with the edge.
Then I drilled too deep. To resolve that I cut a sliver of wood to fit into the hole. The magnets were glued in place with super glue. This glue also helped to deal with the wood I used as a filler for depth. For the hole I made too deep, I had to re-drill so get the desired depth. I know I should have used tape wrapped around the bit to mark how far in to drill, but I did not.
When working with the magnets, I intentionally did not use typical tools like metal tweezers. To separate them, I used a plastic card with a very thin edge to ‘slice’ them apart. As I moved the card away, I had to make sure that they were kept apart as they have a tendency to fly together. I did use a metal tool to place the magnet and then slide away with my finger helping it to not pop back out and with the metal tool. I did this only because my fingers were too fiddly with holding them.
One other thing I did was to mark a side on each magnet with a permanent marker. As long as I didn’t rub them against each other, it didn’t remove it. This was needed to assure that I glued them correctly. They will repel each other if 2 + or 2 – are together . When I glued them in place I wanted to be sure they wouldn’t get glued together, so I only glued one at a time.
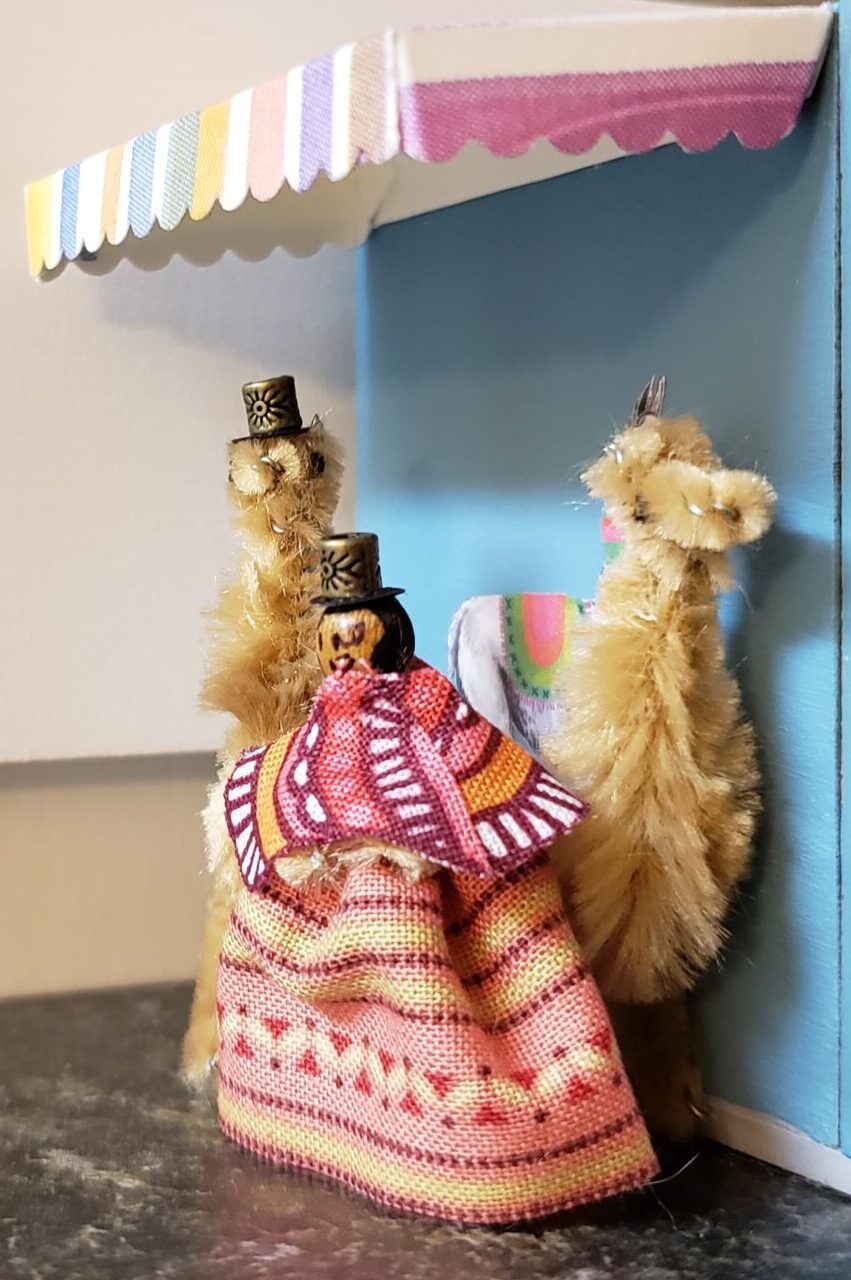
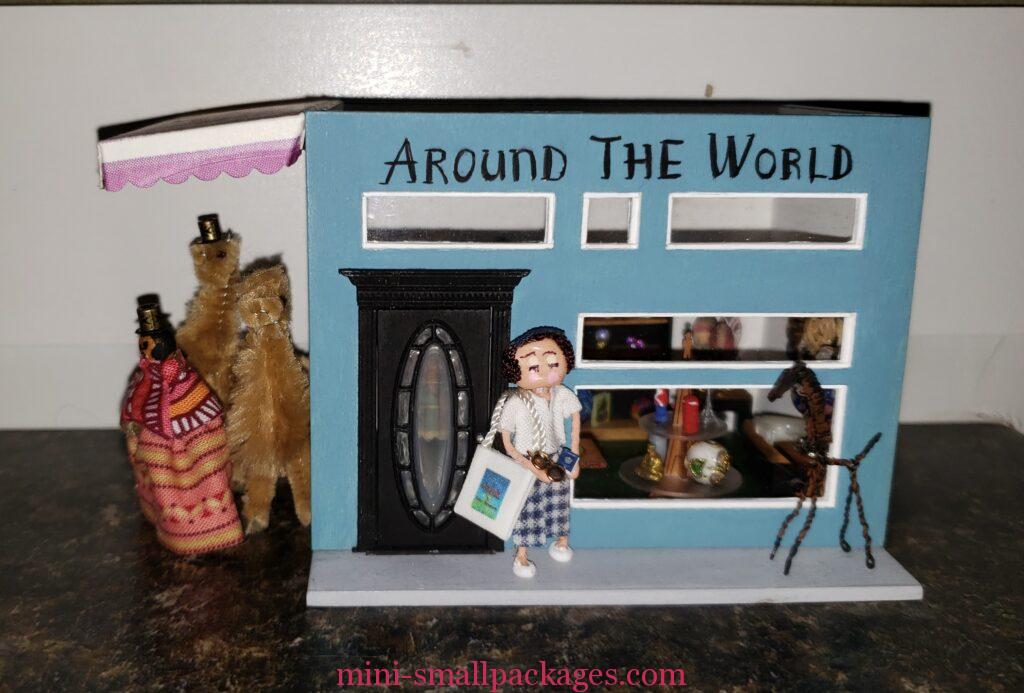
Awning
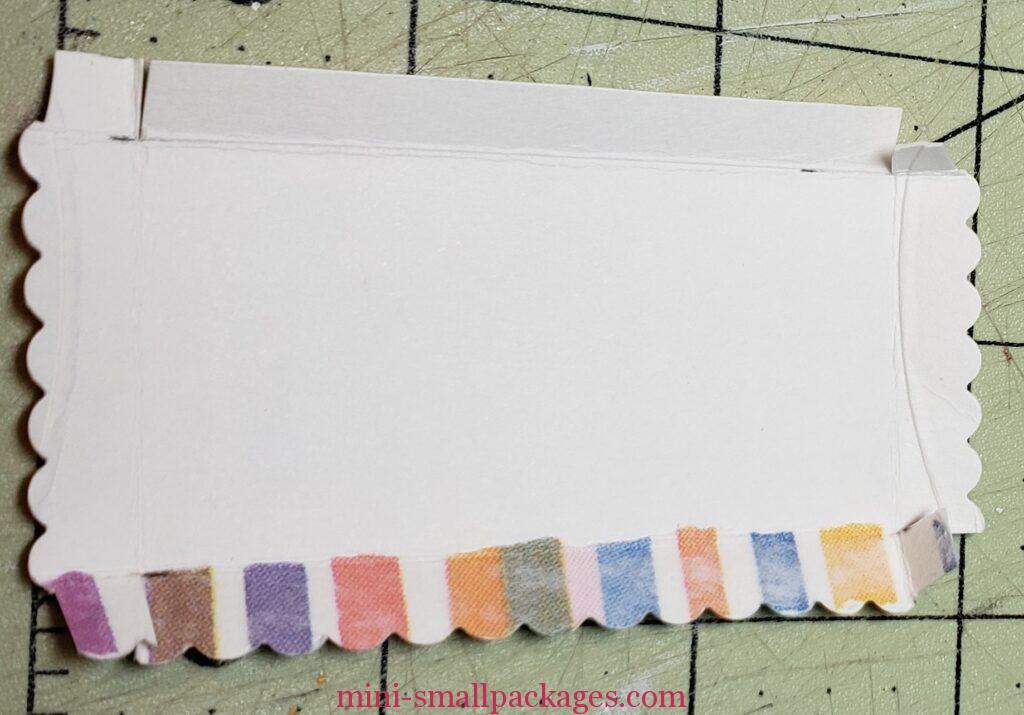
In the swaps was two llamas and a senorita. I wanted to include them in my shop, but didn’t want them inside. I decided that I could use another pillow box that committee gifts came in to make an awning for the side of my shop. I used my scallop decorative scissors and just cut to fit my needs. I cut flaps to give structure. To angle it, I did have to pull apart and re-cut at the non-scalloped side.
Once all was assembled it was time to put everything together. Everything is glued in place including the llamas.

Happy miniaturing!
Preble
If you enjoy my website, please consider making a small donation via PayPal.me/minismallpackages. Thank you!