Playing with snow in 1:48 scale and beyond
In the spring of 2012, I started seeing photos of the centerpieces from the NAME Portland houseparty (a convention for miniatures). These centerpieces were really clever in their details and the simplistic style of the house used to create four different seasons. I didn’t get to attend so I was excited when I heard that the instructions would be forthcoming.
I belong to SmallerAndSmallerAdventures, a group for miniaturists run by Pam Junk-Knapp. On that group I was privileged to see additional photos of how the centerpieces were made. Susie Newell, the designer of this project was very generous of her time by providing many photos to help us to make them. (Her team were the ones responsible for making the centerpiece for each table and also one for every attendee to take home. The ‘everyone takes one home’, was unprecedented – as far as I know- as normally there is just one centerpiece that one lucky person at each table wins.)
Challenge
In September Pam issued a challenge to the SASA group. Make one centerpiece using Susie’s house plans and you will be entered in a drawing. I have done a challenge before with this group and I succumbed to the challenge and put my name on the database saying I was going to make one. I was not as hesitant with this one as with the previous as I knew that I only have one school thing to wrap up and surely I could finish my centerpiece by Nov. 30 when it was due.
Dome problems
I decided I would only make one project and so I ordered one dome. I cut out one house and started thinking about what I would do with it. I decided it would be winter so I needed spackle and glitter. Lots of glitter. I looked through my scrapbook papers and sure enough I had some paper I could use inside the house. I just knew I wanted blue.
My dome arrived and I opened the box. It was very well packaged. However when I tried to extract it from the packaging, I broke it at the base. Stupid packaging – maybe it was over-kill. Am sure they have issues with breakage and they are trying to get them to the customer. But could really use some instructions on how best to remove. I decided to go ahead and move forward with the project just using the base.
BASE
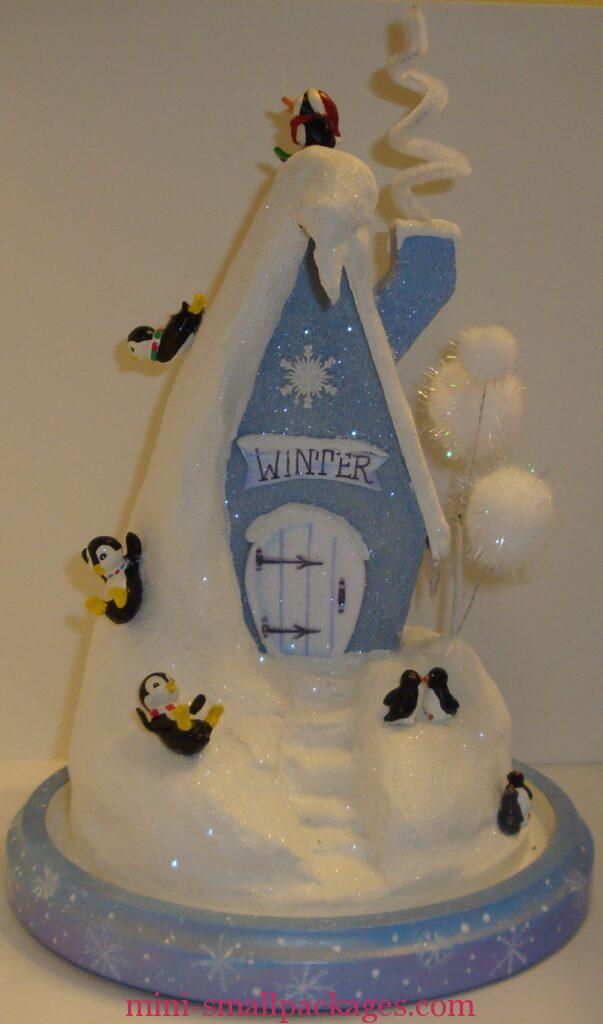
I followed Susie’s instructions for painting the base blue and then lavender (I used the colors I had on hand). But something wasn’t quite right for me. Part of the charm of these centerpieces is the bases aren’t plain. They are really something to see just on their own. Susie had used snow stickers for her winter but I couldn’t find any I liked. Instead I decided I could just paint some. Yes, that works. That improved it. But I wanted more. I decide to splatter paint it and wow that was the extra pop I wanted. I also used some pearl finish paint to enhance it as well.
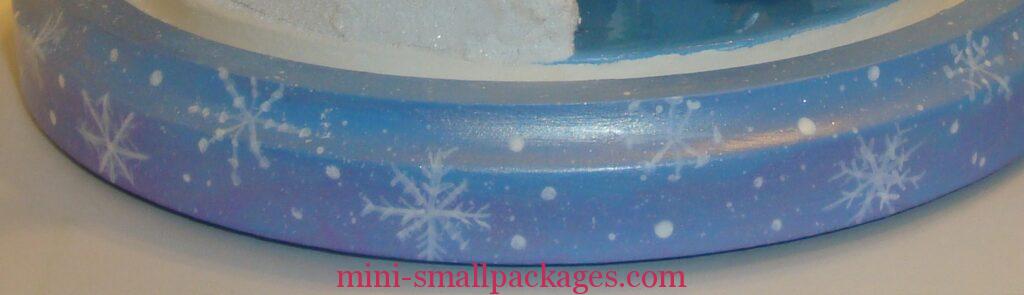
The lavender at the bottom is very subtle in the picture, but more noticeable in person depending on the light or angle it is viewed.
To Cave or not and Penguin sources
Next it was on to deciding about the bottom snow portion. In one of the centerpieces I had seen the summer had a cave under the house and in others it was solid under the house. I decided I wanted to go with the cave.
I also had decided that I wanted to put penguins in my project. My husband is an Opus fan and has a penguin collection. This collection includes many penguins of different sizes. He graciously said I could use some. When we looked at this there weren’t as many as we may have first thought, but that is ok, I will see what I can do with what he has.
Meanwhile, we cleaned house for Thanksgiving and he was looking at one of his penguin items that was a clock with a water globe. The clock is a neat feature but not practical and as he looked at it he realized it was not working. He decided to open it up and see if he could fix it. Nope, that was not to be, but hey, there is a penguin Preble could use. This was the one that floated around inside. He had a second clock that worked differently and the floating penguin follows a dolphin. He also saved the base that had multiple smaller penguins attached to it. This base was made of resin and he knew I had taken things off of resin bases before.
Back to the cave, I had decided that the cave would be the skating area. It was carved out of styro-foam. I painted it appropriately. When it came time to spackle, I left it open as well.
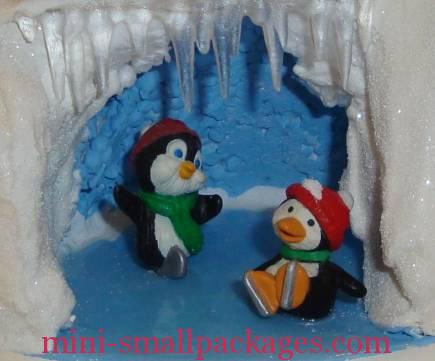
ICE and SNOW
The ice was made using Aleene’s Triple Thick gloss. I had never tried it before. I love this stuff as well. It is very glossy and dried hard. The foam didn’t quite meet the base so I added some Snow-tex in a bottle that I had bought. It is for writing but worked great for little fixes to fill in spots. After I added the Snow-tex, I was going to paint over it with the blue, but decided it looked like snow piled on the edge of the pond. This is fun.
The standing penguin is a Hallmark ornament that was skating on a bucket of ice – super cute that way, but better here. IMHO. The fallen penguin also Hallmark and I added the snow to his hat to cover the hanger hole.
I had painted the house blue and then added the glitter. This was my first time to use Modge Podge (that I recall). The glitter was a really cool addition. I love glitter houses, but never have taken the time to make one (or buy one either). I was very pleased with the house.
Chimney
I’m missing something. Ah – the chimney, so I cut one from high density insulation foam – painted and glittered it like the house and stuck in the chenille stem for smoke. I love this bit of whimsy.
Mountain
Next was time to make the mountain, add rigid wrap and spackle. The directions said to make the mountain (one side of the house) with a paper towel, then apply rigid wrap (or plaster cloth). I love this stuff, as used it two times previously – and then add spackle. The spackle was fun as well. I did this once before when I did a maple sugaring scene in a tin, so the spackle technique wasn’t new.
I added the icicles to the house. Those were super neat. I sprung for a pack of the Dept 56 and I do not regret it even if I paid too much for them as figured out later could have got them cheaper on another site. (Tip – check multiple places before ordering.) At first I just glued them in place and added snow to them later using the Snow-tex writer tube.
I got out that resin base that hubby had saved for me and used my dremel tool to remove every penguin from the base. Then when I went to work them for this project,.. well some of them were far from perfect and I don’t mean the paint. Mmm… what to do? This was a stopping point until hubby pointed out the better ones to me and I was back moving forward. I decided where I was going to place the penguins and do what I needed to help them stay on.
Here’s four of them
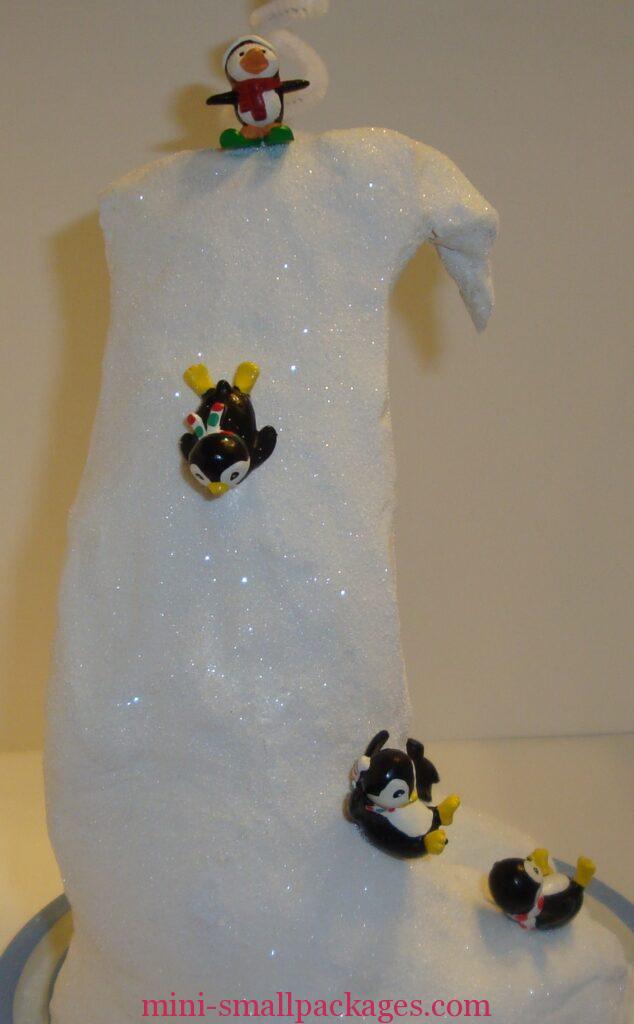
The one on the top is a Hallmark ornament.
The three below were on another ornament – hubby had two of those ornaments and this one was broke so couldn’t hang it.
One disadvantage to not having the dome for this was that I couldn’t check my fit. I ended up having to sand the bottom of the mountain (hope it was enough) as I could tell that there was too much hanging over the groove for the dome in the base.
There are more penguins in front
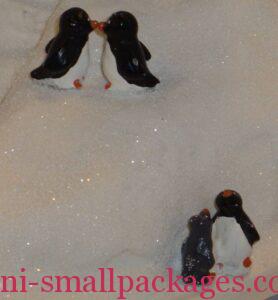
The two kissing – well that was my way to hide their damaged wings. Just so happened they worked together.
The set below were together on the resin base so no changes other than using them on my project.
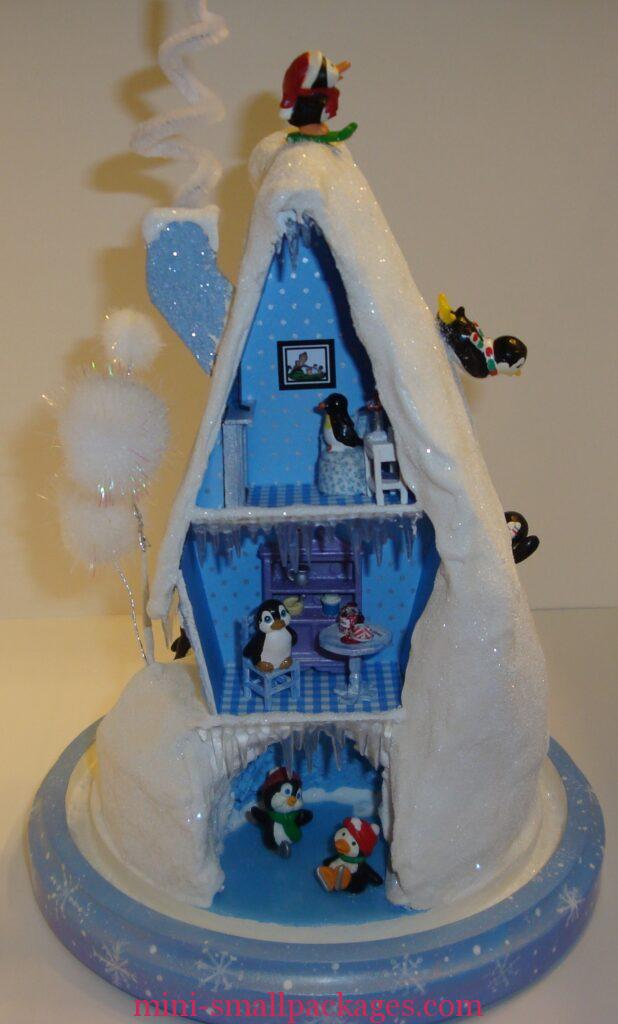
House Inside
Downstairs I repainted a toy hutch I got from a friend. The chair is BPF I painted white and then added blue pearl paint. The pearl paint doesn’t cover well so gives that shiny effect without being too much. The table was something I made for another project and then didn’t use. This time I added something to the feet to make it more stable and then painted it like the chair. The mug and cookie jar on the table are from a tote-favor swap from the recent QC convention. It was made by Bonnie Helterhoff. Really clever, I think.
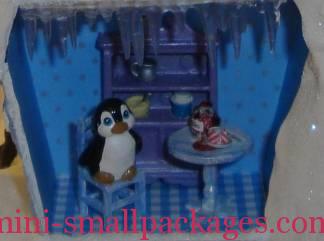
This penguin was the one inside the water dome clock. None the worse for wear having been in that water all the time.
Upstairs – I was informed that I must have a fireplace since I do have a chimney – so I obliged. The fireplace was also a swap but I am unsure who made it. I painted it like I did the chair and table in the kitchen area. I also added the wallpaper bit behind it to fit in the house to fill the gap. I added a blue flame fire as I was informed the fireplace also must have a fire. Above the fireplace is a tv where “A Wish for Wings that Work” is playing. (An Opus movie)
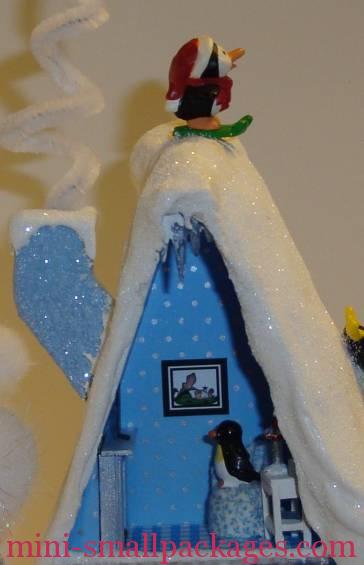
The chair was a swap made by Elizabeth Johnson. The table and accessories on it, I believe was made by Julia Greenhalf and was for the firecracker swap that she very graciously sent to me when my swap package never came. The penguin on the chair here was from the resin base.
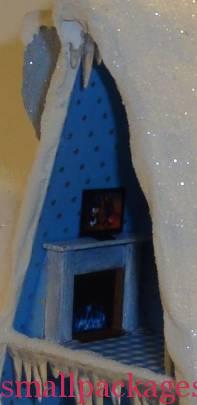

I think that lamp is quite clever the way it is made. The table is really nice as well with the sculpted edge. Chair by Elizabeth Johnston.
On the right side of the house is a powder puff tree. I found these at Hobby Lobby in the floral section and they just screamed whimsy and ‘use me’.
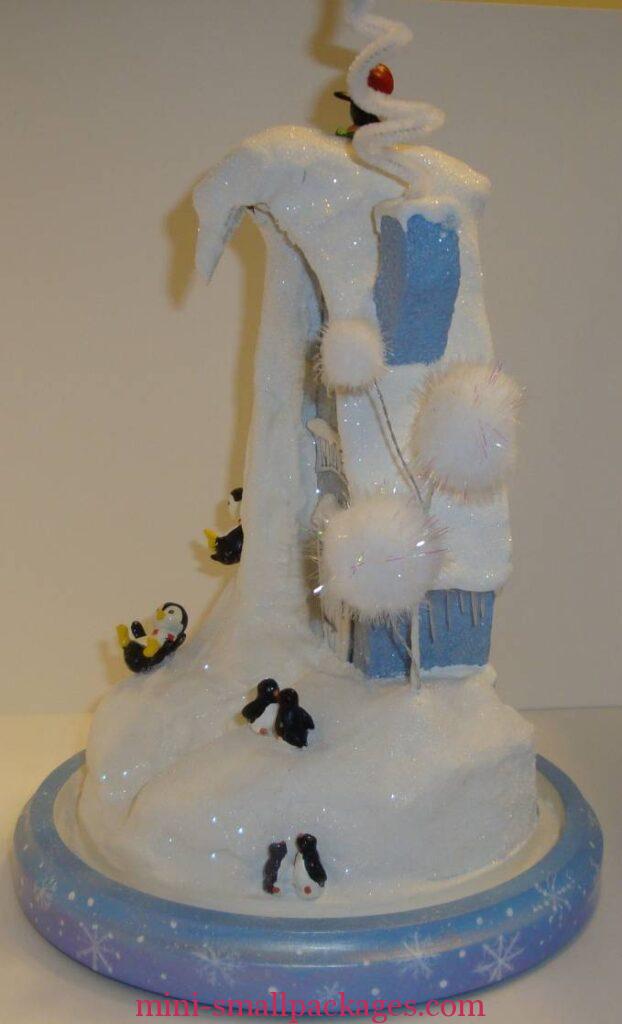
Here’s the back in full
The last thing I did to the snow was make it glitter. Every inch of snow was covered with modge podge and glitter was added (small area at a time). I was covered in glitter before all was said and done with that. The spackle works very well but the glitter gives that extra something I wanted for this project.
Happy miniaturing!
Preble