by Preble McDaniel copyright 2013
Free instructions for Quarter Connection Convention 2013
Not for commercial use
I have never been on a real cruise, but when I think about them, I think about the food. For my convention swaps I made cheesecakes and this is how I did it.
Materials Needed
- Polymer clay (I used flesh colored super-sculpey, but if buying choose off-white so don’t have to paint later)
- No hole beads or marbles (I used red, pink and dark blue)
- Gallery glass (I used Ruby Red and Sapphire)
- Acrylic paint (I used off-white)
- Sequins – 1/4th inch (I used silver and punched some from white larger ones)
Tools Needed
- Circle cutter (I used a 5/32 inch kemper cutter, but I narrow drinking straw would work as well.)
- Tweezers
- Oven
- Ceramic tile for baking
- 1/4th inch circle paper punch
- Paper plate or tray
- Tape or other means to temporarily hold cakes
- Paint brushes
- White glue
Steps
- Pre-heat oven to desired temperature – refer to the directions on the package.
- Roll polymer clay flat. Mine was 1/16th to 1/8th of an inch thick. If uniform depth is desired then roll clay between playing cards or wood pieces the height desired. I considered some variation to be acceptable as this is food and height can vary. I do this on my ceramic tile.
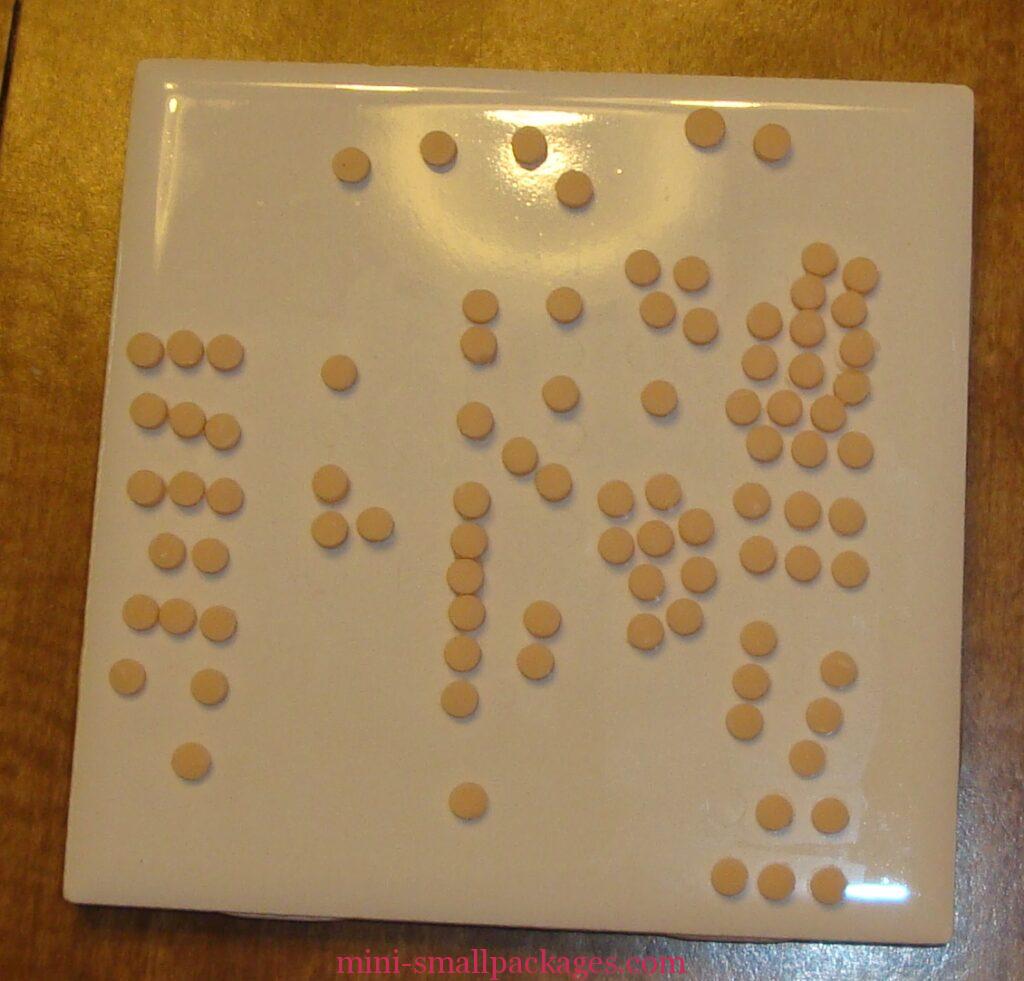
- Using circle cutter – cut the clay into circles. Remove excess clay around. It is a good idea to leave some room so the clay can be more easily removed around the circles. (Fig. 1 and 2)
- Bake the clay circles and allow to cool. For small items such as this, I usually bake only 10 minutes, but the full 20 is ok as well. Again, follow manufacturer’s directions for the clay used.
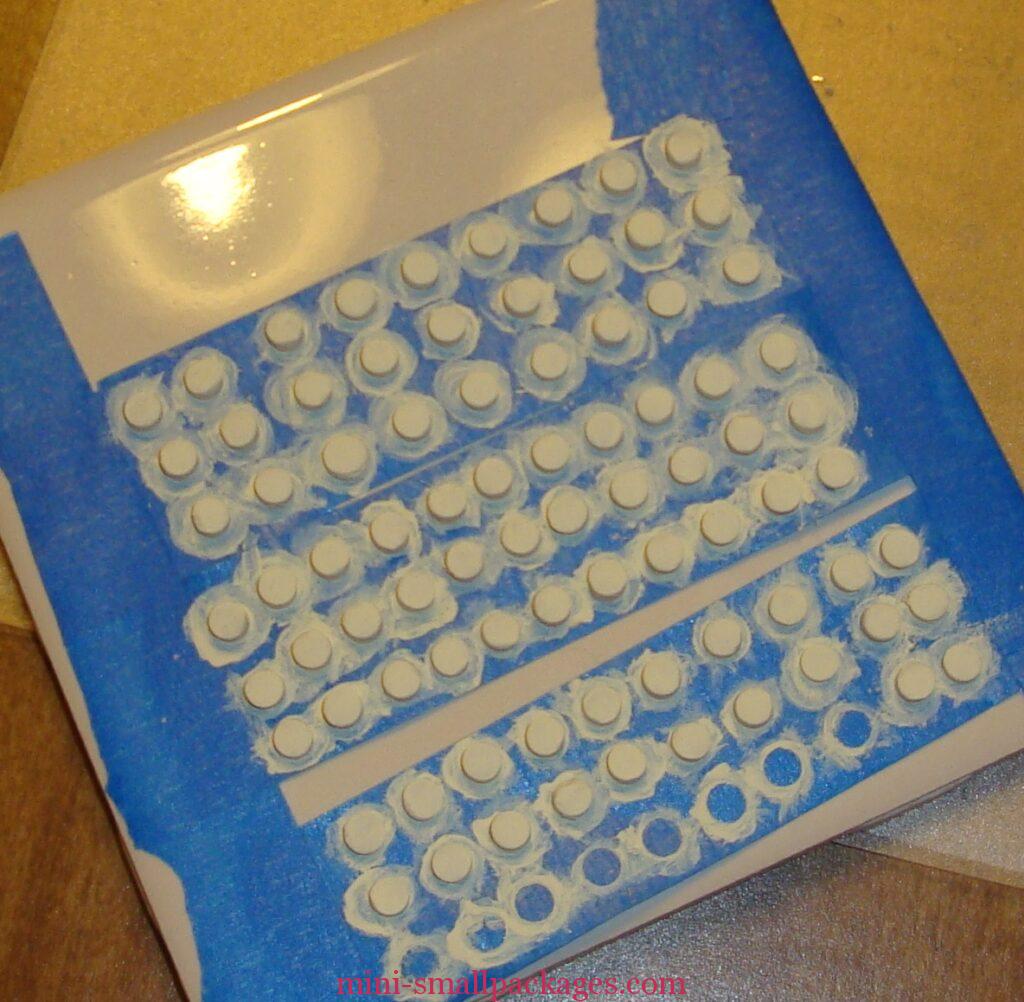
- My clay was flesh colored so I needed to paint. If your clay is the right cheesecake color then skip this step. Paint the cheese cakes the color of light cheese. I used an off white color as my cheese cake in real life is made with cream cheese which is light but not a bright white. To hold my cakes in place as I painted, I used tape upside down attached to the tile. I needed to do this to separate my cakes to allow room for the paint brush. I applied two coats. I made a point to not blob around the base as when the cake was removed from the tape I didn’t want any paint rims to be there. (Fig 3)
- I used a 1/4th inch paper punch to make plates from larger sequins for my white plates. For my silver plates I had some 1/4th inch silver sequins. (Fig 4)
- Glue painted clay cakes to the sequin plates. Allow to dry. (Fig 5)
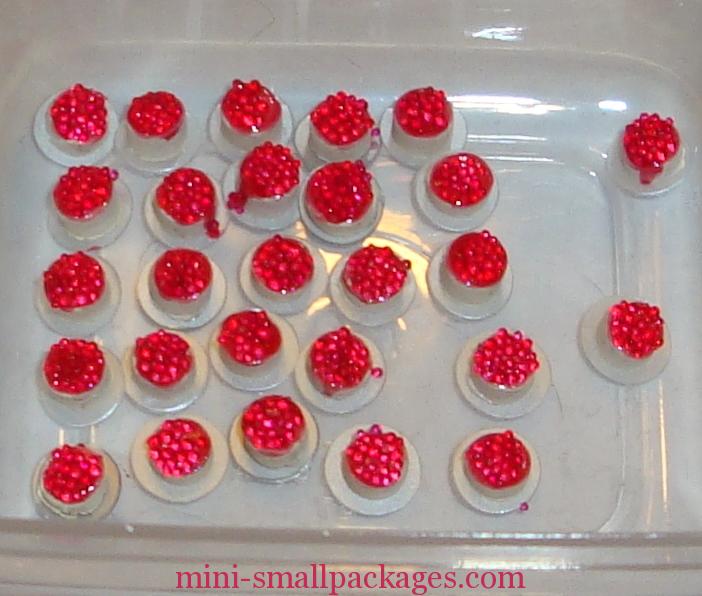
- With a paint brush dab gallery glass on top of each cake. While still wet pour the no-hole beads on top. For the cherry cakes I did use red beads but somehow had pink in them as well. I couldn’t tell the difference. For some cakes I added a dribble of gallery glass on the sides and added an extra bead as if the cherry bead had slipped down. I did squish the beads in and while gallery glass paint was still wet, knock off any extra beads that were defying gravity. I also added a second layer of glass paint over the beads after dry. (Fig 6 and 7)


Happy miniaturing!
Preble
If you enjoy my website, please consider making a small donation via PayPal.me/minismallpackages. Thank you!